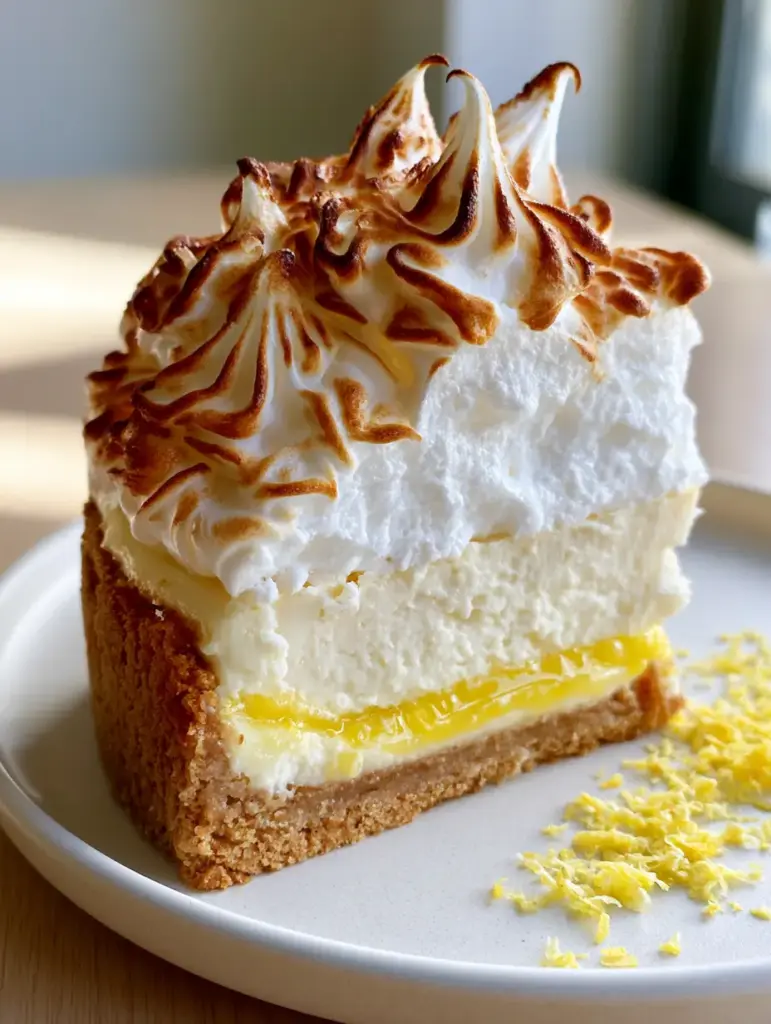
The lemon meringue cheesecake is the ultimate architectural feat of the dessert world, blending the tart vibrance of a classic lemon curd with the structural integrity of a New York-style cheesecake. This isn’t just a dessert; it is a four-layer symphony of textures that demands attention from the moment it hits the table.
In this recipe, we are moving beyond the basic chilled cake to create a masterpiece featuring a four-inch billowy meringue crown. You will learn how to achieve that signature “ivory” dense cheesecake base and a translucent neon-yellow curd layer that stays perfectly in place without weeping.
Every bite offers a contrast between the buttery, golden-brown graham cracker crust and the torch-fired, deep amber-charred edges of the marshmallow-like topping. Whether you are a seasoned baker or an enthusiastic home cook, this guide will walk you through the sensory cues needed to master this showstopper.
Why This Lemon Meringue Cheesecake is a Total Game Changer
- Structural Perfection: A massive 4-inch tall topping of billowy white meringue that stays stable and never collapses.
- Vibrant Flavor Profile: A translucent, neon-yellow lemon curd layer that provides a sharp, citrusy punch against the creamy vanilla base.
- Professional Aesthetics: Intricate torch-fired peaks with deep amber-charred edges and soft caramel-colored swirls for a bakery-window finish.
- Clean Slicing: Engineered to ensure no liquid or weeping is visible between the layers, even after refrigeration.
- Texture Contrast: The crunch of a thick graham cracker crust meets a dense, ivory cheesecake and soft, pillowy meringue.
Foundational Ingredients for the Ultimate Lemon Meringue Cheesecake
To achieve the visual and textural results seen in professional culinary photography, we must select ingredients that offer both flavor and structural science. Each component serves a specific purpose in the final four-layer build.
Full-Fat Brick Cream Cheese: You need 32 oz (900g) of high-quality cream cheese brought to room temperature to ensure the cheesecake base is ivory and dense. Avoid whipped or low-fat versions, as they lack the fat content required for that silky, non-porous finish.
Fresh Lemon Juice and Zest: For the neon-yellow curd, use about 3/4 cup (180ml) of freshly squeezed juice. The micro-planed lemon zest is essential for the final dusting on the plate to provide that hit of essential oils and bright yellow color.
Granulated Sugar and Large Egg Whites: These are the pillars of our 4-inch meringue. We use an Italian-style meringue method where a hot sugar syrup is whisked into the whites to create a marshmallow-like stability that resists weeping.
Graham Cracker Crumbs and Melted Butter: 2 cups (200g) of crumbs mixed with 1/2 cup (115g) of butter creates the thick, golden-brown buttery graham cracker crust. This provides the necessary structural foundation for the heavy layers above.
Sour Cream: 1 cup (240ml) of full-fat sour cream is the “secret” to the ivory color and dense texture. It adds a subtle tang that bridges the gap between the sweet meringue and the tart lemon curd.
Essential Kitchen Tools for Professional Results
Achieving a tall, multi-layered lemon meringue cheesecake requires more than just a standard pan; you need tools that help manage height and heat. A 9-inch (23cm) springform pan with high sides is non-negotiable for this specific build.
To get those “intricate torch-fired peaks,” a high-quality culinary butane torch is required. While an oven broiler can brown meringue, it cannot provide the precision needed for those deep amber-charred edges and caramel-colored swirls without melting the cheesecake base.
A stand mixer with a whisk attachment is vital for the meringue, as you will be whisking for several minutes to achieve the “stiff-peak toasted marshmallow” texture. Finally, a micro-plane is essential for that final dusting of zest that decorates the minimalist matte white plate.
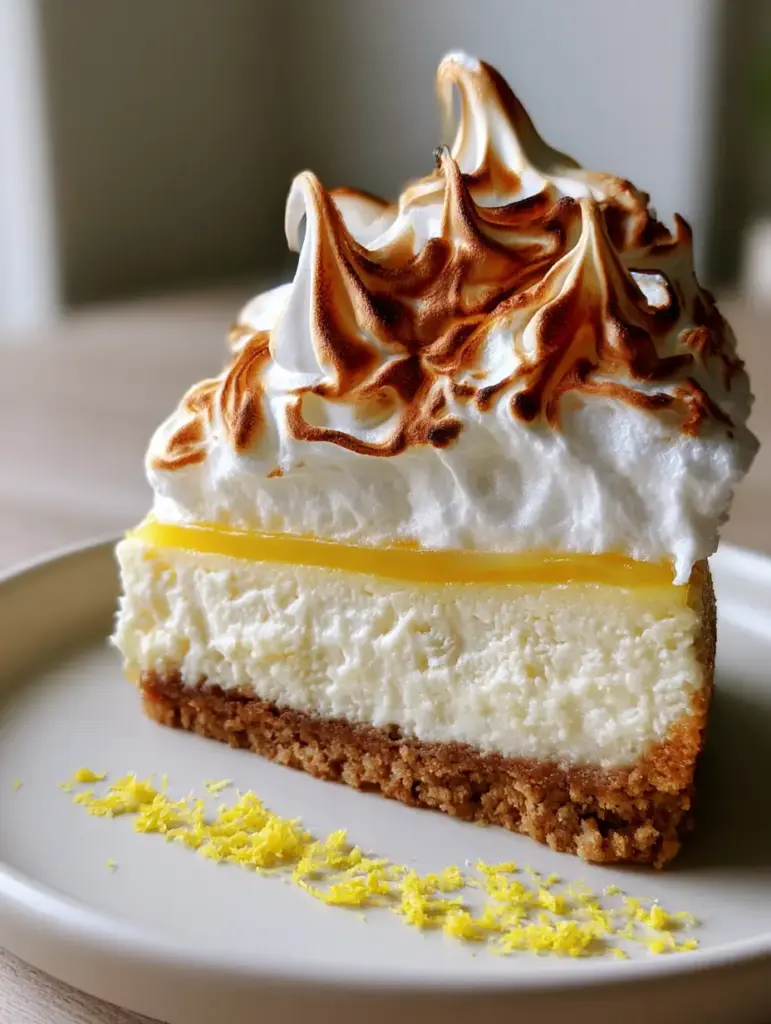
Mastering the Art of the Four-Layer Build
Phase 1: The Golden-Brown Graham Foundation
Preheat your oven to 350°F (175°C). Combine 2 cups (200g) graham cracker crumbs, 1/3 cup (65g) sugar, and 1/2 cup (115g) melted butter until the mixture feels like wet sand.
Press the mixture firmly into the bottom of your springform pan, ensuring an even, thick layer. Bake for 10 minutes until you smell a nutty aroma and the crust is a perfect golden brown; this prevents the crust from becoming soggy under the cheesecake layer.
Phase 2: The Dense Ivory Cheesecake Base
Lower the oven to 325°F (160°C). Beat the room-temperature cream cheese and 1 cup (200g) sugar until smooth, then fold in 1 cup (240ml) sour cream and 1 tbsp (15ml) vanilla extract.
Add 4 large eggs one at a time, mixing on the lowest speed to avoid incorporating air bubbles. Pour over the crust and bake in a water bath for 60-70 minutes until the edges are set but the center still has a slight, uniform jiggle. Chill for at least 6 hours to ensure a dense, ivory texture.
Phase 3: The Vibrant Neon-Yellow Lemon Curd
In a small saucepan, whisk together 4 egg yolks, 3/4 cup (150g) sugar, 3/4 cup (180ml) lemon juice, and 1 tbsp (6g) lemon zest over medium-low heat. Constant whisking is the key to preventing “scrambled eggs” in your curd.
Once thickened enough to coat the back of a spoon, remove from heat and whisk in 1/2 cup (115g) cold butter cubes. Strain through a fine-mesh sieve to achieve that translucent, glossy look and spread it evenly over the chilled cheesecake layer.
Phase 4: The 4-Inch Toasted Marshmallow Meringue
For the massive topping, whisk 5 egg whites with 1/2 tsp (2g) cream of tartar until soft peaks form. Slowly stream in a hot sugar syrup (sugar and water boiled to 240°F/115°C) while whisking on high speed.
Continue whisking until the bowl feels cool and the meringue is stiff, glossy, and marshmallow-like. Pile the meringue onto the curd, using a spatula to create billowy swirls and high peaks that stand 4 inches tall.
The Final Flourish: The Torch and Zest
Hold your culinary torch about 3 inches away from the meringue. Move it in a steady motion to fire the peaks until they are deep amber and charred on the very tips, matching the visual prompt’s “caramel-colored swirls.”
Just before serving, take your micro-plane and scatter fresh yellow lemon zest over the top and onto the plate. If you enjoy this citrus-forward profile, you might also love our mini lemon cheesecakes for a bite-sized version of this flavor.
Expert Tips for a No-Weep Meringue
- Temperature Control: Ensure the lemon curd is completely chilled and set before adding the meringue to prevent sliding or melting.
- Stabilization: Using an Italian Meringue (hot syrup method) is the professional secret to a meringue that doesn’t weep or shrink over time.
- Wipe the Bowl: Before whisking whites, wipe your bowl with lemon juice or vinegar to remove any traces of fat, which can prevent stiff peaks.
- The Water Bath: Never skip the water bath for the cheesecake layer; it provides the moisture needed for that ivory, crack-free surface.
Storage, Reheating, and Make-Ahead Strategies
The lemon meringue cheesecake is best served within 24 hours of assembly to maintain the crispness of the toasted peaks. However, the cheesecake base and the lemon curd layer can be made up to 2 days in advance and kept in the refrigerator.
Store leftovers in an airtight container in the fridge for up to 3 days. Do not freeze the cheesecake once the meringue has been added, as the texture of the marshmallow topping will become spongy and lose its billowy appeal upon thawing.
If you are looking for a more freezer-friendly option, our Oreo cheesecake or our salted caramel cheesecake hold up beautifully in the freezer for up to a month.
What to Serve With This Decadent Dessert
Because the lemon meringue cheesecake is so rich and tart, it pairs beautifully with light, fruity accompaniments. A side of fresh raspberries or a simple blueberry compote can cut through the density of the ivory cheesecake base.
For a full dessert spread, consider serving this alongside our banana pudding bars or pumpkin snickerdoodle cookies to provide a variety of flavor profiles for your guests. If you prefer more citrus, these mini lemon cheesecakes make a great “grab-and-go” addition.
Frequently Asked Questions
Yes, the cheesecake and curd layers can be made a day ahead. However, for the best visual impact and texture, the meringue should be added and torched on the day of serving.
While a broiler can brown the top, it often melts the cheesecake and curd layers. A culinary torch allows for precision charring on the meringue peaks while keeping the layers below cold.
Use fresh lemon juice and strain the curd through a fine-mesh sieve after cooking to remove any solids. High-quality egg yolks provide that vibrant natural neon hue.
The secret is using an Italian Meringue method, where a hot sugar syrup cooks the egg whites, and ensuring the lemon curd is completely chilled and set before adding the meringue.
To maintain an ivory color, use full-fat sour cream and avoid over-baking. Baking in a water bath also prevents the edges from browning too quickly, preserving the pale, dense look.
The Ultimate Lemon Meringue Cheesecake Recipe
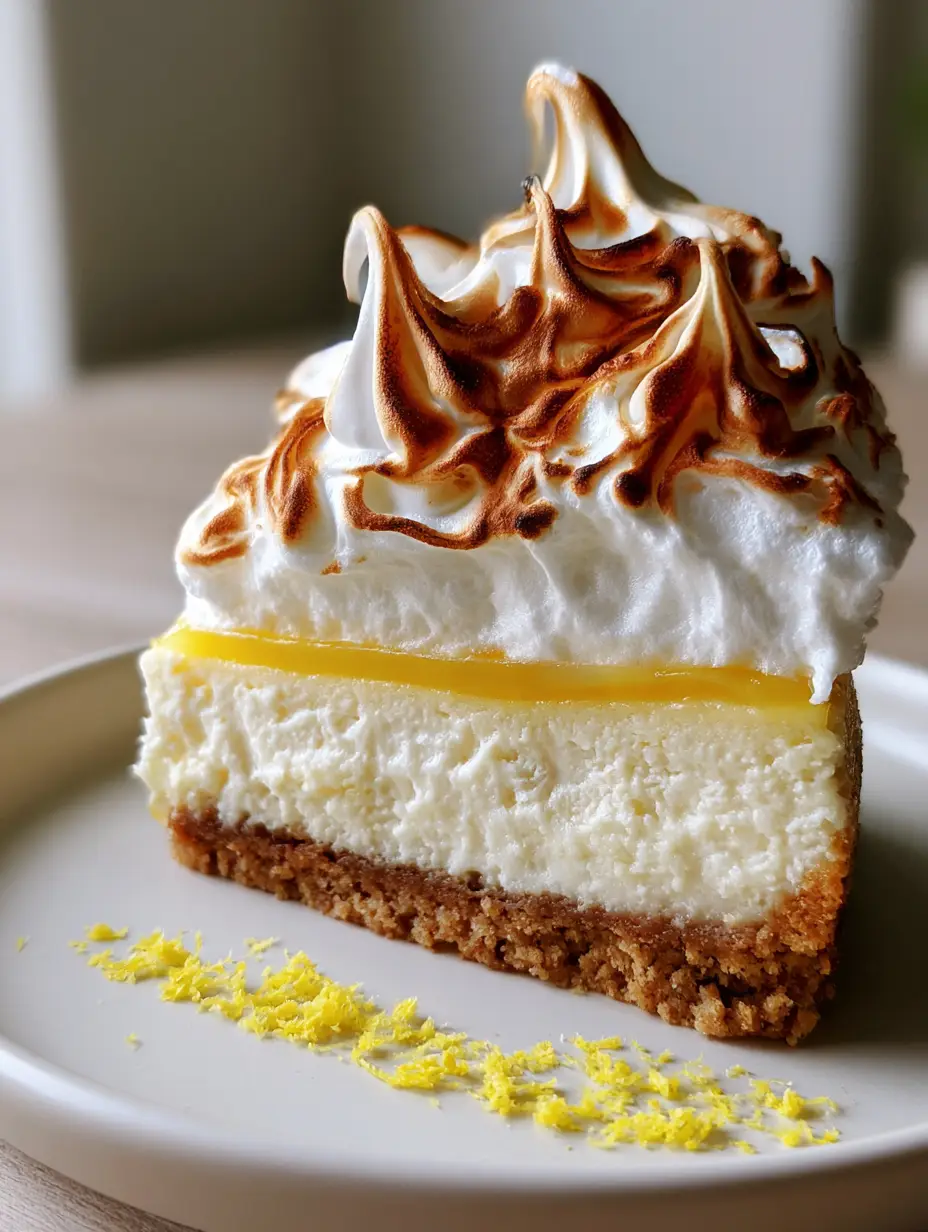
Lemon Meringue Cheesecake with Toasted Marshmallow Meringue
Ingredients
Equipment
Method
- Combine graham crumbs, sugar, and melted butter. Press into a 9-inch springform pan and bake at 350°F (175°C) for 10 minutes.
- Beat cream cheese and sugar until smooth. Fold in sour cream and vanilla. Add eggs one at a time on low speed.
- Bake in a water bath at 325°F (160°C) for 60-70 minutes. Chill for 6 hours.
- Whisk yolks, sugar, and lemon juice over medium-low heat until thickened. Whisk in cold butter and zest. Strain and spread over chilled cheesecake.
- Boil sugar and water to 240°F. Whisk whites and cream of tartar to soft peaks. Stream in hot syrup while whisking on high until stiff and glossy.
- Pile meringue 4 inches high. Torch the peaks until charred and amber. Garnish with micro-planed zest.
Notes
Use an Italian Meringue method to prevent weeping and ensure a marshmallow-like stability.
Closing & Call to Action
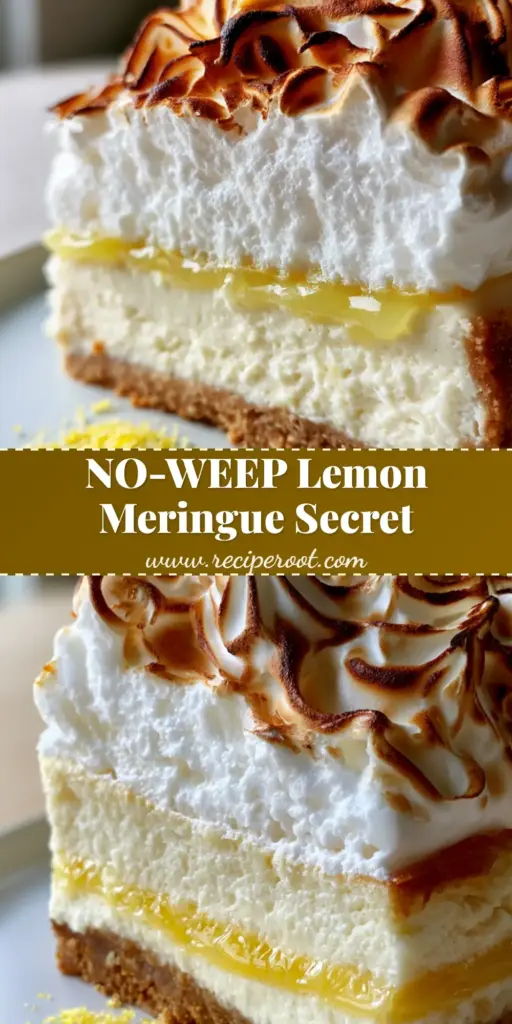
This lemon meringue cheesecake is more than just a recipe; it’s a celebration of culinary textures and bold, citrus flavors. By following these forensic visual cues and scientific techniques, you’ve created a dessert that looks like it stepped right out of a high-end food magazine.
We would love to see your 4-inch meringue peaks! Leave a comment below with your results, and don’t forget to sign up for our newsletter for more elite-level baking guides. If you loved this visual journey, please share this recipe to Pinterest so others can enjoy the ultimate lemon experience.


