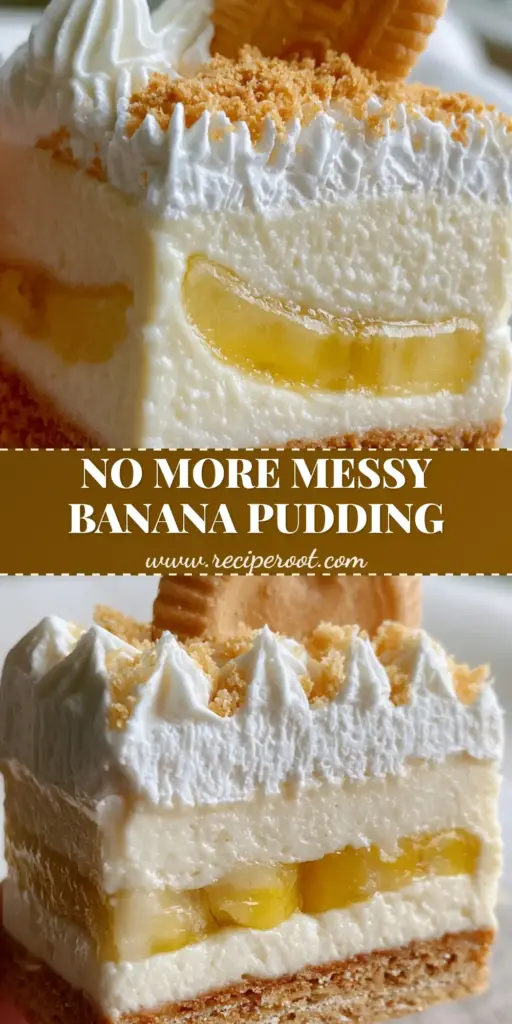
There is something undeniably nostalgic about the flavor profile of a classic southern dessert, but these banana pudding bars take that tradition and elevate it into a modern, handheld masterpiece. Unlike the traditional “slop-on-a-plate” pudding, these bars are designed for the host who values structural integrity as much as flavor. Imagine the crunch of a buttery crust meeting the silkiness of a cream cheese-infused pudding, topped with clouds of stabilized cream.
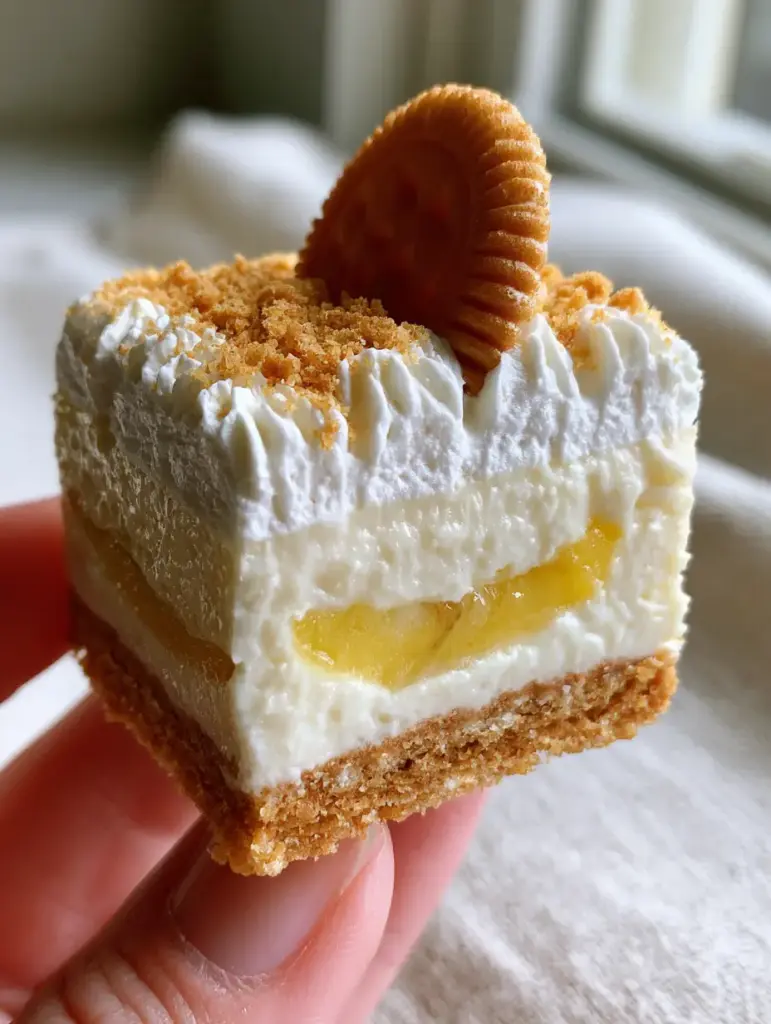
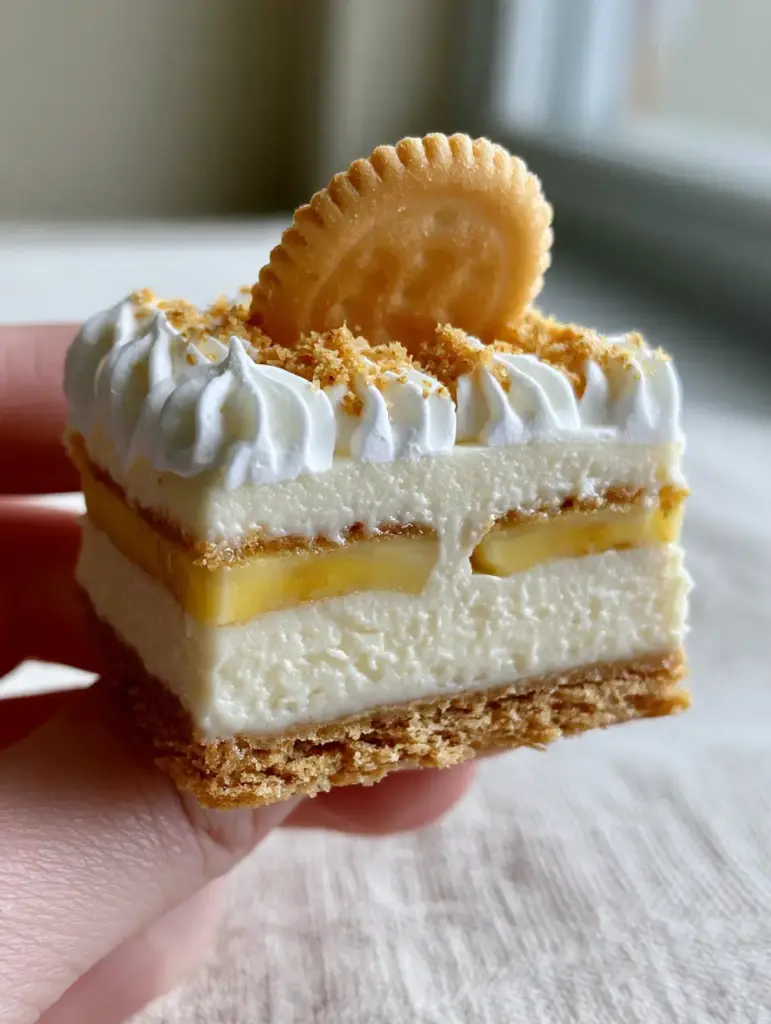
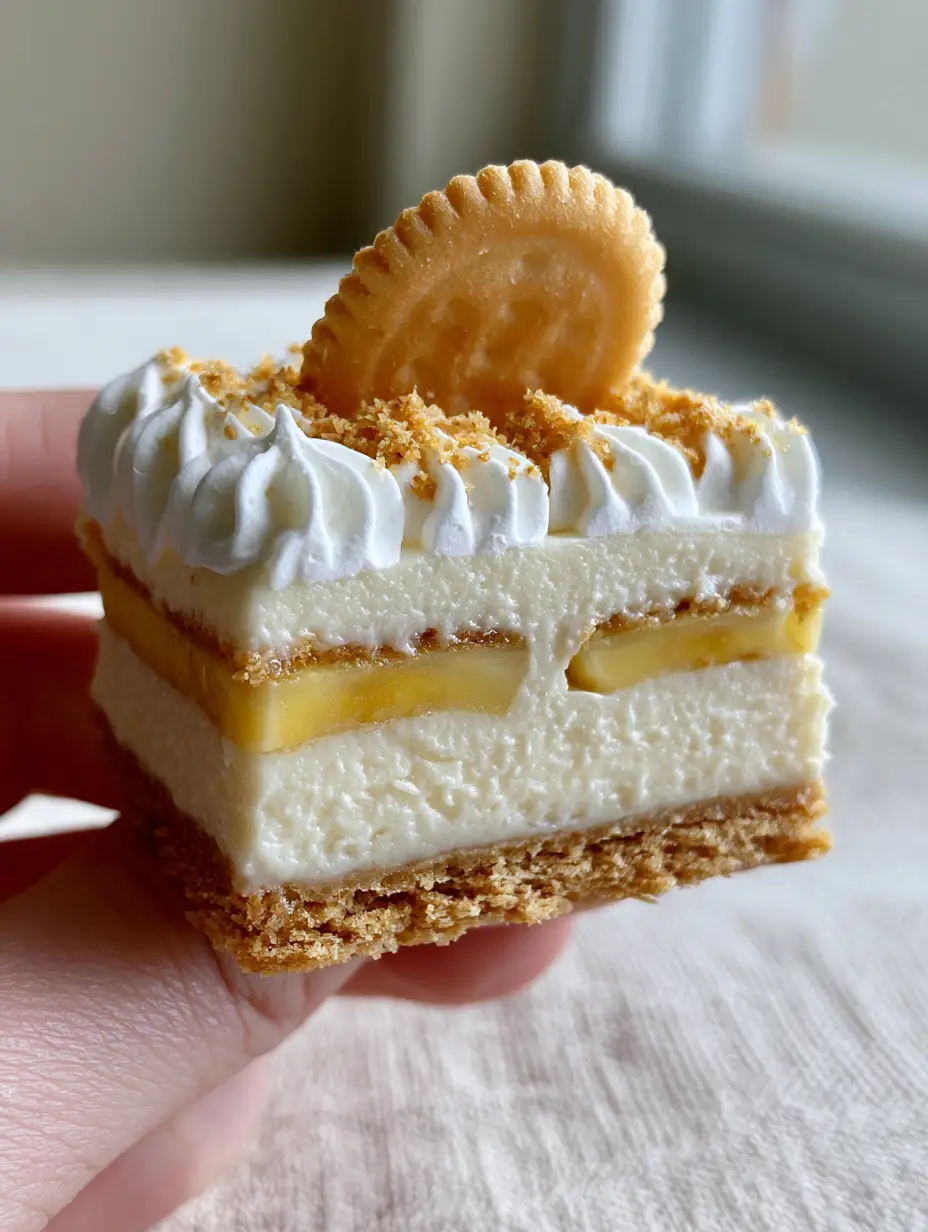
When you hold one of these thick, rectangular slices between your fingers, you’ll notice the four distinct, sharp layers that make this recipe a visual standout. We have meticulously engineered this recipe to ensure that your dessert looks exactly like a professional social media photo—no sagging, no weeping, and no messy edges. Whether you are prepping for a summer potluck or a sophisticated dinner party, this is the dessert that stops the scroll.
Achieving that dense, pale-ivory middle layer and the stiff-peaked whipped topping requires more than just mixing ingredients; it requires culinary precision. In this guide, we will walk through the forensic details of building these bars, from the golden-brown Nilla wafer foundation to the final dusting of fine cookie crumbs. Get ready to master the art of the perfect slice.
Why These Layered Banana Dessert Bars Are a Game Changer
- Structural Stability: Thanks to a fortified cream cheese base, these bars maintain clean, vertical edges even when held by hand.
- Textural Contrast: You get the crunch of the buttery Nilla wafer crust, the snap of fresh banana coins, and the velvet-smooth pudding in one bite.
- Make-Ahead Magic: This dessert actually improves with a 4-hour chill, making it the ultimate stress-free entertaining option.
- Visual Precision: Designed to mimic high-end bakery aesthetics with a whole wafer garnish and fine golden cookie dust.
- Portable Perfection: These are much easier to serve than a traditional creamy banana pudding bowl.
The Ultimate Shopping List for Thick Banana Pudding Bars
Nilla Wafers (12 oz / 340g): You will need one full box for the crust, the garnish, and that signature fine dust. These cookies provide the iconic vanilla-malt flavor that defines the dish.
Unsalted Butter (1/2 cup / 115g): Melted butter acts as the “glue” for your crust. It ensures the golden-brown base is firm enough to support the heavy layers above without crumbling.
Full-Fat Cream Cheese (8 oz / 225g): This is the secret to the “dense pale-ivory” texture. It provides the structural backbone that prevents the bars from sagging at room temperature.
Instant French Vanilla Pudding Mix (2 packages, 3.4 oz each): We use instant mix for rapid setting, but we combine it with heavy fats to avoid that “artificial” jiggly texture found in cheaper versions.
Whole Milk (2 cups / 480ml): Use cold milk to activate the starches in the pudding mix quickly. This creates the primary liquid base for our ivory layer.
Heavy Whipping Cream (2 cups / 480ml): Divided between the pudding and the topping. This adds the necessary richness and allows us to create those stiff, white peaks.
Fresh Ripe Bananas (4-5 large): Look for bright yellow bananas with just a few brown spots. They should be sweet but firm enough to slice into perfect “coins.”
Powdered Sugar (1/2 cup / 60g): Used to stabilize the whipped cream topping, ensuring it doesn’t weep or lose its shape over time.
Lemon Juice (1 tbsp / 15ml): A culinary “invisible” ingredient used to toss the banana coins. The acidity prevents oxidation, keeping your bananas bright yellow inside the layers.
Essential Tools for Clean Edges and Sharp Layers
To achieve the bakery-style look of these banana pudding bars, you need the right kit. A 9×13-inch (23x33cm) metal baking pan is preferred over glass because metal corners are typically sharper, leading to more uniform slices. You will also need parchment paper with enough “overhang” to act as a sling, allowing you to lift the entire chilled block out of the pan before cutting.
A food processor is vital for achieving the “fine cookie dust” garnish described in our visual blueprint. For the whipped topping, a stand mixer or electric hand mixer is required to reach the stiff-peak stage. Finally, a long, thin-bladed chef’s knife—dipped in hot water and wiped clean between every single cut—is the professional secret to those perfectly vertical, non-smudged edges.
Step-by-Step Blueprint for Handheld Banana Pudding Bars
1. Constructing the Foundation Crust
Preheat your oven to 350°F (175°C). Pulse 2.5 cups (approx. 250g) of Nilla Wafers in a food processor until they resemble coarse sand. Combine with 1/2 cup (115g) of melted butter and 2 tablespoons of sugar. Press this mixture firmly into the bottom of your parchment-lined pan. Bake for 8–10 minutes until it smells toasted and looks golden-brown; this “sets” the crust so it doesn’t get soggy under the pudding.
2. Whipping the Ivory Cream Cheese Layer
In a large bowl, beat the softened cream cheese until it is completely smooth and free of lumps. Slowly whisk in the cold milk and the instant pudding mixes. The mixture will become very thick. For that “dense ivory” look, fold in 1 cup of stiffly whipped cream. This aerates the pudding just enough to make it light on the tongue but heavy enough to hold its shape.
3. The Banana Coin Stratification
Peel your bananas and slice them into uniform 1/4-inch (6mm) coins. Toss them gently in lemon juice. Lay them in a single, tight layer over the cooled crust. If you like a more decadent bar, you can check out our banana pudding lush for a different layering technique, but for these bars, a single layer of coins ensures the best stability.
4. Sealing the Layers
Spread the cream cheese pudding mixture over the bananas. Use an offset spatula to push the pudding into the corners, ensuring no air pockets remain. The pudding should completely “seal” the bananas from the air to prevent browning. Smooth the top until it is perfectly level.
5. Achieving Stiff-Peaked Perfection
Whip the remaining heavy cream with powdered sugar and vanilla until very stiff peaks form. Spread this over the pudding layer. For the final touch, use the back of a spoon to create small decorative “swoops” or peaks. Chill the entire pan for at least 4 hours—this is the most critical step for achieving the “rectangular slice state.”
6. The Forensic Garnish
Just before serving, lift the bars out using the parchment sling. Dust the top with your reserved fine cookie crumbs. Place a whole Nilla wafer in the center of where each square will be cut. Using a hot, clean knife, slice into 12 or 15 even rectangles.
Pro Tips for Professional Results
- The Temperature Rule: Ensure your cream cheese is at room temperature before mixing, but your milk and heavy cream must be ice-cold. This ensures a smooth emulsion and a fast set.
- The Hot Knife Trick: For those “perfectly clean and vertical” edges, dip your knife in a tall jar of hot water and wipe it dry between every single slice. This melts the fats just enough to slide through without dragging the pudding.
- Banana Placement: Do not place bananas too close to the very edge of the pan. Keeping them 1/4 inch in helps the pudding “anchor” to the crust, preventing the layers from sliding apart.
- Cookie Dusting: Use a fine-mesh sieve to apply the cookie crumbs. This creates that elegant, misty look rather than clumpy chunks.
Creative Variations and Pairings
While these banana pudding bars are a standalone star, you can pair them with other Southern-inspired treats. For a summer spread, serve them alongside a chilled strawberry crunch banana pudding for a color contrast. If you prefer a more bite-sized approach for a large crowd, you might want to try making Nilla wafer banana pudding cups.
For those who love a bit of extra decadence, a drizzle of salted caramel over the whipped cream layer just before the cookie dust is applied adds a beautiful amber highlight. If you have leftover wafers, they are excellent when used as a base for banana pudding rice krispy treats.
Maintaining Freshness and Texture
Storage: These bars must be kept refrigerated. Because of the fresh bananas and dairy topping, they are best consumed within 48 hours. After 2 days, the bananas may begin to soften significantly, though they will still be safe to eat.
Freezing: While you can freeze these, the texture of the fresh bananas changes upon thawing (they can become watery). If you must freeze them, do so without the whipped cream topping and add the topping fresh before serving.
Frequently Asked Questions
Absolutely. Making them the night before allows the Nilla wafer crust to soften slightly into a cake-like texture while the pudding layers fully stabilize.
Yes, but you must ensure the homemade pudding is extra thick. Standard homemade pudding is often too soft for handheld bars; you may need to add extra cornstarch or gelatin for stability.
Toss your banana slices in a tablespoon of lemon juice before layering. Additionally, ensure the pudding layer completely covers and ‘seals’ the bananas to prevent air exposure.
Line your pan with parchment paper so you can lift the entire block out. Use a very sharp chef’s knife dipped in hot water and wiped clean between every single cut.
The bars likely haven’t chilled long enough. They require at least 4 hours (ideally 6) to allow the cream cheese and pudding to set firmly into a sliceable state.
The Ultimate Recipe for Banana Pudding Bars
Banana Pudding Bars: The Ultimate Recipe for Perfectly Sliced Layered Bliss
Ingredients
Equipment
Method
- Combine crushed wafers, melted butter, and sugar. Press into a lined 9x13 pan. Bake at 350°F (175°C) for 10 minutes. Cool completely.
- Beat cream cheese until smooth. Gradually add milk and pudding mix. Fold in 1 cup of whipped cream until dense and ivory-colored.
- Arrange banana coins over crust. Spread pudding over bananas. Top with remaining whipped cream (sweetened with powdered sugar).
- Chill for at least 4 hours. Before serving, garnish with whole wafers and cookie dust, then slice into rectangles.
Notes
Ensure the pudding layer completely covers the bananas to keep them from turning brown.
Share Your Layered Creations!
These banana pudding bars are designed to be the centerpiece of your dessert table. We would love to see your sharp layers and stiff peaks! If you make this recipe, please leave a comment below and tell us how they turned out. Don’t forget to follow us on Pinterest for more visually stunning dessert inspiration. Happy baking!