There is something inherently sophisticated about a perfectly executed individual dessert. These Mini Lemon Cheesecakes represent the pinnacle of citrus-forward baking, blending a high-impact visual aesthetic with a texture that is undeniably luxurious. If you have been searching for a dessert that feels like a lifestyle magazine feature but tastes like a professional patisserie creation, you have arrived at the right place.
The beauty of the Mini Lemon Cheesecakes lies in their precision. From the compressed, buttery golden-brown graham cracker foundation to the dense, pale yellow filling that sits absolutely level without a single crack, every element is designed for sensory perfection. We are moving away from the “puffy” home-style cheesecake and toward a silky, matte-finish masterpiece that is sturdy enough to hold between two fingers.
In this guide, we will explore the culinary science required to achieve that elusive flat top and the “melt-in-your-mouth” creaminess that defines a world-class cheesecake. Whether you are preparing for a bright summer gathering or a minimalist kitchen photoshoot, these treats are guaranteed to be the star of the show.
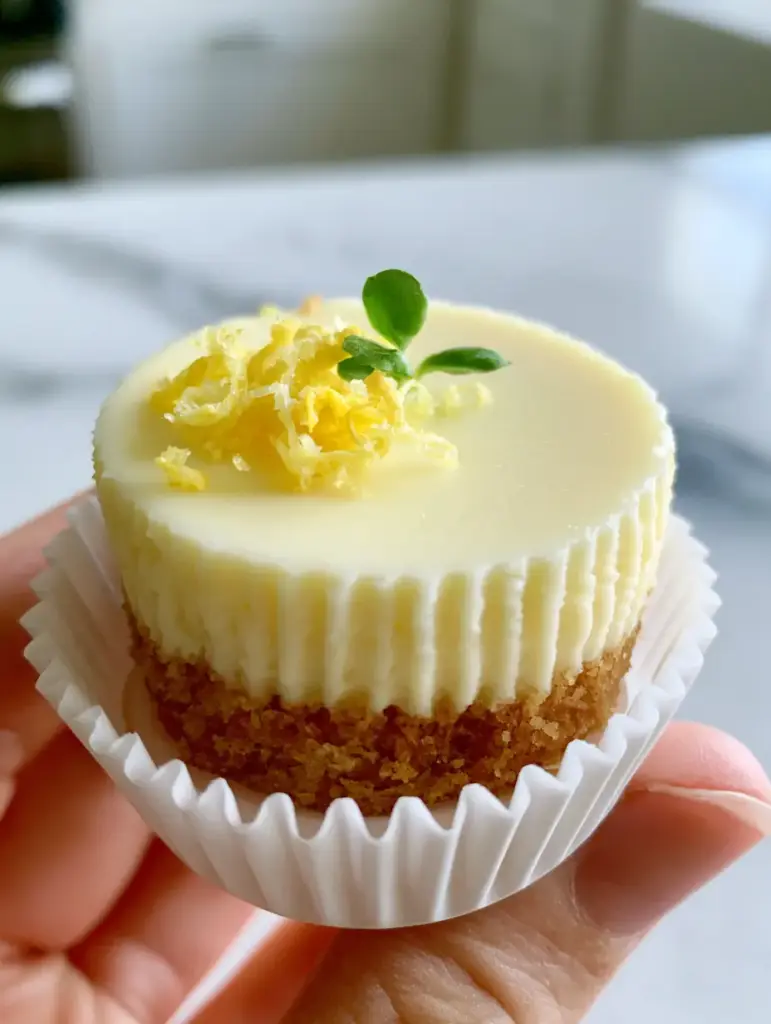
Why These Zesty Delights Are the Perfect Individual Treats
- Perfectly Portable: The thick, compressed graham cracker crust provides a sturdy base that makes these cheesecakes truly handheld.
- Silky, Crack-Free Texture: Using specific temperature controls, we achieve a dense, silky-smooth filling with a matte, level surface.
- Visual Contrast: The bright yellow lemon zest curls and vibrant green micro-mint leaf create a professional-grade garnish that pops against the white pleated paper liner.
- Balanced Flavor Profile: The sharp acidity of fresh lemon juice cuts through the rich, high-fat cream cheese for a refreshing finish.
The Anatomy of a Perfect Mini Lemon Cheesecake
Creating a cheesecake with zero cracks and a perfectly flat top isn’t magic; it is chemistry. Most bakers fail because they incorporate too much air into the batter, leading to a “soufflé” effect where the cheesecake rises and then collapses. To achieve the visual in our blueprint, we focus on minimal aeration and precise ingredient temperatures.
The crust must be more than just crumbs; it needs to be a “compressed foundation.” By using a flat-bottomed glass to press the buttery crumbs into the white paper liners, we create a structural anchor that prevents the filling from leaking and provides that satisfying snap when bitten into.
Finally, the garnish is not an afterthought. The bright yellow lemon zest curls provide essential aromatic oils that hit the palate before the first bite, while the micro-mint leaf adds a necessary touch of “vibrant green” to complete the color wheel.
Essential Ingredients for the Ultimate Citrus Filling
Full-Fat Cream Cheese: You will need 16 oz (450g) of high-quality cream cheese. It must be brought to true room temperature to ensure the batter becomes silky-smooth without the need for over-whipping.
Granulated Sugar: 2/3 cup (135g) of sugar provides sweetness and helps to break down the proteins in the cheese. This results in a dense, creamy texture rather than a fluffy one.
Large Eggs: 2 large eggs (approximately 100g) act as the binding agent. We add these last and mix on the lowest speed to avoid trapping air bubbles that cause cracks.
Fresh Lemon Juice and Zest: Use 3 tbsp (45ml) of freshly squeezed juice and 1 tbsp (6g) of zest for the batter. The acidity of the fresh juice is vital for the structural “set” of the cheesecake.
Heavy Cream: 1/4 cup (60ml) of heavy cream adds a layer of luxurious fat. This is the secret to achieving that “matte top surface” and a texture that feels like silk on the tongue.
Graham Cracker Crumbs: 1.5 cups (150g) of finely ground crumbs form our base. For a deeper flavor, look for honey-flavored crackers that complement the citrus notes.
Unsalted Butter: 5 tbsp (70g) of melted butter acts as the “glue” for our compressed foundation. Use unsalted to keep full control over the flavor profile.
The Garnishes: You will need one large lemon for the “zest curls” and a small container of micro-mint leaves. These tiny greens are more delicate than standard mint and offer a more refined visual.
Must-Have Tools for Professional Results
To achieve the level of precision seen in our handheld smartphone photo, you cannot rely on guesswork. A standard 12-cup muffin tin is essential, paired with high-quality white pleated paper liners. These liners are non-negotiable for the clean, “lifestyle photography” look we are targeting.
A flat-bottomed measuring cup or a small juice glass is required to compress the crust. This tool ensures the golden-brown graham cracker crumbs are packed tight and level. Additionally, a silicone spatula is preferred over a whisk to keep air out of the batter, ensuring that “zero crack” finish.
Finally, a channel knife or a sharp vegetable peeler is needed to create those delicate, bright yellow lemon zest curls. A microplane is great for the batter, but only a channel knife will give you the professional curls seen in the visual blueprint.
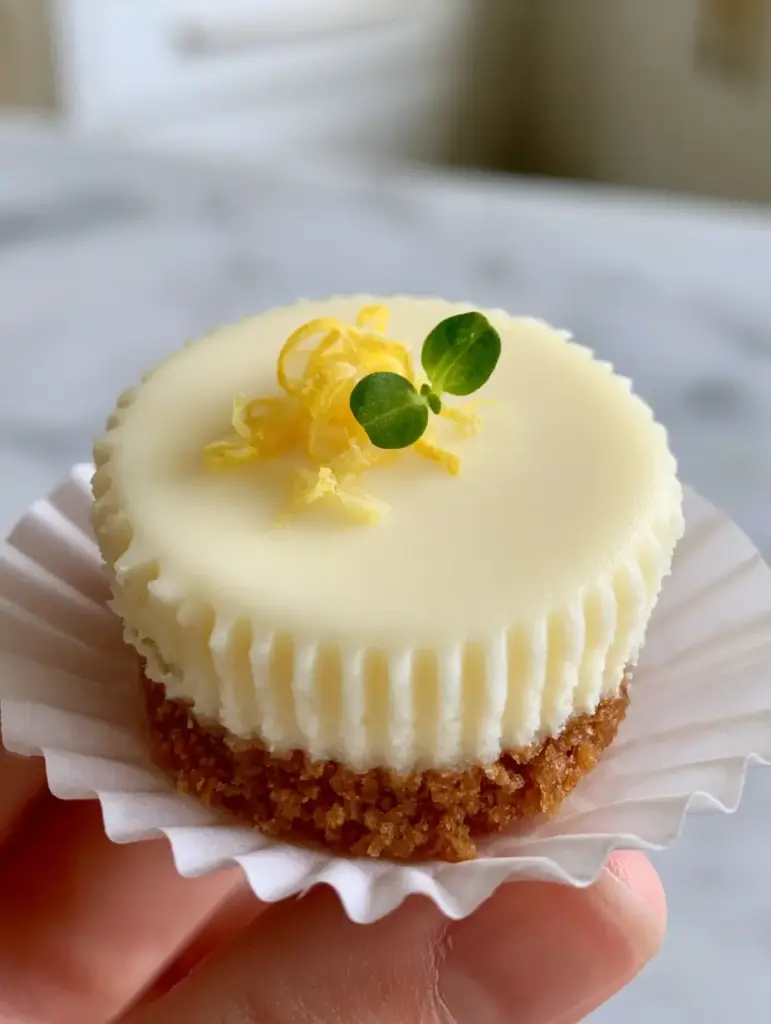
Step-by-Step Evolution of a Masterpiece
Creating the Compressed Graham Cracker Foundation
Preheat your oven to 325°F (163°C). Line your muffin tin with 12 white pleated paper liners. In a medium bowl, combine the 1.5 cups (150g) of graham cracker crumbs with 5 tbsp (70g) of melted butter and 1 tbsp (12g) of sugar.
Mix until the texture resembles wet sand. Distribute a rounded tablespoon of the mixture into each liner. Use the bottom of a small glass to press down firmly until the crust is a thick, compressed foundation. Bake for 5 minutes to set the crust, then remove and let cool completely.
Mixing the Silky Lemon Cheesecake Batter
In a large bowl, beat the 16 oz (450g) of room-temperature cream cheese and 2/3 cup (135g) of sugar until just combined and smooth. It is critical to use a slow speed; we want a dense, silky-smooth consistency, not a light and airy one.
Scrape down the sides of the bowl frequently. Add the 1/4 cup (60ml) of heavy cream, 3 tbsp (45ml) of lemon juice, 1 tbsp (6g) of lemon zest, and 1 tsp (5ml) of vanilla. Mix until the lemon zest is evenly distributed and the pale yellow color is uniform.
Achieving the Level, Matte Top Surface
Add the eggs one at a time, mixing on the lowest possible setting just until the yellow disappears. Over-mixing at this stage is the primary cause of cracks and doming. Pour the batter over the cooled crusts, filling each liner about 3/4 of the way up.
Lift the muffin tin about two inches off the counter and drop it flat several times. You will see small air bubbles rise to the surface and pop. This “tapping” technique is what ensures an absolutely level, matte top surface with zero cracks after baking.
The Precise Low-Temperature Bake
Bake at 300°F (150°C) for 16-18 minutes. The low temperature is the “Culinary Forensics” secret to the pale yellow color. The edges should be set, but the centers should still have a very slight jiggle when the pan is nudged.
Turn off the oven and crack the door open about an inch. Let the cheesecakes sit in the cooling oven for 10 minutes. This gradual temperature change prevents the cheesecake from shrinking away from the white pleated paper liner.
Expert Tips for Success
- Room Temperature is King: If your cream cheese or eggs are cold, you will get lumps. Lumps lead to over-mixing, and over-mixing leads to cracks.
- The Tap Test: Don’t be afraid to drop the pan on the counter before baking. Eliminating those “invisible” air bubbles is the only way to get a perfectly flat top.
- Zest Like a Pro: For the garnish curls, use a peeler to take a long strip of skin (avoiding the white pith), then slice it into paper-thin ribbons with a sharp knife.
- Chill for Integrity: These must chill for at least 4 hours (ideally overnight). This allows the proteins to fully set, making them sturdy enough to be held between two fingers.
The Science of Storage and Freshness
These Mini Lemon Cheesecakes are remarkably resilient if stored correctly. Keep them in an airtight container in the refrigerator for up to 5 days. The white paper liners help maintain moisture, but they can become soggy if the cheesecakes are kept in a humid environment for too long.
If you wish to freeze them, do so without the garnish. Place the chilled cheesecakes on a baking sheet to flash-freeze, then transfer to a freezer-safe bag for up to 3 months. Thaw in the refrigerator overnight before adding the fresh lemon zest curls and micro-mint leaf.
What to Serve With This Citrus Masterpiece
While these Mini Lemon Cheesecakes are a standout on their own, they thrive as part of a larger dessert spread. If you enjoy the format of individual servings, consider adding our classic mini cheesecakes or the decadent mini caramel cheesecakes to your menu for a variety of textures.
For those who love a citrus theme, these pair beautifully alongside a lemon meringue cheesecake for a “study in lemon” tasting plate. If you are hosting a larger event, the contrast of these zesty bites against the richness of chocolate chip cookie mini cheesecakes or the creamy texture of banana pudding cheesecakes creates a balanced and professional dessert bar.
Frequently Asked Questions
For the best flavor and structural set, fresh lemon juice is highly recommended. Bottled juice often has preservatives that can interfere with the cream cheese proteins.
Yes, they freeze beautifully. Flash-freeze them on a tray first, then store in an airtight container for up to 3 months. Garnish with fresh zest and mint only after thawing.
The secret is low-temperature baking and using a heavy cream addition in the batter. Also, ensure you do not fill the liners to the very brim; 3/4 full is ideal for a level finish.
Cracks are caused by air bubbles and over-baking. Use room temperature ingredients, mix on the lowest speed to avoid aeration, and tap the pan on the counter to release bubbles before baking.
Sinking usually happens when the batter is over-whipped, creating too much air that expands and then collapses. It can also occur if the cheesecakes are cooled too quickly.
The Perfect Mini Lemon Cheesecakes Recipe
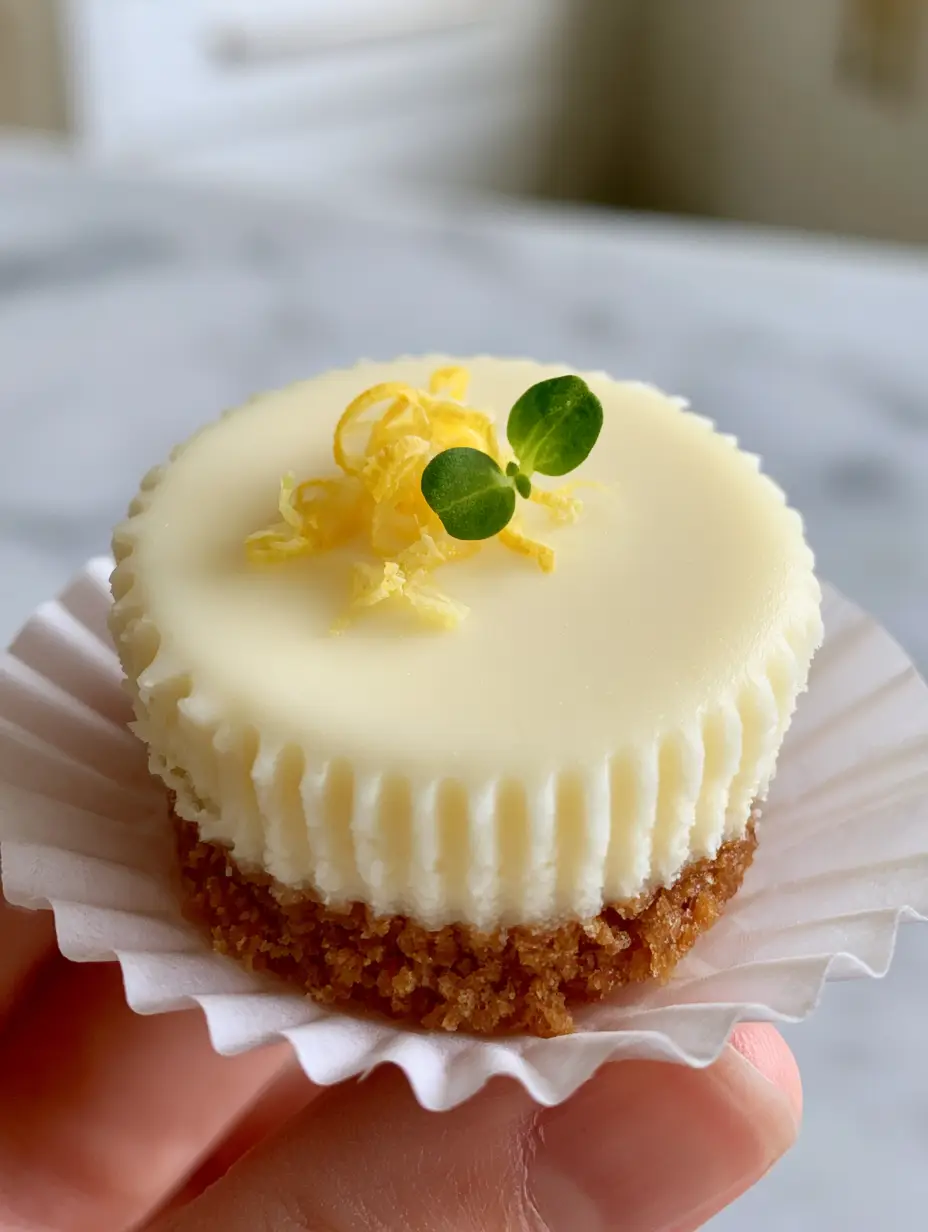
Mini Lemon Cheesecakes: The Ultimate Silky and Zesty Handheld Dessert
Ingredients
Equipment
Method
- Mix graham cracker crumbs, melted butter, and sugar until it reaches a wet sand consistency.
- Press into 12 white paper liners using a flat-bottomed glass to create a thick, compressed foundation. Bake at 325°F (163°C) for 5 minutes.
- Beat room temperature cream cheese and sugar on low speed until silky-smooth. Do not over-mix.
- Mix in heavy cream, lemon juice, zest, and vanilla. Add eggs one at a time on the lowest setting until just combined.
- Tap the pan firmly on the counter to remove air bubbles, ensuring a perfectly flat, matte top surface.
- Bake at 300°F (150°C) for 16-18 minutes until edges are set but the center has a slight jiggle.
- Cool in a cracked oven for 10 minutes, then refrigerate for at least 4 hours before garnishing with lemon curls and micro-mint.
Notes
Tap the muffin tin on the counter before baking to prevent air bubbles and cracks.
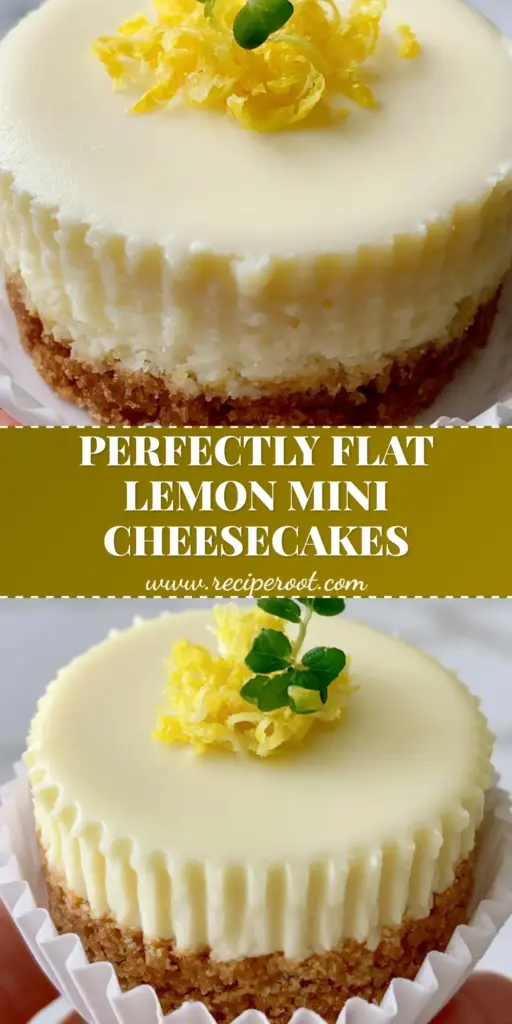
Join the Community of Home Patissiers
Mastering the Mini Lemon Cheesecakes is a rite of passage for any serious home baker. The combination of the thick graham cracker crust and the silky lemon filling creates a sensory experience that is as rewarding to make as it is to eat. Once you’ve achieved that perfectly flat, crack-free top, you’ll never go back to basic recipes again.
We would love to see your results! Share a photo of your handheld masterpiece and tag us. Don’t forget to follow our Pinterest for more visually stunning recipe inspiration and professional baking tips. Leave a comment below if you have any questions about the techniques used in this recipe!


