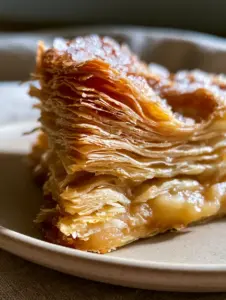
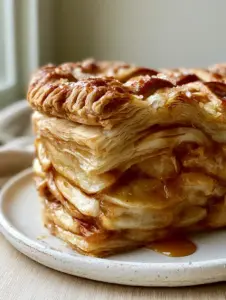
There is a specific, primal satisfaction that comes from the sound of a fork shattering through dozens of razor-thin layers of golden-brown pastry. When we talk about Classic pie recipes, we aren’t just talking about dessert; we are talking about the architectural feat of cold butter lamination meeting glistening cinnamon-spiced fruit. This is the pie that stops the room.
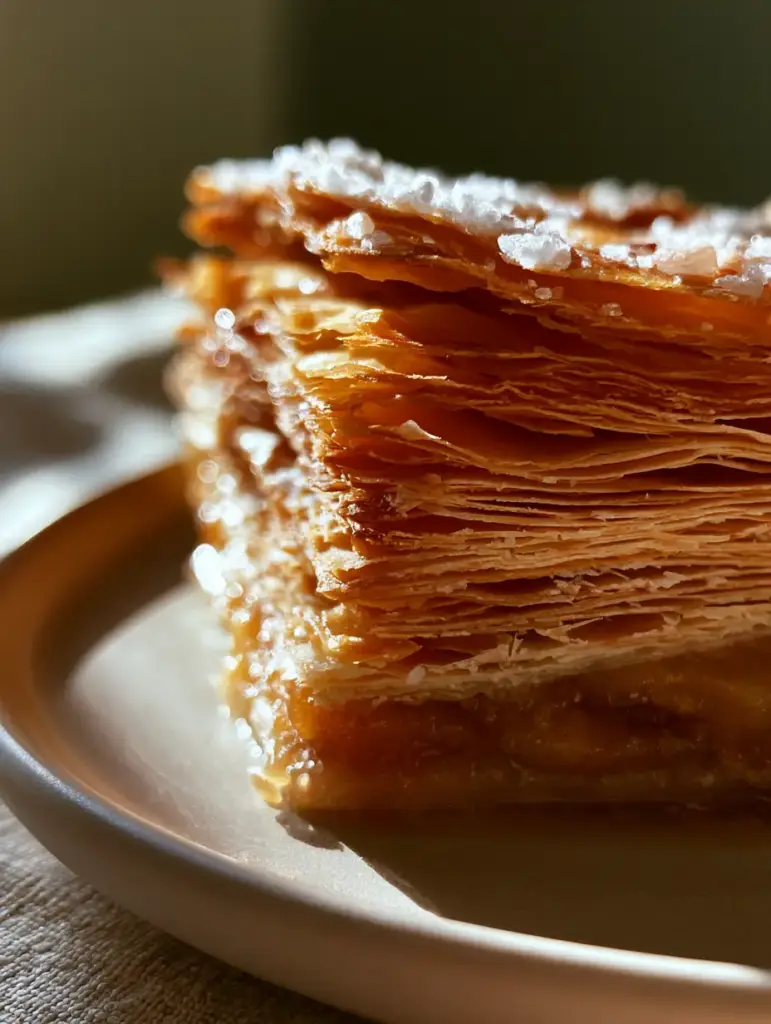
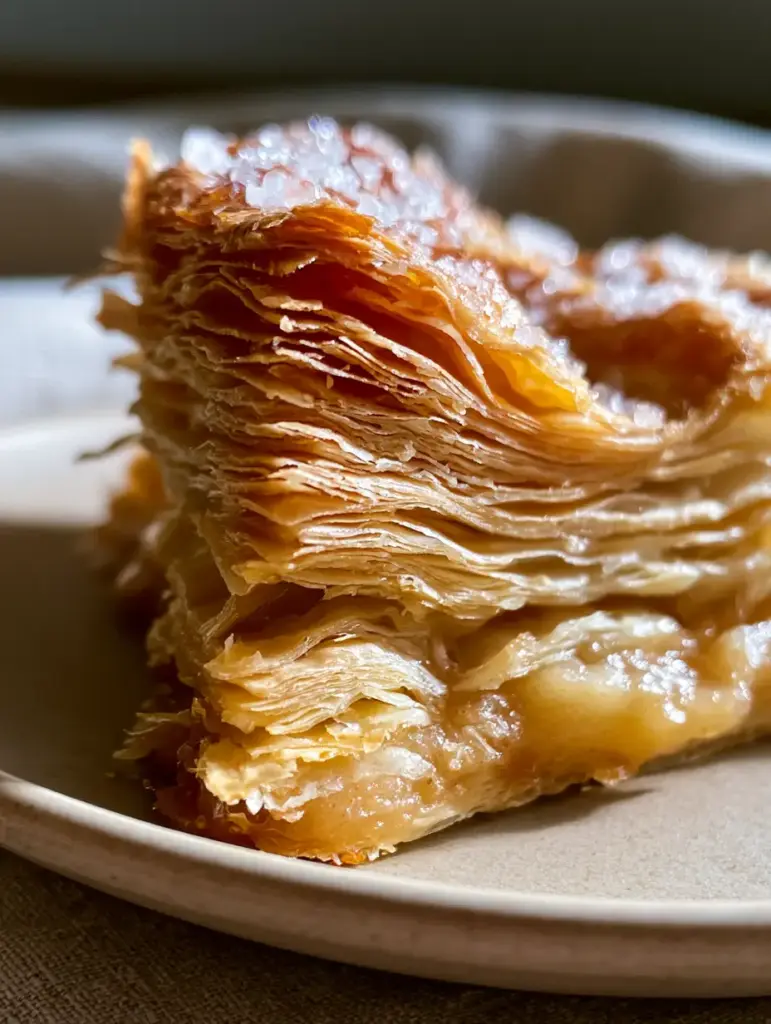
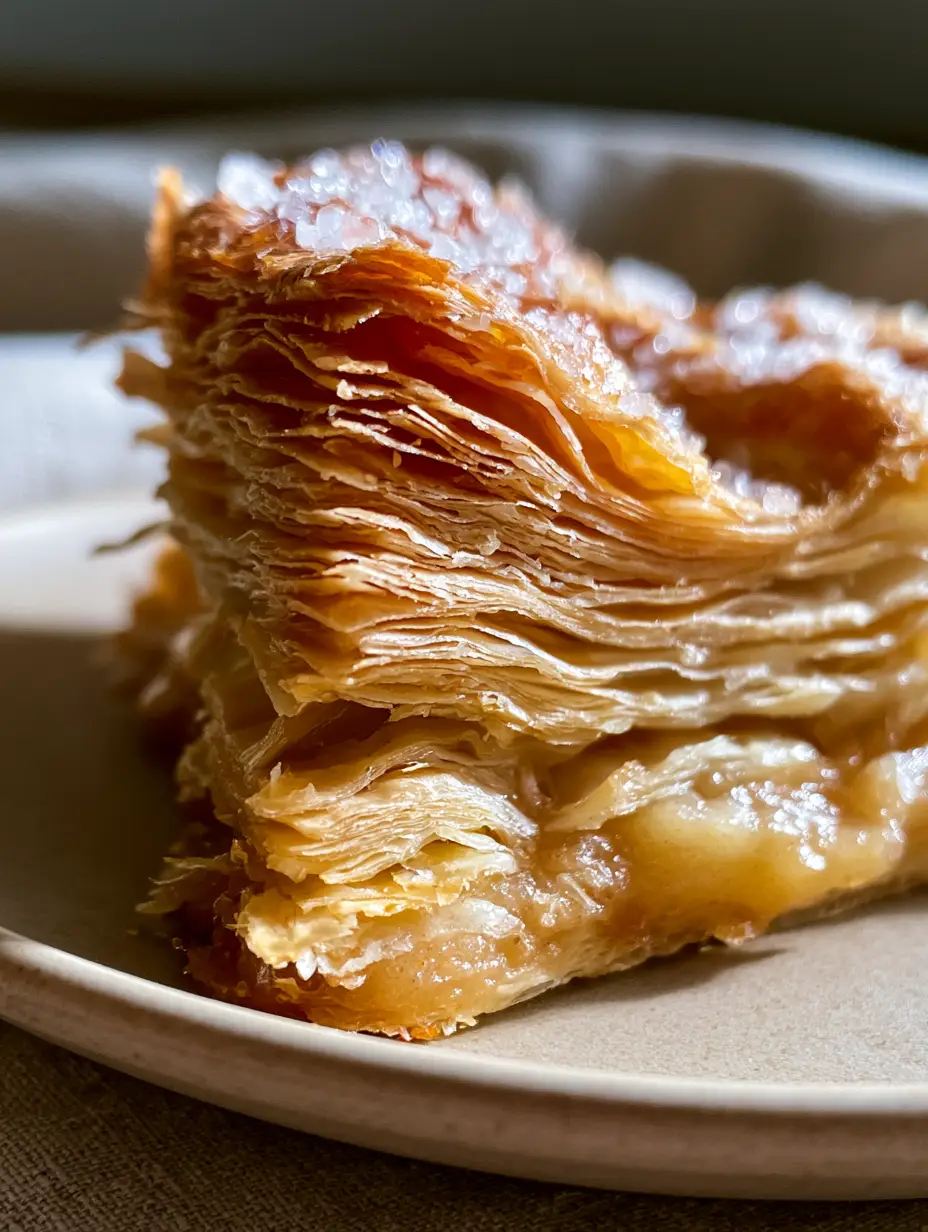
The secret to the visual masterpiece you see in our blueprint—that towering stack of crust that looks more like a croissant than a standard shortcrust—lies in the forensic precision of your technique. We are moving beyond simple “cutting in butter” to a method that ensures every bite is a crisp, shattered shard of buttery heaven. This recipe delivers a deep-dish profile with a glossy filling that stays put, never soaking into the base.
Whether you are a seasoned baker or a newcomer looking to master the art of the perfect slice, this guide will walk you through the science of the “shatter” and the geometry of the “stack.” Prepare your ceramic plates; it’s time to bake a legend.
Why This Laminated Apple Pie Outperforms All Other Classic Pie Recipes
- Extreme Lamination: By utilizing a specific folding technique, we create hundreds of distinct, paper-thin layers that puff significantly in the oven’s heat.
- Shatter-Crisp Texture: The combination of high-fat European butter and a final dusting of coarse sugar crystals results in a crust that is loud, crisp, and never soggy.
- Glistening Fill-Stability: We use a dual-thickening method to ensure the cinnamon apple filling is glossy and vibrant, rather than cloudy or runny.
- Visual Forensics: From the dusting of flour on the edge to the crystalline salt flakes on top, this pie is designed for the ultimate “smartphone photo” aesthetic.
The Essential Components for a Towering Pastry Stack
To achieve the result expected of elite Classic pie recipes, your ingredient selection is the most critical step. We aren’t just looking for taste; we are looking for the chemical reactions that cause the pastry to lift and separate into those razor-thin shards.
All-Purpose Flour (315g / 2 ½ cups): This provides the necessary protein structure to hold the lamination without becoming tough or bread-like. Always keep a little extra for that final dusting of flour on the edge of the plate for a rustic, bakery-style finish.
Unsalted European-Style Butter (226g / 1 cup / 2 sticks): European butter has a higher fat content and lower water content, which is vital for creating the “shattered” effect. It must be ice-cold to ensure it creates steam pockets rather than melting into the flour prematurely.
Ice Water (60ml – 120ml / ¼ to ½ cup): Water binds the dough, but the temperature is non-negotiable. Cold water prevents the butter from softening, which is the number one enemy of a flaky crust.
Granulated Sugar (200g / 1 cup): Used in the filling to macerate the apples, drawing out the moisture to create that glistening, syrupy glaze.
Granny Smith & Honeycrisp Apples (1.5kg / ~3 lbs): A blend of apples ensures a balance of tartness and sweetness, while maintaining a structural “bite” that doesn’t turn to mush during the bake.
Ground Cinnamon & Nutmeg: These provide the aromatic warmth that characterizes the most nostalgic grandma’s best pie recipes.
Cornstarch (30g / ¼ cup): The invisible hero that thickens the juices into a glossy, thick filling that won’t soak into your bottom crust.
Coarse Turbinado Sugar & Flaky Sea Salt: These are the “jewels” on the top edge that provide a crystalline texture and catch the natural morning light in your photos.
Professional Tools for a Bakery-Quality Finish
You cannot achieve extreme lamination with your bare hands alone; the heat from your palms will ruin the butter. To reach the gold standard of Classic pie recipes, you need a few specific tools.
A heavy marble or wooden rolling pin is essential for applying even pressure during the lamination folds. You will also need a 9-inch ceramic pie plate, which conducts heat more evenly than glass, ensuring the base is baked to a crisp state without burning.
Finally, keep a pastry brush nearby for the egg wash. This is what creates that deep golden-brown hue and acts as the “glue” for your coarse sugar crystals and salt flakes. If you enjoy these technical bakes, you might also find the precision of a perfect cinnamon roll recipe quite rewarding.
The Science of Lamination: Step-by-Step Instructions
Step 1: The Rough-Puff Base
In a large chilled bowl, combine your flour and a pinch of fine salt. Take your ice-cold butter and cut it into ½ inch (1.25cm) cubes. Toss the butter in the flour until every cube is coated.
Using a pastry cutter, break the butter down until the largest pieces are the size of walnuts. Do not overwork it! You want visible chunks of butter to remain. Drizzle in the ice water one tablespoon at a time, tossing with a fork until the dough just holds together when squeezed.
Step 2: The Lamination Folds (The Secret to the Towering Stack)
Turn the shaggy dough onto a floured surface. Roll it into a long rectangle. Fold the top third down to the center, and the bottom third up over it—like a letter. Turn the dough 90 degrees and repeat this process two more times.
This “letter folding” creates the distinct, razor-thin golden-brown flaky layers seen in our visual blueprint. Wrap the dough tightly in plastic and chill for at least 2 hours. This rest period allows the gluten to relax and the butter to re-harden.
Step 3: Crafting the Glistening Apple Filling
Peel, core, and slice your apples into ¼ inch (0.6cm) wedges. In a large bowl, toss them with sugar, cinnamon, nutmeg, and a squeeze of lemon juice. Let them sit for 30 minutes.
Drain the accumulated juices into a small saucepan and simmer until reduced by half. Whisk this syrup back into the apples along with the cornstarch. This technique creates a thick, glossy apple filling that clings to the fruit rather than pooling at the bottom of the dish.
Step 4: Assembly and Architectural Integrity
Roll out your bottom crust and drape it into the ceramic plate. Fill with the apple mixture, mounding them slightly in the center. Roll out the top crust and place it over the apples, crimping the edges tightly to seal.
Brush the entire top with a beaten egg wash (one egg plus a tablespoon of water). This is the key to the “baked crisp state” we are aiming for. Generously sprinkle the coarse sugar crystals and flaky sea salt over the top edge.
Step 5: The High-Heat Bake
Start your bake at 425°F (218°C) for the first 20 minutes. This initial blast of heat causes the water in the butter to evaporate instantly, forcing the pastry layers upward to create that massive, towering stack. Lower the heat to 375°F (190°C) and bake for another 40-50 minutes.
Visual Cue: The crust should be a deep, mahogany golden-brown, and the filling should be bubbling through the vents like molten lava. If the edges brown too quickly, shield them with foil.
Expert Tips for Success with Classic Pie Recipes
- Keep it Frigid: If at any point the dough feels soft or the butter looks greasy, put it back in the freezer for 10 minutes. Cold butter equals flaky layers.
- The Flour Dusting: For the most professional presentation, use a fine-mesh sieve to add a tiny dusting of flour on the edge of the plate just before serving. It highlights the “fresh from the oven” feel.
- Avoid the Soggy Bottom: Always bake on the lowest rack of the oven. This ensures the bottom of the ceramic plate gets enough direct heat to crisp the base before the apples release all their steam.
- Resting is Required: You must let the pie cool for at least 4 hours. Cutting into a hot pie is the fastest way to turn a glistening filling into a runny mess.
Storage, Reheating, and Make-Ahead Advice
This pie is at its peak the day it is baked, especially for that “shattered” crust texture. However, you can store leftovers at room temperature, covered loosely with foil, for up to 2 days. For longer storage, refrigerate for up to 5 days.
To reheat and restore the crisp state, place a slice in a 350°F (175°C) oven for 10 minutes. Avoid the microwave, as it will turn those towering, razor-thin layers into a soft, chewy disappointment. If you find yourself with extra apples, they also make a great addition to chunky monkey overnight oats for a breakfast twist.
What to Serve With This Classic Apple Pie
A slice of this caliber deserves a companion that doesn’t distract from the texture. A simple scoop of high-quality vanilla bean ice cream is the gold standard. The cold cream melting into the warm, shattered shards of pastry is a sensory experience unlike any other.
If you are hosting a larger dessert spread, consider pairing this with other artisanal treats like Joanna Gaines chocolate chip cookies or a light, refreshing no-bake lemon pie to balance the richness of the cinnamon and butter. For a classic comfort duo, you can’t go wrong with a side of homemade banana pudding.
Frequently Asked Questions
While you can, you will not achieve the ‘towering stack’ of razor-thin layers shown here. Store-bought crusts lack the high-fat content and the manual lamination folds required for this specific visual result.
Bake the pie on the lowest rack of the oven and use a ceramic pie dish. Ceramic conducts heat evenly to the base, ensuring the bottom crust crisps up before the fruit releases its moisture.
A mix is best. Granny Smith provides tartness and holds its shape, while Honeycrisp adds sweetness and a pleasant ‘bite’ that doesn’t turn to mush.
Salt is a flavor enhancer. The flaky sea salt on the top edge balances the sweetness of the glistening cinnamon apples and provides a crystalline crunch that makes the crust pop.
This usually happens if the butter was too warm. If the butter melts into the flour before baking, you get a shortbread texture rather than layers. Always use ice-cold butter and perform the lamination folds.
The Ultimate Towering Flaky Apple Pie Recipe
[Image-Pin]
Classic pie recipes: The Secret to a Massive, Towering Flaky Apple Pie
Ingredients
Equipment
Method
- Toss ice-cold butter cubes into flour and salt. Use a pastry cutter to break down until walnut-sized chunks remain.
- Roll dough into a rectangle and perform three letter folds (top down, bottom up) to create layers. Chill for 2 hours.
- Toss sliced apples with sugar and spices. Drain juices, reduce in a pan, and whisk back in with cornstarch.
- Place bottom crust in ceramic plate, mound apples, and cover with top crust. Crimp edges tightly.
- Brush with egg wash and sprinkle coarse sugar and salt. Bake at 425°F (218°C) for 20 minutes to puff the layers.
- Reduce heat to 375°F (190°C) and bake for 40-50 minutes until mahogany brown and glistening.
Notes
Let the pie rest for 4 hours after baking to allow the glossy filling to set properly.
[Image-Pin-2]
Closing & Call to Action
Mastering Classic pie recipes is a rite of passage for every home cook. The effort you put into the cold butter lamination and the precise folding will be rewarded the moment you see those towering, golden-brown layers emerge from the oven. This isn’t just a pie; it’s a testament to the beauty of culinary science and patient technique.
Did your crust achieve the “shatter” effect? We want to see your results! Leave a comment below or share your photos with us. Don’t forget to pin this recipe to your favorite boards on Pinterest so you can find it every time apple season rolls around!
[Image-Pin-3]