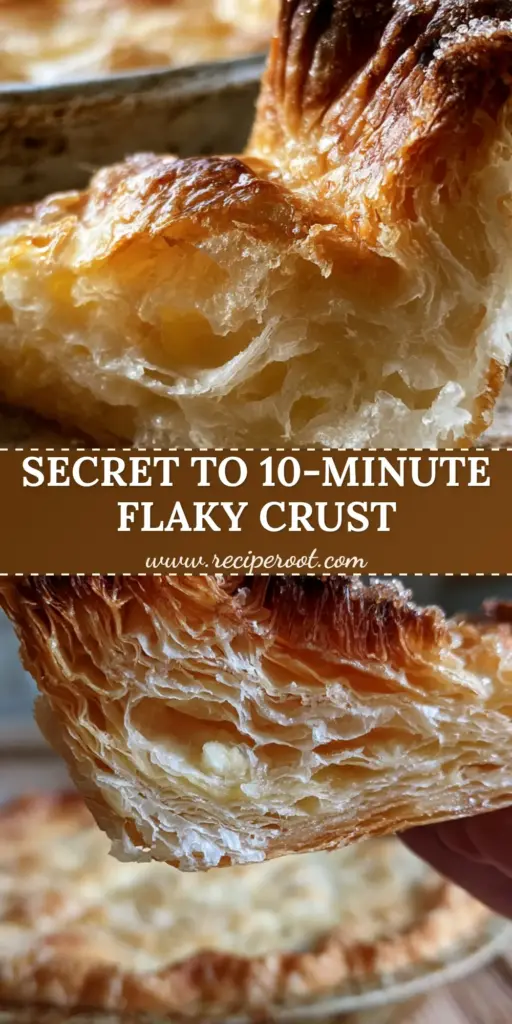
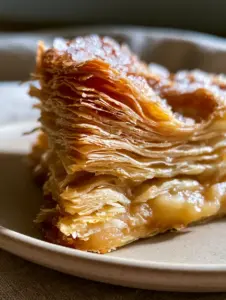
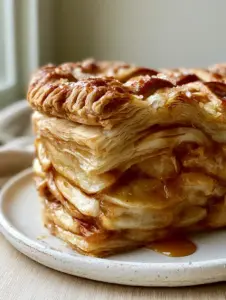
There is a specific, hauntingly beautiful sound that accompanies the first bite of Grandma’s best pie recipes. It is the distinct, audible “shatter” of dozens of paper-thin pastry layers giving way under a fork. This isn’t just a dessert; it is a culinary architecture project built on the foundations of temperature control and patience.
If you have ever stared at a professional food photograph and wondered how they achieve those visible air pockets and toasted, dark golden ridges, you are in the right place. We are going beyond the basic instructions to explore the forensic details of the perfect crust. From the unmelted pearls of chilled butter to the light dusting of white flour on a weathered farmhouse table, every element serves a purpose.
Creating the ultimate pie requires more than just a list of ingredients. It requires an understanding of how fat and flour interact under the pressure of heat. Today, we are recreating that nostalgic, vintage aesthetic—think rustic hand-crimped borders and coarse sparkling sugar—paired with the scientific precision of a modern pastry chef.
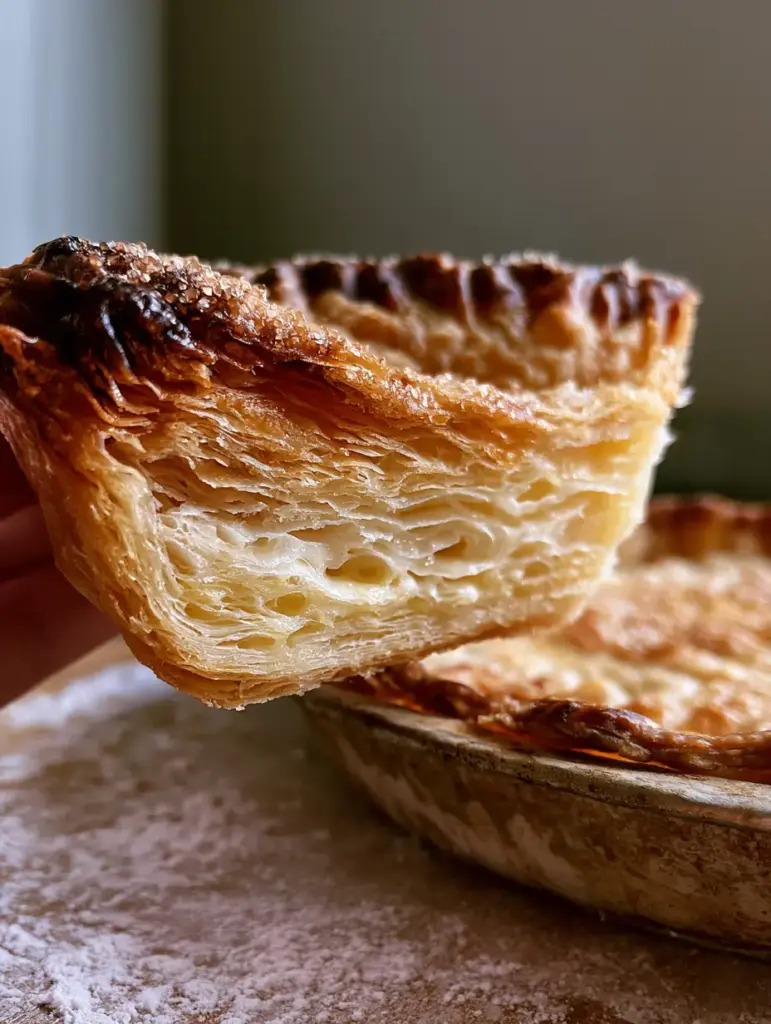
The Anatomy of the Perfect Shattered Pastry Layer
When we talk about Grandma’s best pie recipes, we are specifically highlighting the structural integrity of the crust. A superior crust must be sturdy enough to hold a dense fruit or custard filling, yet delicate enough to dissolve into flakes the moment it hits your tongue.
- The Shatter Factor: Achieving dozens of distinct layers requires keeping the butter in “pearls” rather than fully incorporating it into the flour.
- Visual Texture: A rustic, hand-crimped border isn’t just for looks; those dark golden ridges provide a structural “frame” that prevents the sides from collapsing.
- The Sugar Crunch: A generous dusting of coarse sparkling sugar provides a necessary textural contrast to the soft, buttery pastry beneath.
- Golden-Brown Perfection: We utilize a high-heat initial blast to “set” the steam vents in the pastry, ensuring those air pockets remain open and visible.
Foundational Ingredients for an Intensely Flaky Crust
To achieve the result seen in Grandma’s best pie recipes, you cannot simply grab any butter from the fridge. Every ingredient must be curated for its moisture content and temperature-retaining properties.
All-Purpose Flour: 2 ½ cups (315g)
This provides the protein structure necessary to create those “paper-thin shattered layers” without becoming overly tough. Always sift your flour to ensure a light dusting is possible during the rolling process.
Unsalted High-Fat Butter: 1 cup (225g)
Use European-style butter if possible, as it has a lower water content. You must keep this “ice-cold” and cut it into small, pea-sized chunks to create the “chilled butter pearls” visible in the raw dough.
Ice Water: ½ cup (120ml)
Water is the hydrating agent that binds the dough, but it must be near freezing. This prevents the butter pearls from melting before the pie enters the oven, which is the secret to those visible air pockets.
Fine Sea Salt: 1 tsp (6g)
Salt is the ultimate flavor enhancer that cuts through the richness of the fats. It also helps to tighten the gluten strands slightly, providing better “snap” to the baked dough.
Coarse Sparkling Sugar (Demerara): 2 tbsp (25g)
This is used strictly for the topping. It doesn’t melt in the oven, providing that “sparkling” visual and a delightful crunch against the hand-crimped toasted edges.
Apple Cider Vinegar: 1 tsp (5ml)
A professional secret for Grandma’s best pie recipes. The acid inhibits gluten development, ensuring the crust remains tender and flaky rather than bread-like or chewy.
Essential Tools for a Vintage Farmhouse Result
Achieving the side profile of a perfect pie slice requires the right equipment. To mimic the “vintage tin pie pan” look and the “rustic wooden surface” prep, you will need a few specific items.
First, a 9-inch (23cm) vintage-style metal pie tin is superior to glass for heat conduction. Metal heats up faster, which is critical for shocking the butter and creating steam. You will also need a tapered French rolling pin to maintain control over the thickness of the dough, ensuring it is thin enough to produce “shattered layers.”
A pastry blender or two knives will help you maintain those “unmelted pearls of chilled butter.” Avoid using a food processor if you want the “handheld smartphone photo” quality of a rustic crust, as machines often over-process the fat into the flour.
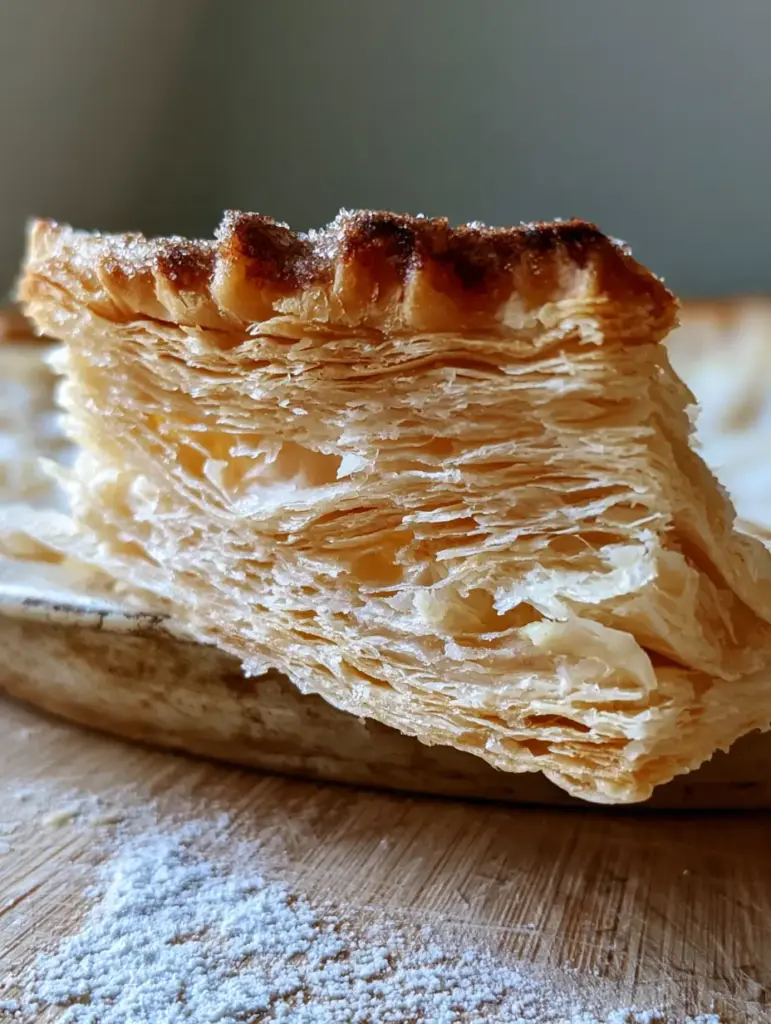
Step-by-Step: Engineering the Shattered Crust
Phase 1: The Cold-Fat Integration
In a large chilled bowl, whisk your flour and salt together. Add the “ice-cold” cubed butter. Using a pastry cutter, press into the butter until the largest pieces are the size of peas, but leave many “pearls” the size of blueberries. You should see distinct chunks of fat; this is what creates the air pockets later.
Phase 2: Hydration and Shingling
Slowly drizzle in your ice water and vinegar. Use a fork to toss the mixture—do not knead. When the dough just starts to come together but still looks a bit “shaggy,” turn it out onto a “flour-dusted wooden farmhouse table.” Gently fold the dough over itself three times; this “shingling” technique creates the dozens of distinct layers you see in the side profile of the slice.
Phase 3: The Chill and Roll
Divide the dough, wrap in plastic, and chill for at least 2 hours. This allows the flour to fully hydrate and the butter pearls to re-firm. When rolling out, use “soft natural morning light” to check your work. You should see visible streaks of butter through the dough. Roll to about 1/8 inch (3mm) thickness.
Phase 4: Hand-Crimping and Finishing
Drape the dough over your “weathered, vintage tin pan.” Trim the overhand to one inch. Fold the edge under itself and use your thumb and forefinger to create a “thick, rustic hand-crimped border.” Brush the edges with a light egg wash and sprinkle heavily with “coarse sparkling sugar.”
Phase 5: The High-Heat Blast
Bake at 425°F (220°C) for the first 15 minutes. This “shocks” the butter pearls, turning their water content into steam instantly. This steam is what forces the dough apart into those “paper-thin shattered layers.” Lower the heat to 375°F (190°C) to finish cooking until the ridges are “toasted and dark golden.”
Professional Tips for Pastry Success
- Keep it Cold: If the butter starts to feel soft at any point, put the dough back in the freezer for 10 minutes. Warm butter equals a leaden, greasy crust.
- Don’t Over-Mix: The “shaggy” look is your friend. If the dough looks perfectly smooth, you’ve developed too much gluten.
- The Window Test: When rolling, hold a piece of dough up to the light. You should see “visible air pockets” and translucent patches where the butter is embedded.
- Use a Shield: If your “hand-crimped edges” are browning too fast, use a pie shield or aluminum foil to protect them while the bottom finishes.
The Best Fillings for Shattered Crusts
While the crust is the star of Grandma’s best pie recipes, the filling must complement the texture. If you are looking for more inspiration, check out our classic pie recipes for traditional fruit fillings. For something creamier that contrasts beautifully with a flaky base, a banana pudding cheesecake style filling can be adapted for a pre-baked shell.
If you prefer a no-bake option during the summer months, our no-bake lemon pie is a refreshing alternative, though it won’t have the “shattered layers” of this traditional baked pastry. For those who love the “sparkling sugar” aesthetic on other treats, try our salted brownie crinkle cookies.
Storing and Reheating Your Pie
To maintain the “intensely flaky” texture, store the pie at room temperature for up to 2 days, covered loosely with a clean kitchen towel. Avoid plastic wrap, as it traps moisture and turns the “shattered layers” soggy.
To reheat and restore the “toasted, dark golden ridges,” place a slice in a 350°F (175°C) oven for 5-8 minutes. Avoid the microwave at all costs, as it will melt the fat structure and ruin the air pockets Grandma worked so hard to create.
Frequently Asked Questions
While possible, a food processor often breaks the butter down too much. For ‘shattered layers,’ it is best to use a pastry blender or your hands to keep the fat chunks large enough to create steam pockets.
Use an egg wash for shine and bake in a vintage tin pan for even heat. If the ‘hand-crimped ridges’ darken too quickly, cover the edges with a pie shield or foil for the final 20 minutes.
Start with a high-heat ‘blast’ at 425°F (220°C) and use a metal tin. This sets the bottom crust quickly before the filling moisture can soak into the dough.
The acid in apple cider vinegar helps tenderize the dough by breaking down gluten strands. It doesn’t affect the flavor but significantly improves the ‘shatter’ texture of the pastry layers.
Toughness is usually caused by over-mixing, which develops too much gluten. To keep it flaky, ensure you have visible butter pearls and use a splash of apple cider vinegar to inhibit gluten formation.
The Ultimate Recipe for Grandma’s Best Pie Crust
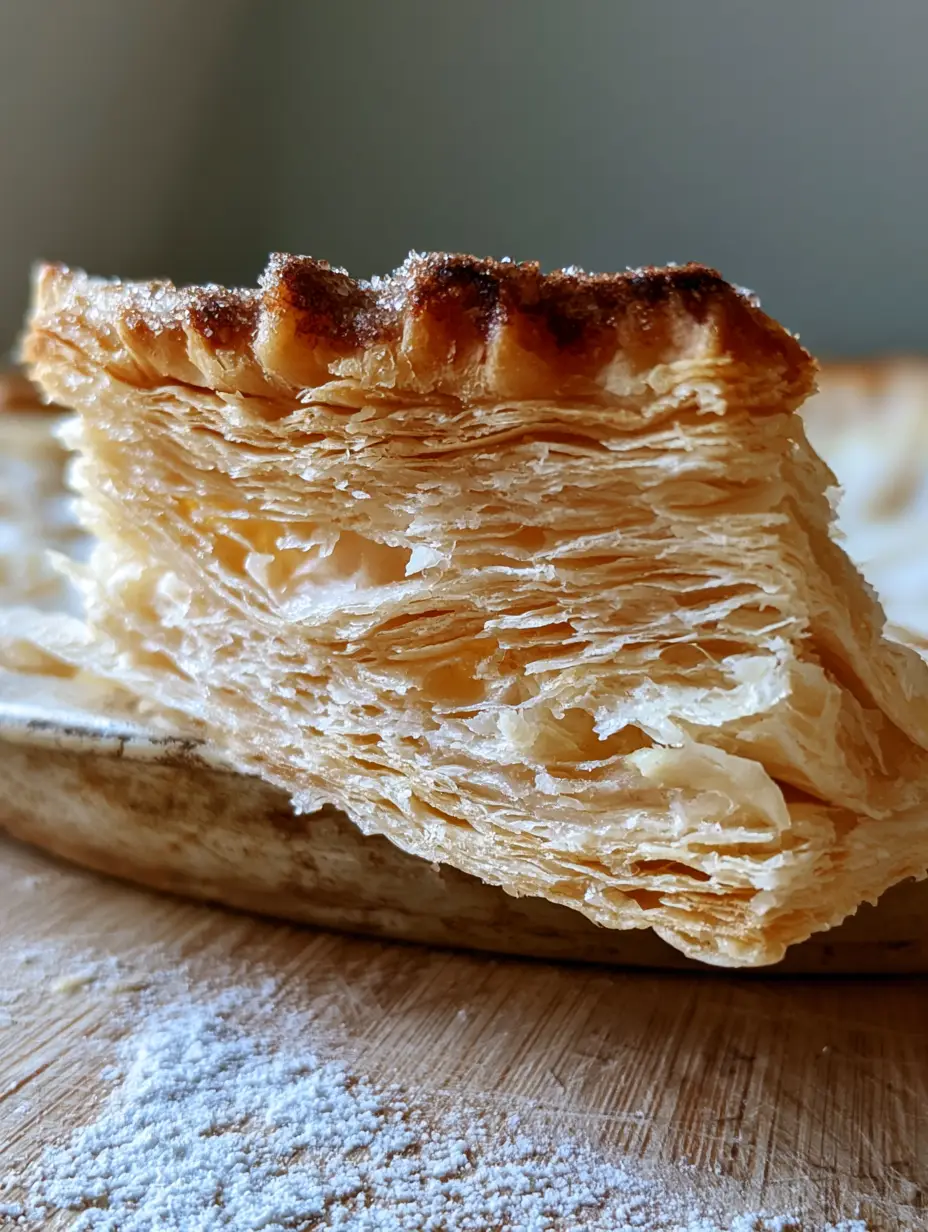
Grandma's Best Pie Recipes: The Secret to a Shattered Flaky Crust
Ingredients
Equipment
Method
- Combine flour and salt; use a pastry blender to cut in chilled butter until small pearls remain visible.
- Drizzle ice water and vinegar into the flour mixture, tossing with a fork until a shaggy dough forms.
- Turn dough onto a floured surface and fold three times to create layers before chilling for 2 hours.
- Roll dough to 1/8 inch thickness, fit into a vintage tin pan, and create a thick hand-crimped border.
- Top with coarse sugar and bake at 425°F (220°C) for 15 minutes to set the shattered layers.
- Reduce heat to 375°F (190°C) and bake until ridges are dark golden-brown and toasted.
Notes
If the dough becomes sticky, freeze it for 10 minutes before continuing.
Join Our Community of Home Bakers
Mastering Grandma’s best pie recipes is a journey, not a destination. Each time you handle the dough, you’ll learn more about the sensory cues—the way the “flour-dusted wooden surface” feels and the smell of toasted butter. We would love to see your “thick, rustic hand-crimped borders!”
Please leave a comment below with your results or any questions you have. Don’t forget to save this recipe to your “Baking Inspiration” board on Pinterest and share your photos with our community. Happy baking!