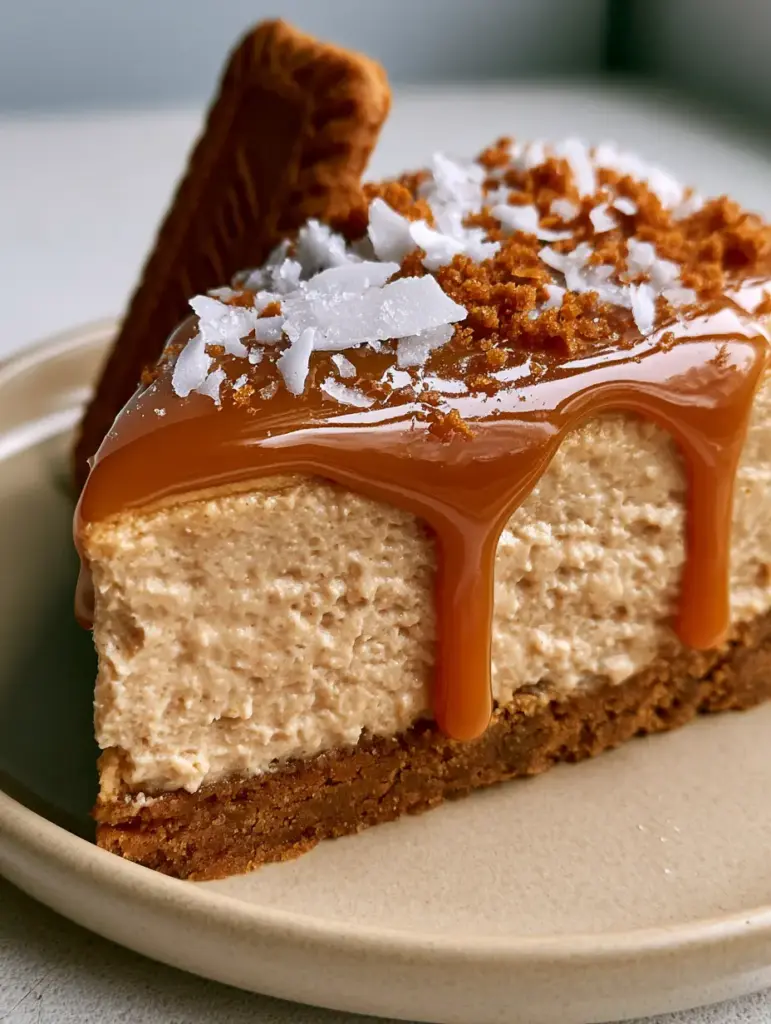
There is something inherently captivating about the way a thick, ultra-glossy ribbon of amber caramel catches the light as it cascades down a tall slice of Biscoff salted caramel cheesecake. This isn’t just a dessert; it is a structural masterpiece designed to hit every sensory note from the crunch of dark golden-brown Speculoos to the sharp, clean finish of Maldon sea salt flakes.
When you look at this cheesecake, you are seeing a forensic study in texture. The foundation is a dense, compressed dark golden-brown Speculoos cookie crust that provides a sturdy, spice-forward base for the velvety, aerated pale tan Biscoff cream cheese layer that sits atop it.
The final touch—a generous sprinkle of large, flat white Maldon sea salt flakes and fine Biscoff cookie crumbs—creates a visual contrast that is as striking as the flavor profile. This recipe guides you through the professional techniques required to achieve this exact high-end food styling in your own kitchen.
Why This Biscoff Salted Caramel Cheesecake Is a Showstopper
- Extreme Texture Contrast: You’ll experience the interplay between a dense, buttery compressed crust and a light, aerated whipped filling.
- Glossy Visual Appeal: Our specific caramel technique ensures an ultra-glossy, translucent amber-colored sauce that maintains its “heavy ribbon” drip without running off the plate.
- Spice-Forward Profile: By utilizing authentic Speculoos and Biscoff spread, we maximize the deep cinnamon and caramelized sugar notes.
- Professional Garnish: Learn the exact 45-degree angle placement for the whole Biscoff biscuit to mimic high-end editorial food photography.
Mastering the Elements: What You’ll Need
Lotus Biscoff Cookies: These are essential for both the compressed base and the fine crumb garnish. Their unique spice blend cannot be replicated by standard graham crackers.
Biscoff Cookie Butter (Creamy): This provides the pale tan color and the signature “whipped” flavor to the cream cheese filling. Ensure it is at room temperature for seamless integration.
Full-Fat Cream Cheese: You must use the block style, not the tub variety, to ensure the cheesecake is structurally sound enough to hold its height. It provides the necessary lactic tang to balance the sweet caramel.
Heavy Whipping Cream (36% Fat): This is the secret to the “aerated” texture mentioned in our visual blueprint. When folded in correctly, it creates tiny air pockets that make the filling feel like a cloud.
Granulated Sugar: Used for the dry-burn caramel method, which results in that beautiful translucent amber color. It provides the structural backbone of the sauce.
Unsalted Butter (82% Fat): High-quality butter is required for both the crust and the caramel. In the caramel, it provides the “gloss” that is so prominent in our macro photography.
Maldon Sea Salt Flakes: Do not substitute with table salt. The large, flat white flakes are critical for the visual “macro” appeal and provide bursts of salt that cut through the richness.
Vanilla Bean Paste: While optional, the tiny black specks add a level of culinary sophistication and deepen the flavor of the Biscoff filling.
Essential Tools for Professional Food Styling
To achieve the look of our Biscoff salted caramel cheesecake, you will need a 9-inch (23cm) springform pan. This allows for the clean, sharp edges visible in the macro close-up.
A heavy-bottomed stainless steel saucepan is mandatory for the caramel. It allows you to monitor the color change from clear to amber precisely, preventing the sugar from burning.
An offset spatula is your best friend here. It is the tool used to smooth the top of the Biscoff layer before the caramel pour, ensuring the sauce sits in a perfectly flat, translucent layer.
Building the Perfect Compressed Speculoos Foundation
The first step to a professional slice is the crust. You want a dense, dark golden-brown base that doesn’t crumble when the fork hits it. Start by pulsing 300g (about 10.5 oz) of Biscoff biscuits in a food processor until they are fine crumbs.
Mix these crumbs with 6 tbsp (85g) of melted unsalted butter. The mixture should feel like wet sand. Pour this into your lined springform pan and use the bottom of a flat measuring cup to compress it firmly.
Baking the crust for 10 minutes at 350°F (175°C) is a “hidden” step that deepens the color to that specific dark golden-brown. It also sets the butter, ensuring the base remains crispy even after the cream cheese is added. If you prefer a completely no-cook version, you can see our no-bake Biscoff cheesecake guide for chilling tips.
Achieving That Tall, Velvety Aerated Biscoff Filling
For the main body, beat 24 oz (680g) of softened cream cheese with 1 cup (250g) of Biscoff spread. You are looking for a uniform, pale tan color. Avoid over-beating at high speeds, which can introduce too many large bubbles; we want “aerated” but “velvety.”
In a separate chilled bowl, whip 1.5 cups (360ml) of heavy cream to stiff peaks. This is the manual labor that creates the height. Gently fold the whipped cream into the Biscoff mixture using a silicone spatula.
The visual cue you are looking for is a mousse-like consistency that holds its shape. Spoon this onto your cooled crust and use your offset spatula to create a level surface. Chill for at least 6 hours, though overnight is preferred for the cleanest slices.
The Secret to Ultra-Glossy Amber Salted Caramel
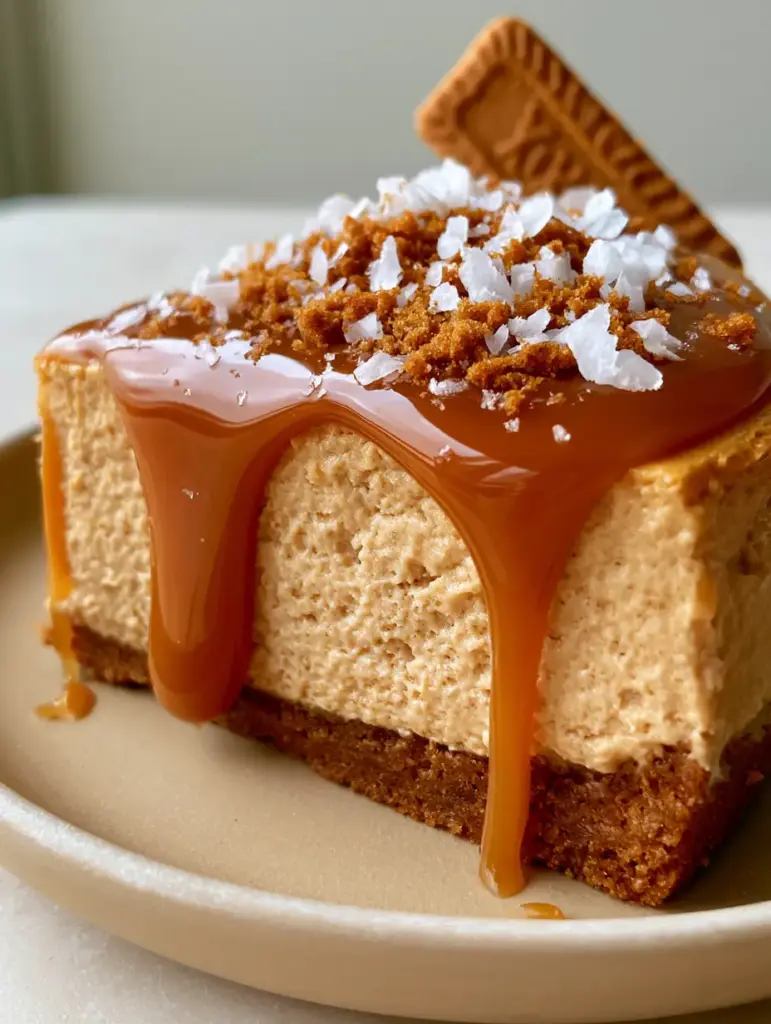
Making a “thick, ultra-glossy” caramel requires patience. Place 1 cup (200g) of granulated sugar in your saucepan over medium heat. Do not stir; simply swirl the pan as the sugar melts into a clear liquid and then turns into a deep amber hue.
Once the sugar is amber, whisk in 6 tbsp (85g) of room-temperature butter. It will bubble violently—this is normal. Slowly pour in 1/2 cup (120ml) of heavy cream while whisking constantly. This emulsification creates the translucency we see in the prompt.
Remove from heat and stir in 1/2 tsp of fine sea salt. Let the caramel cool until it is just warm to the touch. If you pour it while it’s hot, it will melt the Biscoff layer. If it’s too cold, it won’t create those “heavy ribbons” dripping down the sides. For more caramel variations, check out our classic salted caramel cheesecake recipe.
Assembling the Masterpiece: The 45-Degree Garnish
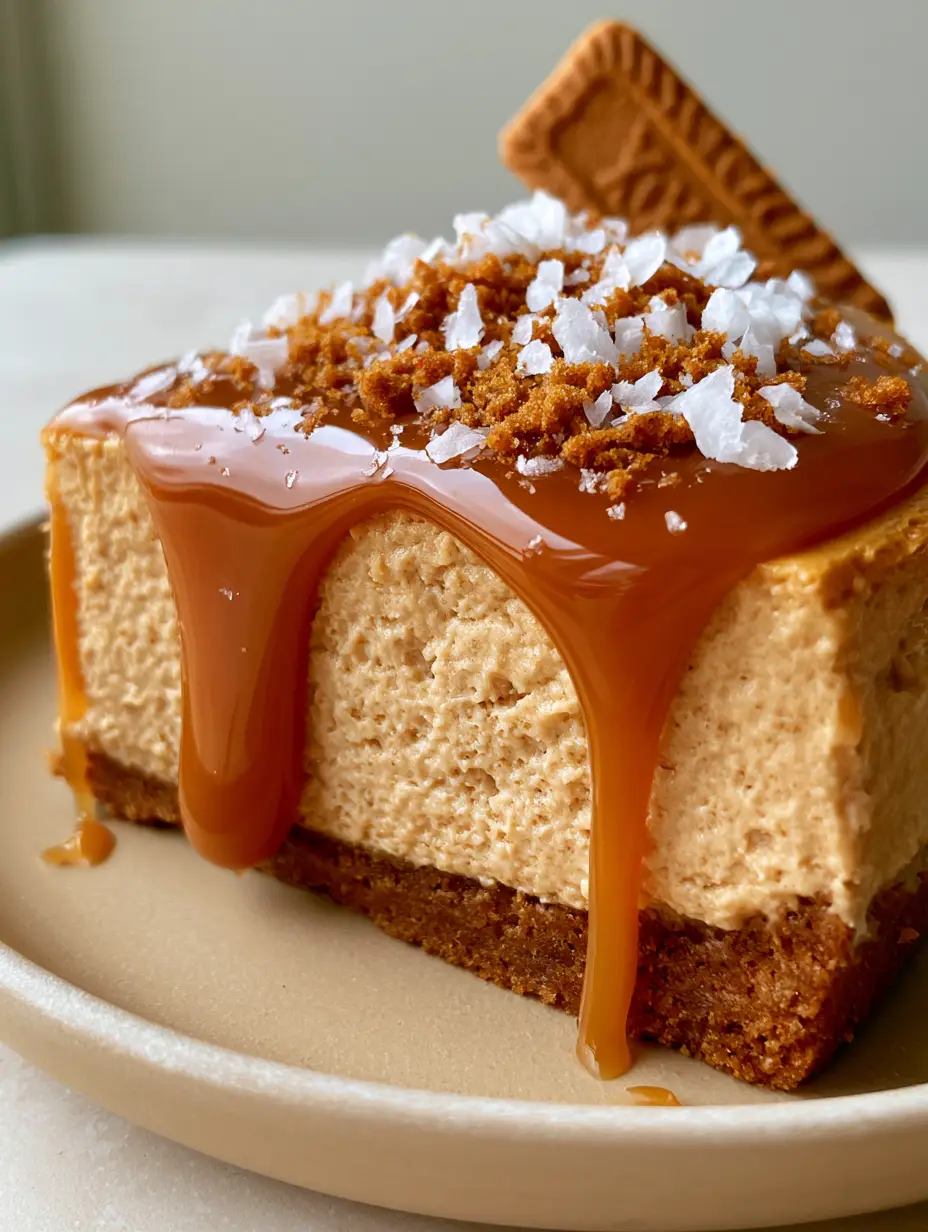
Once your cheesecake is set and the caramel is at the perfect viscosity, pour it over the center of the cake. Use a small spoon to gently nudge the caramel toward the edges, allowing it to “slowly drip” in heavy ribbons at intentional intervals.
Immediately, while the caramel is still tacky, sprinkle the fine Biscoff crumbs around the perimeter. Then, take your Maldon sea salt and crush the flakes slightly between your fingers as you rain them down over the top.
The final touch is the whole Biscoff biscuit. Find the “front” of your cake or slice and submerge the biscuit into the cream at a 45-degree angle. This adds vertical height and a focal point for the eye. If you love this flavor profile, you might also enjoy our salted caramel chocolate chip cookies.
Chef’s Secrets for the Ultimate Creamy Texture
- The Room Temp Rule: Every dairy ingredient must be at room temperature before mixing to prevent lumps in the velvety filling.
- The Clean Slice: To get the sharp texture seen in the macro photo, dip a sharp knife in hot water and wipe it clean between every single cut.
- Avoid Crystallization: When making the caramel, if sugar crystals form on the side of the pan, use a wet pastry brush to wash them down.
- Sifting the Crumbs: For the “fine crumbs” garnish, use a fine-mesh sieve to ensure you don’t have large chunks distracting from the glossy caramel.
Preserving the Gloss: Storage and Make-Ahead Advice
This Biscoff salted caramel cheesecake is best served within 24 hours of assembly to maintain the crispness of the cookie garnish. However, the cheesecake base itself can be made up to 3 days in advance.
Store in an airtight container in the refrigerator. Note that the Maldon sea salt flakes will eventually dissolve into the caramel due to moisture; for the best visual impact, add the salt flakes immediately before serving to guests.
We do not recommend freezing the fully assembled cake with the caramel drip, as the caramel can become grainy upon thawing. If you must freeze, freeze the cheesecake base only, then add the caramel and garnishes fresh. For smaller portions that freeze better, try our mini caramel cheesecakes.
Perfect Pairings for Your Dessert Table
To balance the intense sweetness of the Biscoff and caramel, serve this with a strong, bitter espresso or a dark roast coffee. The tannins in the coffee cut through the fat of the cream cheese perfectly.
If you are hosting a larger dessert party, consider offering a variety of textures. This creamy cheesecake pairs beautifully alongside caramel cinnamon rolls for a brunch-style spread or even a light lemon meringue cheesecake to provide a citrusy contrast.
For a drinkable version of these flavors, our caramel ribbon crunch frappe is a fantastic companion for a summer afternoon.
Common Questions About This Biscoff Masterpiece
While you can use graham crackers, you will lose the signature dark golden-brown color and the deep spice profile that makes this a true Biscoff cheesecake. Speculoos cookies are highly recommended.
Viscosity is key. Let the caramel cool until it is just slightly warm. If it’s too hot, it will be too thin; if it’s too cold, it won’t drip at all. Test one drip first before doing the whole cake.
Avoid stirring the sugar while it melts. If crystals form on the pan sides, use a wet pastry brush to dissolve them. Graininess usually occurs when a seed crystal falls back into the syrup.
For the visual ‘macro’ appeal and the specific crunch, yes. Maldon flakes are large and flat, providing a different sensory experience than fine table salt, which would simply make the caramel taste salty without the texture.
This usually happens if the heavy cream was not whipped to stiff peaks or if it was folded too vigorously into the cream cheese, which deflates the air bubbles.
The Ultimate Biscoff Salted Caramel Recipe
Biscoff Salted Caramel Cheesecake with Glossy Amber Drip
Ingredients
Equipment
Method
- Pulse Biscoff cookies into fine crumbs. Mix with melted butter and press firmly into the bottom of a 9-inch springform pan.
- Bake at 350°F (175°C) for 10 minutes to set. Let it cool completely before adding the filling.
- Beat softened cream cheese and Biscoff spread until smooth and pale tan.
- Whip heavy cream to stiff peaks in a separate bowl. Gently fold into the cream cheese mixture to maintain an aerated texture.
- Spread the filling over the cooled crust and refrigerate for at least 6 hours.
- Melt sugar in a saucepan until it reaches a deep amber color. Whisk in butter and heavy cream until glossy and translucent.
- Cool caramel slightly, then pour over the chilled cake, encouraging it to drip down the sides in heavy ribbons. Garnish with Maldon salt, crumbs, and one whole biscuit at a 45-degree angle.
Notes
Add Maldon salt flakes right before serving to prevent them from dissolving.
Closing & Call to Action
Creating this Biscoff salted caramel cheesecake is an exercise in culinary art. From the moment you compress the first cookie crumb to the final flourish of Maldon salt, you are building a dessert that is as beautiful as it is delicious. The combination of the deep, spiced Speculoos and the ultra-glossy amber caramel is a pairing that never fails to impress.
If you made this recipe and captured that perfect “heavy ribbon” drip, I would love to see it! Please leave a comment below and tell me how your Biscoff filling turned out. Don’t forget to share this recipe to your favorite dessert boards on Pinterest so you can find it for your next special occasion!


