There is a specific kind of magic in a perfectly executed manicure that looks like it cost a week’s salary but was actually crafted in the comfort of your own kitchen. Achieving the perfect set of press on nails is not just about the adhesive; it is a culinary-grade process of preparation, layering, and finishing. This guide focuses on the “Clean Girl” aesthetic: short almond tips, a milky-white translucency, and a high-gloss finish that reflects light like a freshly glazed tart.
Imagine your hands resting against a soft, neutral-toned cashmere sweater, illuminated by the gentle highlights of natural side-window sunlight. The press on nails we are creating today are designed to be seamless at the cuticle, hydrated at the skin, and topped with a glass-like shine. This isn’t just a beauty routine; it is a masterclass in precision and texture, ensuring your hands look as refined as a professional pastry chef’s final presentation.
Whether you are prepping for a photoshoot or simply want to elevate your daily aesthetic, this “recipe” for press on nails provides the structural integrity and visual brilliance required for long-lasting wear. We will dive deep into the science of nail dehydration, the physics of light-reflecting top coats, and the art of the “flush fit” application. Let’s gather our mise en place and begin the transformation.
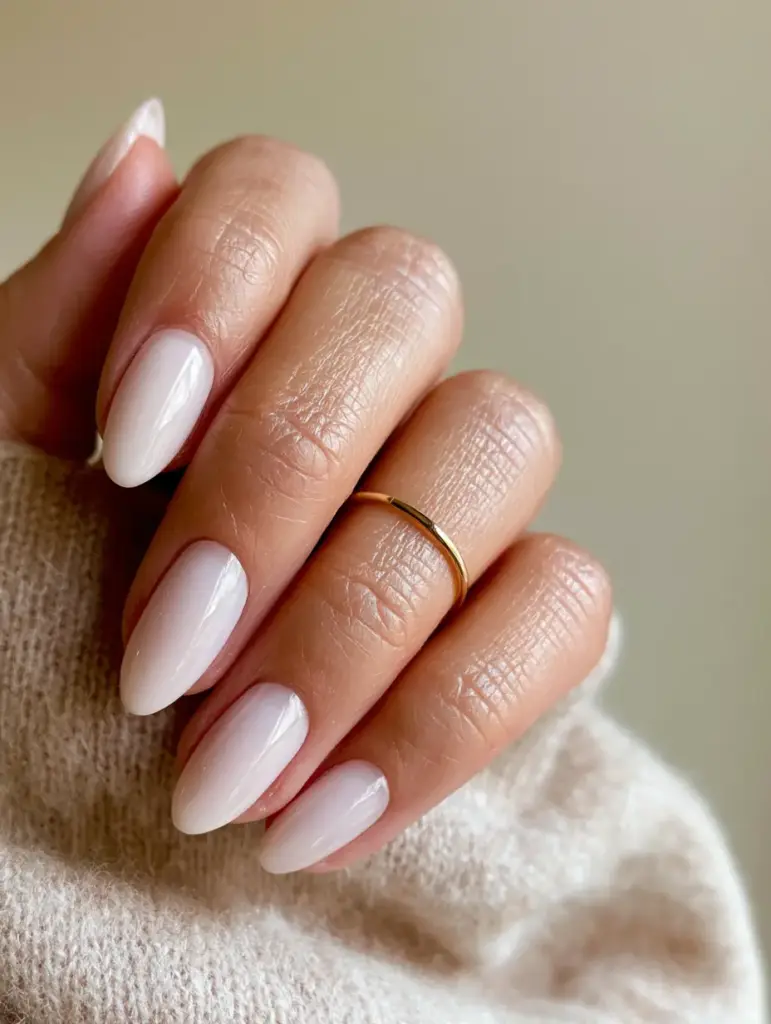
The Visual Appeal of the Milky-White Aesthetic
- Structural Elegance: The short almond shape provides a sophisticated, elongated look to the fingers while remaining practical for daily tasks.
- Translucent Depth: A milky-white shade offers a “clean” look that is softer than stark white, mimicking the natural lunula of the nail.
- High-Gloss Dimension: A thick, glass-finish top coat creates a 3D depth that captures and bounces natural light for a luxury feel.
- Seamless Integration: Achieving a flush cuticle edge ensures that the press on nails are indistinguishable from a high-end salon gel extension.
The Professional Tool Kit for a High-End Finish
Just as a chef requires a sharp knife and a heavy-bottomed pan, your manicure requires specific “culinary” tools to succeed. You will need a high-quality nail buffer (240-grit) to create the necessary “tooth” on the nail surface for the adhesive to grip. A stainless steel cuticle pusher is essential for creating the “pocket” where the nail will sit flush against the skin.
You will also need lint-free wipes and 1 oz (30ml) of 90% Isopropyl alcohol to ensure the surface is chemically clean. For the final “garnish,” have a thin gold minimalist ring ready to accentuate the ring finger, and a neutral beige cashmere texture nearby for the perfect “hand-model” finish. These tools ensure the press on nails adhere with the strength of a tempered chocolate bond.
Essential Ingredients for Structural Manicure Success
1 Set Short Almond Nail Tips: These serve as the foundation of your “dish,” providing the uniform shape and length required for the clean-girl aesthetic. Look for tips with a “tapered” base to ensure they sit flat against your natural nail bed.
0.5 oz (15ml) Translucent Milky-White Polish: This is your primary pigment, designed to provide a semi-sheer coverage that allows a hint of the natural nail to peek through. This creates the “milky” depth rather than a flat, painted-on appearance.
0.5 oz (15ml) High-Gloss Glass-Finish Top Coat: The “glaze” of the recipe, this thick viscosity formula fills in any micro-scratches and creates a mirror-like surface. It should feel smooth and look “wet” even after it has fully cured or dried.
1 tsp (5ml) Nutrient-Rich Cuticle Oil: This foundational ingredient hydrates the surrounding skin, removing the “ashy” appearance often left by alcohol prep. It ensures the skin looks “glowing” and “hydrated” in macro photography.
2g Professional Grade Cyanacrylate Adhesive: The “binder” that keeps the press on nails structurally sound for up to 14 days. This medical-grade glue creates a moisture-resistant seal between the natural nail and the tip.
The Pre-Application Mise en Place
Sizing and Shaping for a Custom Fit
Before any adhesive touches the nail, you must “size” your tips. Lay out all ten press on nails and ensure each one covers the natural nail from side-wall to side-wall without overlapping onto the skin. If a tip is slightly too wide, use a 180-grit file to gently shave the edges until the fit is bespoke.
This stage is crucial for the “seamless cuticle” look. If the tip is too large, it will lift; if it is too small, it will look like a “fake” addition. Think of this like trimming parchment paper for a cake tin—precision at this stage prevents disaster later in the process.
Surface Dehydration and Etching
To ensure press on nails don’t pop off during a busy day of baking rice krispie treats, you must remove all surface oils. Use your buffer to gently remove the shine from your natural nails until they look “chalky” and matte. This increases the surface area for the glue to bond.
Follow this by scrubbing the nail plate with a lint-free wipe soaked in 1 oz (30ml) of alcohol. You should hear a “squeak” when you rub the nail—this is the sensory cue that the surface is perfectly dehydrated and ready for the “binder” adhesive.
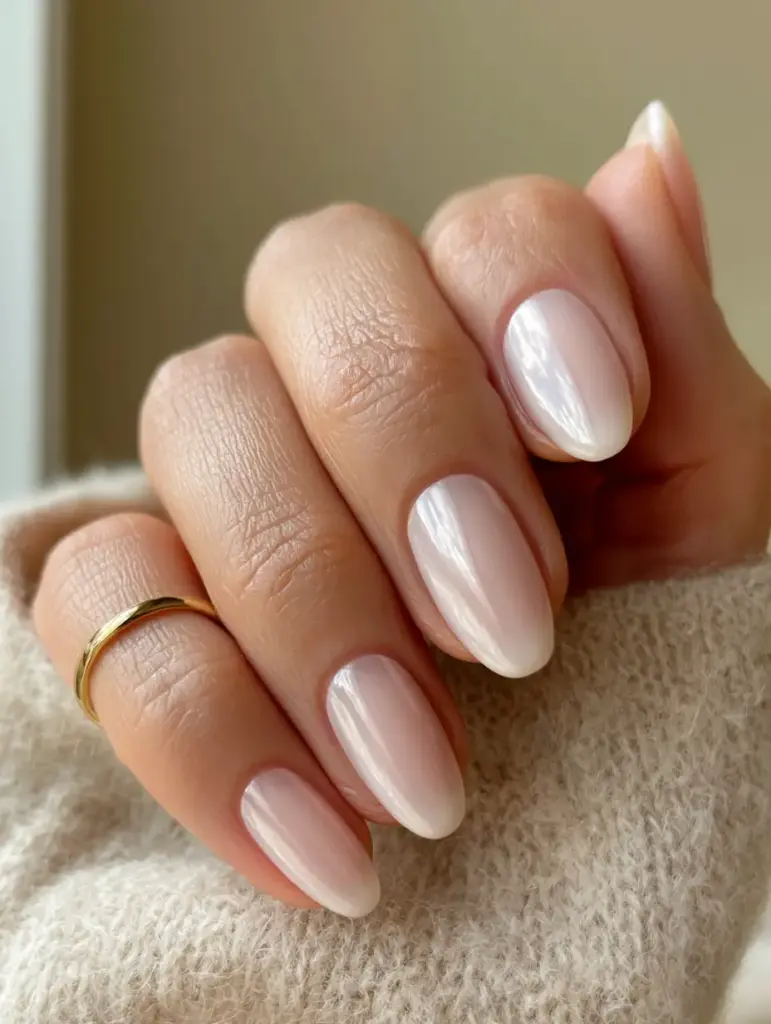
Step-by-Step Instructions for the Perfect Press On Nails
1. Creating the Cuticle Pocket
Use your cuticle pusher to gently nudge the proximal nail fold (the skin at the base) back by about 1mm. This creates a tiny “shelf” where the edge of the press on nails will tuck under. This is the secret to the “flush” application seen in high-end macro photography.
2. The Precision Adhesive Application
Apply a small “pea-sized” amount of glue to the well of the press-on tip and a thin, even layer to your natural nail. Avoid getting glue on the skin, as this creates a “bridge” that will eventually cause lifting. Wait 5 seconds for the glue to become slightly “tacky”—this is like waiting for a pan to heat before searing meat.
3. The 45-Degree Press
Hold the press on nails at a 45-degree angle to the cuticle. Slide the base of the tip into the “pocket” you created earlier, then slowly rock the nail down onto the natural nail plate. This “rocking” motion pushes air bubbles out the front, ensuring a 100% solid bond with no gaps.
4. Applying the Milky Glaze
Once the nails are secure, apply two thin coats of the translucent milky-white polish. Do not “overwork” the brush; use long, steady strokes from cuticle to tip. The goal is a “leveled” appearance where the polish looks like a soft cloud rather than a streaky liquid. If you love this clean look, you might also enjoy the aesthetic of cinnamoroll nails.
5. The High-Gloss Sealing Step
Apply a generous layer of the glass-finish top coat. Be sure to “cap the free edge” by running the brush along the very tip of the nail. This seals the polish layers and prevents chipping. Look for the “highlight line”—a straight, crisp reflection of your window light on the nail curve—to confirm the surface is perfectly smooth.
Expert Tips for Long-Lasting Wear
- Avoid Water for 2 Hours: Just like a fresh batch of no-bake chocolate peanut butter dessert needs time to set in the fridge, your nail adhesive needs time to fully polymerize. Stay away from hot water immediately after application.
- The “Invisible” Buffer: If you see a tiny bit of glue at the cuticle, wait for it to dry completely, then use a wooden toothpick dipped in 0.5 tsp (2.5ml) of acetone to gently dissolve the excess without ruining the finish.
- Temperature Control: Apply your press on nails in a room that is roughly 70°F (21°C). If it is too humid, the adhesive may cure too quickly, leading to a brittle bond.
- Hydration is Key: Once the top coat is hard to the touch, massage 1 drop of cuticle oil into each finger. This makes the skin “glow” and creates that “hydrated” look essential for the “clean girl” aesthetic.
Shelf-Life and Removal Care
While these press on nails are designed to be durable, they are not permanent. With proper application, they should last 10-14 days. To maintain the glass-finish, you can re-apply a thin layer of top coat after 7 days to refresh the shine.
When it is time for a change—perhaps to something more festive for 4th of July party ideas—never rip them off. Soak your hands in warm soapy water with a tablespoon of olive oil for 15 minutes. This gently breaks the bond without stripping the natural keratin layers of your nails.
What to Pair with Your Milky-White Manicure
This minimalist look is incredibly versatile. It pairs beautifully with the soft textures of a brunch outfit where you might be serving peach cobbler cinnamon rolls or a classic strawberry rhubarb pie. The neutral tones of the milky-white polish won’t clash with the vibrant colors of your summer desserts.
For a complete “Clean Girl” transformation, pair these nails with “no-makeup” makeup and a sleek bun. If you find yourself hosting a gathering, these elegant nails look stunning while holding a glass of coconut pineapple lemonade or a tray of birthday cake pops.
Frequently Asked Questions
Yes, if you remove them using the warm water and oil method rather than acetone, you can gently buff away the old glue from the back of the tip and reuse them.
When applied following a full dehydration and etching process with professional-grade adhesive, press on nails can last between 10 to 14 days.
Yes, you can create a milky-white shade by mixing a few drops of stark white polish into a clear top coat, or by using specific translucent ‘jelly’ polishes.
Lifting is usually caused by improper prep (leaving oils on the nail) or air bubbles trapped under the tip. Ensure the nail is chalky-matte and use a 45-degree rocking motion during application.
Press on nails are generally safer than acrylics. Damage only occurs if they are ripped off forcefully. Always soak them off to preserve your natural nail health.
The Recipe for Flawless Milky-White Nails
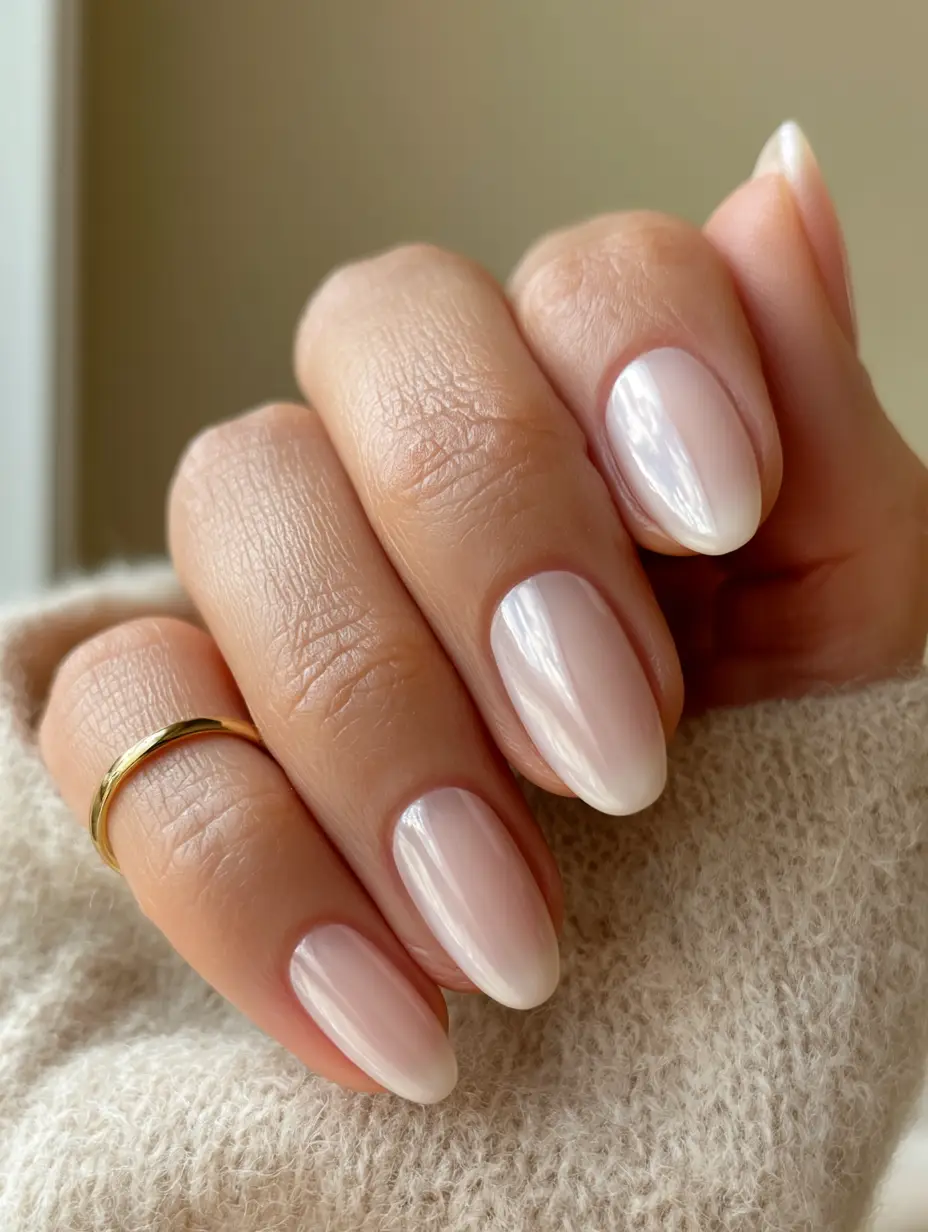
Press on nails in a translucent milky-white finish: The ultimate "Clean Girl" manicure recipe
Ingredients
Equipment
Method
- Size your press on nails to ensure they fit side-wall to side-wall without touching the skin.
- Buff the natural nail until it looks chalky and matte to ensure a strong bond.
- Apply glue to the tip and nail, then rock the tip onto the nail at a 45-degree angle to remove air bubbles.
- Apply two coats of milky-white polish followed by a thick layer of glass-finish top coat, capping the edges.
Notes
Use a 45-degree angle during application to prevent lifting.
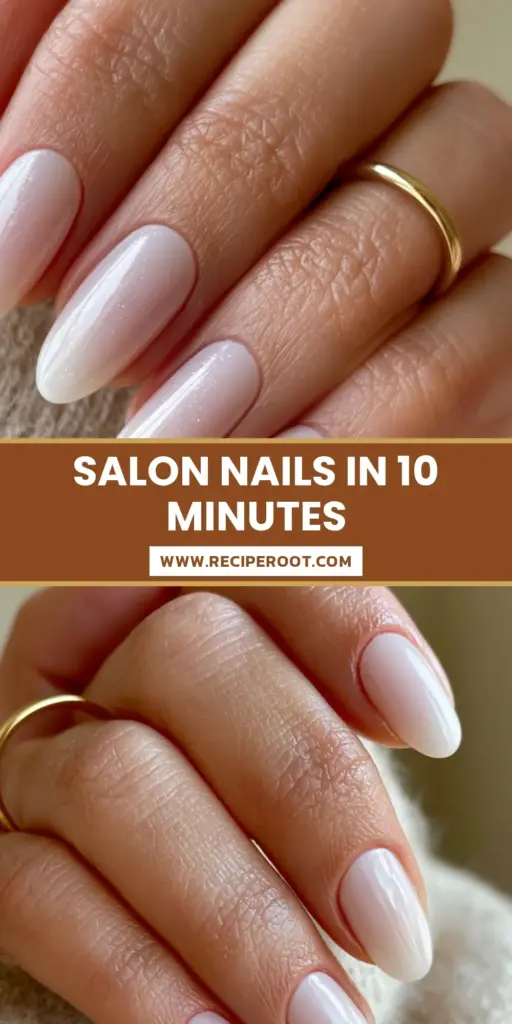
Mastering the Art of the Clean Manicure
Creating professional-looking press on nails at home is a skill that combines patience with high-quality “ingredients.” By focusing on the “flush fit” at the cuticle and the “glass-like” finish of the top coat, you can achieve a look that is indistinguishable from a salon gel manicure. The milky-white shade is a timeless choice that exudes luxury and cleanliness.
We hope this guide helps you achieve the manicure of your dreams! If you followed this “recipe,” we would love to see your results. Please leave a comment below or share your photos with us. For more aesthetic inspiration and “recipes” for a beautiful life, be sure to follow us on Pinterest and sign up for our newsletter!


