There is nothing quite like the nostalgic crunch of a classic cereal treat, but this rice krispie treats recipe elevates the childhood staple into a gourmet masterpiece. Imagine a thick, chunky square that offers a honey-golden hue and a deeply toasted aroma that fills your entire kitchen.
When you pull these treats apart, you are met with long, glistening white strands of melted marshmallow that stretch with incredible elasticity. The secret lies in the Maillard reaction of the butter and a specific two-stage marshmallow integration technique.
This isn’t your average lunchbox snack; it’s a sophisticated dessert featuring visible flecks of dark brown butter and whole, un-melted mini marshmallows tucked into every crevice. Each bite is finished with a delicate dusting of sea salt to balance the intense sweetness.
Why This Gourmet Cereal Bar Recipe Stands Above the Rest
- The Honey-Golden Base: By browning the butter until it reaches a nutty, toasted state, we transform the flavor profile from simple sugar to complex caramel notes.
- Extreme Marshmallow Elasticity: We use a high-ratio marshmallow formula to ensure those thick, glistening strands visible in professional food photography.
- Textural Complexity: This recipe combines toasted crispy rice cereal with whole, soft mini marshmallows for a multi-dimensional mouthfeel.
- The Salty Edge: A light dusting of sea salt cuts through the richness, making it impossible to stop at just one square.
If you love the deep, nutty flavors of toasted butter, you should also check out our brown butter espresso brownies for another sophisticated twist on a classic dessert.
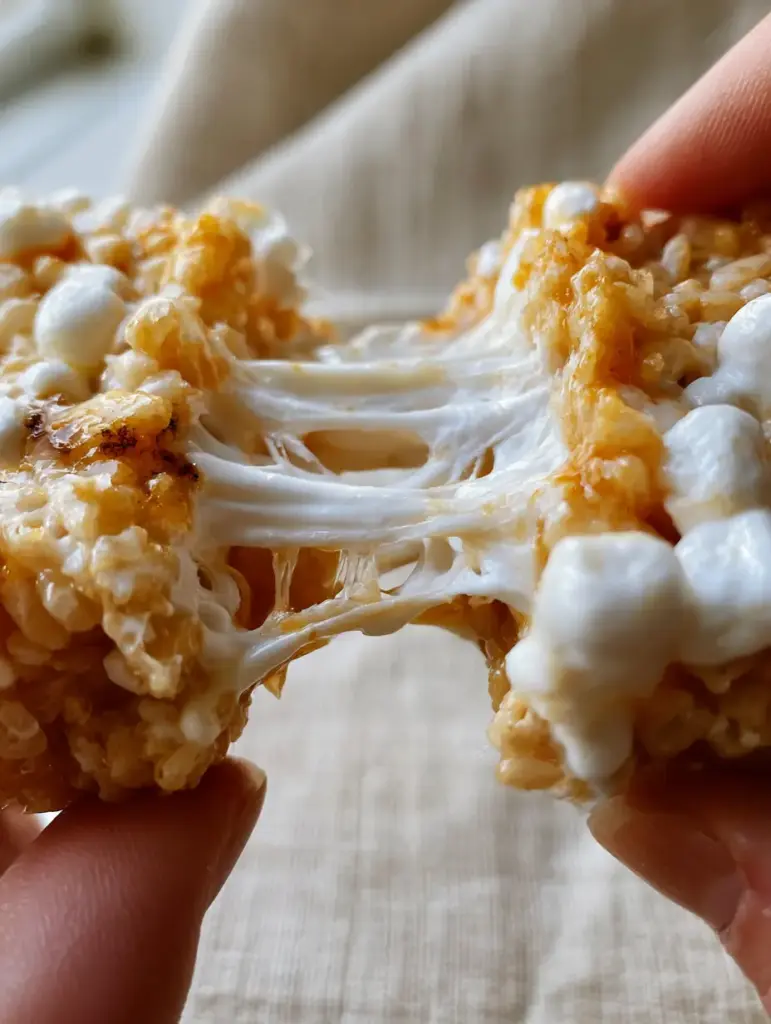
The Science of the Perfect Marshmallow Texture
To achieve the “gourmet pull” described in our visual blueprint, we must respect the moisture content of the marshmallows. Overheating the marshmallows causes the sugar to crystallize, resulting in a rock-hard treat once cooled.
We use a low-and-slow melting method to preserve the air bubbles within the gelatin structure. This ensures that the final product remains soft and pliable for days rather than becoming brittle.
For more soft-textured dessert inspiration, our soft-batch chocolate chip cookies use similar principles to maintain a tender crumb.
Essential Ingredients for Gold-Standard Treats
Toasted Crispy Rice Cereal: 6 cups (150g). We don’t just use it out of the box; we briefly toast the cereal in the oven to enhance the “toasted” visual and flavor profile.
Unsalted European-Style Butter: 1/2 cup (113g). High-fat butter produces more milk solids, which means more of those beautiful dark brown specks and a glistening sheen.
Fresh Mini Marshmallows: 10 oz (283g) for melting, plus 2 cups (100g) kept whole. Using two separate additions creates the professional “chunky” texture seen in gourmet bakeries.
Pure Vanilla Bean Paste: 1 tsp (5ml). The tiny black specks of vanilla bean complement the brown butter flecks perfectly.
Flaky Sea Salt: 1/2 tsp (3g). This is the “invisible” ingredient that bridges the gap between a children’s snack and a high-end dessert.
The Pro Equipment Kit for Success
To get the thickness required for that iconic handheld photo, you cannot use a standard large baking sheet. A 8×8 inch (20x20cm) square pan is essential for achieving that 2-inch height.
You will also need a heavy-bottomed Dutch oven or stainless steel pot. Thin pots distribute heat unevenly, which can scorch the butter before it has a chance to properly brown.
Finally, a high-quality silicone spatula is your best friend. Marshmallows are notoriously sticky, and silicone allows you to fold the ingredients without losing half the mixture to the sides of the bowl.
The Step-by-Step Masterclass
Phase 1: Toasting the Cereal for Maximum Flavor
Preheat your oven to 300°F (150°C). Spread 6 cups (150g) of rice cereal on a large baking sheet.
Toast for 5-7 minutes, shaking the pan halfway through. You are looking for a very light golden tint and a fragrant, nutty smell that signals the cereal is primed for the butter.
Phase 2: Achieving the Perfect Brown Butter
In your heavy pot, melt 1/2 cup (113g) of butter over medium heat. Once melted, the butter will begin to foam and pop as the water evaporates.
Whisk constantly as the milk solids settle at the bottom. Watch for the butter to turn a deep amber-honey color and for those “dark brown butter specks” to appear.
Phase 3: The Low-Heat Marshmallow Melt
Immediately turn the heat to the lowest setting. Add the 10 oz (283g) of mini marshmallows and a pinch of salt.
Stir gently until the marshmallows are 90% melted. You want a thick, opaque slurry rather than a thin, clear liquid to maintain those “thick strands of stretchy melted marshmallow.”
Phase 4: The Final Fold and Assembly
Remove the pot from the heat. Quickly fold in the vanilla paste and the toasted cereal until every grain is coated in a glistening buttery sheen.
Now, fold in the remaining 2 cups (100g) of whole mini marshmallows. These should only soften slightly, maintaining their shape for that chunky, gourmet visual.
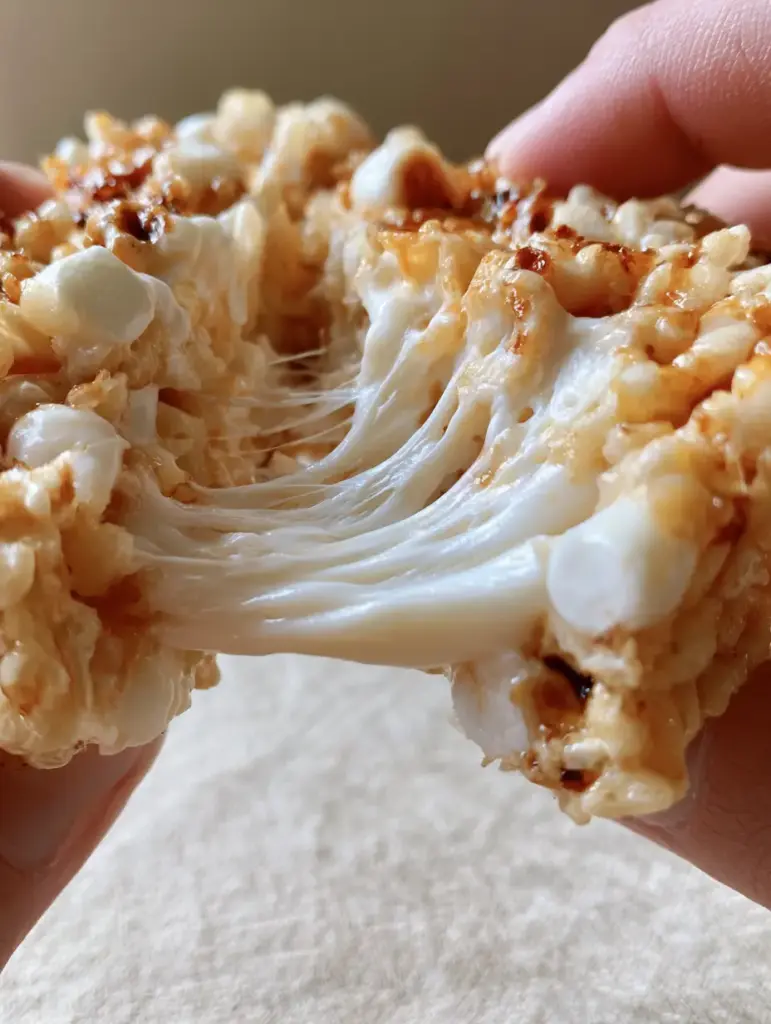
Expert Tips for the Ultimate “Pull”
- The “No-Press” Rule: Never pack the mixture into the pan with force. Use the back of a buttered spoon to gently nudge the mixture into the corners. Packing it tightly results in a hard, dense bar.
- Temperature Control: If your kitchen is cold, the marshmallow set will happen too fast. Work in a warm area to ensure you can achieve the “extreme marshmallow pull” during assembly.
- Freshness Matters: Marshmallows that have been sitting in the pantry for months develop a “skin” that doesn’t melt smoothly. Always buy a fresh bag for this rice krispie treats recipe.
- Wet Hands Technique: To level the top without sticking, lightly dampen your fingers with water or grease them with butter. This allows you to shape the surface perfectly.
If you’re looking for more ways to use marshmallows, explore our s'mores hacks for creative campfire-inspired ideas.
Storage, Freshness, and Reheating
These treats are best served within 24 hours to experience the maximum stretch of the marshmallow. Store them in an airtight container at room temperature with parchment paper between layers.
Do not refrigerate these cereal bars. Cold temperatures cause the butter to solidify and the sugars to harden, destroying that soft, stretchy texture we worked so hard to achieve.
If they do happen to get a bit firm after a few days, pop a square in the microwave for exactly 5 seconds. This will reactivate the marshmallow pull and soften the brown butter base.
What to Pair with Your Gourmet Treats
These rich, salty-sweet bars pair beautifully with a cold glass of milk or a sharp espresso. If you are serving these at a summer gathering, they make an excellent companion to a fruity dessert platter.
Consider serving them alongside a fresh strawberry shortcake for a variety of textures at your next party. They also fit perfectly into any 4th of July party spread as a portable, crowd-pleasing option.
Frequently Asked Questions
Yes, by weight you can use large marshmallows for melting, but you will still want mini marshmallows for the ‘whole’ pieces to achieve that specific gourmet texture.
Browning the butter is essential for the honey-golden color and complex nutty flavor that distinguishes a ‘gourmet’ treat from a standard one.
The secret is using a high marshmallow-to-cereal ratio and melting them on the lowest possible heat setting to keep the gelatin structure intact and stretchy.
They are best within 24 hours but will stay soft for up to 3 days if stored in an airtight container at room temperature. Never refrigerate them.
Hard treats usually result from overheating the marshmallows, which crystallizes the sugar, or pressing the mixture too firmly into the pan. Always use low heat and a gentle touch.
The Ultimate Salted Brown Butter Rice Krispie Treats Recipe
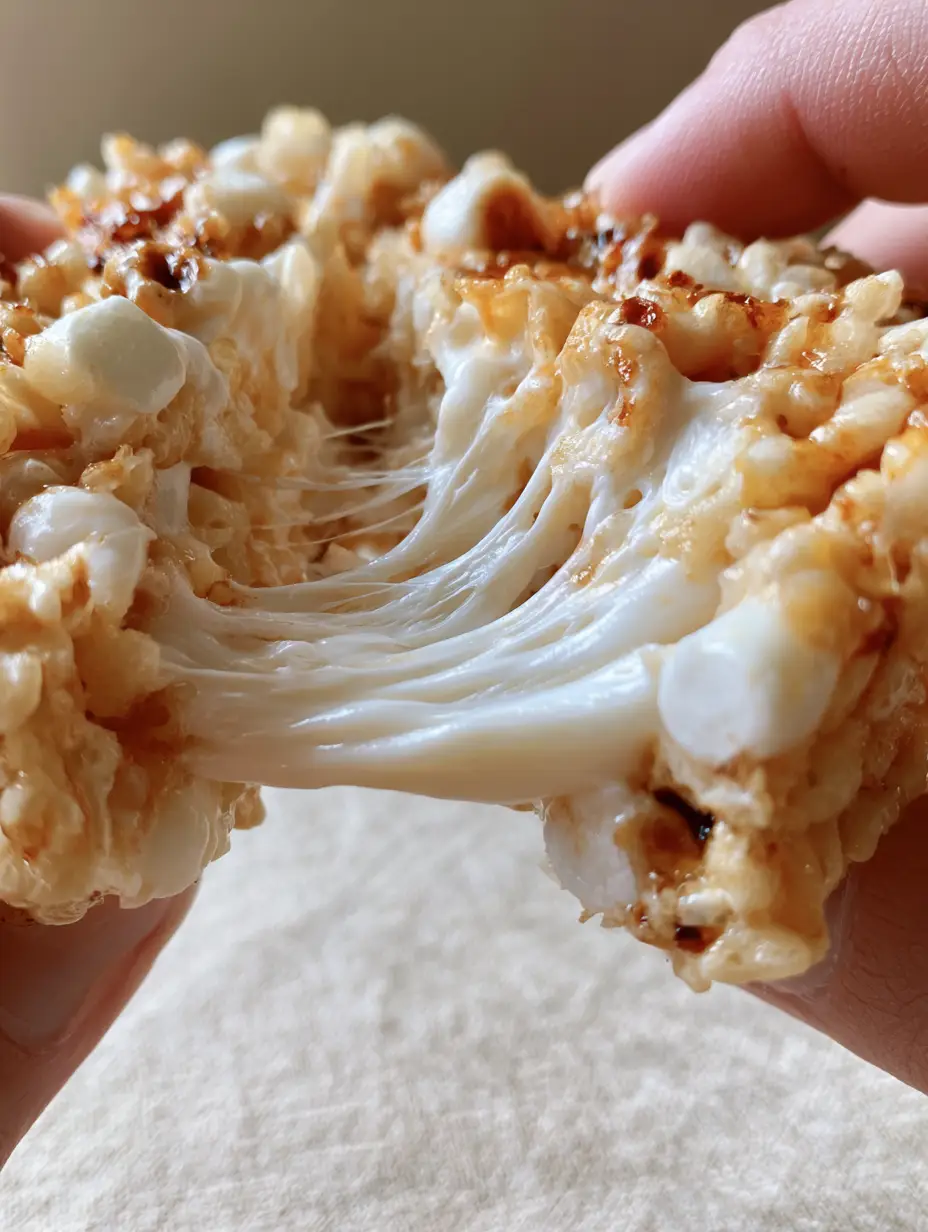
Rice krispie treats recipe: The Ultimate Brown Butter and Salted Marshmallow Pull
Ingredients
Equipment
Method
- Preheat oven to 300°F (150°C). Toast rice cereal on a baking sheet for 5-7 minutes until lightly fragrant and golden.
- Line an 8x8 inch pan with parchment paper, leaving an overhang on the sides for easy removal.
- In a large pot over medium heat, melt the butter. Continue cooking, whisking constantly, until foam subsides and you see dark brown specks at the bottom. It should smell nutty.
- Reduce heat to low. Add the 10oz of marshmallows and salt. Stir until nearly melted and thick, glistening strands form.
- Remove from heat. Stir in vanilla, then fold in toasted cereal and the remaining 2 cups of whole mini marshmallows.
- Gently transfer to the prepared pan. Lightly press with a buttered spatula—do not pack tightly. Let set for 30 minutes before slicing.
Notes
Always use fresh marshmallows for the best elastic pull.

Closing & Call to Action
This rice krispie treats recipe is a testament to how simple ingredients, when treated with professional technique, can create something truly extraordinary. The combination of toasted cereal, nutty brown butter, and that iconic marshmallow pull creates a sensory experience that far exceeds the original version.
We would love to see your “marshmallow pull” photos! Tag us on social media or leave a comment below with your results. For more gourmet dessert inspiration and step-by-step visuals, be sure to follow us on Pinterest and save this recipe to your “Baking” board!


