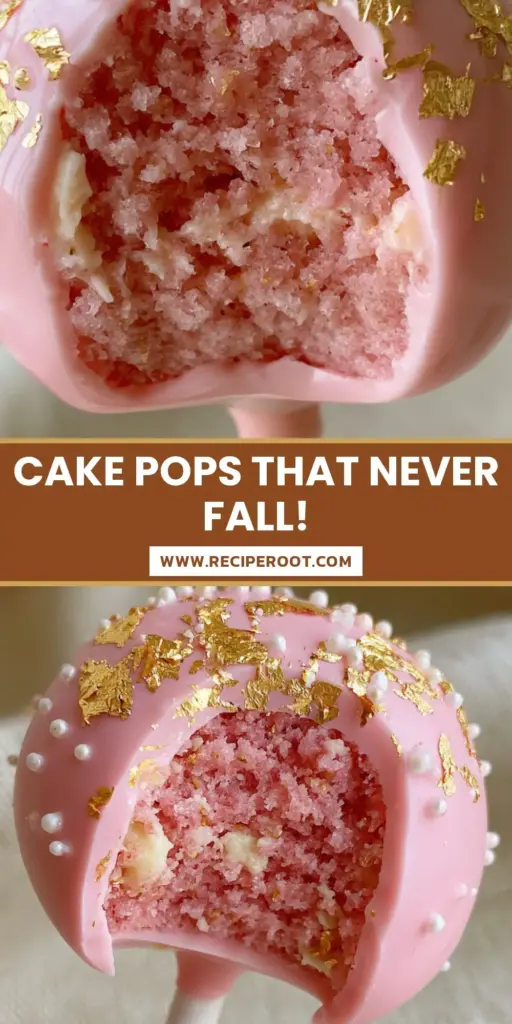
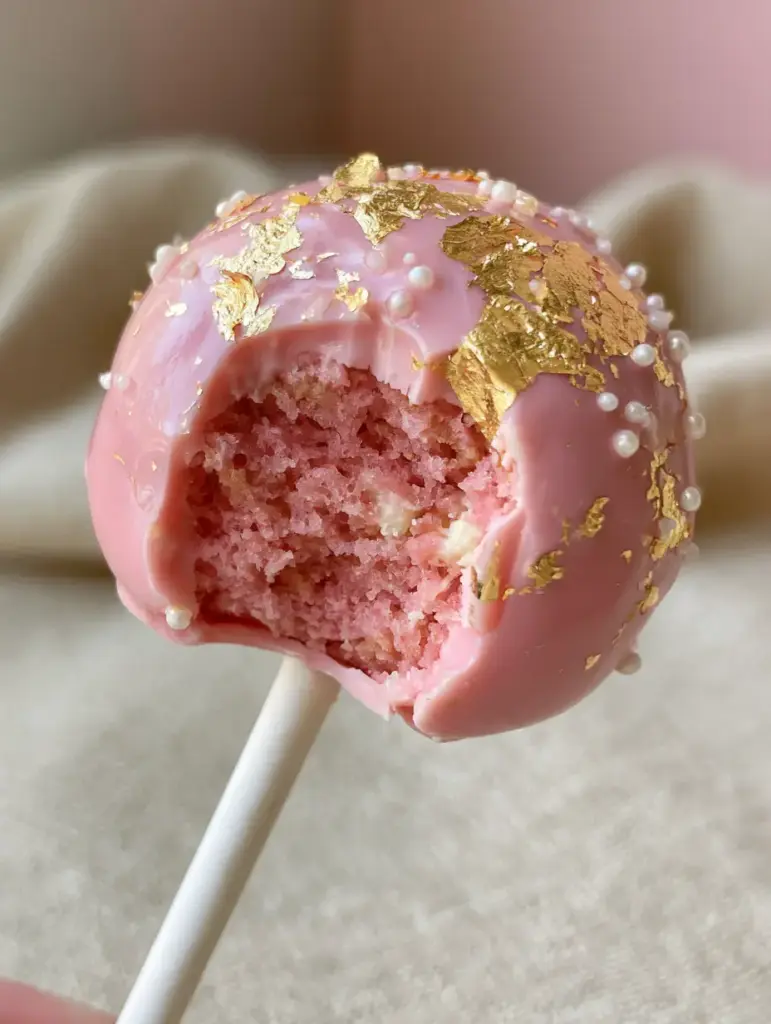
There is something undeniably magical about a perfectly executed birthday cake pop. When you hold that thick, sturdy white paper lollipop stick and see the soft blush pink shell shimmering with genuine gold leaf, it feels less like a snack and more like a work of art. These Birthday Cake Pops are designed to be the showstopper of your next celebration, offering a sensory experience that begins with a crisp chocolate snap and ends in a dense, ultra-moist pink vanilla cake crumb.
Inspired by the elegance of high-end patisseries, this recipe focuses on the structural integrity and flavor depth that store-bought versions often lack. By using a creamy buttercream binder and professional-grade dipping techniques, we ensure a flawlessly smooth exterior that doesn’t crack or slide. Whether you are prepping for a milestone party or just want to master the art of the perfect bite, this guide will walk you through every scientific nuance of the process.
Why These Handheld Birthday Cake Pops Stand Out
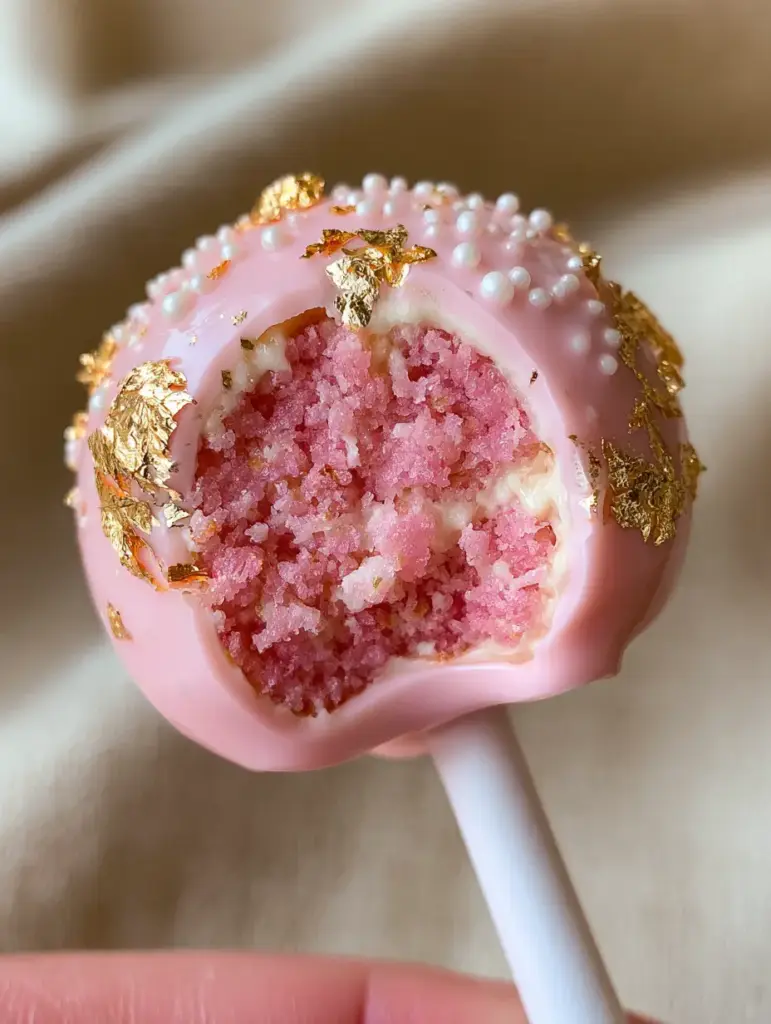
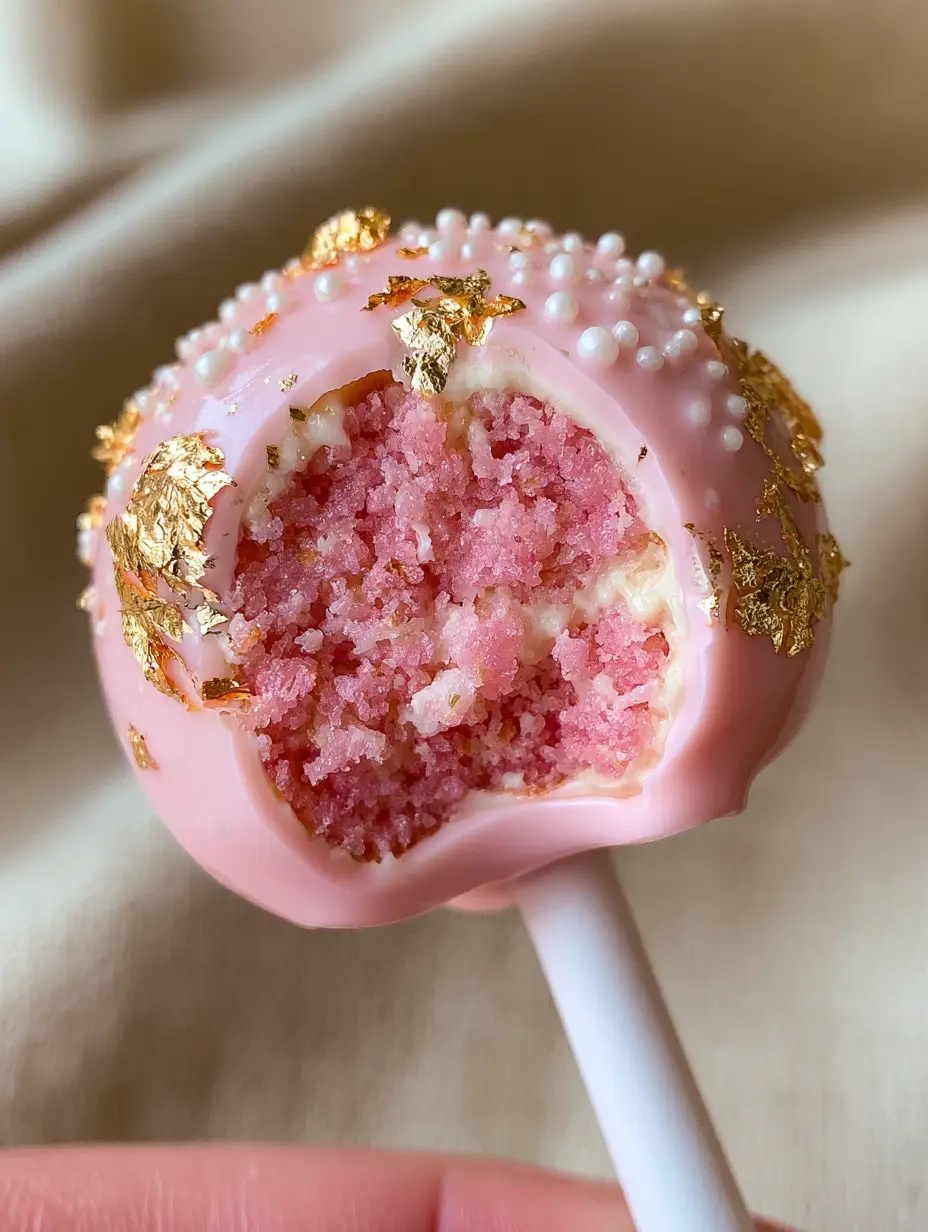
- Ultra-Moist Texture: We use a specific ratio of buttercream to cake to create a dense, “fudgy” pink interior that melts in your mouth.
- Sophisticated Aesthetics: The combination of soft blush pink coating, white pearl nonpareils, and edible gold leaf flakes creates a luxury aesthetic.
- Structural Perfection: No more sliding cake balls; we use a double-dip anchoring method to keep your pops securely on their sticks.
- Gourmet Flavor Profile: Moving beyond artificial flavors, we utilize real vanilla bean and high-quality fats for a rich, nostalgic taste.
The Secret Ingredients for a Moist Pink Vanilla Center
To achieve the visual and textural results seen in professional food photography, every ingredient serves a dual purpose. Here is what you will need for these Birthday Cake Pops.
All-Purpose Flour: 1 ½ cups (190g). This provides the structural framework for the cake; ensure you measure by weight to avoid a dry, crumbly result.
Granulated Sugar: 1 cup (200g). Sugar not only sweetens but also attracts moisture, ensuring the pink crumb stays tender for days.
Unsalted Butter: ½ cup (113g), softened. High-quality butter provides the fat necessary for a rich mouthfeel in both the cake and the buttercream binder.
Large Eggs: 2 units. Eggs act as the primary emulsifier, binding the vanilla cake layers together before we crumble them.
Sour Cream: ¼ cup (60ml). This is the secret “invisible” ingredient that guarantees an ultra-moist texture even after the cake is crumbled and rolled.
Pink Gel Food Coloring: 2-3 drops. We use gel rather than liquid to achieve a vibrant, saturated pink without altering the batter’s hydration levels.
Vanilla Bean Paste: 1 tbsp (15ml). Using paste instead of extract provides those beautiful black specks and a deep, aromatic vanilla punch.
Blush Pink Candy Melts: 16 oz (450g). These provide the thick, flawlessly smooth shell that protects the moist interior.
Edible Gold Leaf and White Pearl Nonpareils: For the final decorative touch. The gold leaf adds a metallic shimmer while the pearls provide a delicate crunch.
Vegetable Shortening or Coconut Oil: 1-2 tbsp (15-30g). Essential for thinning the tempered chocolate to a “heavy cream” consistency for dipping.
The Pro Tools Every Cake Pop Maker Needs
Achieving a professional finish requires more than just a bowl and a spoon. You will need a 9×9 inch baking pan to bake the initial cake. A stand mixer or hand mixer is vital for whipping the buttercream until it is light and airy. For the assembly, ensure you have 6-inch sturdy white paper lollipop sticks, which offer better grip than plastic versions.
To dry the Birthday Cake Pops without flat spots, a styrofoam block or a dedicated cake pop stand is non-negotiable. Finally, a small microwave-safe deep bowl (like a silicone measuring cup) is best for dipping, as the depth allows for a single, clean submersion of the cake ball.
Mastering the Art of the Perfect Moist Cake Crumb
Baking the Vibrant Pink Vanilla Foundation
Preheat your oven to 350°F (175°C). Begin by creaming your softened butter and sugar until the mixture is pale and fluffy, which usually takes about 3 minutes of high-speed mixing. Incorporate the eggs one at a time, followed by the vanilla bean paste and the pink gel coloring.
Sift your dry ingredients—flour, baking powder, and a pinch of salt—into the wet mixture, alternating with the sour cream. Once the batter is a uniform, vibrant pink, spread it into your greased pan. Bake for 25-30 minutes, or until a toothpick comes out clean. Let the cake cool completely; a warm cake will melt the buttercream and lead to greasy cake balls.
Mixing the Creamy Buttercream Binder
While the cake cools, prepare a simple but stiff vanilla buttercream. Beat 4 tbsp (56g) of butter with 1 cup (120g) of powdered sugar and a splash of heavy cream. This binder is the “glue” for your Birthday Cake Pops. It should be thick enough to hold its shape but creamy enough to incorporate into the crumbs without lumps.
The Forensic Crumbing and Rolling Process
Once the pink cake is stone-cold, remove the browned edges with a serrated knife. This ensures the interior of your pop is purely pink. Crumble the remaining cake into a large bowl until it resembles fine, wet sand. There should be no large chunks remaining.
Add the buttercream one tablespoon at a time. Work the mixture with your hands until it reaches a dough-like consistency. Test it by rolling a small ball; if it holds its shape without cracking, you have the perfect moisture level. Roll the mixture into 1.5-inch (4cm) spheres, ensuring they are perfectly smooth and round.
Tempering and Dipping for a Flawless Blush Finish
Securing the Sturdy White Paper Sticks
Melt a small amount of the blush pink chocolate in the microwave in 30-second intervals. Dip the tip of each white paper lollipop stick into the chocolate (about ½ inch deep) and then insert it halfway into the chilled cake balls. This creates a “seal” that prevents the pop from sliding off the stick during the final dip. Let these set in the refrigerator for 20 minutes.
The Perfect Dip Technique
Thin your remaining pink chocolate with a little shortening until it flows off a spoon like warm honey. Hold the Birthday Cake Pop by the stick and submerge it in one fluid motion until the chocolate touches the stick. Do not stir the pop in the chocolate!
Lift it straight up and gently tap your wrist to shake off the excess. Rotate the pop slowly as the chocolate sets to ensure an even, thick coating. Before the shell fully hardens, carefully apply the white pearl nonpareils and small flakes of genuine gold leaf using a pair of culinary tweezers.
Pro Secrets for No-Crack Dipping Success
- Temperature Balance: Never dip a frozen cake ball into hot chocolate. The extreme temperature difference causes the chocolate to expand and crack. Room temperature cake balls and warm chocolate are the safest bet.
- Avoid Over-Mixing: If you add too much buttercream, the pops will be too heavy and fall off the stick. Aim for the consistency of play-dough.
- The Tap Method: When removing excess chocolate, tap your wrist, not the stick itself. Tapping the stick can vibrate the cake ball loose.
- Oil for Shine: If your chocolate looks dull, a teaspoon of coconut oil will add that high-gloss finish seen in the prompt photos.
Preserving the Perfection: Storage and Travel
Birthday Cake Pops are surprisingly resilient. They can be stored in an airtight container in the refrigerator for up to 5 days. If you are serving them at a party, they can safely sit at room temperature for 4-6 hours, provided they are not in direct sunlight which might soften the blush pink shell.
For long-term storage, these pops freeze beautifully. Wrap each individual pop in plastic wrap and store them in a freezer bag for up to 3 months. Thaw them in the refrigerator overnight before serving to prevent condensation from forming on the smooth exterior.
What to Serve Alongside Your Birthday Cake Pops
These pops are a standout on any dessert table, but they pair beautifully with other celebratory treats. If you are hosting a themed event, consider adding birthday cake cookies for a variety of textures. For those who love a layered approach, a slice of funfetti loaf cake offers a similar flavor profile in a different format.
If you want to offer a variety of handheld treats, explore our other cake pop recipes or include some rice krispie treats for a classic nostalgic touch. For a summer gathering, these pink treats look stunning next to a chilled glass of coconut pineapple lemonade.
Common Confectionery Questions
Yes, you can make them up to 5 days in advance. Store them in the refrigerator in an airtight container to keep the pink vanilla crumb moist and the chocolate shell crisp.
Thin your candy melts or chocolate with a teaspoon of vegetable shortening or coconut oil. This reduces the viscosity, allowing excess chocolate to drip off easily without leaving lumps.
Use gel-based food coloring rather than liquid. Gel coloring provides a more intense, vibrant pink without adding unnecessary moisture that can affect the cake’s structure.
This usually happens because the cake ball is too heavy (too much buttercream) or the stick wasn’t ‘anchored.’ Always dip the stick in melted chocolate before inserting it into the cake ball to create a secure seal.
Cracking is usually caused by a temperature mismatch. If your cake balls are too cold (frozen) and your chocolate is too hot, the expanding cake will crack the shell. Ensure cake balls are chilled but not frozen.
The Ultimate Birthday Cake Pop Recipe
Birthday Cake Pops: The Ultimate Moist Pink Vanilla Recipe
Ingredients
Equipment
Method
- Bake the pink vanilla cake in a 9x9 pan at 350°F (175°C) for 25-30 minutes. Let cool completely.
- Remove browned edges and crumble the pink interior into fine crumbs. Mix with buttercream until a dough forms.
- Roll into 1.5-inch spheres. Dip sticks in melted chocolate and insert into balls. Chill for 20 minutes.
- Submerge balls into thinned pink chocolate. Before setting, apply gold leaf and white pearls.
Notes
Use a deep, narrow bowl for dipping to ensure full coverage in one move.
The Final Bite: A Celebration in Every Pop
Mastering Birthday Cake Pops is a rite of passage for any home baker. The contrast between the thick, blush pink chocolate shell and the ultra-moist pink vanilla interior is a culinary triumph that never fails to impress. By following these forensic steps—from the specific crumb texture to the delicate application of gold leaf—you are creating a premium dessert that tastes even better than it looks.
We would love to see your creations! Share your results and tag us, or head over to our Pinterest page for more visual inspiration. Don’t forget to leave a comment below with your favorite cake pop flavor combinations!