There is a specific sensory magic that occurs when you sink your teeth through a thick, matte dark chocolate shell into a dense, golden-tan center. These Peanut Butter Eggs aren’t just a holiday confection; they are a masterclass in contrasting textures and balanced flavors.
If you have ever craved that iconic, slightly granular filling found in commercial eggs but wanted a version that tastes like real food, you have arrived. This recipe focuses on achieving that perfect “dry-yet-creamy” consistency that holds its shape beautifully while melting instantly on the tongue.
Every element of these Peanut Butter Eggs has been designed to mirror the artisanal aesthetic of a professional pastry kitchen. From the subtle snap of the dark chocolate to the delicate flakes of Maldon sea salt, these are the elevated treats your dessert rotation has been missing.
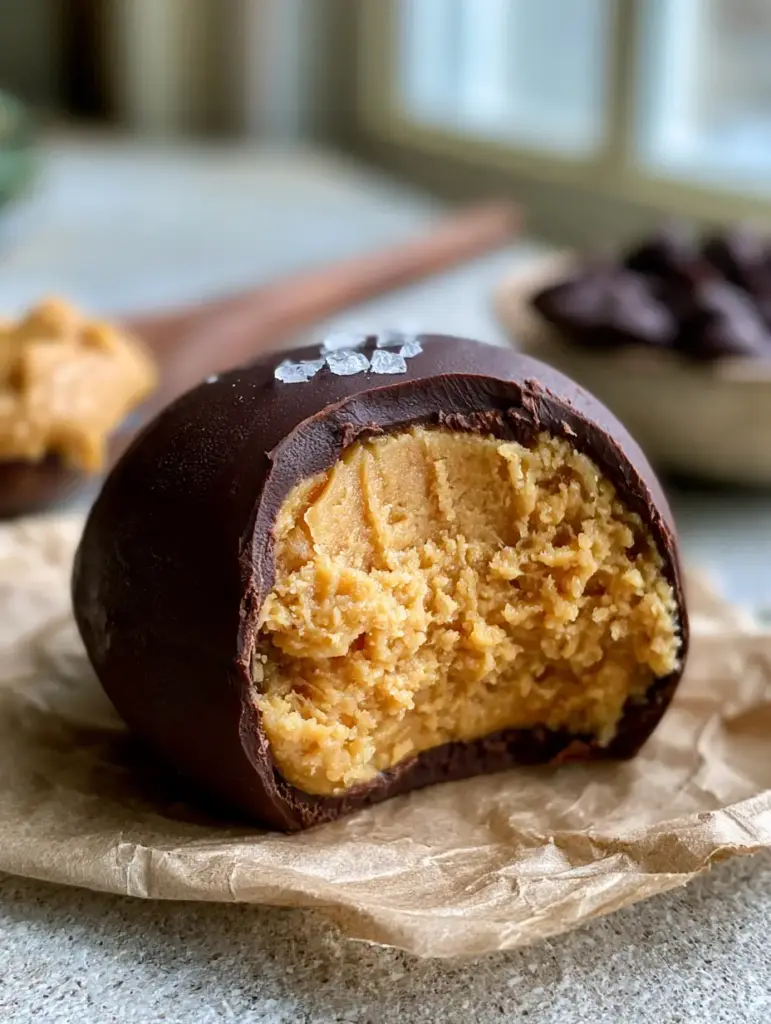
The Anatomy of the Perfect Homemade Peanut Butter Egg
- The Snap: A thick, matte dark chocolate coating that provides a satisfying resistance before giving way to the soft interior.
- The Texture: A dense, golden-tan peanut butter filling with a signature granular finish, achieved through a precise ratio of dry solids.
- The Visual: A rustic, hand-shaped egg aesthetic that looks stunning on crinkled parchment paper and natural wood accents.
- The Flavor Balance: A sophisticated interplay between deep cocoa bitterness, nutty saltiness, and a finishing touch of flaky sea salt.
The Essential Components for a Melt-in-Your-Mouth Center
Creamy Peanut Butter (1 cup / 256g): For this specific recipe, use a standard stabilized creamy peanut butter rather than the “natural” stir-style variety. The stabilizers are foundational to achieving the dense, fudge-like structure required for the egg shape.
Unsalted Butter (1/4 cup / 57g): Melted butter acts as the primary fat binder, enriching the filling and ensuring it remains supple even when chilled. Use high-quality grass-fed butter for a deeper golden-tan hue.
Confectioners’ Sugar (2 cups / 240g): Also known as powdered sugar, this provides sweetness and structure. It absorbs the moisture from the peanut butter to create that sought-after “dry” appearance that still feels creamy when eaten.
Graham Cracker Crumbs (1/2 cup / 42g): This is the “secret” culinary forensic ingredient that creates the granular texture. These fine crumbs provide a subtle crunch and a honeyed depth that mimics the most famous commercial versions.
Fine Sea Salt (1/4 tsp / 1.5g): Even with salted peanut butter, a pinch of fine salt is necessary to cut through the sugar and amplify the roasted nut notes. If you love this flavor profile, you might also enjoy making our creamy peanut butter fudge.
High-Quality Ingredients for the Thick Matte Shell
Dark Chocolate Chips or Chopped Bar (2 cups / 340g): Aim for a cacao content between 60% and 70%. This provides a sophisticated bitterness that perfectly offsets the sweet peanut butter core.
Coconut Oil (1 tbsp / 15ml): This is an invisible but vital foundational ingredient. It thins the chocolate slightly for a smoother dip while ensuring the final coating sets with a beautiful, professional matte finish rather than a glossy, sticky one.
Maldon Sea Salt Flakes (for garnish): These large, translucent crystals provide a visual pop and a burst of salinity. They transform a simple snack into a gourmet dessert suitable for a festive holiday display.
The Tools You Will Need
To achieve the visual result of a “clean bite” and a perfectly shaped egg, you will need a few specific tools. A medium mixing bowl and a sturdy wooden spoon are essential for the heavy-duty stirring required to incorporate the powdered sugar.
A baking sheet lined with crinkled parchment paper is non-negotiable. This prevents sticking and provides that rustic, artisanal background seen in professional food photography.
For dipping, a fork or a dedicated chocolate dipping tool will help you achieve a clean, even coat. A microwave-safe glass bowl is best for melting the chocolate gently without scorching the delicate cocoa solids.
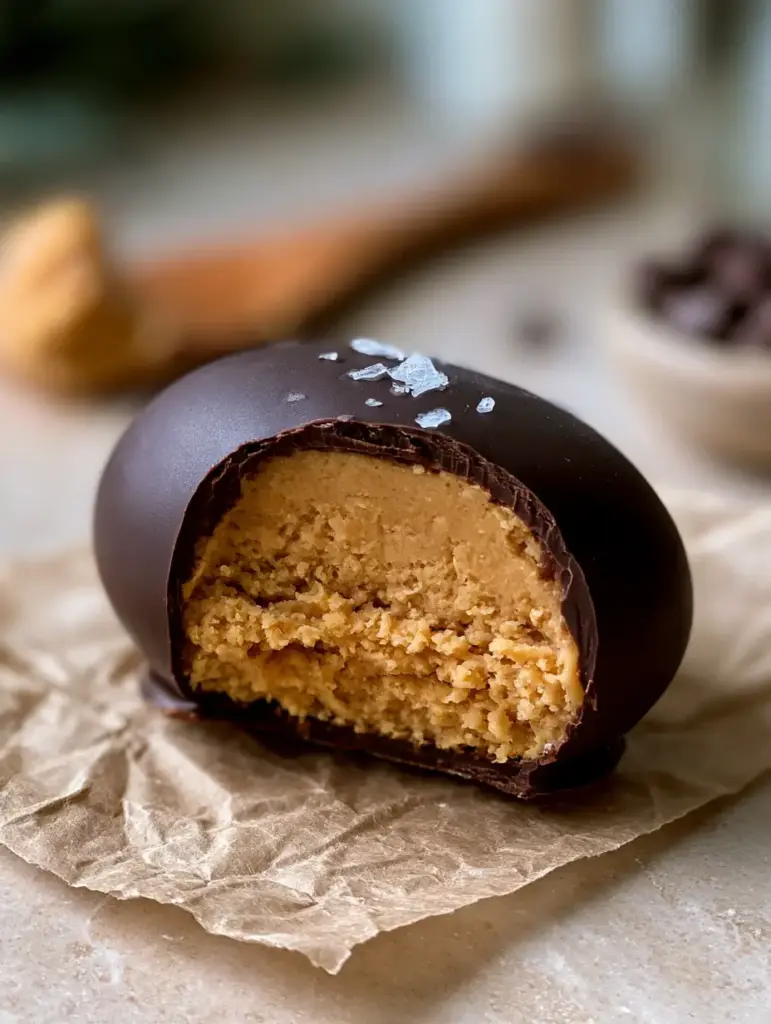
How to Construct the Ultimate Peanut Butter Eggs
Creating the Dense Golden-Tan Filling
Begin by combining the peanut butter and melted butter in a large bowl. Stir with a wooden spoon until the mixture is completely homogenous and has a glossy, liquid-gold appearance.
Sift in the confectioners’ sugar and graham cracker crumbs. This is where the culinary science happens; the mixture will transform from a liquid to a thick, workable dough. Use your hands if necessary to ensure no pockets of dry sugar remain.
Listen for a slightly “sandy” sound as you stir—this is the graham crackers distributing through the dough, promising that perfect granular texture. If you find this process satisfying, you’ll love crafting traditional peanut butter balls using a similar technique.
Shaping and Chilling for Structural Integrity
Scoop approximately 2 tablespoons (30ml) of the dough and roll it into an oval. Gently flatten it on the parchment paper and taper one end to create the iconic egg shape.
Place the tray in the freezer for at least 30 minutes. This step is critical; if the centers are not frozen solid, they will melt when they hit the warm chocolate, ruining the “clean bite” visual.
The Dipping Process for a Matte Finish
Melt the dark chocolate and coconut oil in 30-second intervals in the microwave, stirring in between. The chocolate should be smooth and pourable, with a consistent matte sheen.
Using a fork, submerge one frozen egg into the chocolate. Lift it out, tapping the fork against the side of the bowl to let the excess chocolate drip off. This ensures the shell is thick but not clumpy.
Place the egg back onto the crinkled parchment paper. Immediately scatter a few tiny flakes of Maldon sea salt over the top while the chocolate is still wet. This allows the salt to adhere perfectly to the matte surface.
Expert Tips for Confectionery Success
- Manage the Moisture: If your dough feels too oily, add an extra tablespoon of graham cracker crumbs. If it’s too crumbly to hold a shape, add a teaspoon of melted butter.
- The Double Dip: For an extra-thick dark chocolate coating, allow the first layer to set in the fridge for 5 minutes, then dip the egg a second time.
- Avoid the Bloom: To prevent white streaks (fat bloom) on your chocolate, melt it slowly. Never let the chocolate exceed 90°F (32°C) for the best matte appearance.
- Sift Your Sugar: Always sift the confectioners’ sugar to avoid lumps that would ruin the “perfectly dry-yet-creamy” consistency of the center.
Storage and Shelf Life
These Peanut Butter Eggs are best stored in the refrigerator in an airtight container. The cool temperature keeps the chocolate shell crisp and the center dense. They will remain fresh for up to two weeks.
For long-term storage, these eggs freeze beautifully. Place them in a single layer in a freezer bag for up to three months. This makes them a great make-ahead option for any holiday dessert spread, perhaps alongside a rich chocolate silk pie.
What to Serve with These Treats
The richness of dark chocolate and peanut butter pairs exquisitely with a sharp, acidic counterpoint. Consider serving these alongside fresh raspberries or a tart green apple slices. They are a natural fit for a holiday dessert table, complementing other seasonal favorites like classic peanut butter blossoms.
If you are hosting a brunch, these eggs make a surprising and delightful addition to a platter of decadent red velvet rolls or even a tray of seasonal muffins.
Common Questions About Homemade Peanut Butter Eggs
It is not recommended. Natural peanut butter often separates, making the dough too oily and preventing it from achieving the dense, granular texture required for shaping.
Yes. Freezing ensures the peanut butter holds its shape when submerged in warm chocolate and helps the coating set instantly for a thicker shell.
The secret is the graham cracker crumbs. They provide the necessary dry solids to create a slightly sandy, melt-on-the-tongue feel that sugar alone cannot provide.
Store them in an airtight container in the refrigerator for up to 2 weeks or in the freezer for up to 3 months for the best snap and flavor.
A matte finish is usually achieved by using high-quality dark chocolate and a small amount of coconut oil, then letting it set at a cool room temperature rather than high heat.
The Master Recipe: Artisanal Peanut Butter Eggs
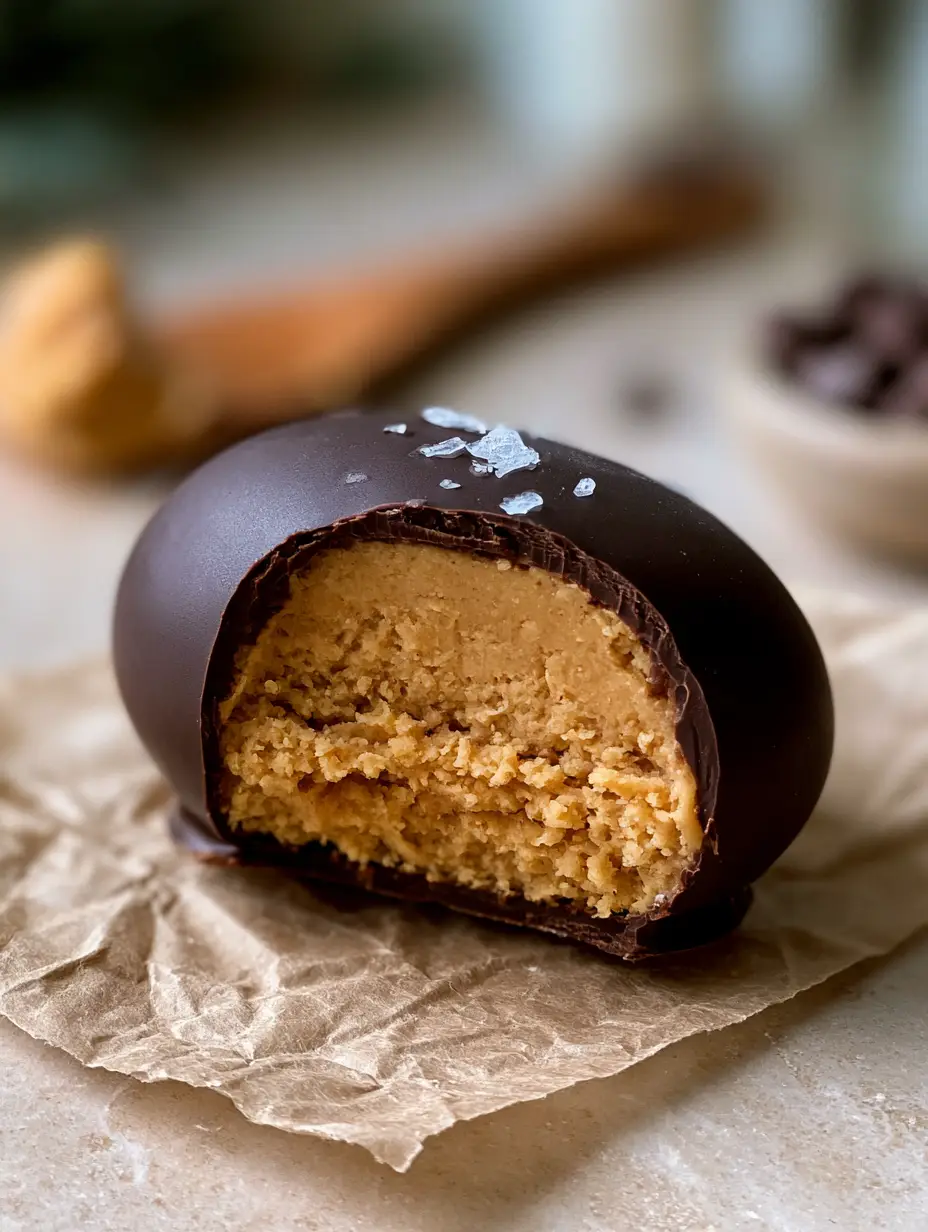
Peanut Butter Eggs: The Ultimate Dark Chocolate Recipe for a Granular, Melt-in-Your-Mouth Center
Ingredients
Equipment
Method
- In a large bowl, combine melted butter and creamy peanut butter until smooth and glossy.
- Fold in the confectioners' sugar, fine sea salt, and graham cracker crumbs. Stir with a wooden spoon until a dense, golden-tan dough forms.
- Scoop 2 tbsp of dough, roll into an oval, and taper one end to look like an egg. Place on crinkled parchment paper.
- Place the baking sheet in the freezer for 30 minutes until the centers are firm and cold.
- Melt dark chocolate and coconut oil in the microwave in 30-second bursts, stirring until smooth with a matte sheen.
- Using a fork, submerge each cold egg into the chocolate, tap off the excess, and return to parchment.
- Immediately sprinkle with Maldon sea salt flakes before the chocolate sets.
Notes
Use graham cracker crumbs specifically to achieve that signature granular, melt-in-the-mouth texture.

Join the Recipe Root Community
We hope you enjoy the satisfying snap and granular melt of these elevated Peanut Butter Eggs. Creating professional-quality confections at home is all about the details—from the parchment paper to the flakes of sea salt.
If you made this recipe, please let us know in the comments below! We love seeing your culinary creations. Don’t forget to follow us on Pinterest for more visual recipe inspiration and share this post with your fellow home cooks.