There is something undeniably hypnotic about a peanut butter fudge that manages to be both structurally sound and melt-in-your-mouth soft. Most recipes fall into two traps: they are either crumbly and grainier than a sand dune, or they are so soft they lose their shape the moment they leave the refrigerator. This recipe solves the architectural puzzle of the perfect confection.
Inspired by professional patisserie techniques, this version uses a base of white chocolate and sweetened condensed milk to create a “quick fudge” that rivals traditional boiled versions in flavor but exceeds them in reliability. The result is a dense, golden-tan square with a matte finish that looks as beautiful as it tastes.
Whether you are building a towering stack for a holiday platter or simply craving a high-protein-inspired treat, this peanut butter fudge delivers the sharp edges and glossy finish that define elite home baking. Let’s dive into the science and soul of this decadent dessert.
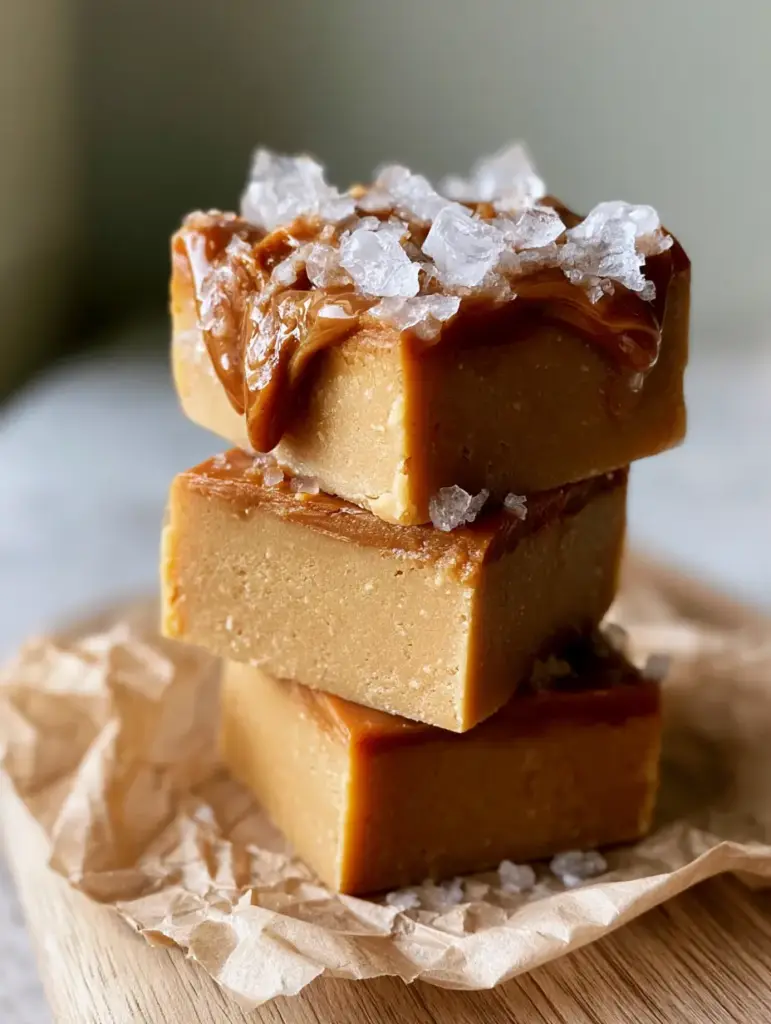
The Anatomy of a Perfect Peanut Butter Square
To achieve the specific visual of a tall, precarious stack with perfectly clean edges, we have focused on three specific textural pillars. This recipe isn’t just about mixing ingredients; it’s about managing fats and sugars to create a stable emulsion.
- The Matte Interior: Unlike sugar-syrup fudges that can look shiny or translucent, our white chocolate base provides a creamy, opaque, matte interior that highlights the rich tan of the peanuts.
- The High-Gloss Drizzle: We utilize a secondary application of dark-roasted peanut butter, melted to a specific viscosity, to provide a visual and textural contrast against the dense base.
- The Crystal Finish: Large, translucent flaky sea salt crystals provide more than just a flavor pop; they offer a geometric beauty that catches the light against the glossy drizzle.
- The Structural Integrity: Thanks to the cocoa butter in the white chocolate, these squares hold their “sharp edges” even when stacked five high on a wooden cutting board.
What You Need for Velvety Peanut Butter Fudge
Each ingredient in this peanut butter fudge serves a specific forensic purpose. We aren’t just looking for sweetness; we are looking for the perfect set.
Creamy Peanut Butter: 1.5 cups (380g). Use a high-quality “no-stir” creamy peanut butter for the base to ensure the oils don’t separate during the setting process. This provides the foundational golden-tan color and the unmistakable nutty backbone.
White Chocolate Chips or Chopped Bars: 3 cups (510g). The white chocolate acts as the “glue” for our fudge. Its cocoa butter content ensures a clean break when bitten, rather than a sticky pull.
Sweetened Condensed Milk: 1 can (14 oz / 397g). This is our secret to a non-grainy texture. Because the sugar is already dissolved in milk solids, there is zero risk of the fudge turning “sandy” as it cools.
Vanilla Extract: 1 tsp (5ml). A foundational invisible ingredient that rounds out the earthy notes of the peanuts and the sweetness of the white chocolate.
Unsalted Butter: 2 tbsp (30g). This adds a slight silkiness to the “mouthfeel” and helps the fudge achieve that velvety, dense texture described in our visual blueprint.
Dark-Roasted Peanut Butter (for drizzle): 1/4 cup (64g). This is specifically for the top. Dark-roasted varieties offer a deeper color contrast against the golden-tan base for that professional, glossy finish.
Flaky Sea Salt: 1 tbsp (approx. 5g). Use large crystals like Maldon. These provide the “precise inventory” of translucent flakes that balance the richness of the fats.
Essential Tools for Sharp Professional Fudge Edges
To get the look of a “vertical handheld smartphone photo” worthy of a professional feed, your tools matter as much as your ingredients. You don’t need a candy thermometer, but you do need precision.
First, an 8×8 inch (20x20cm) square baking pan is non-negotiable. Using a larger pan will result in thin squares that lack the “thick-cut” presence required for a precarious stack. You will also need high-quality parchment paper; leave an overhang on two sides to create “handles” that allow you to lift the entire chilled block out of the pan without marring the edges.
A sharp chef’s knife and a ruler are the secrets to those perfectly clean sharp edges. For the cleanest cuts, you will want to wipe the blade with a warm, damp cloth between every single slice. Finally, an offset spatula is vital for smoothing the fudge into the corners of the pan to ensure a level top surface before the drizzle is applied.
Mastering the Dense Golden-Tan Base
Creating this peanut butter fudge requires a gentle touch. High heat is the enemy of white chocolate, as it can cause the solids to seize and turn grainy—the exact opposite of our matte, creamy goal.
Step 1: The Gentle Melt
In a large heavy-bottomed saucepan or a double boiler over low heat, combine your sweetened condensed milk, white chocolate, and butter. Stir constantly with a silicone spatula. You are looking for a visual cue: the moment the last white chocolate chip disappears and the mixture becomes a singular, cohesive, thick liquid.
Step 2: Incorporating the Peanut Butter
Once the base is smooth, remove it from the heat immediately. Fold in the 1.5 cups (380g) of creamy peanut butter and vanilla extract. As you fold, you will hear a specific “heavy” sound as the mixture thickens. The color should transform into a beautiful, uniform golden-tan. Work quickly here, as the fudge will begin to set as the temperature drops.
Step 3: The Level Set
Pour the mixture into your prepared pan. Use the offset spatula to push the fudge into the corners. Tap the pan firmly on the counter three times to release any trapped air bubbles. This ensures the “non-grainy texture” and “perfectly clean edges” when you cut it later. Smooth the top until it is as level as a sheet of glass.
Achieving the Signature Glossy Peanut Butter Drizzle
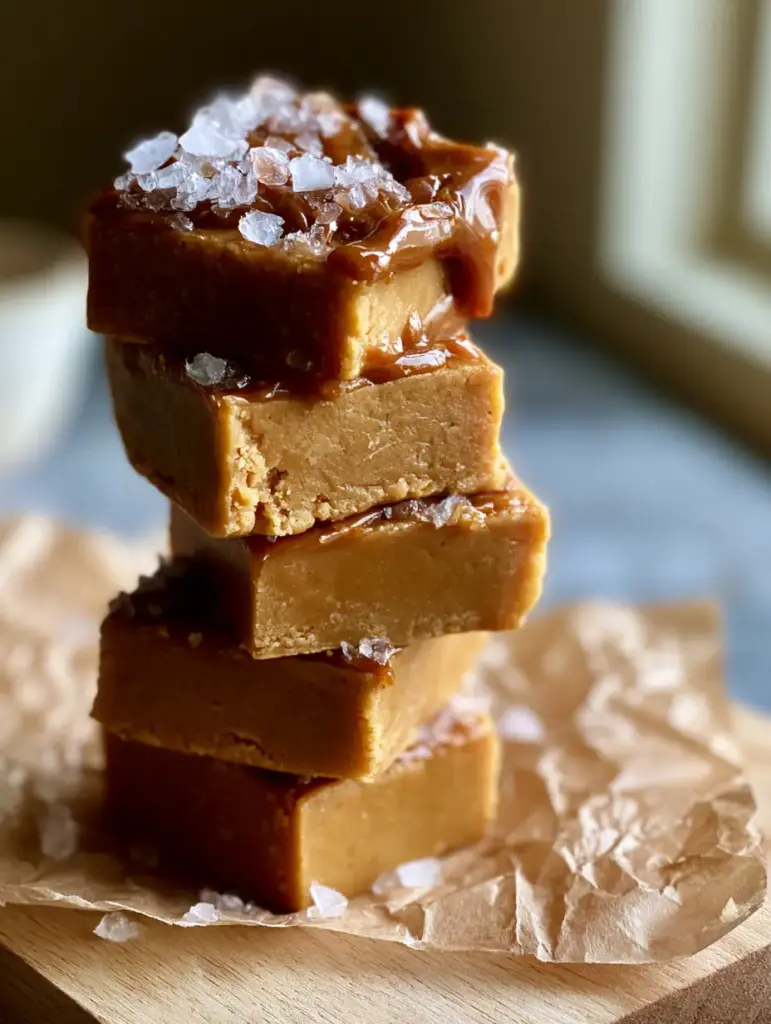
The visual hallmark of this recipe is the contrast between the matte fudge and the “thick glossy drizzle” on top. This isn’t just aesthetics; it adds a secondary layer of intense peanut flavor.
Take your dark-roasted peanut butter and place it in a small microwave-safe bowl. Heat in 15-second intervals until it is fluid but not hot. It should fall off a spoon in a “ribbon stage” flow. Using a spoon or a small piping bag, zigzag the melted peanut butter across the surface of the fudge. Do not swirl it in; we want the drizzle to sit proudly on top.
Immediately after drizzling, while the peanut butter is still glossy and wet, sprinkle your flaky sea salt crystals. Placing them now ensures they adhere to the drizzle, creating that “precise inventory” of salt described in our visual prompt. Place the pan in the refrigerator for at least 4 hours, or ideally overnight, to reach its “chilled set state.”
Troubleshooting Your Fudge Texture
- If your fudge is too soft: It likely didn’t chill long enough or your white chocolate had a lower cocoa butter percentage. Keep it in the freezer for 30 minutes before cutting.
- If the oil is separating: This happens if the mixture gets too hot. Always use low heat and remove from the stove the moment the chocolate melts.
- If the edges are crumbly: Ensure you are using a sharp, warm knife. Cold fudge can sometimes crack if the knife is dull.
- If the drizzle won’t set: Peanut butter remains somewhat soft. For a firmer drizzle, you can mix 1 tsp of melted coconut oil into the peanut butter before drizzling.
How to Keep Your Fudge Fresh and Creamy
To maintain the “matte creamy interior” of your peanut butter fudge, storage is key. If left uncovered, the fudge will develop a crust and lose its velvety mouthfeel. Store the squares in an airtight container with layers of parchment paper between them to prevent sticking.
In the refrigerator, this fudge will stay perfect for up to 2 weeks. For longer storage, you can freeze the squares for up to 3 months. If freezing, let the fudge sit at room temperature for 15 minutes before serving to regain its characteristic “thick-cut” suppleness. This is a great treat to make ahead for a festive hot cocoa board or as a companion to homemade peanut butter balls.
Perfect Pairings for Your Dessert Board
Because this peanut butter fudge is so rich, it pairs beautifully with items that offer acidity or a different kind of crunch. Consider serving it alongside mini apple cheesecakes for a fall-themed spread. The saltiness of the fudge also complements the sweetness of classic peanut butter blossoms.
If you’re looking for a variety of textures, try including these fudge squares on a platter with brown butter pumpkin cookies or even decadent red velvet rolls for a brunch-style dessert display. The golden-tan color of the fudge looks stunning next to the deep reds and oranges of autumn-themed treats.
Common Questions About No-Bake Fudge
Substituting dark chocolate will change the flavor profile and color significantly. White chocolate is used here specifically to highlight the golden-tan peanut butter aesthetic and provide a specific matte texture.
It is not recommended. Natural peanut butter often separates, which can lead to a greasy fudge. A ‘no-stir’ creamy brand provides the best structural integrity and color.
Yes, for the best texture. While it is stable at room temperature for serving, storing it in the fridge maintains that dense, velvety ‘chilled set state’ and prevents the drizzle from softening.
Chill the fudge thoroughly for at least 4 hours. Use a sharp chef’s knife dipped in warm water and wiped dry between every single cut to prevent sticking and dragging.
Graininess is usually caused by undissolved sugar crystals. This recipe uses sweetened condensed milk and white chocolate to eliminate that risk entirely, ensuring a smooth, matte finish.
The Ultimate Peanut Butter Fudge Recipe Card
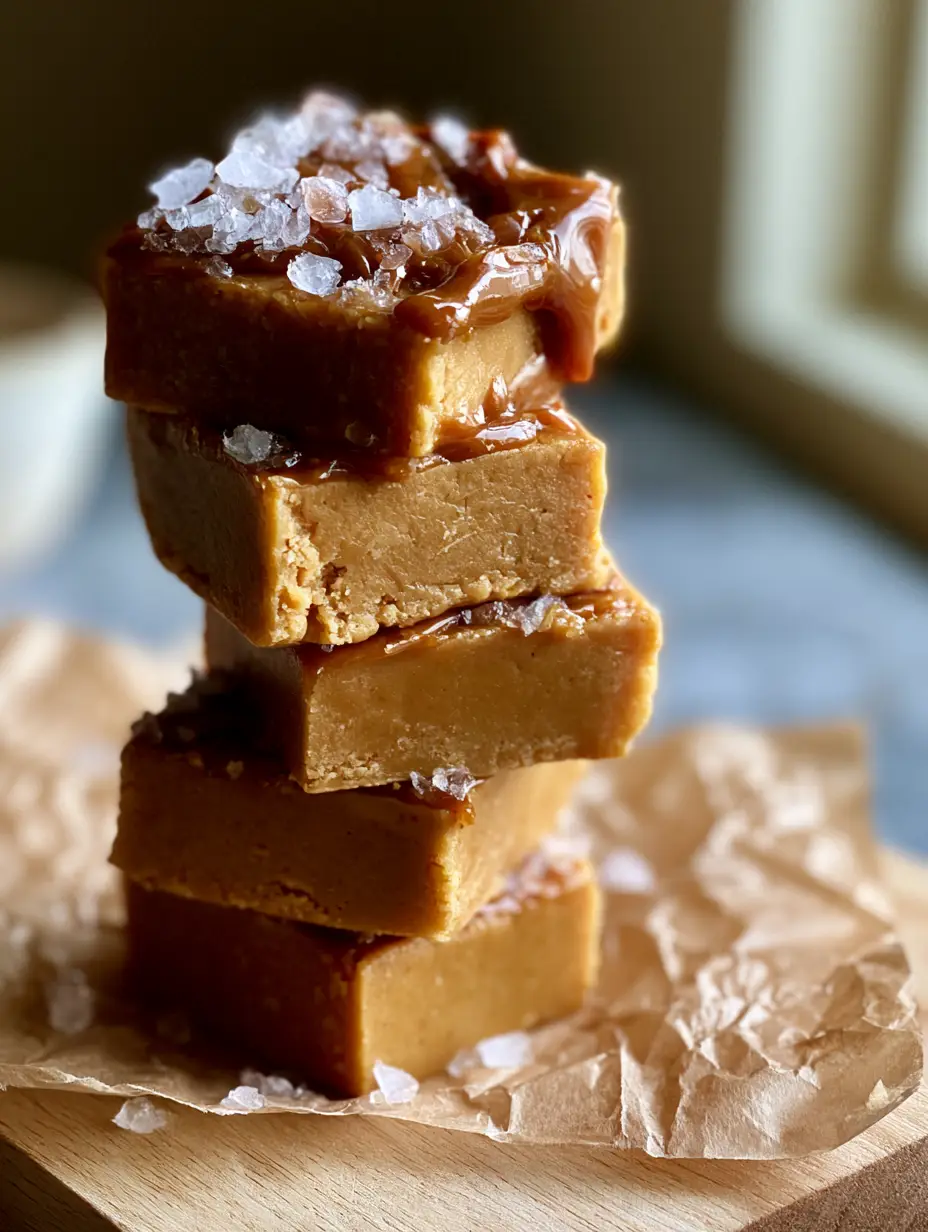
Peanut Butter Fudge: The Ultimate Velvety White Chocolate Recipe
Ingredients
Equipment
Method
- Line an 8x8 inch pan with parchment paper, leaving an overhang on the sides for easy removal.
- In a heavy-bottomed saucepan over low heat, combine white chocolate, sweetened condensed milk, and butter. Stir constantly until smooth.
- Remove from heat and immediately fold in the 1.5 cups of creamy peanut butter and vanilla until the color is a uniform golden-tan and the texture is dense.
- Pour into the prepared pan and smooth the top with an offset spatula. Tap the pan on the counter to remove air bubbles.
- Melt the dark-roasted peanut butter in the microwave for 15-30 seconds. Drizzle over the top of the fudge in a zigzag pattern.
- Sprinkle the flaky sea salt crystals over the wet peanut butter drizzle.
- Chill in the refrigerator for at least 4 hours until the fudge reaches a firm, chilled set state.
Notes
Wipe the knife between every slice to maintain sharp edges.
Closing & Call to Action
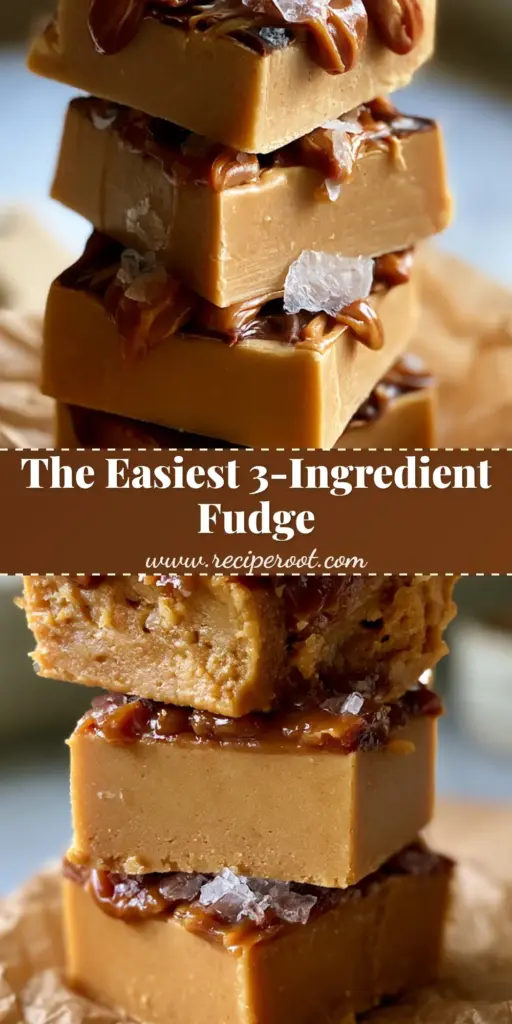
This peanut butter fudge is more than just a sweet treat; it is a masterclass in texture and visual appeal. From the sharp, clean edges to the glistening sea salt, it’s a recipe designed to impress both the palate and the camera. If you enjoyed making this dense, velvety fudge, please leave a comment below and tell us how your stack turned out!
Don’t forget to sign up for our newsletter for more professional-grade recipes, and be sure to share your creations with us on Pinterest. Tag @recipe_root so we can see your precarious fudge stacks in action!


