When searching for the perfect Chocolate pie recipe, home bakers often find themselves caught between light, airy puddings and overly stiff mousses. This version represents the pinnacle of chocolate engineering, delivering a high-gloss, velvety ganache that behaves like silk on the palate. Inspired by professional patisserie standards, this pie bridges the gap between a simple home dessert and a luxury restaurant experience.
The visual appeal of this dish is undeniable, featuring a stark contrast between the midnight-black cookie foundation and the cloud-like peaks of hand-whipped cream. Every bite is a calculated balance of textures, from the crunch of the pressed butter crust to the delicate snap of dark chocolate curls. This is the definitive Chocolate pie recipe for those who demand both aesthetic perfection and profound depth of flavor.
By focusing on high-quality cocoa solids and precise emulsion techniques, we achieve a dense, ultra-smooth filling that holds its shape while remaining incredibly soft. Whether you are preparing this for a festive gathering or a quiet weekend indulgence, the result is a dessert that looks as though it was captured by a professional food photographer in soft, natural daylight. Let’s dive into the science of this no-bake masterpiece.
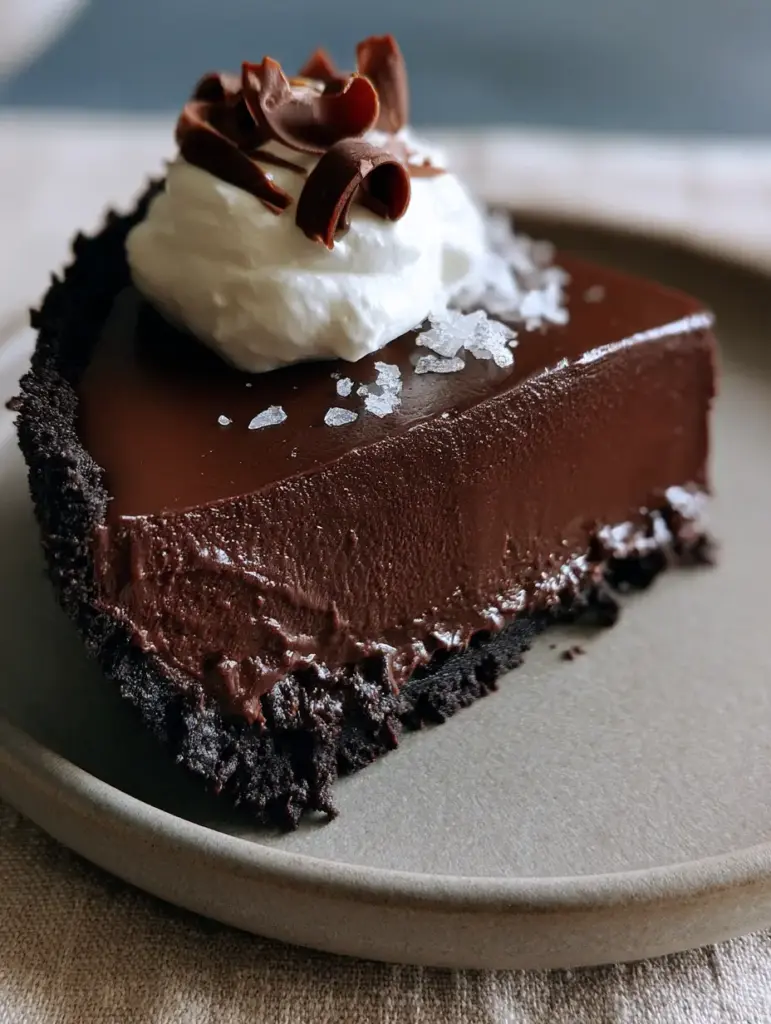
The Anatomy of an Irresistible Chocolate Masterpiece
- Textural Contrast: A thick, gritty dark chocolate cookie crumb foundation provides the necessary structural snap to support the dense filling.
- The Signature Gloss: A specialized cocoa-butter emulsion creates a mirror-like finish that reflects light beautifully on any dessert table.
- Velvety Density: Unlike flour-thickened pies, this ganache-based center offers a rich, melt-in-the-mouth sensation that is pure luxury.
- Salty Sophistication: Large flaky sea salt crystals provide a sharp contrast that cuts through the sugar and amplifies the dark cocoa notes.
- No-Bake Ease: Achieve professional-tier results without ever turning on your oven, making this one of our favorite simple dessert preparations.
The Foundation of Flavor: Essential Ingredients for the Best Chocolate Pie Recipe
Dark Chocolate Cookie Crumbs: 1 1/2 cups (150g). These provide the deep, cocoa-heavy base that anchors the entire dessert; ensure they are finely pulverized for a tight, stable crust.
Unsalted Butter, Melted: 6 tbsp (85g). The butter acts as the glue for your crust, providing a rich, savory backbone that balances the sweet filling.
60% Dark Chocolate (Couverture preferred): 12 oz (340g). This is the heart of the dish; using high-quality chocolate with a high cocoa butter content ensures the “ultra-smooth” texture described in our visual blueprint.
Heavy Cream (36% Fat): 1 1/2 cups (360ml). The fat in the cream is what creates the luxurious mouthfeel and allows the ganache to set into a dense, fudge-like consistency.
Light Corn Syrup or Invert Sugar: 1 tbsp (15ml). This “invisible” ingredient is the secret to the glossy cocoa glaze, preventing sugar crystallization and adding a professional sheen.
Vanilla Bean Paste: 1 tsp (5ml). While chocolate is the star, vanilla bean paste adds floral complexity and those beautiful tiny black specks to the whipped topping.
Flaky Sea Salt: 1/2 tsp (2g). Specifically chosen for its large crystal structure, it provides a visual and flavor pop that elevates the entire experience.
Cold Heavy Cream (for topping): 1 cup (240ml). This must be extremely cold to achieve the “cloud-like peaks” that sit atop the dark ganache.
Dark Chocolate Block (for curls): 2 oz (55g). Using a vegetable peeler on a room-temperature chocolate block is the key to those delicate, professional-looking curls.
Essential Tools for a Professional Patisserie Finish
To achieve the macro-level detail and perfect slices seen in our visual guide, you will need a 9-inch (23cm) tart pan with a removable bottom. This allows you to lift the pie out cleanly, showing off the thick chocolate cookie crumb foundation without breaking the edges. A high-quality offset spatula is also vital for smoothing the ganache into that perfectly level, high-gloss surface.
For the whipped cream, a chilled stainless steel bowl and a whisk attachment are recommended to maximize volume. Finally, a sharp chef’s knife dipped in hot water and wiped dry between each cut is the “secret weapon” for achieving that clean, decadent slice seen in professional food photography.
The Culinary Blueprint: Step-by-Step Instructions
Phase 1: Engineering the Dark Cookie Foundation
In a medium bowl, combine the 1 1/2 cups (150g) of dark chocolate cookie crumbs with the 6 tbsp (85g) of melted butter. Stir until the mixture resembles wet sand and the butter is fully incorporated into every crumb.
Transfer the mixture to your tart pan. Press the crumbs firmly into the bottom and up the sides using the flat bottom of a measuring cup; this creates the “pressed butter crust” necessary for structural integrity. Chill the crust in the freezer for 20 minutes to set the butter firmly before adding the filling.
Phase 2: Emulsifying the High-Gloss Ganache
Finely chop the 12 oz (340g) of dark chocolate and place it in a heat-proof glass bowl. In a small saucepan, heat the 1 1/2 cups (360ml) of heavy cream and the 1 tbsp (15ml) of corn syrup over medium heat until it just begins to simmer—look for small bubbles forming around the edges, but do not let it reach a rolling boil.
Pour the hot cream over the chocolate and let it sit undisturbed for 5 minutes. This allows the heat to penetrate the cocoa solids evenly. Begin whisking from the center in small circles, gradually moving outward until a thick, high-gloss chocolate ganache forms. You will see the texture transform from grainy to a velvety, mirror-like sheen.
Phase 3: The Setting Process and Surface Smoothing
Pour the ganache into the chilled crust. Use an offset spatula to smooth the top, though a properly emulsified ganache should naturally level itself into a “perfectly set” surface. Tap the pan gently on the counter to release any trapped air bubbles.
Transfer the pie to the refrigerator. Allow it to chill for at least 4 hours, or ideally overnight. This long rest is what creates the “dense, ultra-smooth” consistency required for a clean slice that holds its shape when lifted from the plate.
Phase 4: Creating Cloud-Like Peaks and Dark Curls
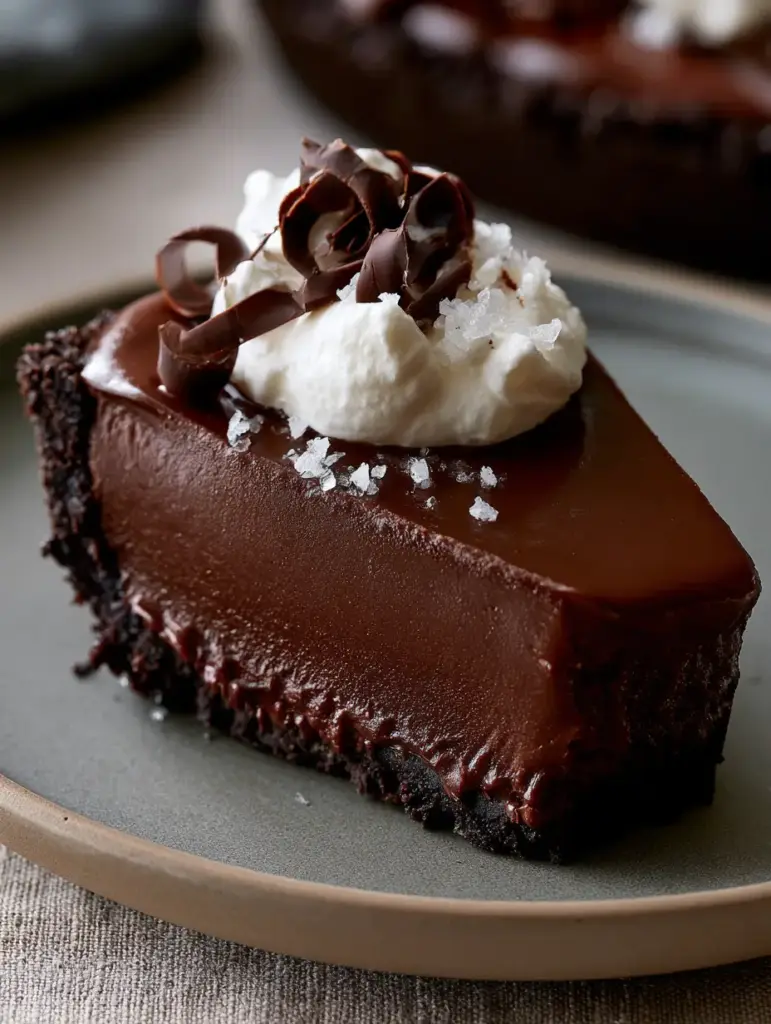
Once the pie is fully set, prepare the topping. Whip the remaining 1 cup (240ml) of heavy cream with the vanilla bean paste until soft peaks form. You are looking for a “cloud-like dollop” texture—if you over-whip, the cream will become grainy and lose its delicate visual appeal.
Use a vegetable peeler to shave the 2 oz (55g) dark chocolate block into long, delicate curls. To ensure the curls don’t break, handle them as little as possible with your warm hands; a pair of kitchen tweezers can be helpful for precise placement.
Phase 5: The Final Presentation and Seasoning
Spoon the whipped cream onto the center of the pie, or onto individual slices. Garnish generously with the shaved chocolate curls and a deliberate sprinkle of flaky sea salt crystals. The salt should be visible, catching the light alongside the glossy glaze for that perfect macro detail.
Pro-Tips for Chocolate Pie Recipe Success
- Temper Your Ingredients: Ensure your chocolate is at room temperature before adding the hot cream to prevent the ganache from seizing.
- The Clean Cut: For a “single decadent slice” look, heat your knife under hot water, dry it, and slice through the pie in one firm motion.
- Avoid Condensation: Do not cover the pie with plastic wrap while it is still warm, as steam will create water droplets that ruin the glossy cocoa glaze.
- Crust Density: If your crust is crumbling, you likely didn’t press it hard enough; use more pressure than you think is necessary with the measuring cup.
Preservation: Storage and Make-Ahead Advice
This Chocolate pie recipe is an excellent candidate for make-ahead dessert planning. The ganache filling remains stable in the refrigerator for up to 5 days, though the whipped cream topping is best added just before serving to maintain its “cloud-like” volume. If you need to store leftovers, place them in an airtight container to prevent the chocolate from absorbing other refrigerator odors.
You can also freeze the base pie (without the cream). Wrap the set pie tightly in plastic wrap and foil; it will keep for up to 1 month. Thaw in the refrigerator for 24 hours before garnishing and serving. This makes it a perfect addition to your collection of festive autumn pie recipes where oven space is at a premium.
What to Serve Alongside Your Chocolate Masterpiece
Because this Chocolate pie recipe is so intensely rich, it pairs beautifully with tart or spiced accompaniments. Consider serving it alongside a platter of decadent cheesecake bars for a diverse dessert spread. The deep cocoa notes are also complemented by the spices found in warm chocolate treats.
For a drink pairing, a strong espresso or a dry red wine like a Cabernet Sauvignon will cut through the density of the ganache. If you are serving this during the holidays, it fits perfectly on a hot cocoa charcuterie board, offering a sophisticated anchor to the smaller sweets.
Frequently Asked Questions for the Ultimate Pie
Milk chocolate has a lower fat-to-sugar ratio and will result in a much softer, potentially runny filling. For this specific dense texture, 60-70% dark chocolate is required.
The secret to the gloss is adding a small amount of corn syrup or invert sugar, which prevents crystallization and creates a mirror-like sheen when emulsified correctly.
To make this recipe gluten-free, simply substitute the standard dark chocolate cookie crumbs for a certified gluten-free chocolate wafer or cookie alternative.
Use a vegetable peeler on the side of a room-temperature block of chocolate. Long, steady strokes will create the delicate curls seen in professional photography.
If the ganache doesn’t set, the cream-to-chocolate ratio may be off, or the chocolate used had too little cocoa butter. Ensure you use 60% dark chocolate and chill for at least 4 hours.
The Definitive Chocolate Pie Recipe Card
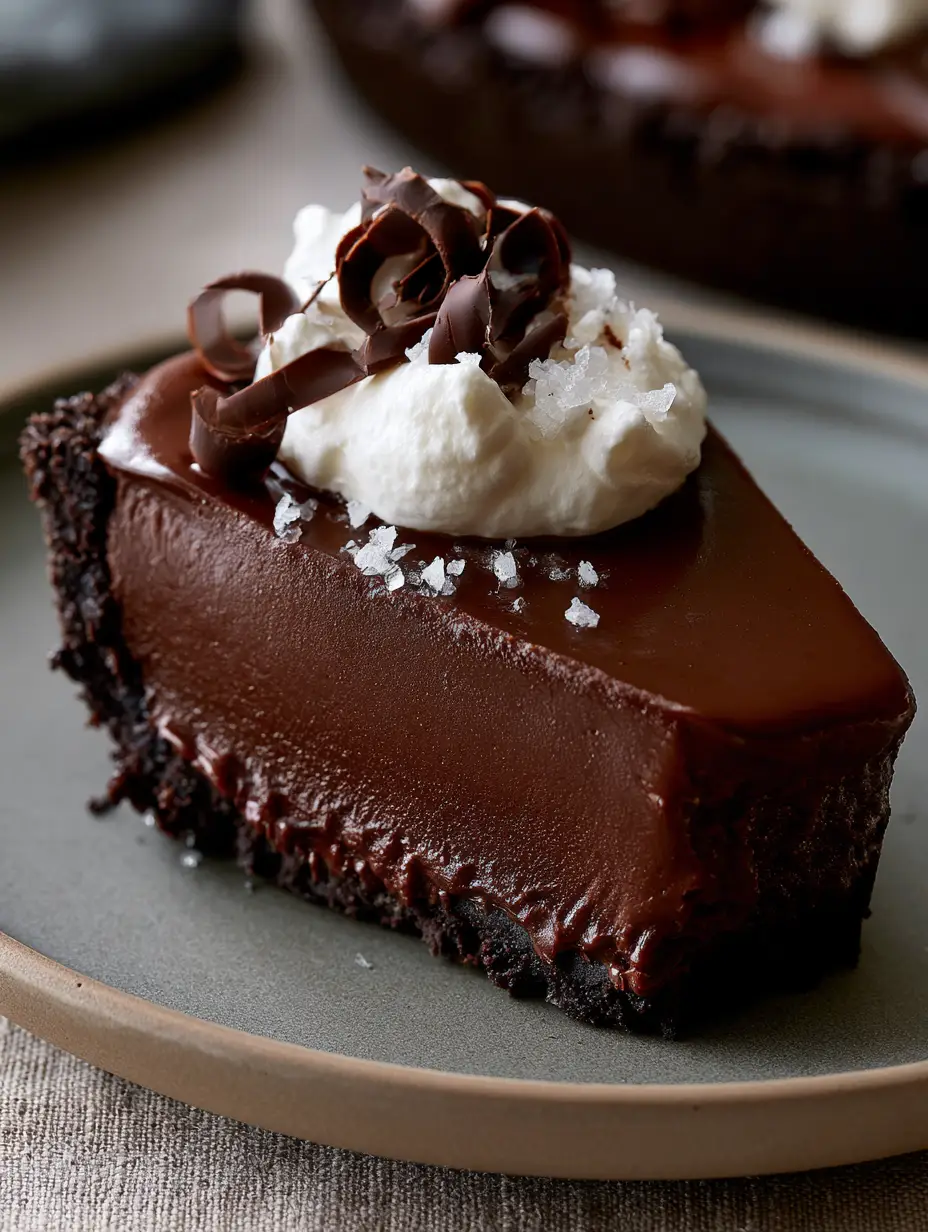
The Ultimate Ultra-Glossy Chocolate Pie Recipe: A Masterclass in Decadence
Ingredients
Equipment
Method
- Combine cookie crumbs and melted butter. Press firmly into a 9-inch tart pan and freeze for 20 minutes.
- Heat cream and corn syrup until simmering. Pour over chopped chocolate, let sit for 5 minutes, then whisk until high-gloss and smooth.
- Pour into the crust and refrigerate for at least 4 hours until the ganache is dense and perfectly set.
- Whip cream with vanilla until soft peaks form. Top the chilled pie with cream, chocolate curls, and flaky sea salt.
Notes
Use high-quality chocolate for the best gloss and flavor.
Closing & Call to Action
This Chocolate pie recipe is more than just a dessert; it is a testament to how simple ingredients, when treated with technical precision, can create something truly extraordinary. The combination of the “high-gloss” ganache and the “dark chocolate cookie crumb” foundation ensures that every slice is a showstopper. We hope this guide helps you master the art of the perfect no-bake chocolate pie.
Did you achieve that perfect mirror glaze? We would love to hear about your results in the comments below! If you enjoyed this recipe, please consider signing up for our newsletter for more culinary forensics and SEO-optimized baking guides. Don’t forget to share your creations and follow us on Pinterest for more inspiration.


