When you cannot decide between a decadent, dark chocolate brownie and a classic, buttery chocolate chip cookie, the Brookies Cookies are your ultimate solution. This recipe delivers the best of both worlds in a single, thick-sliced bar that looks just as incredible as it tastes.
Imagine biting into a layer of obsidian-dark, fudgy brownie foundation that is topped with a golden-brown, soft-baked chocolate chip cookie. The contrast in textures—from the moist, chewy center to the shiny crinkle top—creates a sensory experience that defines luxury home baking.
In this guide, we are diving deep into the culinary science required to achieve those perfect cross-section layers you see in professional food photography. We will cover everything from blooming your cocoa for that deep color to ensuring your semi-sweet chocolate chunks stay perfectly melted and gooey.
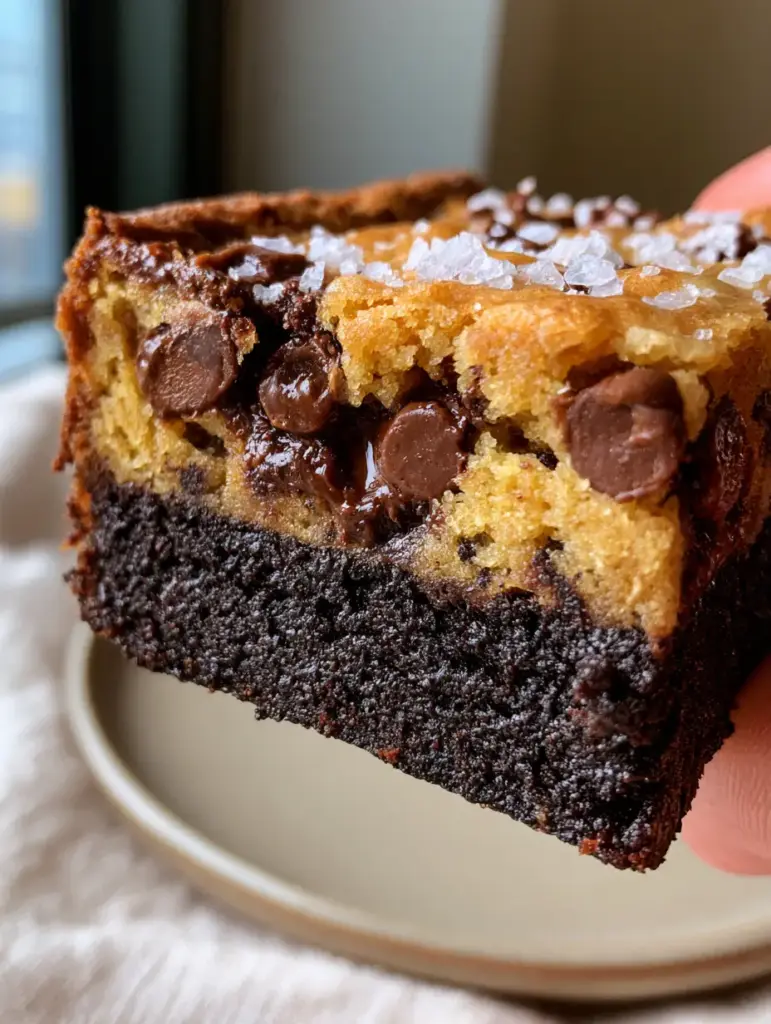
Why You Will Obsess Over These Brookies Cookies
This recipe is engineered for maximum indulgence and visual appeal, ensuring every batch looks like it came from a high-end boutique bakery. Here is what makes these bars stand out:
- Dual-Texture Mastery: You get a dense, obsidian-dark brownie base paired with a soft-baked, golden cookie topper.
- Forensic Visuals: We focus on the “crinkle top shine” and “melted chocolate pockets” that make these bars irresistible on camera.
- Scientific Precision: Using balanced fats and sugars to ensure the layers stay distinct without merging into a muddy mess.
- The Salty Finish: A generous dusting of flaky sea salt cuts through the richness, elevating the semi-sweet chocolate notes.
If you love this hybrid approach, you might also want to explore our brown butter brookies for a nuttier flavor profile or our peanut butter brownie recipe for a classic salty-sweet combination.
The Essential Ingredients for Perfect Layered Bars
Achieving the perfect Brookies Cookies requires high-quality ingredients that react correctly under heat. Each component serves a specific structural and visual purpose in the final bake.
Dutch-Processed Cocoa Powder: 3/4 cup (75g). This is non-negotiable for achieving that obsidian-dark, fudgy brownie base and a deep, complex chocolate flavor.
Unsalted Butter: 1 cup (225g), divided. We use melted butter in the brownie for chewiness and softened creamed butter in the cookie for a soft-baked structure.
Semi-Sweet Chocolate Discs: 1.5 cups (255g). Discs or large chunks create the “visible pockets of melted chocolate” described in our visual blueprint, rather than small chips that disappear.
Granulated Sugar & Light Brown Sugar: A precise mix is used to create the shiny crinkle top on the brownie and the soft, chewy moisture in the cookie.
Flaky Sea Salt: 1 tsp (5g). Large flakes provide a professional finish and a crunch that contrasts with the moist, fudgy crumb.
Large Eggs: 3 total. These provide the protein structure needed to lift the cookie layer while keeping the brownie layer dense and fudgy.
All-Purpose Flour: 2 cups (250g), divided. We balance the flour carefully to ensure the brownie is fudgy rather than cakey, while the cookie remains soft.
Must-Have Baking Tools for Professional Results
To capture that macro-handheld photo quality, you need the right tools to control the heat and the shape of your Brookies Cookies.
An 8×8 inch (20x20cm) square baking pan is essential for achieving the thickness required for a perfect cross-section. We recommend a light-colored metal pan to prevent the edges from over-browning before the center is set.
Parchment paper is another requirement. Creating a “sling” allows you to lift the entire block of brookies out of the pan once cooled, ensuring clean, sharp edges when you slice into them.
A high-quality silicone spatula will help you fold the brownie batter without over-aerating it, which is the secret to maintaining that dense, fudgy obsidian crumb.
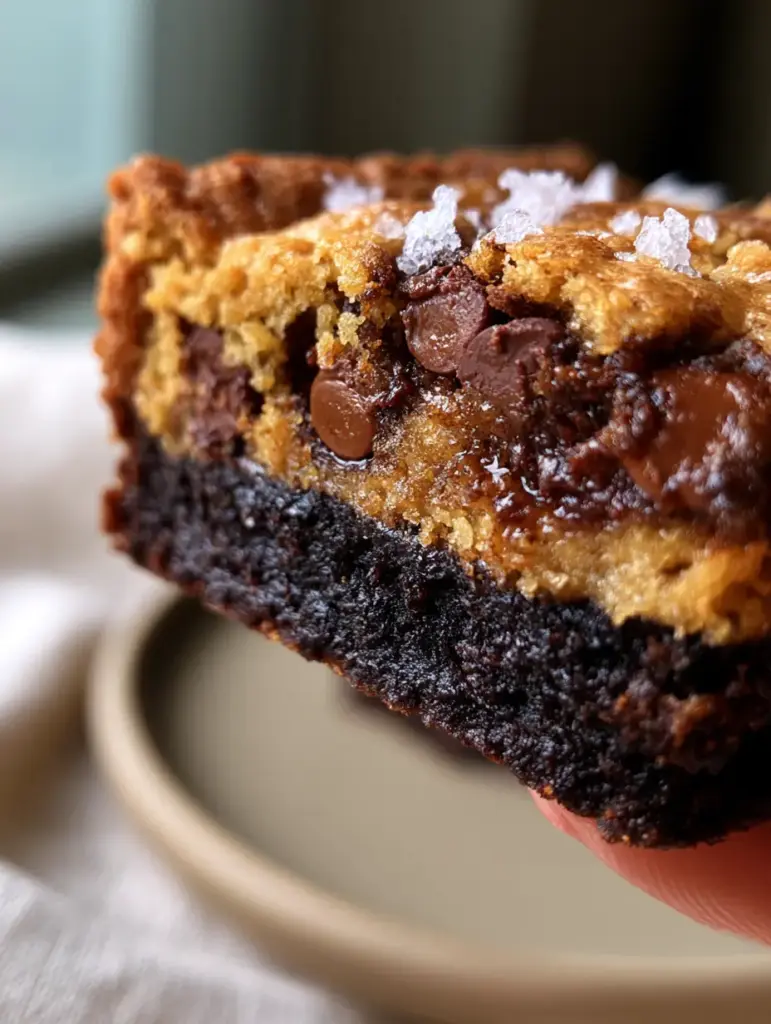
Step-by-Step Guide to Crafting the Ultimate Hybrid Dessert
Preparing the Obsidian-Dark Brownie Base
Start by melting 1/2 cup (115g) of butter and whisking it with 1 cup (200g) of granulated sugar while hot. This process helps dissolve the sugar, which is the primary driver for creating that coveted shiny crinkle top.
Whisk in 2 eggs and 1 tsp (5ml) of vanilla extract until the mixture is glossy and pale. Sift in your Dutch-processed cocoa, 1/2 cup (65g) of flour, and a pinch of salt. Fold gently until just combined; you want a thick, dark, and glossy batter.
Spread this mixture into the bottom of your prepared pan. Smooth it out into an even layer to ensure your cookie top has a flat foundation to sit on.
Mixing the Golden-Brown Cookie Topper
In a separate bowl, cream together the remaining 1/2 cup (110g) of softened butter with 1/2 cup (100g) of brown sugar and 1/4 cup (50g) of white sugar. Beat until light and fluffy, about 2-3 minutes.
Add the final egg and another teaspoon of vanilla. Gradually mix in 1.5 cups (185g) of flour and 1/2 tsp (3g) of baking soda. The dough should be soft but hold its shape.
Fold in 1 cup (170g) of the semi-sweet chocolate discs. These discs will create the large, gooey pockets of chocolate seen in the macro photography prompt.
Layering and Achieving the Perfect Bake
Instead of spreading the cookie dough, scoop small flattened portions and place them gently on top of the raw brownie batter. This “patchwork” method ensures the brownie can slightly peek through and creates a beautiful, rustic golden-brown top.
Press the remaining chocolate discs into the top of the cookie dough. Bake at 350°F (175°C) for 30-35 minutes. Look for the visual cue: the cookie top should be golden-brown, while the brownie edges should be set but the center still slightly wobbles.
Immediately upon removing from the oven, sprinkle the large flaky sea salt over the melted chocolate pockets. Let them cool completely in the pan—this is the hardest part, but it is vital for achieving a clean cross-section.
Pro-Tips for Achieving the Signature Crinkle Top
The “shiny crinkle top” mentioned in the visual blueprint is often the most elusive part of baking Brookies Cookies. It is all about the sugar migration.
- Whisk the Sugar and Eggs: Don’t be afraid to whisk the brownie eggs and sugar vigorously. This creates a thin, meringue-like layer that rises to the top during baking.
- Don’t Skip the Fat: The interaction between the melted butter and the sugars is what creates the “gloss.” Ensure your butter is hot when it hits the sugar.
- Temperature Control: Ensure your oven is truly at 350°F (175°C). Use an oven thermometer to verify; if the oven is too cool, the sugar won’t caramelize properly to form the crust.
- Measure by Weight: For the most consistent fudgy texture, use a kitchen scale for your flour and cocoa powder. Too much flour will turn your fudgy base into a dry cake.
If you enjoy experimenting with textures, try our nutella stuffed chocolate chip cookies for another gooey-centered treat.
Best Practices for Storing and Freezing Your Bars
To maintain that moist, chewy center, store your Brookies Cookies in an airtight container at room temperature for up to 4 days. Placing a piece of white bread in the container can help keep them soft if you live in a dry climate.
For longer storage, these bars freeze beautifully. Wrap individual squares tightly in plastic wrap and then place them in a freezer-safe bag. They will stay fresh for up to 3 months.
When you are ready to indulge, let them thaw at room temperature for an hour, or pop one in the microwave for 15 seconds to recreate that “freshly melted chocolate disc” experience.
Creative Serving Suggestions and Delicious Pairings
These bars are incredibly rich, so they pair best with beverages that offer a bit of contrast. A cold glass of milk is the classic choice, but a hot espresso or a coconut pineapple lemonade can offer a refreshing citrusy counterpoint.
If you are serving these at a party, consider a dessert board alongside our soft batch mini m&m cookies and some rice krispie treats. The variety of textures will be a hit with guests.
For a truly decadent plated dessert, serve a warm brookie bar with a scoop of vanilla bean ice cream and a drizzle of salted caramel. The heat from the bar will melt the ice cream into the obsidian brownie base, creating a restaurant-quality experience.
Brookies Cookies Troubleshooting and FAQs
Yes, you can, but you may lose that specific ‘obsidian-dark’ visual and the shiny crinkle top that comes from our specific sugar-to-fat ratio. If using a mix, add a tablespoon of dark cocoa powder to deepen the color.
Patience is key. You must allow the brookies to cool completely, then refrigerate them for at least one hour before slicing with a sharp, slightly warmed knife.
Maldon Flaky Sea Salt is the gold standard. Its large, flat crystals provide a distinct crunch and a clean salty burst that doesn’t dissolve immediately into the chocolate.
Overbaking is the most common culprit. The bars continue to cook as they cool in the pan, so pull them out when the center still has a slight wobble. Also, ensure you aren’t over-measuring your flour.
This happens if the brownie batter is too thin or if the cookie dough is pressed too hard into the base. Ensure your brownie batter is thick and cold, and gently ‘drop’ the cookie dough on top rather than spreading it.
The Ultimate Brookies Cookies Recipe
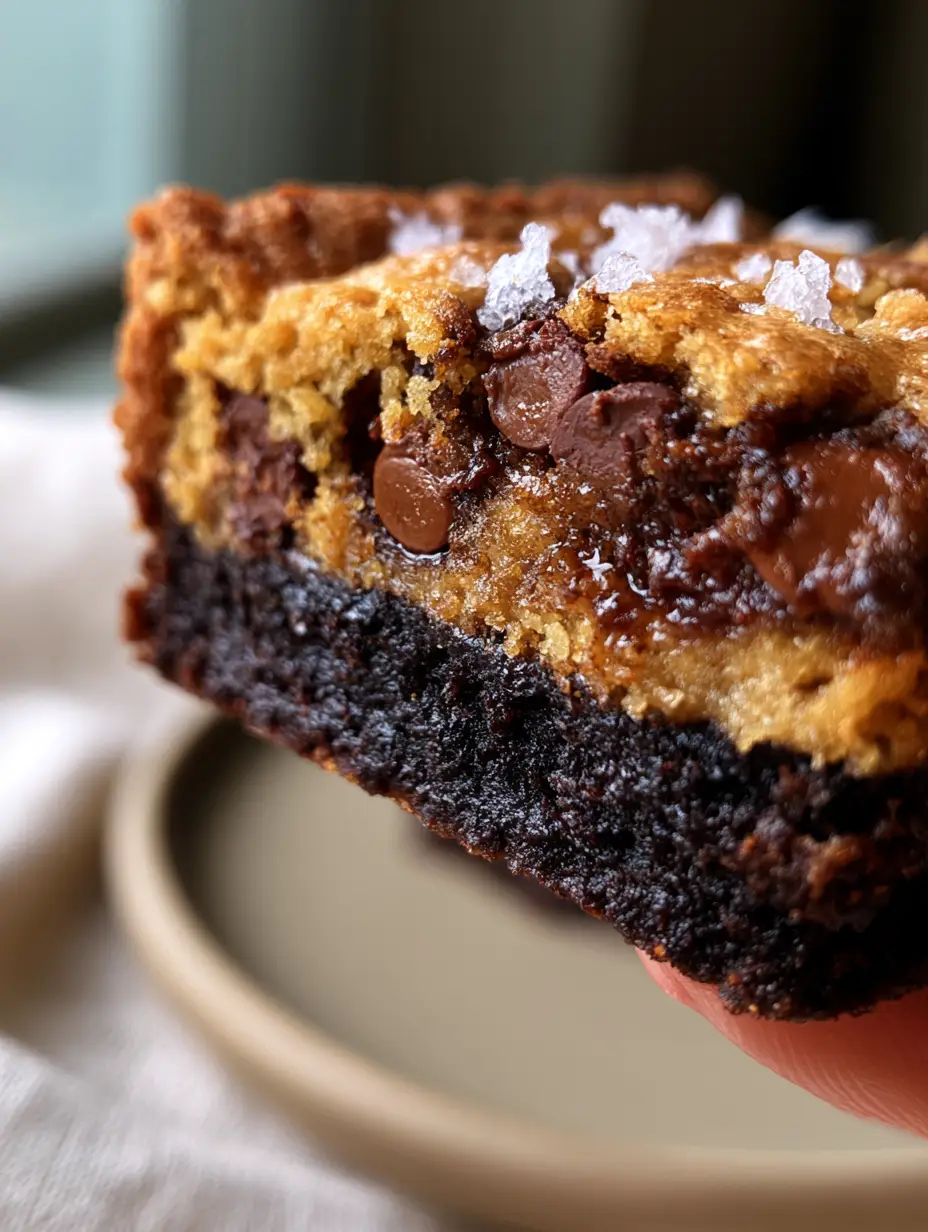
Brookies Cookies: The Ultimate Fudgy Brownie and Chocolate Chip Hybrid
Ingredients
Equipment
Method
- Whisk melted butter and 1 cup granulated sugar in a large bowl while the butter is still hot to ensure sugar dissolution.
- Add 2 eggs and vanilla, whisking vigorously until the batter is glossy and pale in color.
- Gently fold in sifted cocoa powder and 1/2 cup flour until just combined. Do not overmix. Spread into a parchment-lined 8x8 pan.
- Cream softened butter with brown and white sugars until light and fluffy, about 3 minutes.
- Add the egg and vanilla, followed by the flour and baking soda. Fold in 1 cup of chocolate discs.
- Scoop flattened rounds of cookie dough and place them across the top of the brownie batter. Press remaining chocolate discs into the top.
- Bake at 350°F (175°C) for 30-35 minutes until the top is golden-brown and the brownie is set. Sprinkle immediately with flaky sea salt.
Notes
Do not overbake; the center should remain slightly gooey for the best texture.
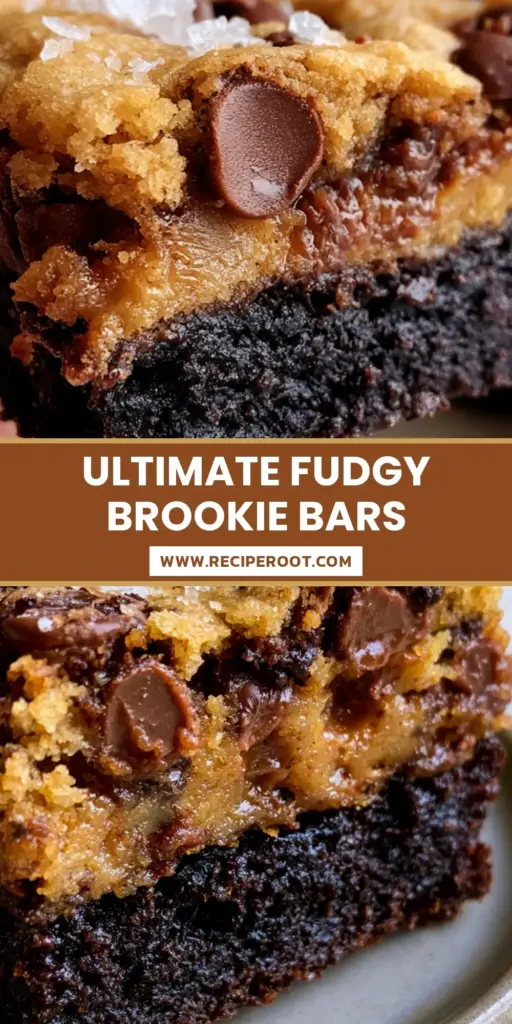
Closing & Call to Action
Mastering the Brookies Cookies is a rite of passage for any serious home baker. The combination of that dark, fudgy foundation and the golden, salty cookie top creates a dessert that is as visually stunning as it is delicious. Whether you are baking these for a special occasion or just a weekend treat, they are guaranteed to impress.
Did you achieve that perfect crinkle top? We want to see your results! Leave a comment below and let us know how your batch turned out. Don’t forget to share your photos and pin this recipe to your favorite dessert boards on Pinterest so you never lose it!


