There is a specific alchemy that happens when you combine the deep, toasted aroma of brown butter with the intense, mahogany richness of a fudgy brownie. These brown butter brookies are not your average bake-sale bar; they are a masterclass in texture, featuring a dense foundation and a golden, chocolate-studded upper layer.
Imagine biting into a thin, paper-brittle crackled meringue crust that gives way to a “presque-cru” (almost raw) molten center. The contrast of the oversized Maldon sea salt flakes against the pools of melted dark chocolate creates a sensory experience that is both sophisticated and deeply nostalgic.
Whether you are a seasoned baker or looking for a show-stopping dessert for your next gathering, these brown butter brookies deliver an “authentic food blog aesthetic” that looks as incredible as it tastes. Let’s dive into the science of achieving that perfect layered interior.
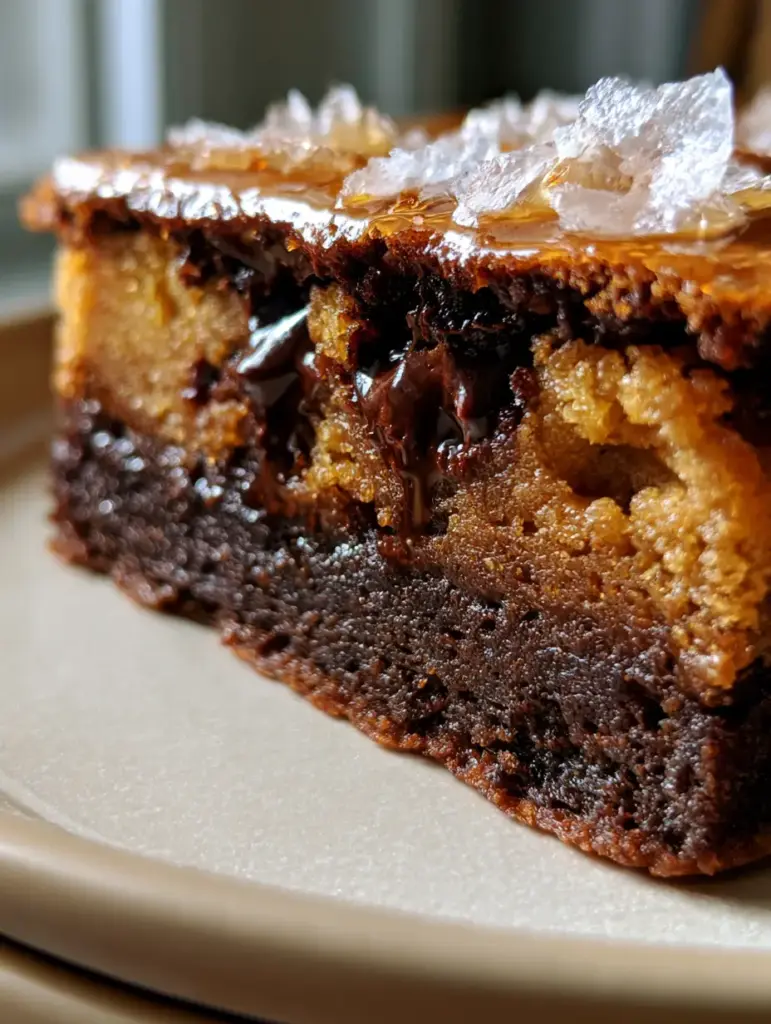
Why These Layered Bars Are a Total Game-Changer
- The Ultimate Texture Contrast: You get a dense, mahogany fudgy brownie base paired with a soft, golden brown butter cookie top that remains gooey long after cooling.
- Aromatic Depth: Browning the butter adds notes of toasted hazelnuts and caramel that elevate the chocolate profile beyond standard cocoa powder.
- Visual Perfection: The shiny, crackled meringue surface provides that elusive, high-end bakery finish that catches the light in every photo.
- The Salty-Sweet Balance: Large, translucent flakes of Maldon sea salt highlight the bitterness of the dark chocolate chunks, making every bite complex.
The Anatomy of a Perfect Brown Butter Brookie: Ingredients
To achieve the visual and structural results of this recipe, every ingredient serves a specific culinary purpose. We are combining a high-fat brownie base with a moisture-rich cookie dough.
Unsalted Butter: 1 cup (225g). We will brown this butter to create the “beurre noisette” foundation for the cookie layer, providing that signature nutty fragrance and golden hue.
Dark Chocolate Chunks: 1.5 cups (255g). Using hand-cut chunks instead of chips ensures those molten pools of semi-sweet dark chocolate that ooze slightly from the center.
Dutch-Processed Cocoa Powder: 3/4 cup (75g). This is essential for achieving the deep, dark mahogany color in the brownie base while keeping the acidity low for a smoother flavor.
Granulated Sugar & Light Brown Sugar: 1 cup (200g) each. The granulated sugar is key to the crackly meringue-style top, while the brown sugar ensures the center remains moist and gooey.
Large Eggs: 3 total. When whisked vigorously with the sugar in the brownie layer, they create the structural “meringue” film that shatters upon the first bite.
All-Purpose Flour: 1.5 cups (190g) total. We split this between the layers to provide enough structure to hold the chocolate chunks without making the bars “cakey.”
Maldon Sea Salt: 1 tbsp (15g). These oversized flakes are the finishing touch, providing a sharp textural crunch and a burst of salinity against the sugar.
Foundational Elements: 1 tsp (5ml) vanilla extract, 1/2 tsp (3g) baking soda (for the cookie lift), and 1/2 tsp (3g) fine sea salt to season the dough internally.
Essential Equipment for a Professional Finish
You don’t need a professional kitchen to make world-class brown butter brookies, but a few specific tools will help you achieve the “presque-cru” center. A 8×8 inch (20x20cm) square baking pan is the gold standard for achieving the thickness shown in our macro photos.
A light-colored stainless steel saucepan is highly recommended for browning the butter, as it allows you to see the milk solids turn from white to a deep amber without burning. Finally, use parchment paper with an “overhang” or “sling” to easily lift the bars out, ensuring the softened edges remain intact.
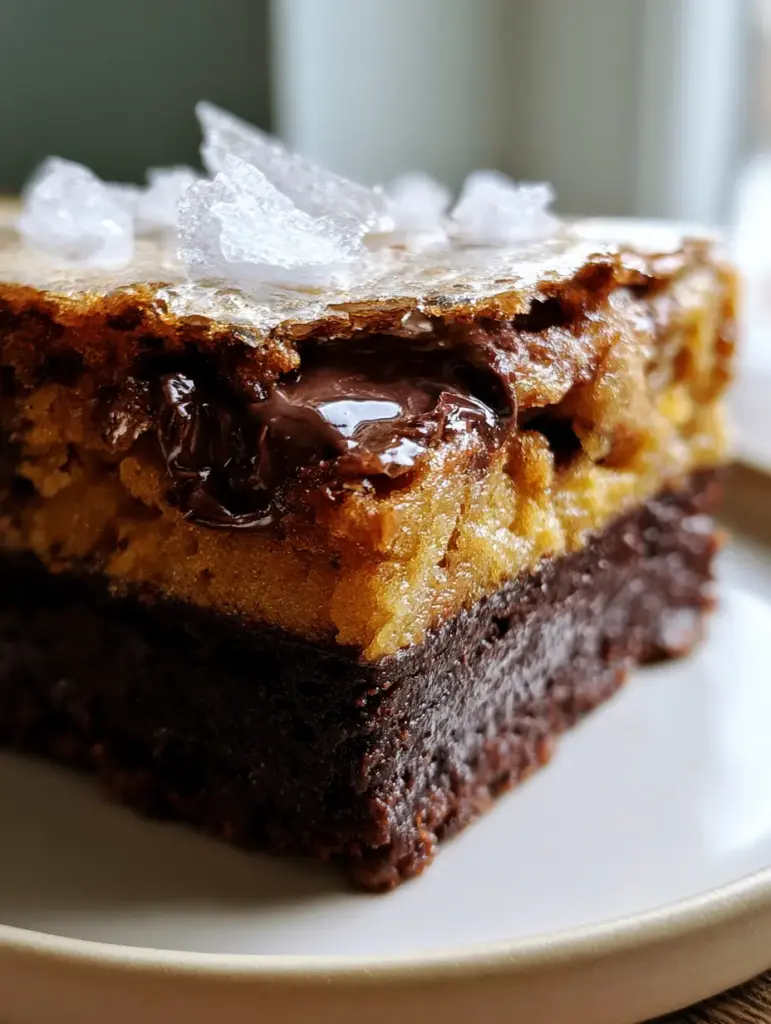
Mastering the Art of Brown Butter Brookies: Step-by-Step
Step 1: Achieving the Perfect Beurre Noisette
In a small saucepan over medium heat, melt 1/2 cup (113g) of the butter. Continue cooking, swirling the pan constantly, until the foaming subsides and you see little brown specks at the bottom.
Look for a deep golden-brown color and a scent that reminds you of toasted nuts. Immediately transfer the butter to a heat-proof bowl to stop the cooking process; this is the soul of your brookie cookies layer.
Step 2: Preparing the Mahogany Brownie Base
Melt the remaining butter with 1/2 cup of the dark chocolate chunks. In a separate bowl, whisk 2 eggs and the granulated sugar vigorously for 3-5 minutes until the mixture is pale and thick.
This aeration is what creates the crackly meringue-style brownie top. Fold in the melted chocolate mixture and the Dutch-processed cocoa powder until no dry streaks remain.
Step 3: Crafting the Golden Cookie Layer
Combine your cooled brown butter with the brown sugar and the remaining egg. Stir in the flour and baking soda, then fold in the remaining dark chocolate chunks.
The dough should be soft and malleable. This layer is what gives us the golden-hued, softened edges that contrast beautifully with the dark mahogany foundation below.
Step 4: Assembly for the “Presque-Cru” Center
Spread the brownie batter into your lined pan in an even layer. Take scoops of the brown butter cookie dough and gently press them into the brownie batter, leaving some “islands” of brownie exposed.
This marbling technique ensures that as the bars bake, the cookie dough sinks slightly, creating that thick, layered bar reveal when sliced in half. If you love this flavor profile, you might also enjoy our brown butter espresso brownies.
Step 5: The Bake and the Finishing Salt
Bake at 350°F (175°C) for 25-30 minutes. You are looking for a very specific visual cue: the edges should be set, but the center should still have a slight “jiggle.”
While the bars are still hot and the chocolate is molten, scatter the oversized Maldon sea salt flakes across the top. This allows the salt to adhere to the thin, shiny, paper-brittle crackled meringue crust.
Expert Tips for the Ultimate Fudgy Texture
- The “Wait” Rule: I know it’s tempting, but you must let these bars cool for at least 2 hours. This allows the fudgy base to set into that “presque-cru” texture rather than just being raw dough.
- Don’t Overmix: When adding the flour to the cookie layer, stop the moment it’s incorporated. Overmixing develops gluten, which will turn your gooey center into a tough bread-like bar.
- Check Your Cocoa: Always use Dutch-processed cocoa for this recipe. Regular cocoa powder is more acidic and will react with the sugars differently, potentially ruining the shiny meringue top.
- Quality of Chocolate: Since we want “molten pools,” use a high-quality chocolate bar chopped into chunks rather than standard chips, which contain stabilizers that prevent them from melting completely.
How to Store, Reheat, and Freeze
These brown butter brookies stay incredibly moist thanks to the high fat content from the brown butter. Store them in an airtight container at room temperature for up to 4 days.
For a “just out of the oven” experience, microwave a single bar for 10-15 seconds until the dark chocolate chunks begin to ooze again. You can also freeze these bars for up to 3 months—just wrap them individually in plastic wrap and thaw at room temperature before eating.
Perfect Pairings for Your Dessert Spread
If you are serving these at a party, they pair beautifully with other high-contrast desserts. For a fruit-forward option, try our strawberry rhubarb pie or a batch of peach cobbler cinnamon rolls to balance the heavy chocolate.
For those who love a cookie-themed dessert table, consider adding peanut butter pudding cookies or soft batch mini m&m chocolate chip cookies. The saltiness of the brookies also complements the creaminess of a creamy root beer rum cocktail for the adults!
Frequently Asked Questions
You can, but chunks are preferred. Chips often contain stabilizers to help them hold their shape; chunks melt into the dough, creating those molten chocolate pools seen in the photos.
The secret is whisking the eggs and sugar together for several minutes until they become pale and thick. This creates a thin meringue-like layer that shatters when baked.
If the bits are black and the butter smells acrid, it is burnt. If the bits are dark brown and it smells like toasted nuts or caramel, that is perfect ‘beurre noisette.’
It translates to ‘almost raw.’ In the context of brookies, it refers to a center that is fully set enough to hold its shape but remains incredibly moist, gooey, and dense rather than cakey.
Dutch-processed cocoa is treated with alkali, giving it a darker color (mahogany) and a smoother, less acidic chocolate flavor that perfectly complements brown butter.
The Ultimate Brown Butter Brookie Recipe Card
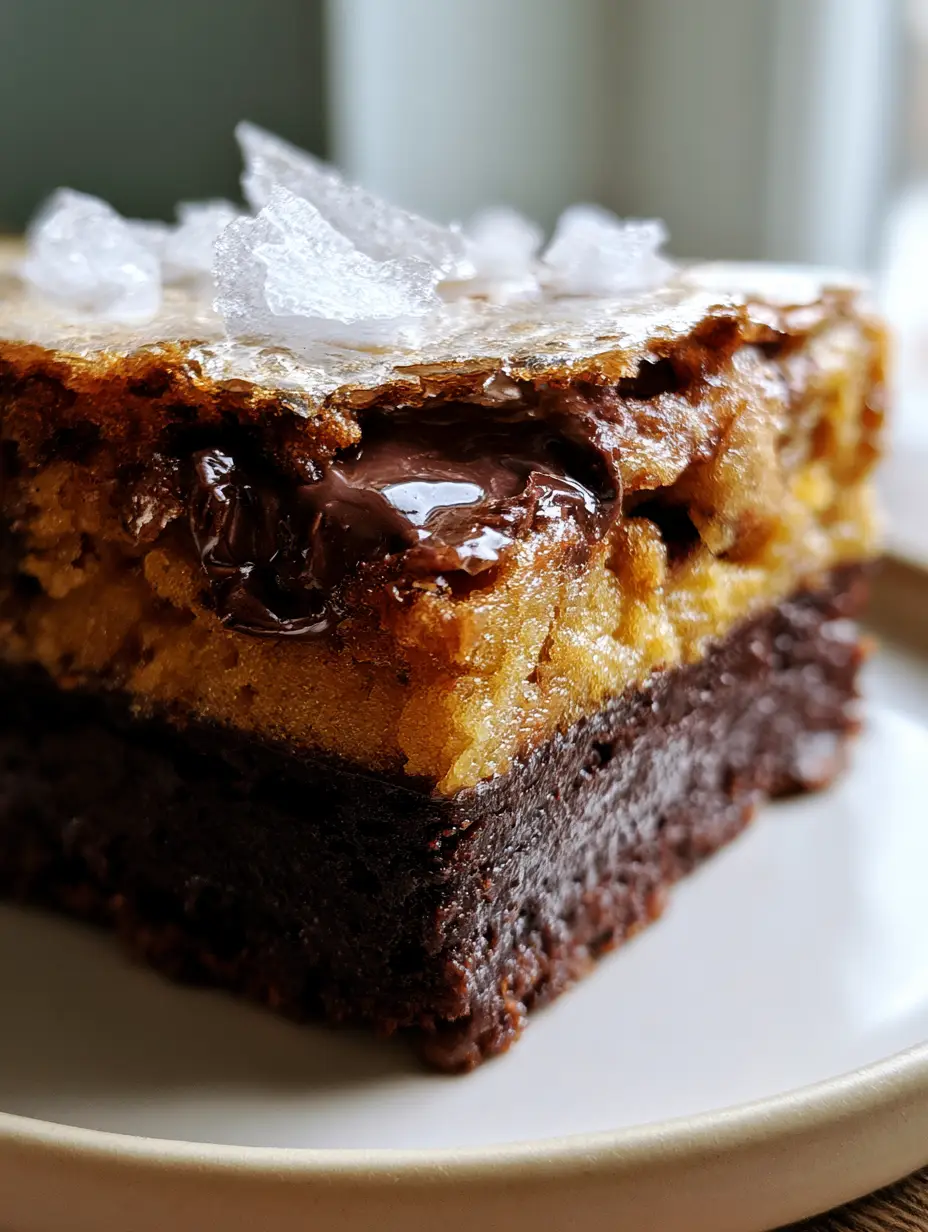
Brown Butter Brookies with a Crackly Meringue Top and Maldon Sea Salt
Ingredients
Equipment
Method
- Melt 1/2 cup (113g) butter in a saucepan over medium heat until it foams and develops brown specks and a nutty aroma.
- Combine brown butter with brown sugar, 1 egg, and 3/4 cup flour and half the chocolate chunks.
- Whisk 2 eggs and granulated sugar for 3-5 minutes until thick. Fold in remaining melted butter, chocolate, and cocoa.
- Layer brownie batter then cookie dough in pan. Bake at 350°F (175°C) for 25-30 mins. Top with Maldon salt.
Notes
Use Dutch-processed cocoa for the deep mahogany color.
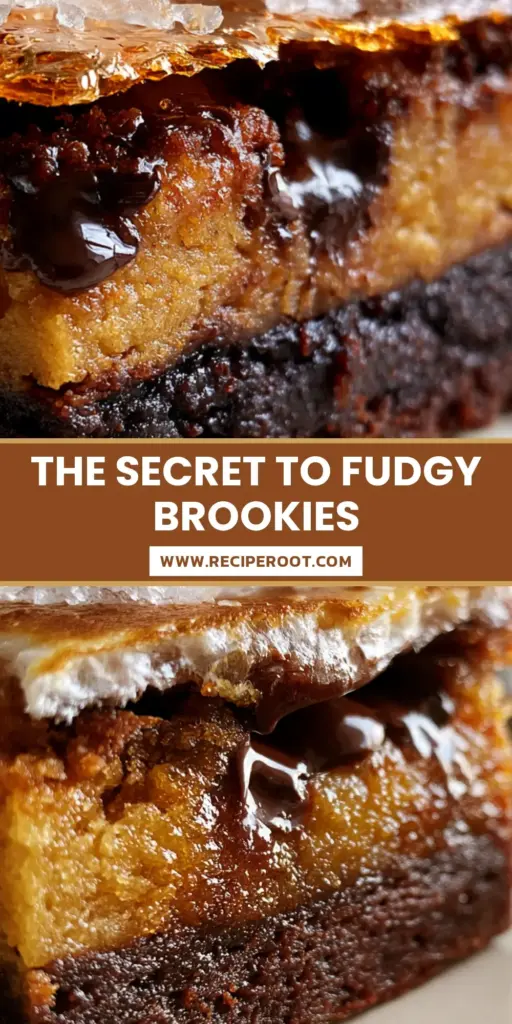
Brown Butter Brookies with a Crackly Meringue Top and Maldon Sea Salt
Ingredients
Equipment
Method
- Melt 1/2 cup (113g) butter in a saucepan over medium heat until it foams and develops brown specks and a nutty aroma.
- Combine brown butter with brown sugar, 1 egg, and 3/4 cup flour and half the chocolate chunks.
- Whisk 2 eggs and granulated sugar for 3-5 minutes until thick. Fold in remaining melted butter, chocolate, and cocoa.
- Layer brownie batter then cookie dough in pan. Bake at 350°F (175°C) for 25-30 mins. Top with Maldon salt.
Notes
Use Dutch-processed cocoa for the deep mahogany color.
Closing the Kitchen: Your Best Batch Yet
Mastering brown butter brookies is about respecting the temperature and the timing. By browning your butter and whisking your eggs to that perfect meringue stage, you create a dessert that is a triumph of culinary logic and visual beauty.
The combination of the mahogany base and the golden cookie top is a guaranteed crowd-pleaser. If you make these, please leave a comment below and share your photos! Don’t forget to follow us on Pinterest for more decadent dessert inspiration like our nutella stuffed chocolate chip cookies.


