The Banana Pudding Rice Krispy Treat is a culinary masterpiece that bridges the gap between childhood lunchbox nostalgia and the sophisticated comfort of a Southern Sunday dinner. Imagine the iconic, stretchy pull of a classic marshmallow treat, but infused with the nostalgic, creamy flavor of a classic banana custard. This isn’t just a snack; it’s a sensory experience that delivers a massive, stretchy white marshmallow pull with every single bite.
When you look at this treat, the first thing you notice is the dense architecture of toasted puffed rice cereal coated in a creamy, pale custard-yellow glaze. The addition of dry banana pudding mix transforms the binder into something velvety and rich, perfectly mimicking the flavor profile of a traditional pudding. Folded throughout are significant chunks of golden-brown Nilla Wafers, providing a structural crunch that contrasts with the pillowy marshmallows.
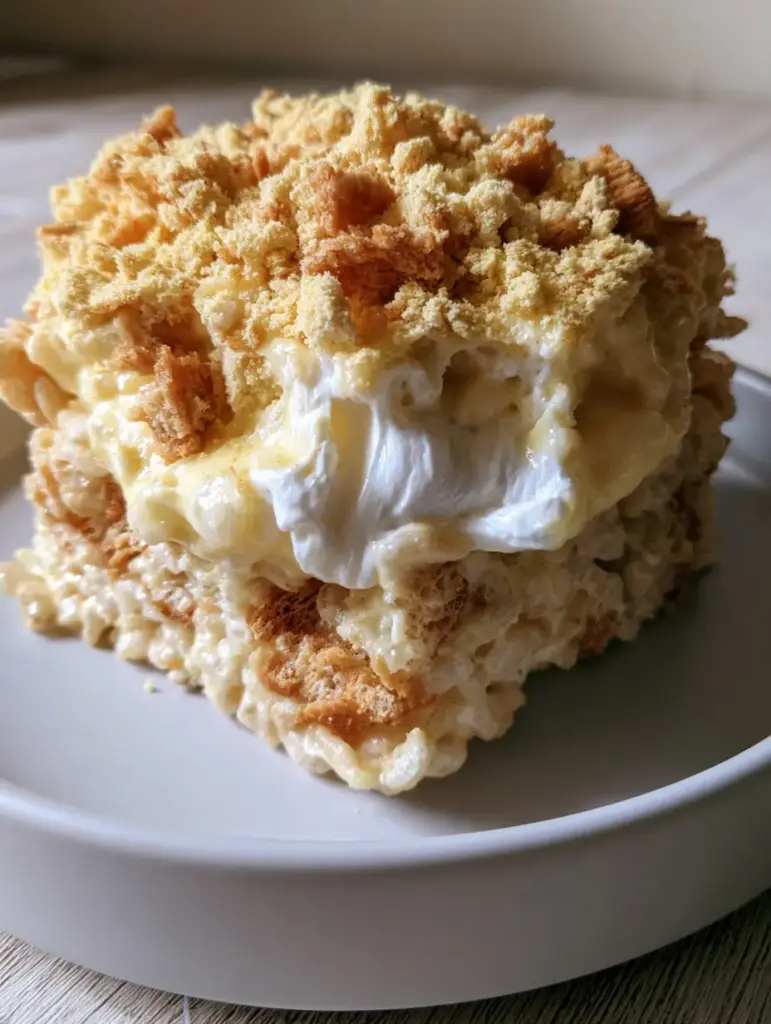
To top it off, we’ve added a thick crown of buttery crushed wafer crumbs and a fine dusting of pale yellow pudding powder. This creates a multi-textured finish that hits the palate with immediate sweetness followed by the salty-butter notes of the cookie crust. Whether you are a fan of classic banana pudding or you live for a thick, gooey cereal bar, this recipe is designed to be the crown jewel of your dessert rotation.
The Essential Flavor Architecture of These Gourmet Cereal Bars
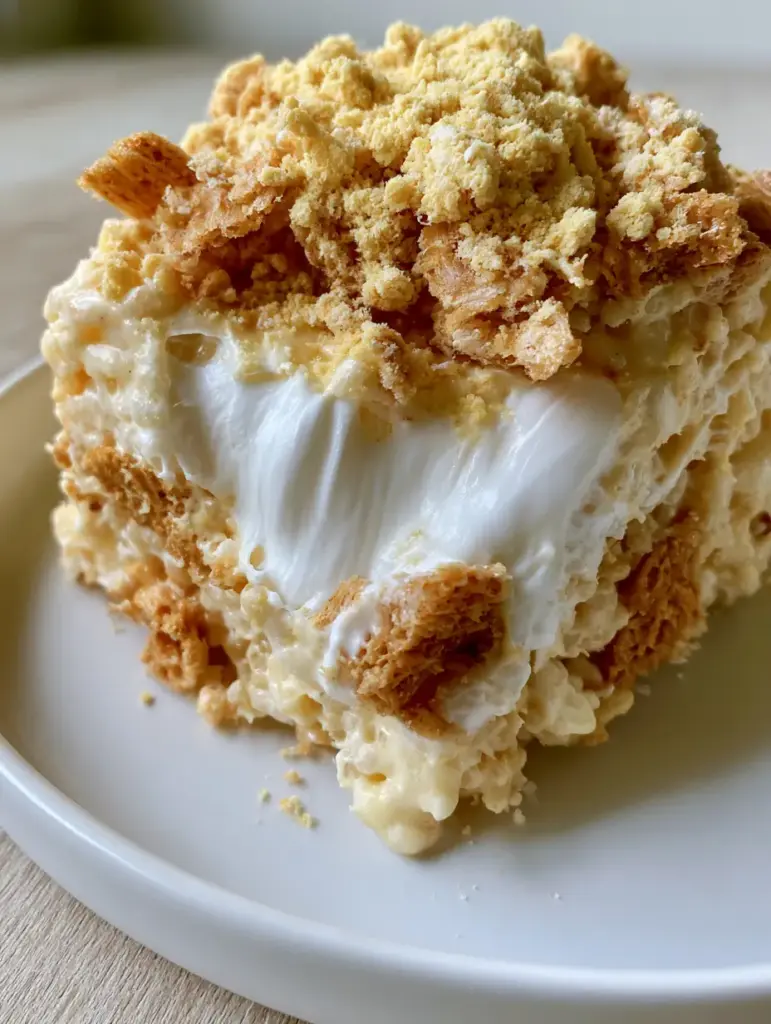
- Epic Marshmallow Pull: We use a specific ratio of marshmallows to cereal to ensure that legendary “handheld smartphone photo” stretch that reveals strings of melted sugar.
- Dual-Layer Banana Profile: By using both dry pudding mix in the binder and a dusting on top, we achieve a deep, authentic banana flavor without the moisture of fresh fruit, which would make the cereal soggy.
- The Nilla Wafer Crunch: Incorporating both whole and crushed wafers ensures that every bite has the signature “Banana Pudding” texture we all crave.
- Toasted Cereal Foundation: We don’t just use cereal out of the box; a quick toast intensifies the nutty notes of the rice, balancing the intense sweetness of the glaze.
The Professional Pantry: Ingredients for Success
Toasted Rice Cereal: You will need 6 cups (180g) of crisp rice cereal. Toasting them in a dry pan for 3-5 minutes before starting adds a layer of professional complexity to the final flavor.
Salted Butter: Use 6 tbsp (85g) of high-quality salted butter. The salt is a foundational “invisible” ingredient that cuts through the sugar and emulsifies with the pudding powder for that pale yellow glaze.
Mini Marshmallows: You’ll need 10 oz (283g) plus an extra 2 cups (100g) for the “chunks.” The fresh, stretchy white marshmallow pull seen in the photos comes from adding that second batch at the very end of the mixing process.
Dry Banana Pudding Mix: One 3.4 oz (96g) box of instant banana pudding mix is the secret weapon. It provides the custard color and the concentrated flavor that makes these a true Banana Pudding Rice Krispy Treat.
Nilla Wafers: You will need 1.5 cups (approx. 150g) of crushed wafers and 1 cup (approx. 100g) of roughly broken chunks. These provide the golden-brown visual accents and the classic vanilla-malt flavor of a Nilla Wafer banana pudding cup.
Pure Vanilla Extract: 1 tsp (5ml) helps bridge the gap between the artificial banana notes and the toasted cereal. It rounds out the aromatic profile of the bars.
Necessary Tools for This No-Bake Masterpiece
Achieving the “thick, square-cut” look requires an 8×8 inch (20x20cm) square baking pan. Using a larger pan will result in thin bars that lack the dramatic marshmallow stretch. You will also need a large non-stick heavy-bottomed pot to melt the marshmallows without scorching the sugar. A silicone spatula is essential for folding the cereal without crushing the delicate puffs. Finally, parchment paper is non-negotiable for clean, sharp edges when slicing.
The Master Strategy: Step-by-Step Instructions
Phase 1: Preparing the Banana Crumb Topping
Before melting your marshmallows, you must prepare the “thick crown” described in our visual blueprint. Melt 2 tbsp (28g) of butter in a small bowl. Stir in 1/2 cup (50g) of finely crushed Nilla Wafers and 1 tbsp (10g) of the dry banana pudding mix. Set this aside; this sandy, buttery mixture will be pressed into the top of the warm bars to create that signature textured finish.
Phase 2: Creating the Pale Custard-Yellow Glaze
In your large pot, melt the remaining 6 tbsp (85g) of butter over low heat. Once foamy, add the 10 oz (283g) bag of marshmallows. Stir constantly until they are 90% melted. At this exact moment, whisk in the remaining dry banana pudding mix and vanilla extract. The mixture will transform into a creamy, pale yellow glaze. Do not overcook, or the sugars will crystallize, and you will lose that stretchy pull.
Phase 3: The Gentle Fold and Texture Integration
Remove the pot from the heat immediately. Gently fold in the toasted rice cereal and the broken Nilla Wafer chunks. Once the cereal is halfway coated, throw in those extra 2 cups (100g) of whole mini marshmallows. Fold just until combined. This technique ensures that some marshmallows stay semi-intact, creating those massive white streaks when the treat is pulled apart.
Phase 4: Pressing and Setting the Crown
Transfer the mixture to your prepared 8×8 pan. Using a piece of buttered parchment paper, press down very gently. If you pack them too tight, the bars will be hard instead of fluffy. Immediately sprinkle your prepared buttery crumb topping over the surface, followed by a final light sifting of pudding powder for that “fine dusting” effect. Let the bars set at room temperature for at least 1 hour before slicing.
Pro Tips for the Ultimate Marshmallow Pull
- The Low Heat Rule: Never rush the marshmallow melting process. High heat breaks down the protein structure of the gelatin, resulting in a hard, brittle treat rather than a stretchy one.
- Freshness Matters: Check the expiration date on your marshmallows. Stale marshmallows will not melt into a smooth glaze and will definitely not give you the smartphone-worthy stretch.
- Avoid the Fridge: It might be tempting to chill these to speed up the setting time, but refrigeration makes the cereal lose its crunch and the marshmallows lose their stretch. Room temperature is your friend.
- Spray Your Blade: To get those perfect square cuts, spray a large sharp knife with non-stick cooking spray before every slice.
Savoring and Storage: Keep Your Treats Fresh
The Banana Pudding Rice Krispy Treat is best enjoyed within 24 hours of making. To store, place them in an airtight container with sheets of parchment paper between layers to prevent sticking. They will stay soft at room temperature for up to 3 days. We do not recommend freezing these, as the Nilla Wafers tend to soften significantly upon thawing, ruining the contrast between the cereal and the cookie chunks.
What to Serve With Your Banana Pudding Treats
These bars are intensely sweet and creamy, making them the perfect centerpiece for a dessert platter. For a full Southern-themed spread, pair them with a chilled banana pudding lush or even a small portion of Not Yo Mama’s Banana Pudding. If you want to lean into the fruit flavors, serve them alongside some strawberry crunch banana pudding for a beautiful color contrast on a matte white ceramic plate.
Commonly Asked Questions about Banana Cereal Treats
It is not recommended. Fresh bananas add moisture that will make the cereal soggy and prevent the marshmallows from staying stretchy. The dry pudding mix provides all the authentic flavor needed.
Yes, instant pudding mix is required because it dissolves easily into the melted butter and marshmallows without needing to be cooked or boiled like ‘cook and serve’ varieties.
The secret is reserved marshmallows. By adding a portion of the mini marshmallows after the cereal is mixed in, they only partially melt, creating the long, white stretchy strings.
This usually happens if the marshmallows were melted over high heat or if the mixture was pressed too firmly into the pan. Always use low heat and a gentle touch.
The Official Banana Pudding Rice Krispy Treat Recipe
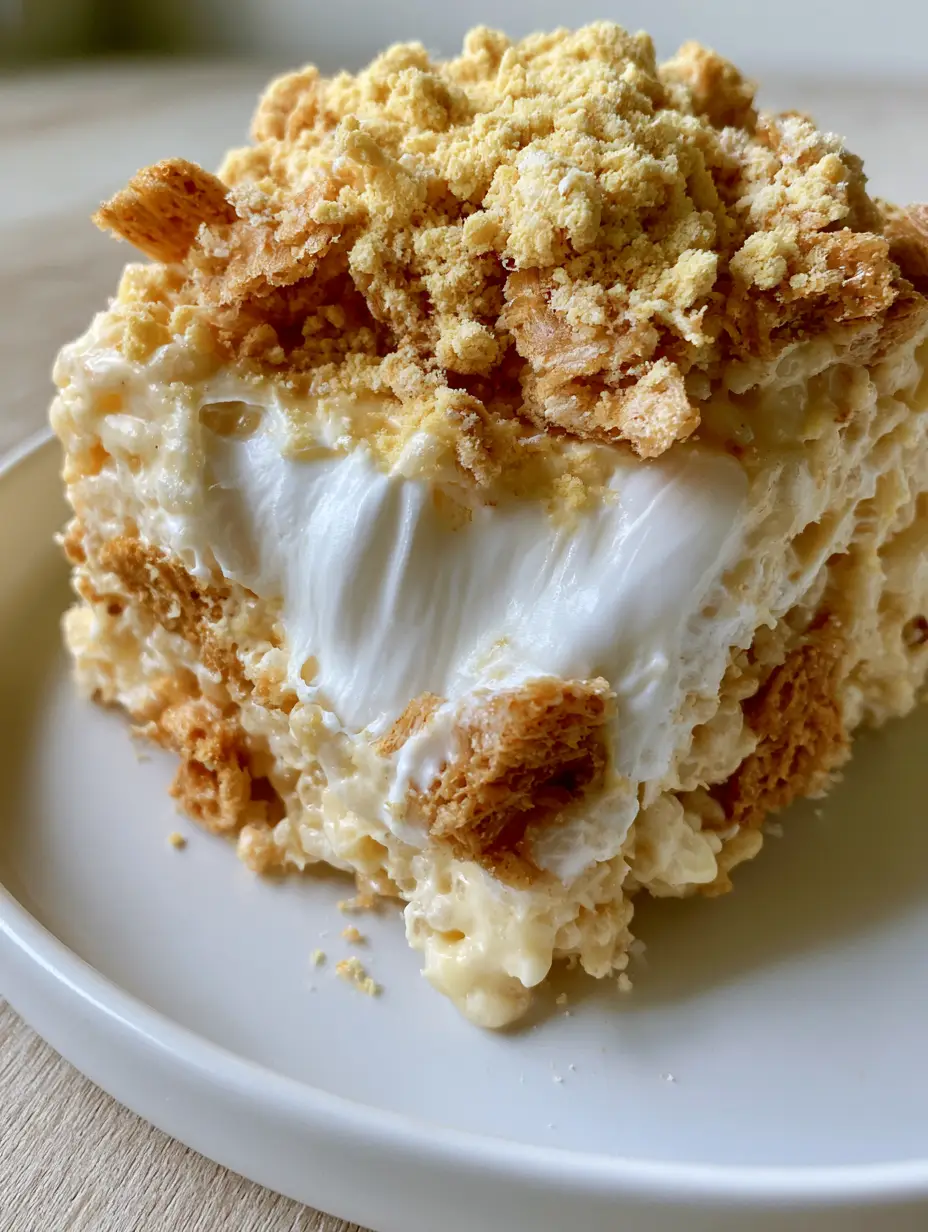
Banana Pudding Rice Krispy Treat: The Ultimate Stretchy Southern Fusion
Ingredients
Equipment
Method
- Mix 2 tbsp (28g) melted butter with 1/2 cup (50g) crushed Nilla Wafers and 1 tbsp (10g) pudding powder.
- Melt 6 tbsp (85g) butter and 10 oz (283g) marshmallows on low heat. Whisk in remaining pudding powder and vanilla when nearly melted.
- Remove from heat. Fold in cereal, wafer chunks, and remaining 2 cups of whole marshmallows.
- Gently press into the 8x8 pan. Add the crumb topping and a dusting of pudding powder. Let set for 1 hour at room temperature.
Notes
Do not over-press the cereal into the pan or the treats will be hard.
Closing and Call to Action
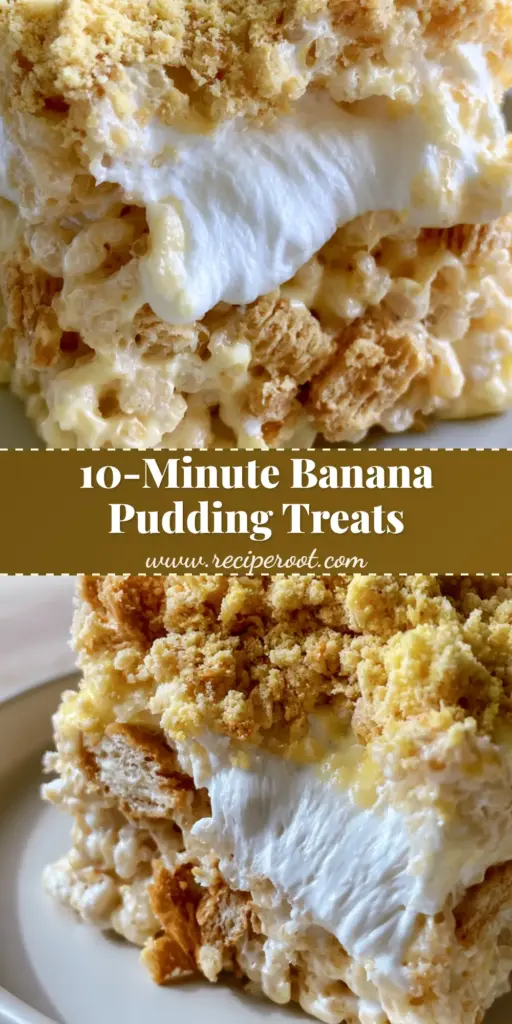
The Banana Pudding Rice Krispy Treat is more than just a quick snack—it’s a high-impact dessert that never fails to impress. From the buttery Nilla Wafer crown to the vibrant banana-infused marshmallow glaze, every element is designed for maximum flavor and visual appeal. If you enjoyed this recipe, please leave a comment below and share your “marshmallow pull” photos with us! Don’t forget to follow recipe_root on Pinterest for more decadent Southern-inspired treats.


