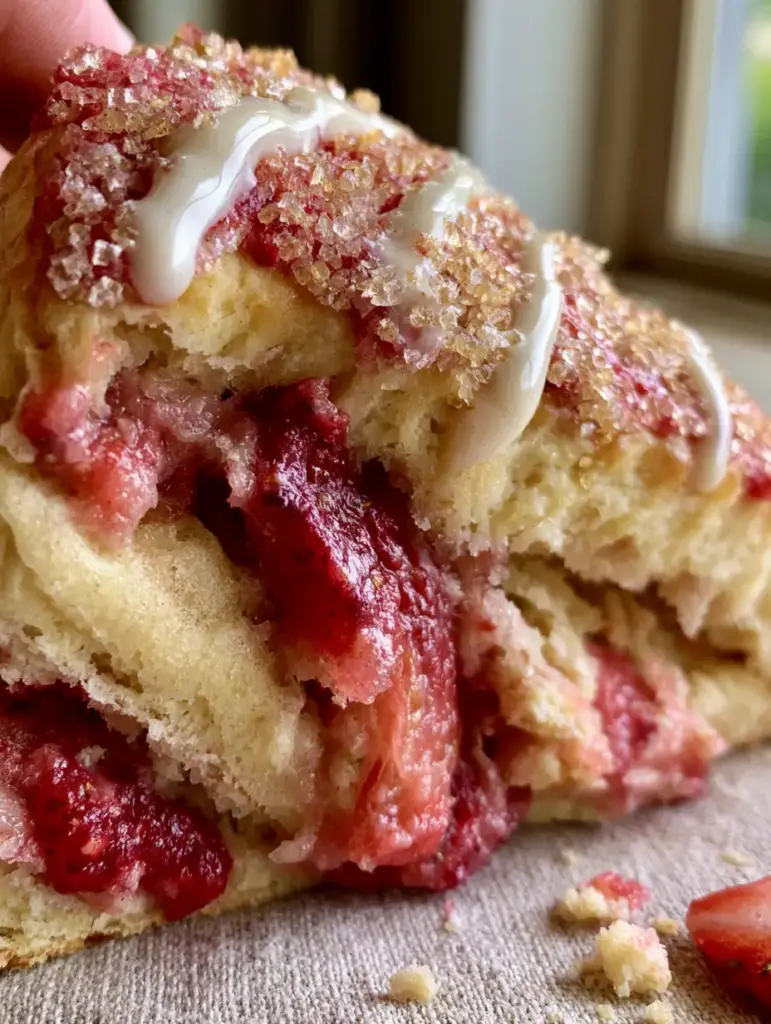
There is nothing quite like the sensory experience of breaking into a warm, freshly baked pastry. Imagine a thick Strawberry Shortcake Scones being gently pulled apart, releasing a puff of steam that carries the scent of sweet cream and roasted fruit. The internal crumb is ultra-moist and tender, creating a beautiful contrast against the tall, flaky, golden-brown exterior. These aren’t just your average dry scones; they are a culinary bridge between a classic biscuit and a decadent summer dessert.
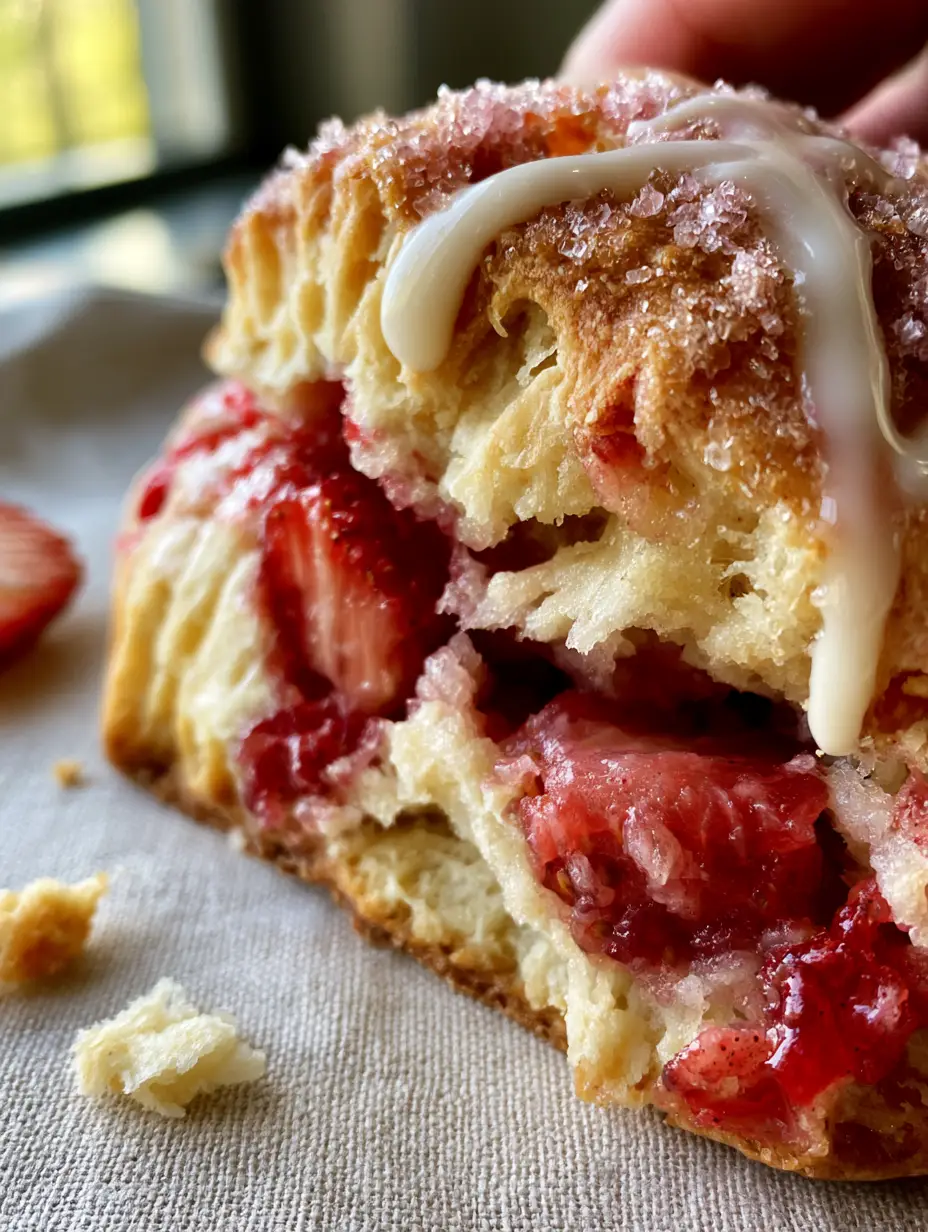
Every bite of these Strawberry Shortcake Scones offers a symphony of textures. You get the crunch of coarse sparkling sugar crystals, the velvety smoothness of a glossy vanilla cream glaze, and the concentrated sweetness of vibrant red jammy strawberries nestled deep within the buttery layers. Whether you are hosting a brunch or looking for a way to use peak-season produce, this recipe delivers a bakery-quality result that looks as stunning on a neutral linen napkin as it does in a professional pastry case.
Why These Jammy Strawberry Scones Are a Total Game-Changer
- Technique-Driven Flakiness: We use a specific folding method to create visible buttery layers that shatter when you bite into them.
- Jammy Fruit Pockets: Unlike fresh berries that can make dough soggy, our method ensures large chunks of softened, vibrant red strawberries that taste like concentrated sunshine.
- High-Contrast Textures: The combination of a moist internal crumb and a crunchy sparkling sugar top provides a professional mouthfeel.
- Glossy Aesthetic: The thin, zig-zag drizzle of vanilla cream glaze adds just the right amount of sweetness without overpowering the delicate pastry.
Essential Components for the Perfect Shortcake Scone
To achieve the visual and structural perfection of these Strawberry Shortcake Scones, each ingredient serves a scientific purpose. We aren’t just mixing dough; we are engineering a masterpiece of fat, flour, and fruit.
All-Purpose Flour: 3 cups (375g). This provides the necessary structure for the scones to rise tall without becoming tough. A light dusting of flour on your work surface also helps maintain those clean, flaky edges. If you love baking with fruit, you might also enjoy our strawberry banana muffins.
Unsalted Butter (Frozen): 3/4 cup (170g). The secret to “visible buttery layers” is keeping the fat cold. We grate the frozen butter into the flour to ensure small, cold pockets of fat that steam in the oven, creating lift.
Fresh Strawberries: 1.5 cups (225g), chopped. We choose vibrant red berries and toss them with a bit of sugar to create that “jammy” look. This is the same logic we use in our homemade strawberry sauce.
Heavy Cream: 1 cup (240ml), plus more for brushing. This high-fat liquid is what creates the “ultra-moist internal crumb” described in our visual blueprint. It adds richness that milk simply cannot provide.
Granulated Sugar: 1/2 cup (100g). This sweetens the dough, but more importantly, it aids in the browning process, helping us achieve that “golden-brown pastry” color.
Baking Powder: 1 tbsp (12g). A foundational invisible ingredient, this provides the chemical leavening required to make the scones thick and airy.
Coarse Sparkling Sugar: 2 tbsp (25g). Also known as turbinado or sanding sugar, these large crystals provide the signature crunch seen on the top of the scones.
Vanilla Bean Paste or Extract: 1 tsp (5ml). This flavors both the dough and the glaze, providing those tiny black specks and a deep floral aroma.
Must-Have Tools for Bakery-Style Results
To replicate the handheld smartphone photo look, you need the right tools for the job. A pastry cutter is essential for incorporating the butter without melting it with the heat of your hands. A sharp bench scraper or a chef’s knife is required to cut the dough into clean triangles, which preserves the layers. You will also need a heavy-duty baking sheet lined with parchment paper to ensure the bottoms don’t burn before the centers are cooked. Finally, a wire cooling rack is necessary so the “glossy vanilla glaze” sets properly without making the base soggy.
The Secret to Roasting Jammy Strawberry Chunks
Prepping the Fruit for Maximum Vibrancy
One of the biggest mistakes in scone making is using whole, wet berries that bleed into the dough. For these Strawberry Shortcake Scones, we chop the berries into large chunks and toss them with a teaspoon of flour and sugar. This creates a barrier that keeps the berries “vibrant red” and prevents them from turning the entire scone purple. If you have leftover berries, they are perfect for an easy strawberry shortcake dessert.
Mastering the Cold Butter Lamination
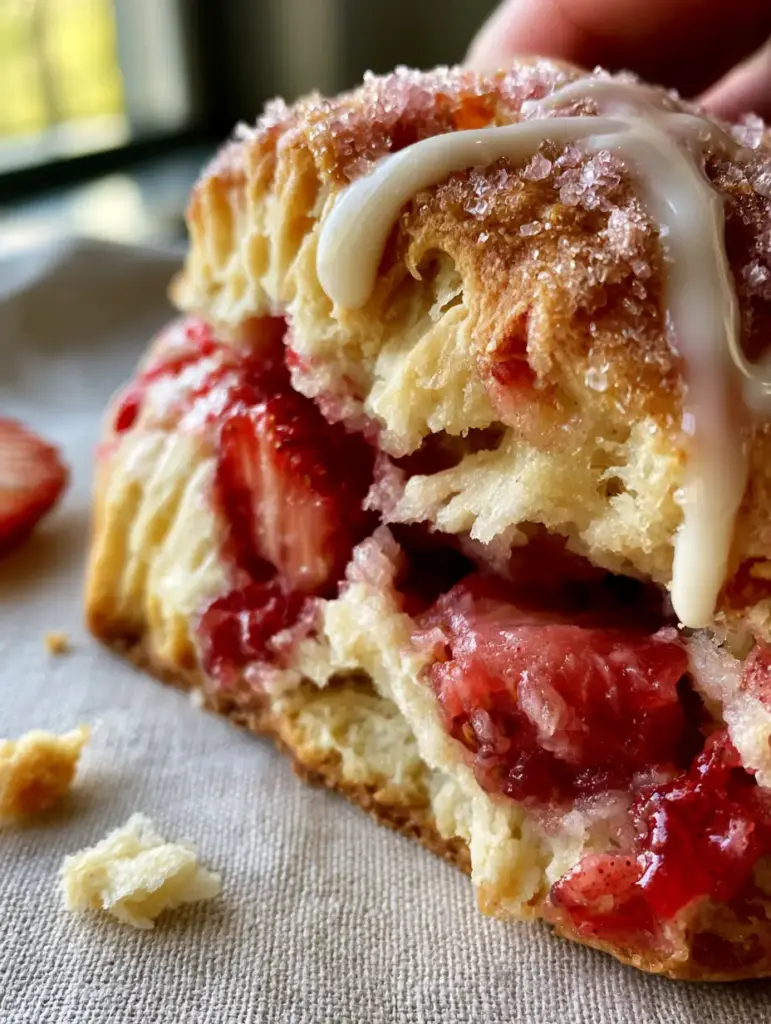
To get that “flaky golden-brown pastry” with visible layers, we use a technique called faux-lamination. After mixing the wet and dry ingredients just until a shaggy dough forms, we pat it into a rectangle, fold it in thirds like a letter, and repeat. This creates physical sheets of butter and dough. When the heat hits the oven, the water in the butter evaporates, pushing the layers apart.
Achieving the Golden-Brown Glow
Before baking, brush the tops generously with heavy cream. This isn’t just for moisture; the proteins in the cream undergo the Maillard reaction, resulting in a deep, caramelized color. Immediately sprinkle the coarse sparkling sugar over the wet cream so it adheres, creating that “generous coating of crunchy crystals” we see in the visual prompt.
Professional Baking Instructions
Step 1: The Dry Mix and Butter Integration
In a large chilled bowl, whisk together your flour, sugar, baking powder, and a pinch of salt. Take your frozen butter and grate it directly into the flour using a box grater. Use your fingertips to quickly toss the butter shreds in the flour until every piece is coated. The mixture should look like coarse meal with some larger, pea-sized lumps of butter still visible.
Step 2: Hydrating the Dough
Make a well in the center of the dry ingredients and pour in the cold heavy cream and vanilla. Use a fork to gently fold the mixture together. When it is about 70% combined, gently fold in the strawberry chunks. Be careful not to crush the berries; you want “large chunks of softened strawberries” to remain intact for the final presentation.
Step 3: Shaping and Folding
Turn the dough out onto a lightly floured surface. Pat it into a rectangle about 1 inch (2.5cm) thick. Fold the left third over the center, then the right third over that. Rotate 90 degrees and repeat once more. This is the secret to the “tall, flaky” stature of the scones. Cut the dough into 8 even triangles using a sharp knife—press straight down, do not saw, to keep the layers open.
Step 4: The Bake and Sensory Cues
Arrange the scones on your prepared baking sheet and chill them in the freezer for 10 minutes while your oven preheats to 400°F (200°C). This ensures the butter is rock hard when it hits the heat. Bake for 20-25 minutes. Look for the “visual changes”: the edges should be a deep golden brown, the strawberry juices should be bubbling and jammy at the edges, and the tops should feel firm to a light touch.
Step 5: The Glossy Vanilla Glaze
While the scones cool slightly, whisk together 1 cup (120g) of powdered sugar with 2 tablespoons of heavy cream and a splash of vanilla. Once the scones are warm but not hot, use a spoon to create a “zig-zag drizzle” across the tops. The glaze should be glossy and white, sitting beautifully atop the sparkling sugar crystals.
Expert Tips for Scone Success
- Keep Everything Cold: If the dough feels warm or sticky, put it in the fridge for 15 minutes. Cold dough equals flaky scones.
- Don’t Overmix: Overworking the dough develops gluten, which leads to a tough, bread-like texture rather than a “moist internal crumb.”
- Use a Sharp Knife: A dull blade will seal the edges of the dough, preventing the scones from rising and showing off those “buttery layers.”
- Space Them Out: Give the scones at least 2 inches (5cm) of space on the tray to allow for proper air circulation and even browning.
Storage and Reheating Advice
These Strawberry Shortcake Scones are at their peak the day they are baked, especially when served “steaming” as described. However, you can store leftovers in an airtight container at room temperature for up to 2 days. To recapture the fresh-baked texture, reheat them in a 350°F (175°C) oven for 5-8 minutes until the exterior crisps back up. For longer storage, freeze the unbaked dough triangles for up to 3 months and bake them directly from frozen, adding a few extra minutes to the bake time.
Perfect Pairings for a Summer Spread
Scones are the centerpiece of any great morning spread. To lean into the summer theme, serve these alongside a refreshing coconut pineapple lemonade. If you are hosting a larger event, like a 4th of July party, these scones make a fantastic addition to a dessert table alongside homemade rice krispie treats. For a truly decadent experience, serve them with a dollop of clotted cream or extra strawberry sauce.
Frequently Asked Questions
Absolutely. You can shape and cut the scones, then keep them in the refrigerator overnight or freeze them. Baking cold dough actually helps create more height and better ‘visible buttery layers.’
Yes, you can use frozen strawberries, but do not thaw them first. Thawing will cause the juices to run and turn your dough purple. Add them directly from the freezer and bake for an additional 2-3 minutes.
To prevent sogginess, chop your strawberries into large chunks and toss them in a little flour before adding them to the dough. This absorbs excess moisture. Also, ensure your oven is fully preheated to 400°F (200°C) to set the crust quickly.
This usually happens if the butter was too warm or if the dough was overmixed. Use frozen butter and a light touch. Also, make sure you use a sharp knife to cut the triangles in a single downward motion without sawing.
The Ultimate Strawberry Shortcake Scones Recipe

Strawberry Shortcake Scones: The Ultimate Flaky and Jammy Recipe
Ingredients
Equipment
Method
- Whisk flour, sugar, and baking powder. Grate frozen butter into the mix and toss until coated in flour.
- Fold in heavy cream and vanilla until a shaggy dough forms, then gently fold in strawberry chunks.
- Turn dough onto a floured surface, fold in thirds twice to create layers, and cut into 8 triangles.
- Brush with cream, sprinkle with sparkling sugar, and bake at 400°F (200°C) for 20-25 minutes until golden-brown.
- Whisk glaze ingredients and drizzle in a zig-zag pattern over slightly cooled scones.
Notes
Do not overmix the dough once the cream is added to keep the crumb moist.
Bring the Bakery to Your Kitchen
There is nothing more rewarding than pulling a tray of these Strawberry Shortcake Scones out of the oven and seeing that perfect “golden-brown pastry” and “jammy strawberry” result. This recipe is designed to be fool-proof while delivering professional-grade textures and flavors. If you make these, we would love to see your results! Leave a comment below and tell us how yours turned out, or share a photo on Instagram. Don’t forget to save this recipe to your favorite boards on Pinterest so you can find it every time strawberry season rolls around!


