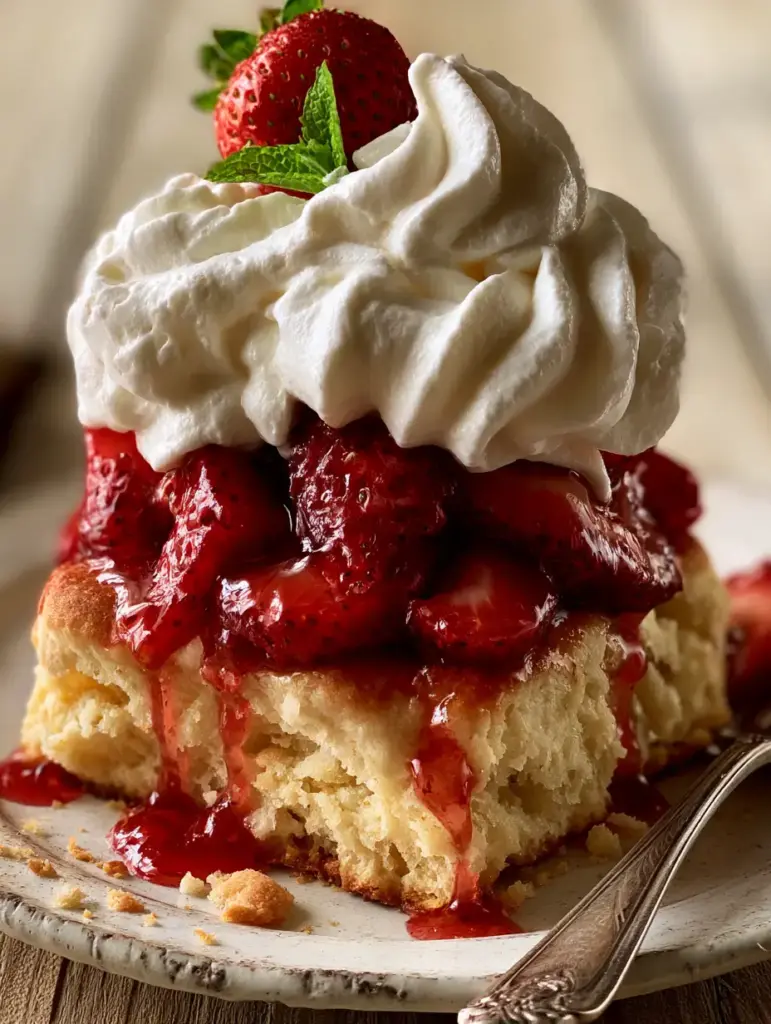
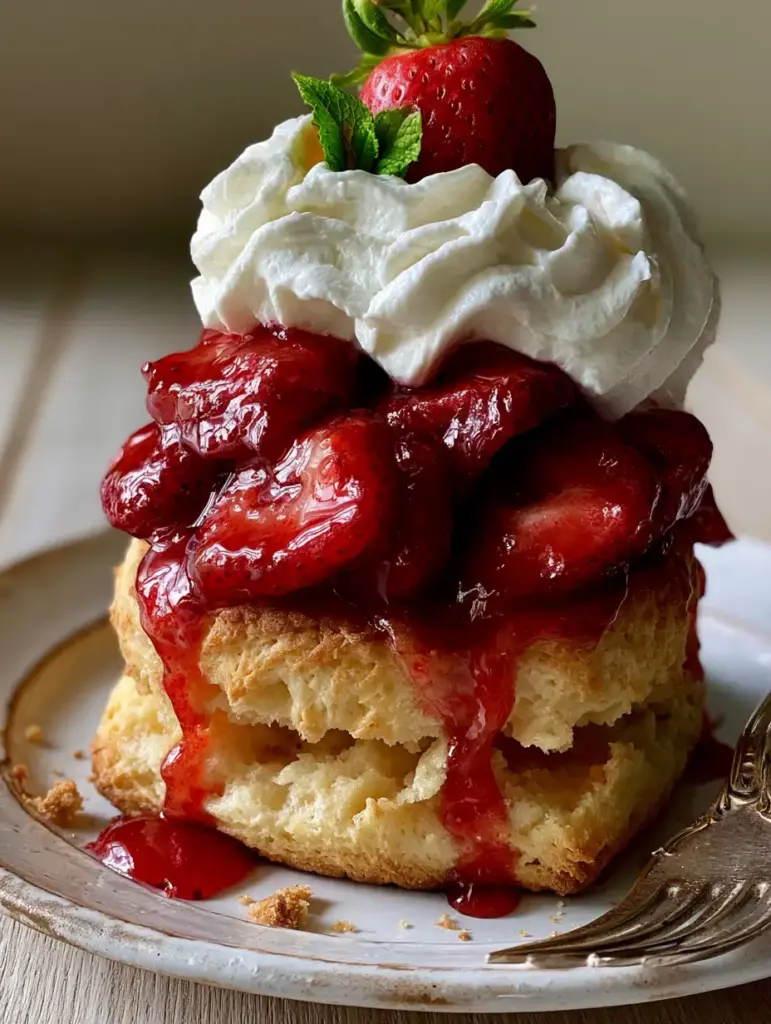
There is nothing that defines the essence of summer quite like a perfect Strawberry Shortcake recipe. This isn’t your average grocery store sponge cake; we are crafting a towering masterpiece featuring a split, golden-brown buttermilk biscuit that reveals a steaming, buttery, and incredibly flaky interior crumb.
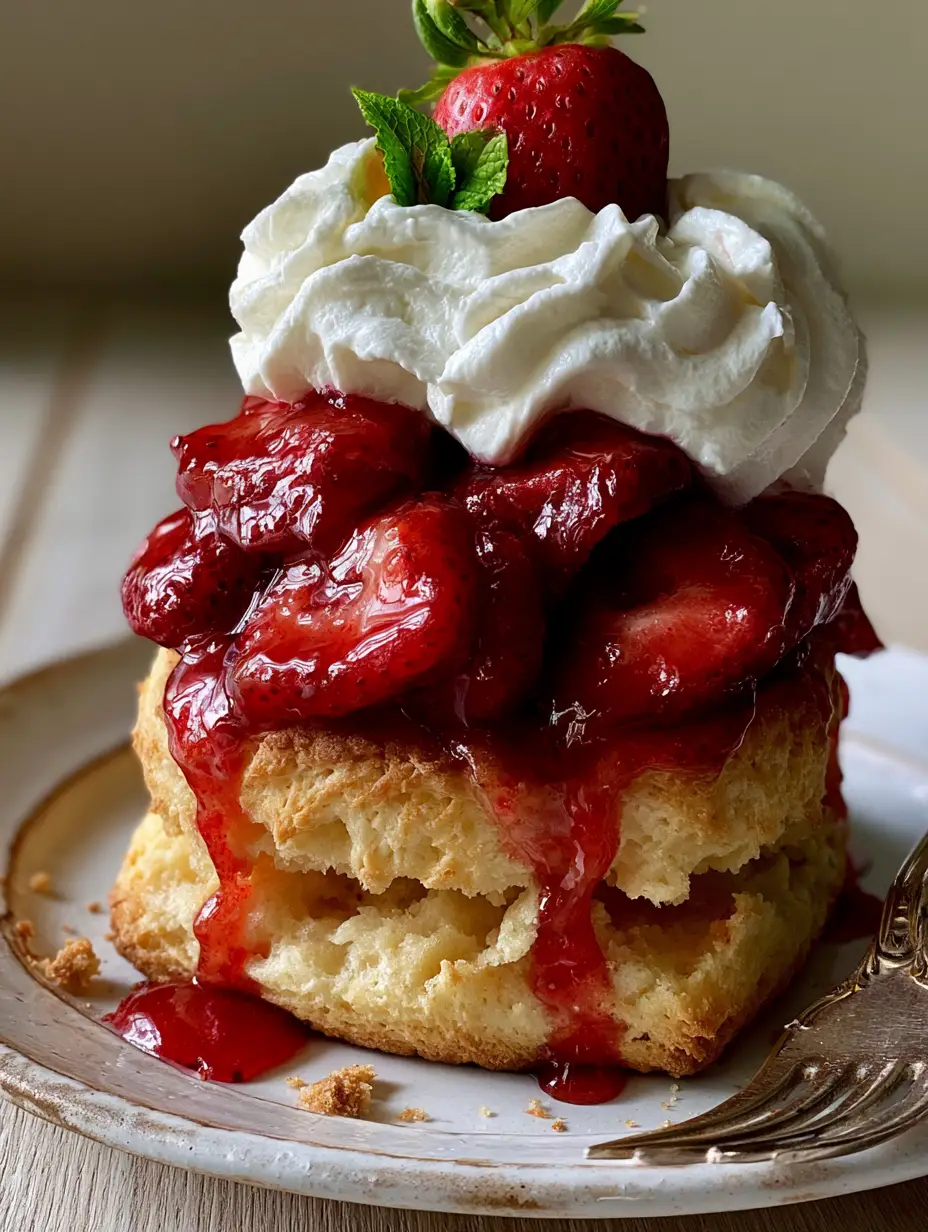
Every bite of this Strawberry Shortcake recipe delivers a harmonious contrast between the warm, salted crunch of the biscuit and the cool, billowy clouds of homemade whipped cream. The star of the show remains the heaping spoonfuls of deep red macerated strawberry slices, glistening with a translucent red syrup that drips artistically down the sides.
Whether you are hosting a backyard barbecue or looking for a sophisticated finish to a dinner party, this dessert commands attention with its rustic yet hyper-realistic food photography appeal. Let’s dive into the science and soul of this quintessential American classic.
Why This Is the Only Shortcake Recipe You’ll Ever Need
- The Perfect Crumb: Unlike heavy scones, these biscuits are engineered for a moist, flaky interior with visible layers that practically melt in your mouth.
- Syrup Science: We use a specific maceration technique to ensure your strawberries produce a bright red, translucent syrup without becoming mushy.
- Structural Integrity: Our homemade whipped cream is whipped to stiff peaks, ensuring your “massive, billowy dollop” doesn’t collapse under the weight of the garnish.
- Visual Sophistication: From the dusting of granulated sugar to the tiny sprig of bright green mint, every element is designed for a professional, eye-level close-up finish.
The Essential Components for a Sky-High Stack
The Foundation: Flaky Buttermilk Biscuits
3 cups (375g) All-Purpose Flour: This provides the necessary structure. Using a moderate protein flour ensures the biscuit remains tender rather than bread-like.
1/2 cup (100g) Granulated Sugar: A touch of sweetness in the dough helps with the browning process, creating that iconic golden-brown exterior mentioned in our visual blueprint.
1 tbsp (15g) Baking Powder: This is our primary leavening agent, responsible for the “steaming, buttery, flaky crumb texture” and the impressive height of the stack.
1/2 tsp (3g) Baking Soda: The alkaline reaction with the buttermilk creates tiny air pockets and enhances the golden color of the crust.
3/4 tsp (4g) Fine Sea Salt: Essential for balancing the sweetness and highlighting the rich butter notes in the crumb.
3/4 cup (170g) Unsalted Butter, Cold and Cubed: Cold butter is non-negotiable. As it melts in the oven, it creates steam, which pushes the dough layers apart to form those visible flakes.
1 cup (240ml) Cold Buttermilk: The acidity in buttermilk tenderizes the gluten and provides a subtle tang that cuts through the sweetness of the berries.
The Fruit: Macerated Strawberry Filling
2 lbs (900g) Fresh Strawberries: Choose ripe, fragrant berries. You will slice most of them, but reserve a few whole ones for the final garnish as per our design specs.
1/3 cup (65g) Granulated Sugar: This draws out the natural juices of the fruit to create that glistening, translucent red syrup.
1 tsp (5ml) Vanilla Extract: Adds a layer of aromatic depth to the fruit that makes it taste more complex than a standard homemade strawberry sauce.
The Topping: Stiff-Peak Whipped Cream
2 cups (480ml) Heavy Whipping Cream, Cold: High fat content is required to achieve the “massive, billowy dollop” that maintains its shape.
1/4 cup (30g) Confectioners’ Sugar: The cornstarch in the powdered sugar acts as a stabilizer, preventing the cream from weeping.
1 tsp (5ml) Vanilla Paste: Using paste instead of extract provides those beautiful tiny black bean specks for a high-end visual result.
Professional Equipment for the Perfect Bake
To achieve the macro-level detail of a professional food photo, you need a few specific tools. A pastry cutter is vital for incorporating the butter without melting it with your hands.
A 3-inch (7.5cm) biscuit cutter ensures clean edges; never twist the cutter, as this seals the edges and prevents the biscuit from rising. Finally, a stand mixer or hand mixer is necessary to achieve the specific stiff peaks required for the cream.
Mastering the Art of the Golden-Brown Buttermilk Biscuit
Step 1: Preparing the Glistening Strawberry Filling
Start by washing and hulling your berries. Slice them into 1/4-inch (6mm) thick pieces, ensuring they look uniform for that eye-level close-up aesthetic.
Toss the slices with the sugar and vanilla in a glass bowl. Let them sit at room temperature for at least 30 minutes. You will see a deep red syrup begin to pool at the bottom; this is exactly what we want for that “dripping down the sides” effect.
Step 2: Cutting the Cold Butter for Flaky Layers
In a large bowl, whisk together your dry ingredients. Add the cold, cubed butter and use your pastry cutter to work it in until the mixture resembles coarse crumbs with some pea-sized pieces of butter remaining.
Pour in the cold buttermilk and stir gently with a fork just until a shaggy dough forms. Do not overwork it! If you overmix, you lose the “moist flaky interior crumb” that makes this Strawberry Shortcake recipe so special.
Step 3: Folding and Baking for Maximum Height
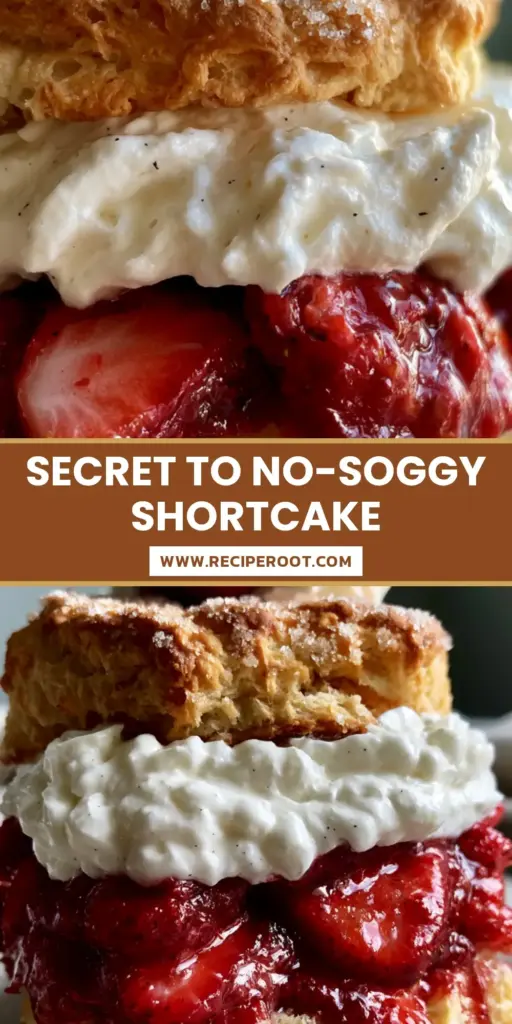
Turn the dough onto a floured surface and gently pat it into a rectangle. Fold the dough over itself 3-4 times; this manual lamination is the secret to those visible layers.
Cut your biscuits and place them on a parchment-lined tray. Brush the tops with a little extra buttermilk and a dusting of granulated sugar for that glistening, textured crust. Bake at 425°F (220°C) for 15-18 minutes until they reach a deep, golden-brown hue.
Step 4: Crafting the Stiff-Peak Whipped Cream
In a chilled bowl, combine the heavy cream, sugar, and vanilla. Begin whipping on medium speed, gradually increasing to high.
Watch for sensory cues: the liquid will thicken, then form soft trails, and finally become stiff enough that the whisk leaves distinct, sharp ridges. Stop immediately once you have “stiff peaks” to avoid making butter.
Expert Tips for Visual and Culinary Success
- Keep it Chilled: If your kitchen is warm, put your flour and bowl in the freezer for 10 minutes before starting. Cold fat equals a better rise.
- The “No-Twist” Rule: When cutting the biscuits, press straight down and pull straight up. Twisting the cutter “cauterizes” the dough edges, preventing the flaky layers from expanding.
- Maceration Timing: Don’t macerate for more than 2 hours, or the berries will lose their structural integrity and become too soft for a “towering stack.”
- Assembly Temperature: Always wait for the biscuits to be slightly warm—not hot—before adding the cream, or your billowy dollop will melt instantly.
Storage, Reheating & Freezing Guidelines
This dessert is best enjoyed immediately while the biscuit is warm and the cream is fresh. However, if you have leftovers, store the components separately.
Biscuits can be kept in an airtight container at room temperature for 2 days. To revive the “steaming, buttery” texture, reheat them in a 350°F (175°C) oven for 5 minutes. The whipped cream will last 24 hours in the fridge but may need a quick whisk before serving. Strawberries should be refrigerated and are excellent used in morning muffins if they become too soft.
What to Pair with Your Strawberry Shortcake
If you are planning a larger spread, these shortcakes fit perfectly into a patriotic celebration menu. For those who prefer a more portable version, consider our individual shortcake cups.
If you have leftover berries, they are a fantastic addition to a springtime fruit pie. For a different texture entirely, try our buttery scone alternative, which offers a denser, sweeter base.
Frequently Asked Questions
Yes, you can bake the biscuits ahead of time and store them in an airtight container. Reheat in a 350°F (175°C) oven for a few minutes to restore the ‘steaming, buttery’ texture before assembly.
While fresh berries are preferred for the ‘whole strawberry garnish,’ frozen berries can be macerated. However, they will release more water and may not be as vibrant as fresh ones.
Use heavy whipping cream with at least 36% fat content and ensure it is very cold. Whip on high speed until the cream holds its shape firmly when you lift the whisk.
Maceration is the process of sprinkling sugar on fruit to draw out its juices. It creates the translucent red syrup that characterizes a high-quality Strawberry Shortcake recipe.
Toughness usually comes from overworking the dough or using warm butter. Ensure your butter is ice-cold and mix the buttermilk in just until the dough barely comes together.
The Ultimate Strawberry Shortcake Recipe Card
Strawberry Shortcake recipe: The Ultimate Towering Flaky Buttermilk Stack
Ingredients
Equipment
Method
- Combine sliced strawberries, sugar, and vanilla. Let sit for 30 minutes until a glistening red syrup forms.
- Whisk dry ingredients. Use a pastry cutter to incorporate cold butter until pea-sized crumbs form.
- Stir in buttermilk. Fold dough 3-4 times on a floured surface to create visible flaky layers.
- Cut with a 3-inch cutter. Dust with granulated sugar. Bake at 425°F (220°C) for 15-18 minutes until golden-brown.
- Whip heavy cream, powdered sugar, and vanilla paste until stiff peaks form.
- Split warm biscuits. Layer with macerated berries and syrup, top with a billowy dollop of cream, a whole strawberry, and mint.
Notes
Do not twist the biscuit cutter to allow for maximum height.
Closing & Call to Action
Mastering this Strawberry Shortcake recipe is a rite of passage for any home baker. The contrast of the golden-brown buttermilk biscuit against the vibrant red syrup and snow-white cream creates a sensory experience that is as beautiful as it is delicious.
Did you achieve those perfect flaky layers? We want to hear about your baking journey! Leave a comment below and share your results. Don’t forget to save this masterpiece to your dessert board on Pinterest so you can find it every strawberry season!


