There is a specific kind of magic that happens when wholesome toasted oat cereal meets the velvety embrace of a honey-infused peanut butter binder. These Peanut Butter Cheerio Bars are not your average childhood snack; they are a sophisticated, texture-heavy upgrade that balances salty and sweet with scientific precision.
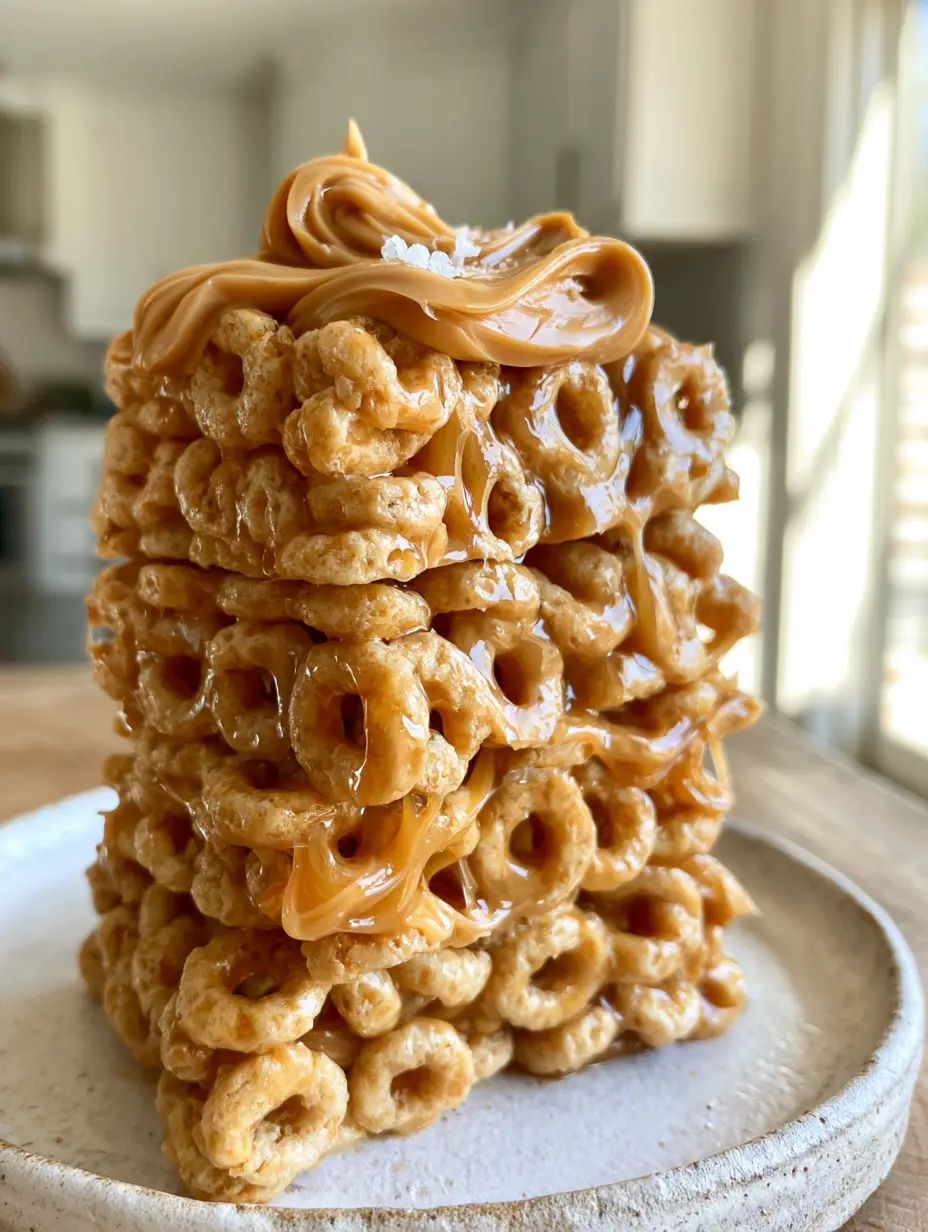
Imagine a stack of thick, golden bars where every loop of cereal is coated in a translucent amber glaze that catches the morning light. As you pull a bar away from the stack, you should see those iconic, sticky, web-like strands of peanut butter stretching between the toasted loops, promising a texture that is both compressed and incredibly chewy.
Whether you are looking for a quick after-school snack or a post-workout fuel source, these bars deliver a satisfying crunch and a lingering richness. We have perfected the ratio of honey to nut butter to ensure these stay soft enough to bite but firm enough to hold their shape on a rustic white ceramic plate.
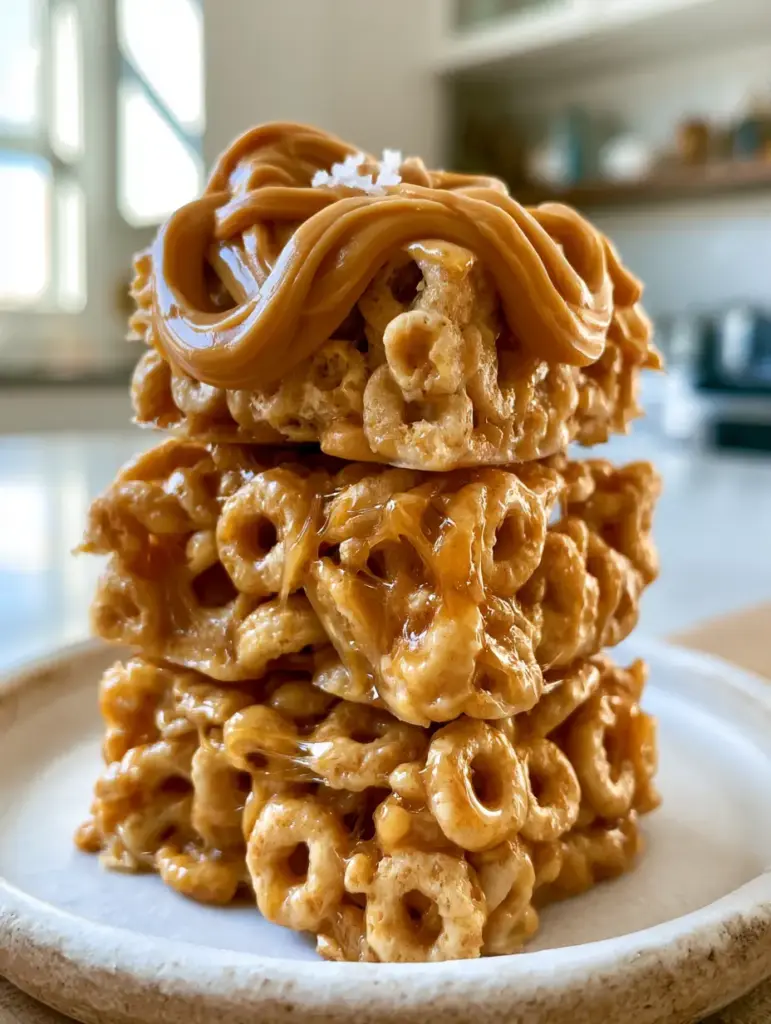
Why You Will Crave These Thick Peanut Butter Cheerio Bars
- Visual Texture: The combination of golden oat loops and a glossy amber honey glaze creates a high-contrast, professional look.
- Perfect Structural Integrity: Thanks to the compressed chewy texture, these bars won’t crumble in your hands or lunchbox.
- The Salty-Sweet Bridge: A generous drizzle of creamy peanut butter and a pinch of flaky sea salt elevates the simple flavors.
- No-Bake Ease: Achieve gourmet results in under 15 minutes of active kitchen time without ever turning on the oven.
The Essential Pantry Staples for Chewy Peanut Butter Cheerio Bars
Toasted Oat Cereal: You will need 5 cups (approx. 140g) of plain oat cereal loops. While the loops are naturally toasted, we recommend a quick stovetop toss to enhance that golden hue and nutty aroma.
Creamy Peanut Butter: Use 1 cup (250g) of a stabilized, creamy peanut butter for the binder. This ensures the “web-like strands” visible in the photos; natural oils in “drippy” peanut butter can sometimes prevent the bars from setting firmly.
Honey: 1/2 cup (170g) of high-quality honey provides the glossy, translucent amber-colored finish. It acts as the “glue” that, when boiled slightly, creates the chewy, candy-like texture we desire.
Unsalted Butter: 2 tbsp (28g) of butter is our “invisible foundational ingredient.” It adds a necessary fat content that keeps the glaze from becoming brittle, ensuring the bars remain soft at room temperature.
Vanilla Extract: 1 tsp (5ml) of pure vanilla bean extract rounds out the earthiness of the toasted oats. It adds a layer of aromatic complexity that differentiates these from basic cereal treats.
Flaky Sea Salt: A generous pinch for the garnish. The large crystals provide a sensory pop that cuts through the richness of the honey glaze.
Melted Peanut Butter Drizzle: An additional 2 tbsp (30g) of peanut butter, warmed until fluid. This is purely for that “artistic drizzle” that defines the modern food photography style.
Must-Have Tools for the Perfect Compressed Texture
To achieve the “tightly bound” look of these Peanut Butter Cheerio Bars, you need the right leverage. A standard 8×8 inch (20x20cm) square baking pan is essential for creating that thick, macro-worthy height.
We also recommend using a heavy-bottomed saucepan to prevent the honey from scorching. A piece of parchment paper is non-negotiable; it allows you to lift the entire slab out of the pan for clean, sharp-edged slices.
Finally, find a flat-bottomed measuring cup or a secondary pan. You will use this to firmly press the cereal mixture into the corners, creating the dense, compressed chewy texture that prevents the bars from being airy or loose.
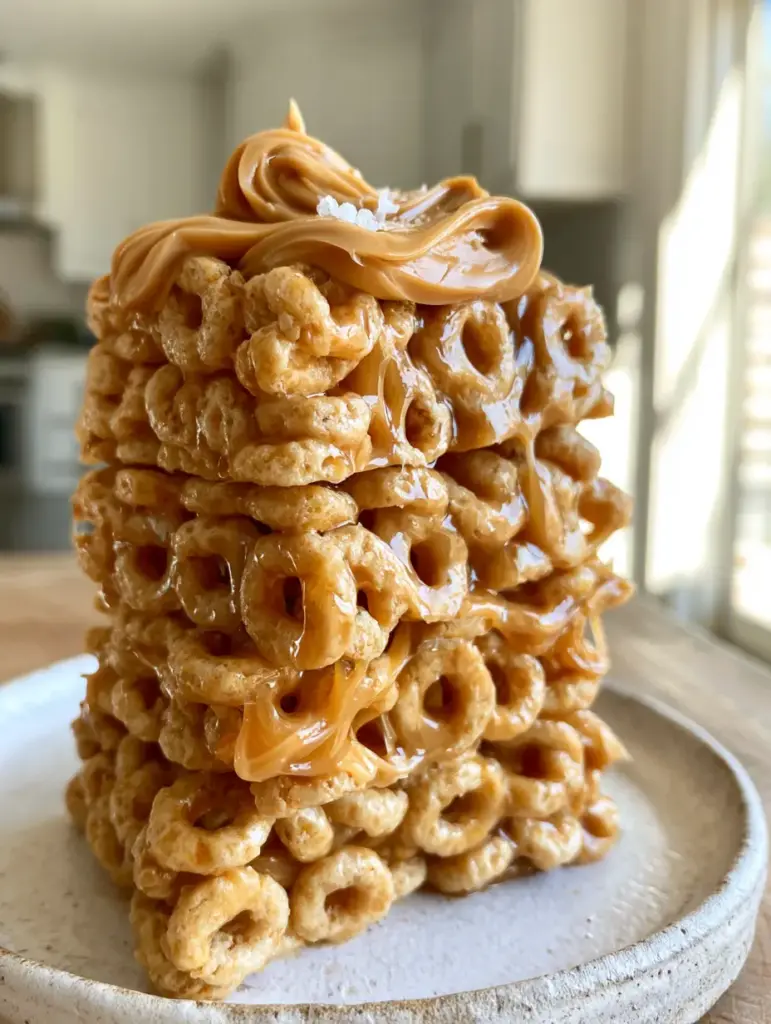
Mastering the Art of the No-Bake Cereal Bar Step-by-Step
1. Preparing the Toasted Oat Base
Line your square pan with parchment paper, leaving an overhang on two sides. In a large mixing bowl, add your 5 cups (140g) of oat cereal. If your cereal seems dull, toast it in a dry skillet for 2 minutes until you smell a popcorn-like aroma and see a deeper golden color.
2. Creating the Glossy Amber Binder
In your saucepan over medium heat, combine the 1 cup (250g) of peanut butter, 1/2 cup (170g) of honey, and 2 tbsp (28g) of butter. Stir constantly with a silicone spatula. Watch for the mixture to begin bubbling around the edges—this is the “amber glaze” phase.
3. The Emulsion and Flavor Infusion
Once the mixture reaches a gentle boil, let it bubble for exactly 60 seconds. Remove from the heat immediately. Stir in the vanilla extract and a pinch of fine salt. The mixture should look shiny, smooth, and incredibly sticky.
4. Folding and Forming the Web-Like Strands
Pour the hot peanut butter mixture over the cereal. Use a folding motion to ensure every loop is coated. As you stir, you will notice the “sticky, web-like strands” forming—this is the protein in the peanut butter and the sugars in the honey creating a structural web.
5. The Compression Technique
Transfer the mixture to the prepared pan. Using the back of a greased spoon or a flat-bottomed cup, press down with significant force. You want the bars to be “thick and chewy,” which requires removing as much air as possible from between the loops.
6. The Artistic Finishing Touches
Melt your remaining 2 tbsp of peanut butter in the microwave for 20 seconds. Using a spoon, create a “generous, artistic drizzle” across the top. While the drizzle is still wet, sprinkle the flaky sea salt over the bars so it adheres to the peanut butter.
Expert Tips for Success with Peanut Butter Cheerio Bars
- Avoid the Microwave for the Binder: While tempting, heating the honey and peanut butter on the stove allows for better temperature control, ensuring the “translucent amber” color without burning the sugars.
- The 60-Second Rule: Boiling the honey mixture for too long will result in rock-hard bars; boiling for too little time will result in bars that fall apart. Stick to one minute!
- The Wet-Hand Trick: If the mixture is sticking to your spatula while pressing into the pan, lightly dampen your hands with water. You can press the bars flat without the cereal sticking to you.
- Chill for Precision: For the cleanest cuts (like those in our handheld, realistic food photography), refrigerate the bars for 30 minutes before slicing with a hot, sharp knife.
Sustainable Storage and Freshness Guide
These Peanut Butter Cheerio Bars are remarkably shelf-stable. Keep them in an airtight container at room temperature for up to 5 days. They will maintain their chewy texture best when kept away from direct heat or high humidity.
If you prefer a firmer “snap,” you can store them in the refrigerator. They will last up to 2 weeks this way. To freeze, wrap individual bars in parchment and place them in a freezer bag for up to 3 months. Let them sit at room temperature for 10 minutes before enjoying.
Delicious Pairings and What to Serve
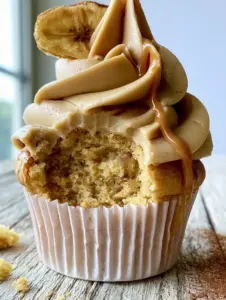
These bars are the ultimate snack, but they also pair beautifully with other treats. If you are hosting a brunch, serve them alongside some peanut butter banana cupcakes for a themed dessert table. For a more indulgent spread, these are a great textural contrast to peanut butter cup stuffed brookies.
During the warmer months, balance the richness of the peanut butter with a refreshing drink. A cold glass of dragon fruit lemonade or even blue lemonade provides a tart acidity that cleanses the palate after the sticky honey glaze.
If you love this cereal-based treat, you might also enjoy the classic chocolate-topped Chex scotcheroos, which use a similar binding technique but offer a different crunch profile.
Frequently Asked Questions
These bars are gluten-free as long as you use a certified gluten-free toasted oat cereal. Most name-brand oat loops are gluten-free, but always check the label for cross-contamination warnings.
Maple syrup is thinner and has a lower sugar concentration than honey. While it will work, the bars will be much softer and may not achieve that specific ‘glossy amber glaze’ or the same level of chewiness.
Natural peanut butter (the kind that requires stirring) can be used, but it may result in a softer, messier bar due to the higher oil content. For the best structural ‘web-like strands,’ a stabilized creamy peanut butter is recommended.
For professional-looking slices, refrigerate the bars for at least 30 minutes. Use a large chef’s knife dipped in hot water (and wiped dry) to slice through the compressed loops in one clean motion.
This usually happens if the honey and peanut butter mixture wasn’t boiled long enough or if the bars weren’t pressed firmly enough into the pan. Ensure you boil the mixture for a full 60 seconds and use a flat-bottomed tool to compress the cereal tightly.
The Best Peanut Butter Cheerio Bars Recipe Card
Peanut Butter Cheerio Bars: The Ultimate Thick and Chewy No-Bake Treat
Ingredients
Equipment
Method
- Line an 8x8 inch pan with parchment paper, leaving an overhang for easy removal.
- In a heavy-bottomed saucepan, combine peanut butter, honey, and butter over medium heat.
- Stir constantly until the mixture reaches a gentle boil. Let it bubble for exactly 60 seconds until it turns into a glossy, translucent amber glaze.
- Remove from heat and stir in vanilla extract and fine salt.
- Pour the hot peanut butter mixture over the oat cereal and fold until every loop is coated and web-like strands appear.
- Transfer to the pan and press down very firmly using a flat-bottomed cup to create a compressed chewy texture.
- Drizzle with melted peanut butter and sprinkle with flaky sea salt. Allow to set for at least 30 minutes before slicing.
Notes
Use a stabilized peanut butter for best structural results.
Join Our Community and Share Your Creations
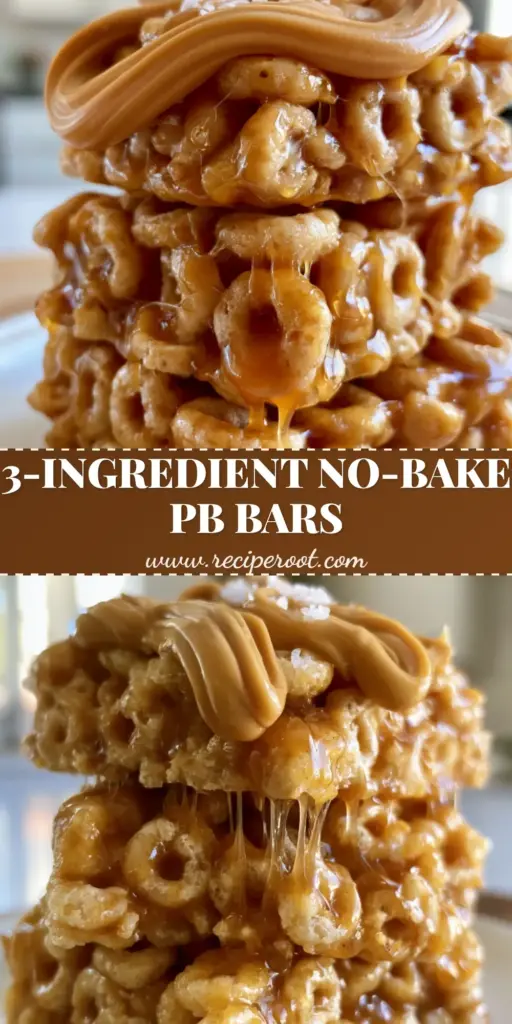
We can’t wait to see your thick and chewy Peanut Butter Cheerio Bars! These bars represent the perfect intersection of nostalgia and culinary craft. If you enjoyed the “glossy honey glaze” and that “tiny pinch of flaky sea salt,” let us know in the comments below.
Be sure to follow us on Pinterest for more visually stunning recipe inspiration. If you made a stack that looks just like our macro smartphone photo, tag us! Your feedback helps us continue to develop recipes that are as beautiful as they are delicious.