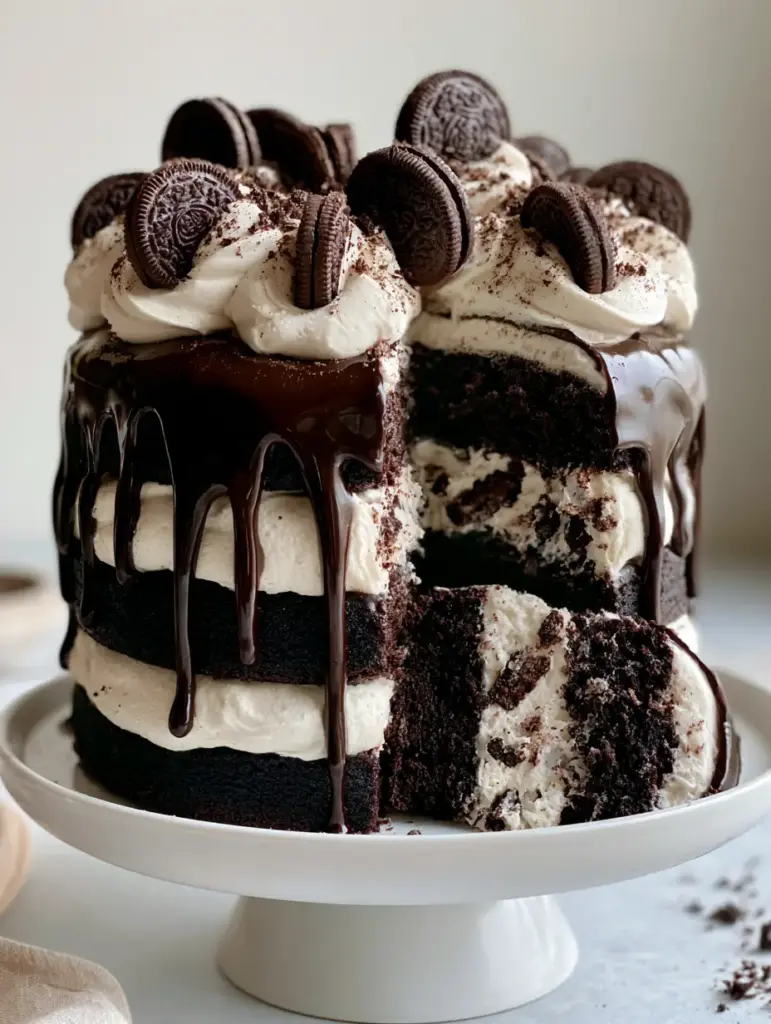
There is something undeniably magnetic about the high-contrast aesthetic of a perfectly executed Oreo cake. When you see that deep, “Oreo black” cocoa sponge stacked against thick, velvety white vanilla bean buttercream, it triggers an instant sensory response.
This isn’t just a dessert; it’s a visual masterpiece designed for the modern home baker who appreciates the “smartphone-ready” look of a professional bakery build. We have meticulously engineered this recipe to mirror the bright, airy, and high-contrast look of a handheld artisanal photo.
Every bite delivers a symphony of textures, from the moist, tight crumb of the black cocoa sponge to the crunch of fragmented cookies tucked between layers. Whether you are celebrating a milestone or just indulging a chocolate craving, this Oreo cake stands as the definitive version of the cookies-and-cream classic.
The Anatomy of a Perfect Cookies and Cream Masterpiece
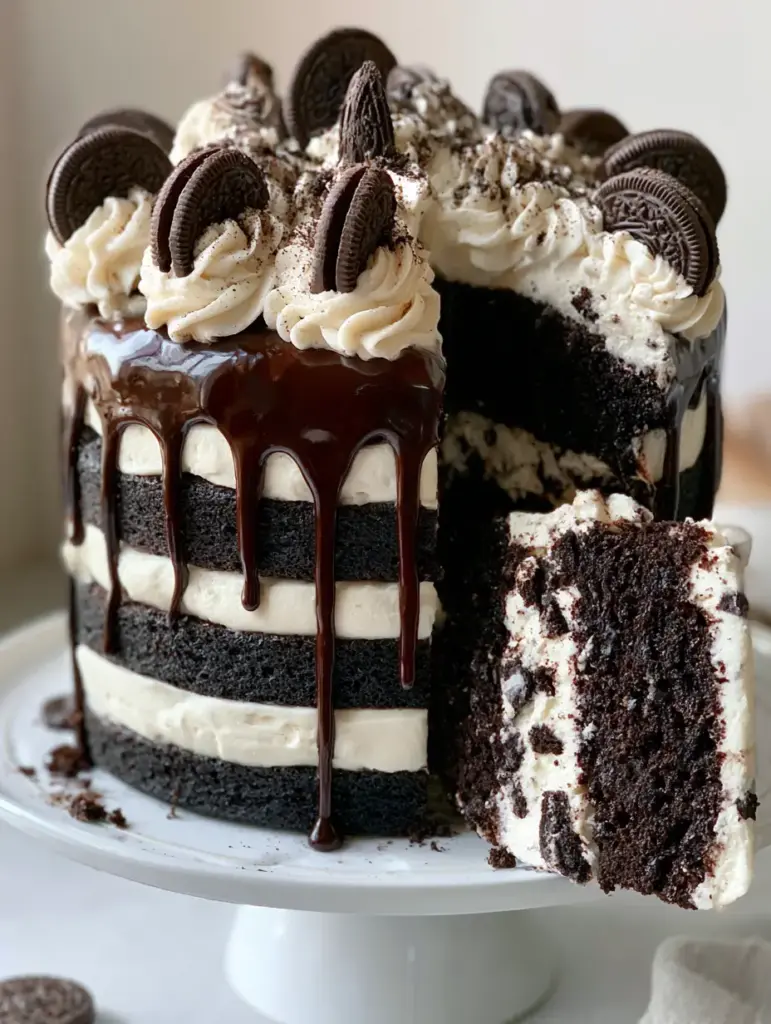
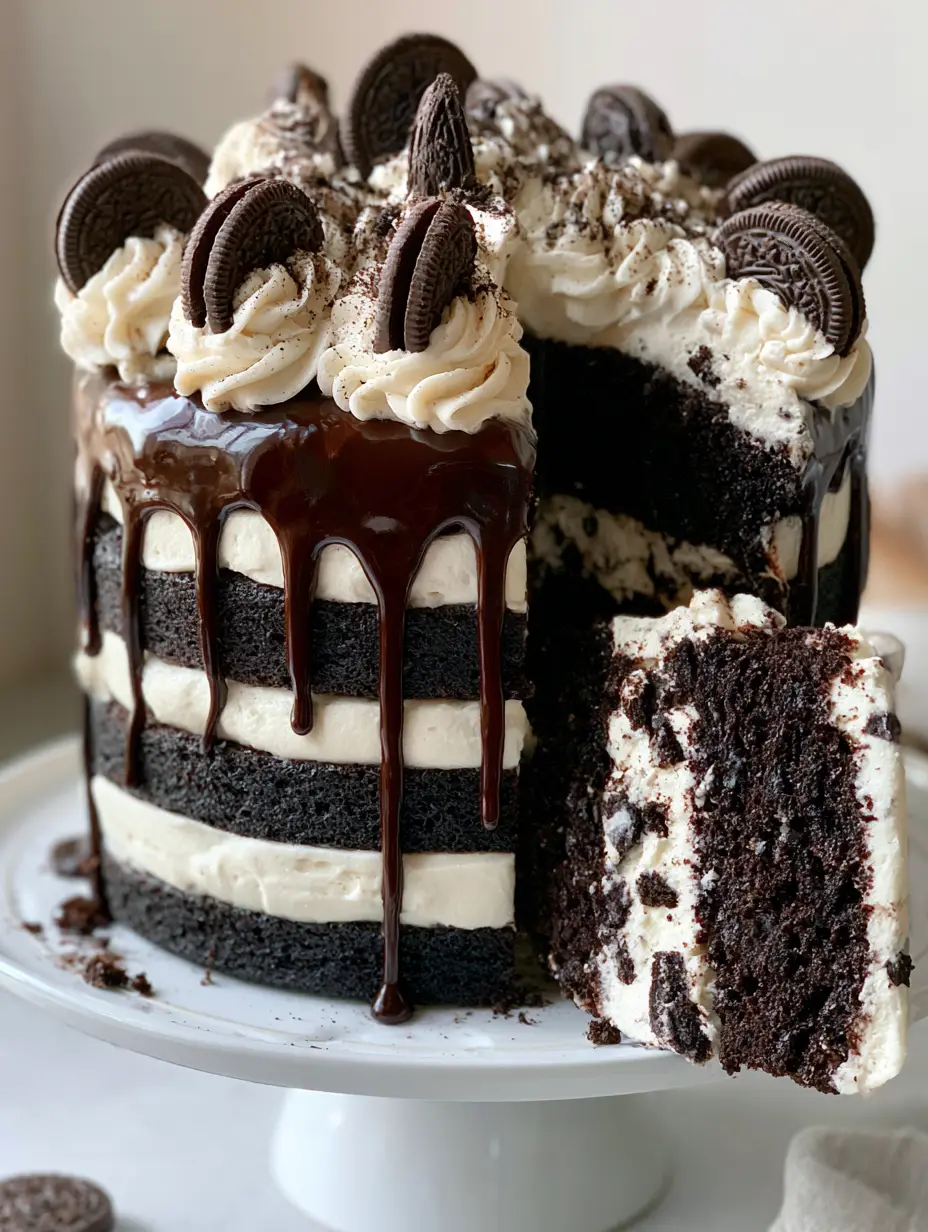
- Visual High-Contrast Layers: The striking juxtaposition of jet-black cake and snow-white frosting creates a professional, gallery-worthy slice.
- Multidimensional Texture: You will experience the interplay of soft sponge, silky buttercream, crunchy cookie fragments, and a snappy chocolate drip.
- Gourmet Flavor Profile: By using authentic black cocoa and real vanilla bean paste, we elevate the childhood flavor into a sophisticated adult indulgence.
- Structural Integrity: This cake is designed to stand tall and proud on a pedestal, making it the perfect centerpiece for your next event.
The Essential Pantry for Deep Black Cocoa Excellence
Achieving that signature “Oreo” color and flavor requires specific ingredients that go beyond the standard grocery list. Here is what you need and why each component is vital to the culinary science of this cake.
Black Cocoa Powder (1 cup / 90g): This is the secret to the color; it is ultra-dutched, meaning it has a high pH level that results in a dark color and a flavor reminiscent of the cookie wafers themselves.
All-Purpose Flour (2.5 cups / 312g): This provides the necessary structure to support the heavy layers of buttercream and ganache without being too dense.
Granulated Sugar (2 cups / 400g): Sugar does more than sweeten; it helps tenderize the gluten, ensuring the black cocoa layers remain moist and soft.
Buttermilk (1 cup / 240ml): The acidity in buttermilk reacts with the leavening agents to create a beautiful lift and a delicate, moist crumb.
Boiling Water (1 cup / 240ml): Adding boiling water at the end “blooms” the cocoa powder, intensifying the chocolate flavor and thinning the batter for a level bake.
Vanilla Bean Paste (1 tbsp / 15g): We use paste instead of extract in the frosting so you can see those gorgeous black flecks against the white buttercream.
Oreo Cookies (36 total): These are utilized in three ways: crushed for the internal filling, pulverized into dust for the garnish, and kept whole for the top peaks.
Dark Chocolate Chips (1/2 cup / 90g): High-quality dark chocolate creates the base for our glossy ganache drip that catches the light perfectly.
Unsalted Butter (1.5 cups / 340g): For the frosting, ensure your butter is at a cool room temperature (65°F / 18°C) to achieve that silky, pipeable consistency.
If you find yourself with extra cookies after this project, you can always repurpose them into innovative cake pop recipes or even use them to top gourmet birthday cake cookies.
Professional Tools for a Flawless Layered Build
To replicate the minimalist, kitchen-professional aesthetic of our blueprint, you will need a few key tools. A rotating cake turntable is non-negotiable for achieving a smooth finish and a controlled ganache drip.
Invest in three 8-inch (20cm) round cake pans to ensure even, consistent layers that stack without leaning. A large offset spatula and a bench scraper will be your best friends when applying the “crumb coat” and the final thick layer of vanilla bean buttercream.
Finally, a piping bag fitted with a large star tip (like a Wilton 1M) is required to create those iconic piped frosting peaks that hold the whole Oreo garnishes. For smaller treats with similar techniques, you might enjoy experimenting with birthday cake pops for your next gathering.
Building the Masterpiece: A Step-by-Step Guide
1. Crafting the “Oreo Black” Cocoa Sponge
Preheat your oven to 350°F (175°C). Sift together your flour, black cocoa powder, sugar, baking powder, and salt into a large bowl to ensure no cocoa clumps remain.
Whisk in the eggs, buttermilk, oil, and vanilla until the batter is smooth and thick. Carefully pour in the boiling water, whisking slowly; the batter will become thin, which is exactly what we want for a moist texture.
Divide the batter evenly between three greased pans. Bake for 30-35 minutes or until a tester comes out clean; you will see the surface looks like dark volcanic rock.
2. The Vanilla Bean Frosting & Cookie Filling
Beat your room-temperature butter until it is pale and voluminous. Gradually add the powdered sugar and vanilla bean paste, beating on high until the frosting is silky and white.
For the filling, take 1 cup (240ml) of the finished buttercream and fold in 10 coarsely crushed Oreo cookies. This creates the hidden “cookies and cream” surprise between the layers.
3. Assembly and the Signature Drip
Place the first black cocoa layer on a pedestal. Pipe a ring of plain buttercream around the edge to act as a dam, then fill the center with your crushed cookie buttercream.
Repeat for the second layer, then top with the third sponge. Apply a thin “crumb coat” of plain buttercream over the entire cake and chill for 30 minutes to lock in the crumbs.
Apply the final thick layer of white buttercream, smoothing the sides with a bench scraper until perfectly level. For the drip, melt dark chocolate and heavy cream together until glossy; pour into a squeeze bottle and gently trace the edges of the chilled cake, allowing the chocolate to cascade naturally down the sides.
4. The Final Artisanal Flourish
Pipe eight large frosting peaks around the top perimeter of the cake. Gently press a whole Oreo cookie into each peak at a slight angle for a handheld smartphone-ready look.
Finish by sprinkling fine chocolate cookie crumbs (dust) over the top and around the base of the white ceramic pedestal. This mimics the scattered crumb aesthetic seen in high-end culinary photography.
Expert Tips for Success
- The Temperature Rule: Always ensure your cake layers are completely cold (ideally chilled) before frosting. A warm cake will melt the buttercream and cause the layers to slide.
- The Drip Physics: Your ganache should be slightly warmer than room temperature, while the cake must be cold. This “shocks” the chocolate, causing it to slow down and stop before hitting the bottom.
- Black Cocoa Caution: Black cocoa is quite drying. Do not skip the oil or buttermilk in the recipe, as they provide the necessary lipids to keep the sponge tender.
- Clean Slices: To see the high-contrast layers clearly, dip your knife in hot water and wipe it clean between every single cut.
Keeping Your Cake Fresh
Because of the high butter content in the frosting, this Oreo cake should be stored in the refrigerator if not consumed within 4 hours. Use a cake dome or a large airtight container to prevent the sponge from absorbing “fridge smells.”
For long-term storage, you can freeze individual slices wrapped tightly in plastic wrap and foil for up to 3 months. If you are planning a larger event, perhaps alongside 4th of July party ideas, this cake can be made 2 days in advance and kept chilled.
Perfect Pairings & Occasions
This cake is a standalone star, but it pairs beautifully with a glass of cold milk or a strong espresso to cut through the richness. If you are looking for more chocolate-heavy desserts to fill out a dessert table, consider our brown butter espresso brownies.
For those who prefer a mix of flavors, serving this alongside something fruity like a strawberry rhubarb pie can provide a refreshing contrast to the deep cocoa notes. If you want a more casual “cookies and cream” vibe, our chocolate oreo cake variations offer excellent inspiration.
Frequently Asked Questions
Yes, you can bake the sponges up to 2 days in advance. Store them wrapped in plastic at room temperature or in the fridge until you are ready to assemble.
You can use Dutch-processed cocoa, but the cake will be brown rather than jet-black, and it will lack that specific ‘Oreo wafer’ flavor profile.
Ensure your cake is thoroughly chilled (at least 30 minutes) and your ganache is slightly warm. Use a squeeze bottle for the most control over the drip lengths.
Whip the butter alone for 5-7 minutes before adding sugar. You can also add a tiny drop of purple food coloring to neutralize the yellow tones of the butter.
This usually happens if the oven door is opened too early or if the leavening agents (baking powder/soda) are expired. Ensure your oven is fully preheated.
The Official Oreo Layer Cake Recipe
Oreo Cake: The Ultimate Deep Black Cocoa Layer Cake Recipe
Ingredients
Equipment
Method
- Sift flour, black cocoa, sugar, baking powder, and salt into a large bowl.
- Whisk in eggs, buttermilk, and oil until smooth. Stir in boiling water last.
- Pour into three 8-inch pans. Bake at 350°F (175°C) for 30-35 minutes until the sponge is a deep volcanic black.
- Beat butter, powdered sugar, and vanilla bean paste until fluffy and white.
- Stack layers with crushed Oreo buttercream in between. Apply a white crumb coat and chill.
- Melt chocolate and cream. Drip over the edges of the chilled cake for a glossy, cascading effect.
- Pipe peaks on top, tuck in whole Oreos, and sprinkle with fine cookie dust.
Notes
Ensure the cake is cold before applying the ganache drip to prevent it from running off.
Closing & Call to Action
Creating this Oreo cake is an exercise in culinary art and precision. The result is a dessert that looks as good as it tastes, offering a professional-grade experience right in your own kitchen. We can’t wait to see your versions of this high-contrast beauty!
If you enjoyed this recipe, please leave a comment below and share your photos with us. Be sure to follow us on Pinterest for more visual recipe inspiration and decadent dessert ideas!


