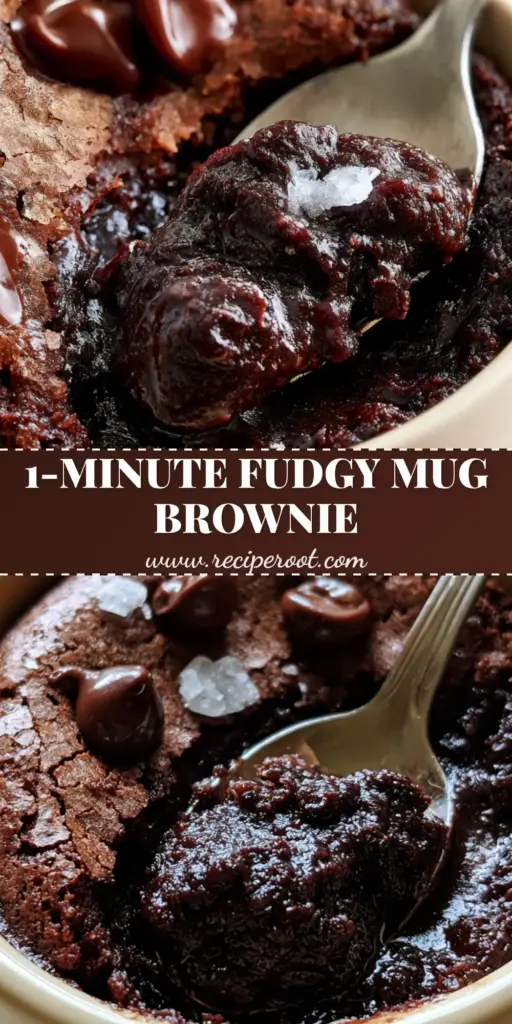
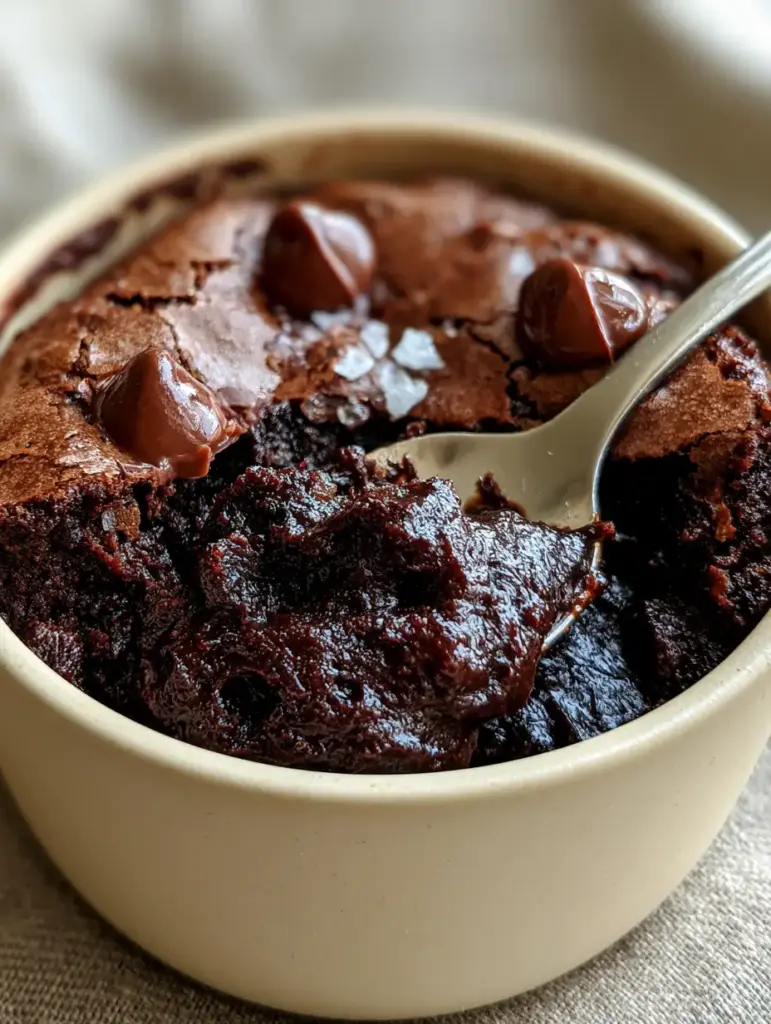
This microwave brownie is the absolute gold standard for late-night cravings, delivering a decadent dark chocolate batter with a sophisticated, molten fudgy center in under two minutes. Unlike typical mug cakes that turn out spongy, this recipe creates a papery thin brownie crust and a gooey, glistening interior that rivals any oven-baked batch.
Imagine diving your spoon into a matte cream ceramic ramekin to find pools of melted semi-sweet chocolate chunks and a finishing touch of Maldon sea salt flakes. If you are looking for a quick treat that doesn’t compromise on texture, this microwave brownie is the answer to your chocolate prayers.
Why You Will Crave This Fudgy Microwave Brownie
- The Perfect Texture: A delicate, crackled top surface that gives way to a deep, dark, and ultra-moist molten center.
- Pantry Staple Friendly: No eggs are required, making this the easiest microwave brownie to whip up at a moment’s notice.
- Single-Serve Luxury: Perfectly portioned in a ramekin to prevent over-indulgence while satisfying the most intense sweet tooth.
- Sophisticated Flavor: The combination of dark cocoa and flaky sea salt elevates this from a simple snack to a gourmet dessert cup recipe.
The Secret Ingredients for a Gourmet Mug Brownie
All-Purpose Flour: 2 tablespoons (16g) provides just enough structure without making the brownie bread-like.
Unsweetened Cocoa Powder: 2 tablespoons (14g) of high-quality dark cocoa ensures a rich, bittersweet chocolate profile.
Granulated Sugar: 2 tablespoons (25g) is essential not just for sweetness, but for creating that signature papery thin brownie crust.
Melted Butter or Neutral Oil: 1.5 tablespoons (21g) adds the necessary lipids for a lip-smacking, fudgy mouthfeel.
Whole Milk: 2 tablespoons (30ml) hydrates the batter; you can substitute with almond milk if preferred.
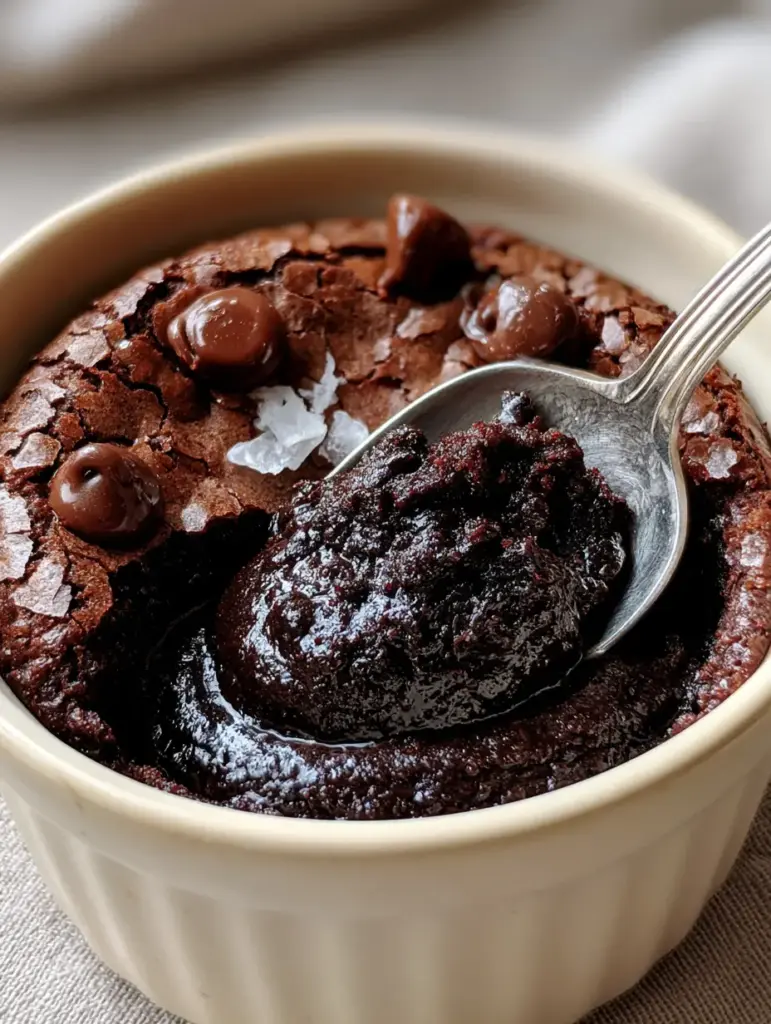
Semi-Sweet Chocolate Chunks: 1 tablespoon (15g) creates those glistening, half-melted pools of chocolate shown in the visual blueprint.
Maldon Sea Salt Flakes: A tiny pinch is the secret weapon to balancing the intense dark chocolate batter.
Step-by-Step Instructions for the Perfect Melt
1. Mix the Dry Foundation
In a small bowl or directly in your matte cream ceramic ramekin, whisk together the flour, cocoa powder, and sugar. Ensure there are no large clumps of cocoa, as these will not dissolve during the short cook time.
2. Emulsify the Batter
Add the melted butter and milk to the dry ingredients. Stir gently until a thick, dark chocolate batter forms. Do not overmix; stop as soon as the flour streaks disappear to keep the texture tender.
3. The Chocolate Chunk Fold
Gently fold in half of your semi-sweet chocolate chunks. Press the remaining chunks into the top of the batter so they remain visible and glistening after microwaving. Much like my soft m&m chocolate chip cookies, the placement of chocolate is key for visual appeal.
4. The Precision Microwave Blast
Place the ramekin in the microwave. Heat on high for 50 to 60 seconds. Visual Cue: The edges should look set and slightly puffed, but the center should still look a bit wet and shiny. This ensures a molten fudgy center.
5. The Finishing Touch
Remove carefully (the ramekin will be hot!). Immediately sprinkle a pinch of Maldon sea salt flakes over the surface. Let it sit for 1 minute; this resting period allows the papery thin crust to fully develop.
Expert Tips for Microwave Success
- Don’t Overcook: Every microwave is different. Start with 45 seconds and add 5-second increments. A dry microwave brownie is a sad brownie.
- Use a Wide Ramekin: A wider, shallower dish helps the heat distribute evenly compared to a tall, narrow mug.
- Quality Cocoa Matters: Since there are so few ingredients, the quality of your cocoa powder will dictate the entire flavor profile.
- Resting is Required: Waiting 60 seconds after the timer beeps is the difference between a gooey mess and a structured, fudgy delight.
How to Store and Reheat
This microwave brownie is designed to be eaten immediately. However, if you have leftovers, cover the ramekin with plastic wrap and keep at room temperature for up to 24 hours.
To reheat, microwave for just 10 seconds to loosen the molten fudgy center. If you love quick chocolate treats, you might also enjoy learning how to make cake pops for your next party.
What to Serve With Your Brownie
For the ultimate experience, serve this warm brownie with a scoop of cold vanilla bean ice cream. The contrast between the hot, dark chocolate batter and the melting cream is heavenly.
If you’re looking for a refreshing drink to pair with this rich dessert, try a hibiscus tea strawberry lemonade for a tart, floral balance.
Frequently Asked Questions
Yes! Substitute the butter with melted coconut oil or a neutral vegetable oil, and use any plant-based milk like almond or oat milk.
No eggs are needed for this specific recipe. Eggs can often make a single-serve microwave brownie taste more like cake; leaving them out ensures a fudgier, denser texture.
The crackly top comes from the ratio of sugar to fat. Ensure you use the full amount of granulated sugar and let the brownie rest for 60 seconds after cooking.
A Dutch-processed cocoa powder will give you a darker color and a smoother, less acidic chocolate flavor, which is perfect for this recipe.
Rubbery texture is usually caused by overmixing the flour or overcooking the batter. Stir only until combined and stop microwaving while the center still looks slightly wet.
The Best Microwave Brownie Recipe
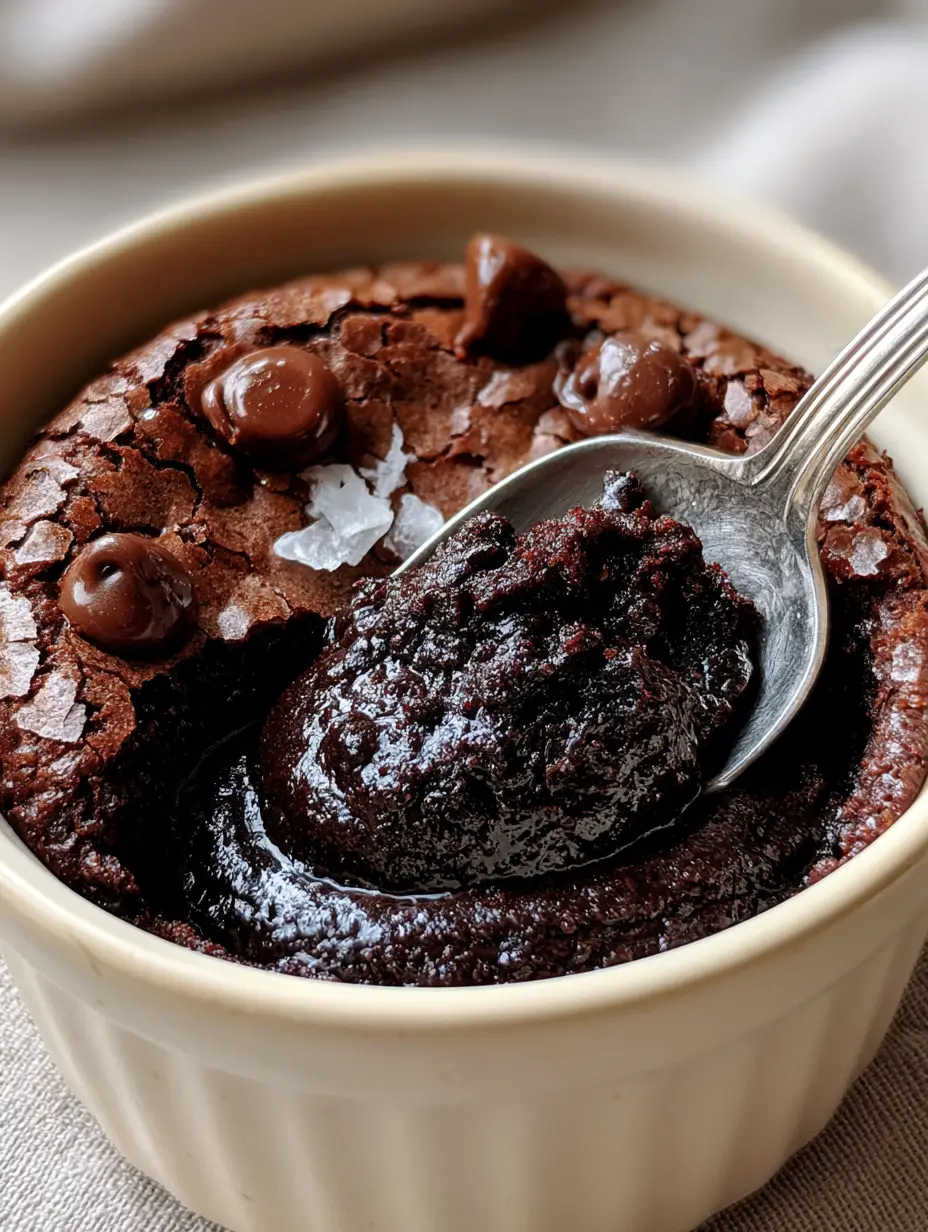
Microwave Brownie: The Ultimate 60-Second Fudgy Mug Cake
Ingredients
Equipment
Method
- In a matte cream ceramic ramekin, whisk together the flour, cocoa powder, and granulated sugar until no large clumps remain.
- Stir in the melted butter and milk until a smooth, dark chocolate batter forms.
- Fold in half the chocolate chunks and press the rest onto the top of the batter.
- Microwave on high for 50-60 seconds until the edges are set but the center is still slightly molten.
- Sprinkle with Maldon sea salt and let rest for 60 seconds to allow the crackled crust to form.
Notes
Use high-quality dark cocoa for the best flavor.
Save This Recipe to Pinterest!
Did you love this microwave brownie? Make sure to save this recipe to your Pinterest Dessert Board so you always have a 60-second treat at your fingertips!
Follow @recipe_root for more viral chocolate hacks. If you made this, please share a photo in the comments below and leave a 5-star rating in the recipe card—it helps other bakers find us!