Learning how to make cake pops that look like they belong in a high-end boutique window is the ultimate goal for any home baker. If you have ever struggled with treats falling off the stick or coatings that crack the moment they set, this guide is your definitive solution. We are diving deep into the culinary science of the “double-lock” technique to ensure every single sphere is a work of art.
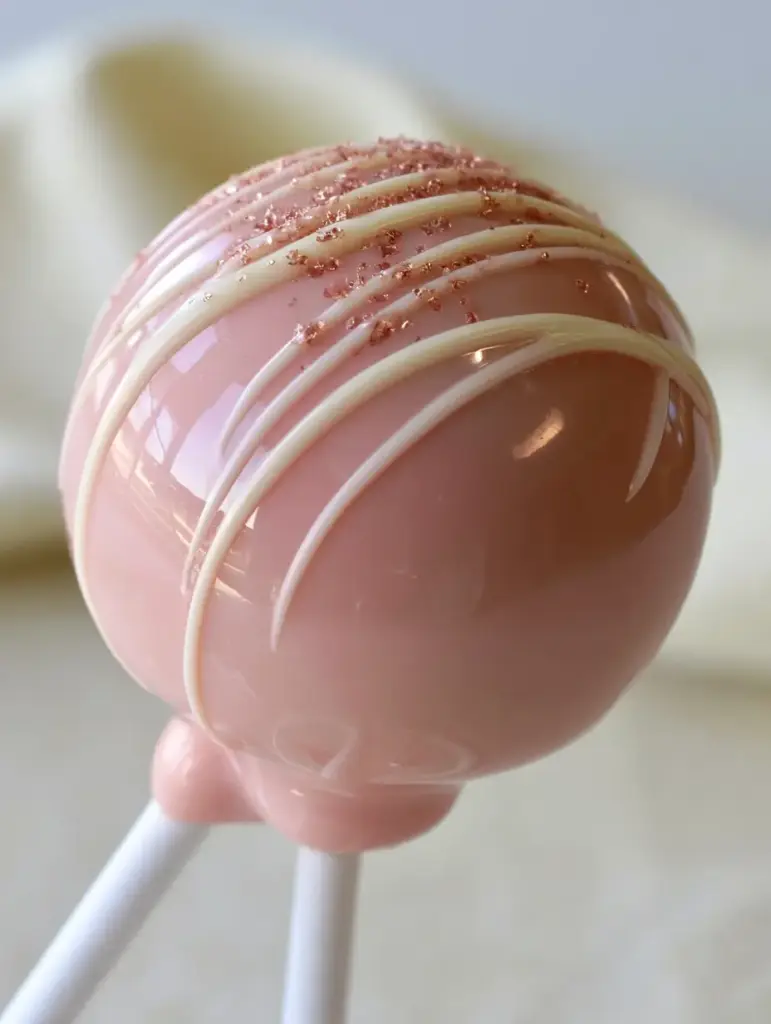
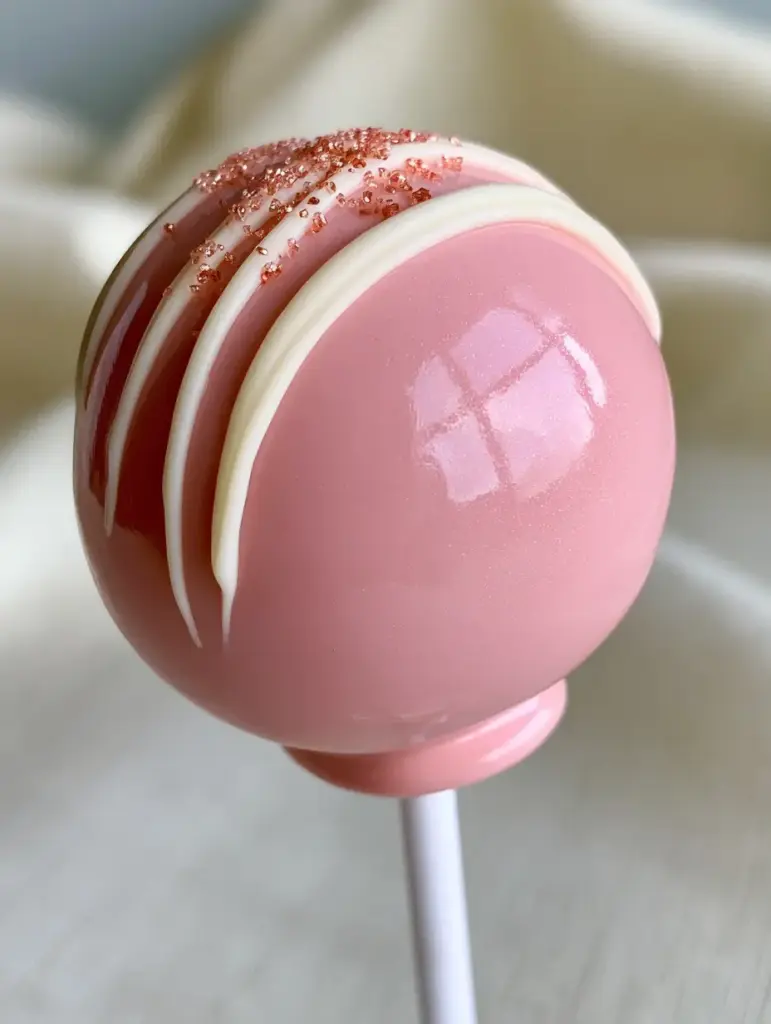
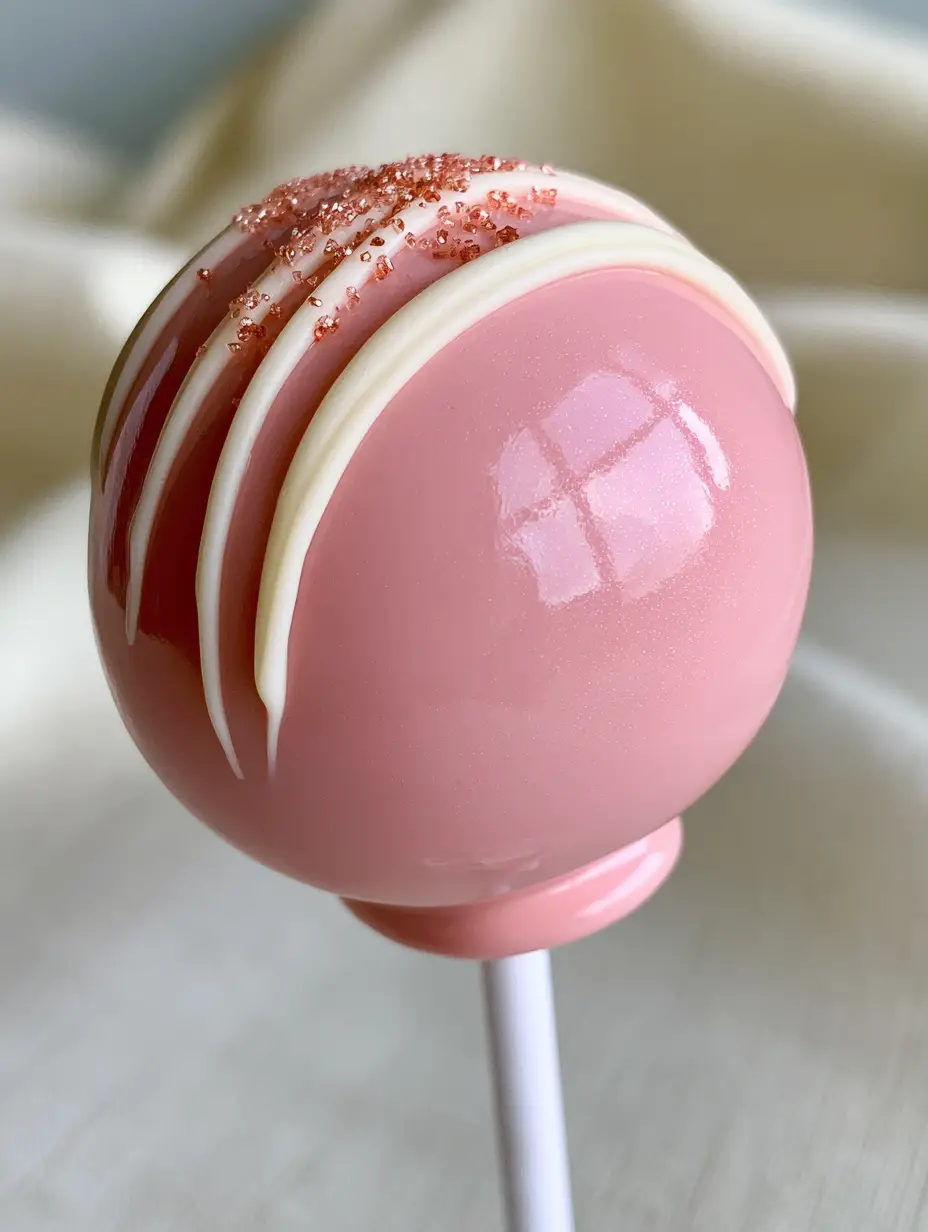
These vanilla cake pops aren’t just sweets; they are precision-engineered desserts. By combining moist vanilla cake crumbs with a rich cream cheese frosting binder, we create a core that is dense yet melt-in-your-mouth tender. Topped with a high-gloss pale pink candy coating and elegant rose-gold sugar crystals, these are designed to be the crown jewel of your Pinterest board and your dessert table.
Why This Is the Only Cake Pop Recipe You Need
- Flawless High-Gloss Finish: Learn the temperature secrets to achieving a reflective sheen with zero air bubbles or unsightly cracks.
- The Double-Lock Method: We utilize a thick structural chocolate collar where the 6-inch white paper lollipop stick meets the cake, ensuring your pops never slide.
- Perfect Moisture Balance: No mushy centers here—just the perfect ratio of fine crumbs to cream cheese frosting.
- Professional Aesthetic: A precise white chocolate drizzle and microscopic rose-gold sugar crystals provide a macro-worthy finish.
If you enjoy mastering these miniature treats, you should also explore our guide on how to make funfetti cake pops for a colorful twist, or try our decadent chocolate cake pops for the ultimate cocoa experience.
The Essential Ingredients for Perfect Cake Pops
To master how to make cake pops, you must start with high-quality components. Each ingredient serves a specific structural or flavor purpose in this recipe.
The Cake Foundation
1 9×13-inch (23x33cm) Vanilla Cake: You need a cake that is fully cooled. A slightly dense vanilla sponge works best as it creates sturdy crumbs. If you need a base recipe, our strawberry sponge cake techniques can be adapted for a fruity version.
The Binder & Coating
1/2 cup (115g) Cream Cheese Frosting: This acts as the “glue.” Cream cheese frosting is superior to buttercream because its slight acidity balances the sweetness of the candy coating.
24 oz (680g) Premium Pink Candy Wafers: Choose high-quality melting wafers for that signature high-gloss, reflective sheen. These provide a much smoother finish than standard chocolate chips.
2 tsp (10ml) Virgin Coconut Oil: Adding a small amount of fat to the melted wafers improves the flow rate, ensuring a thin, even shell without air bubbles.
The Decorative Elements
2 oz (55g) White Chocolate: Used for the elegant drizzle. It provides a beautiful contrast against the pale pink foundation.
Rose-Gold Sugar Crystals: These add a microscopic shimmer and a sophisticated crunch to the final product.
Step-by-Step: How to Make Cake Pops with Professional Precision
Phase 1: Creating the Perfect Crumb Core
Start by breaking your cooled vanilla cake into large chunks. Using your hands or a food processor, pulse the cake until it resembles fine, moist crumbs. Avoid leaving any large pieces, as these will cause lumps in your final sphere.
Add the cream cheese frosting one tablespoon at a time. The goal is a texture that feels like damp sand—it should hold its shape when squeezed but not feel greasy or “mushy.” This balance is critical for the structural integrity required when you learn how to make cake pops.
Phase 2: Rolling and Chilling for Stability
Scoop approximately 2 tablespoons (30g) of the mixture and roll it between your palms to create a perfectly spherical cake core. Place these on a parchment-lined baking sheet.
Pro Tip: Chill the spheres in the refrigerator for at least 30-60 minutes. Do not freeze them! If the core is too cold, the candy coating will contract and crack as it warms up to room temperature.
Phase 3: The “Double-Lock” Dipping Technique
Melt your pink candy wafers in a deep, narrow microwave-safe bowl in 30-second intervals. Stir in the coconut oil until the coating is ultra-smooth and shows a reflective sheen.
Dip about 1/2 inch (1.25cm) of the 6-inch white paper lollipop stick into the melted pink coating. Insert the stick into the center of a chilled cake sphere, going about halfway through. This creates the first “lock.”
Immediately dip the entire sphere into the pink coating. Submerge it fully until the coating reaches the stick. As you lift it out, the coating will form a thick structural collar at the base of the stick. This “double-lock” prevents the pop from ever falling off. Gently tap your wrist to remove excess coating, ensuring there are zero air bubbles.
Phase 4: The Final Artistic Flourish
Place the pops in a cake pop stand or a block of styrofoam to set. Once the pink shell is firm and shows that flawless high-gloss finish, melt your white chocolate.
Using a piping bag with a tiny tip, apply a precise white chocolate drizzle in a zig-zag motion across the top third of the pop. While the drizzle is still wet, carefully sprinkle a few rose-gold sugar crystals. The result should look like a macro-photography masterpiece.
Expert Tips for Success
- Avoid Over-Mixing: Adding too much frosting is the number one reason cake pops become heavy and slide off the sticks.
- Temperature Control: Ensure your melted coating isn’t boiling hot and your cake spheres aren’t freezing cold. A room-temperature coating meets a slightly chilled core for the best results.
- The Tap Technique: Never shake the cake pop to remove excess chocolate. Instead, gently tap your wrist. This vibration allows the chocolate to flow off smoothly without creating ripples.
- Fixing Cracks: If a crack appears, it usually means the cake expanded. You can often “heal” it with a tiny bit of melted chocolate and more crystals!
For more dessert inspiration, check out our easy dessert cup recipes or master the art of the Oreo Poke Cake.
Storage and Freshness Guide
Room Temperature: These cake pops stay fresh for up to 3 days in a cool, dry place. The candy shell acts as a vacuum seal, keeping the vanilla core moist.
Refrigeration: You can store them in an airtight container for up to a week. To avoid “sweating” (condensation on the glossy shell), let the container come to room temperature before opening it.
Freezing: While possible, freezing can dull the high-gloss sheen of the pink coating. If you must, wrap them individually in plastic wrap and store in a freezer bag for up to 1 month.
What to Serve With Cake Pops
These elegant treats are perfect for high tea or a bridal shower. Pair them with a refreshing hibiscus tea strawberry lemonade or a sophisticated peach hibiscus sunset tea. The floral notes of the tea beautifully complement the sweet vanilla and cream cheese notes of the cake pop.
Frequently Asked Questions
Chocolate chips are designed to hold their shape and contain less cocoa butter, which makes them thick and hard to dip. Candy wafers or couverture chocolate mixed with coconut oil provide the best high-gloss finish.
Cake pops can stay at room temperature for 3 days thanks to the protective shell. If your kitchen is warm, store them in the fridge but bring them to room temp before serving to avoid condensation.
Cracks are caused by extreme temperature changes. Ensure your cake balls are chilled but not frozen, and let your melted candy coating cool slightly so it is not boiling hot when dipping.
This usually happens if the cake ball is too heavy from too much frosting, or if you skipped the ‘lock’ step. Always dip the stick in melted chocolate before inserting it into the cake ball to act as a glue.
The coating may have overheated or ‘seized.’ Add a teaspoon of coconut oil or paramount crystals to thin it out to a fluid, reflective consistency.
The Master Pink Vanilla Cake Pop Recipe
How to Make Cake Pops: The Ultimate Professional Guide to Glossy Pink Treats
Ingredients
Equipment
Method
- Break the cooled vanilla cake into a large bowl and crumble into fine, moist crumbs using your hands or a food processor.
- Add cream cheese frosting to the crumbs and mix until the texture resembles damp sand and holds its shape when squeezed.
- Roll 2-tablespoon portions into perfectly spherical balls. Place on a tray and chill in the refrigerator for 45 minutes.
- Dip a lollipop stick into melted pink candy wafers, then insert halfway into a cake ball. Submerge the entire ball into the pink coating to create a thick structural collar at the base.
- Let the pink coating harden completely. Drizzle with melted white chocolate and sprinkle with rose-gold crystals immediately.
Notes
Use a deep, narrow cup for dipping to ensure full coverage with less waste.
Save This Recipe to Pinterest!
Did you love learning how to make cake pops with our double-lock method? Hover over any of the images in this post to Save to Pinterest and keep this guide handy for your next party!
Follow @recipe_root for more professional baking secrets and tag us in your photos—we love seeing your perfectly spherical, high-gloss creations! Don’t forget to leave a 5-star rating below if these were a hit in your kitchen.