There is something deeply nostalgic about the aroma of Joanna Gaines chocolate chip cookies wafting through a sun-drenched kitchen. This recipe captures that exact rustic, farmhouse aesthetic—massive, thick cookies with a signature craggy texture that looks just as good as it tastes. These aren’t your average thin wafers; they are substantial, golden-brown masterpieces designed for true cookie lovers.
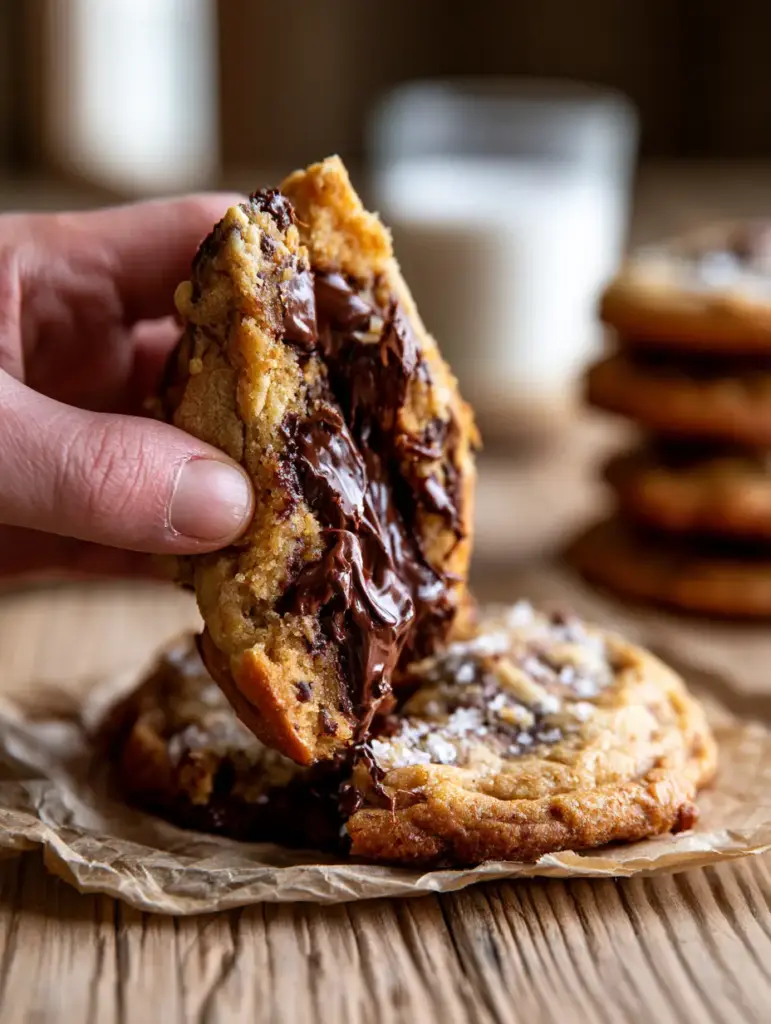
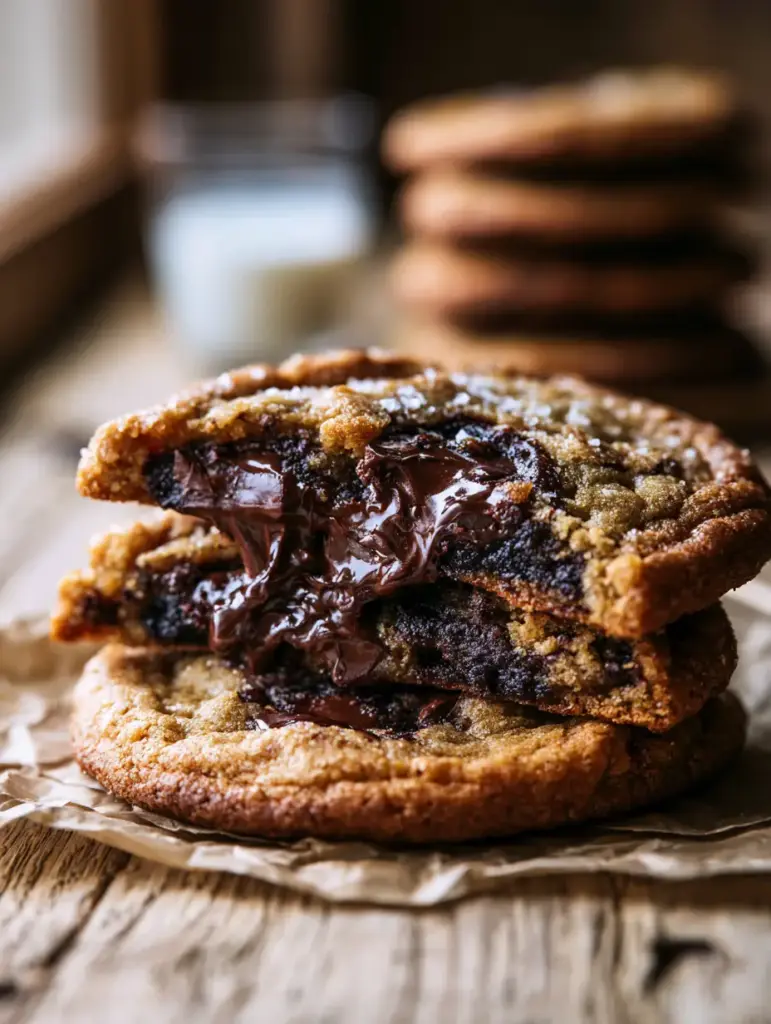
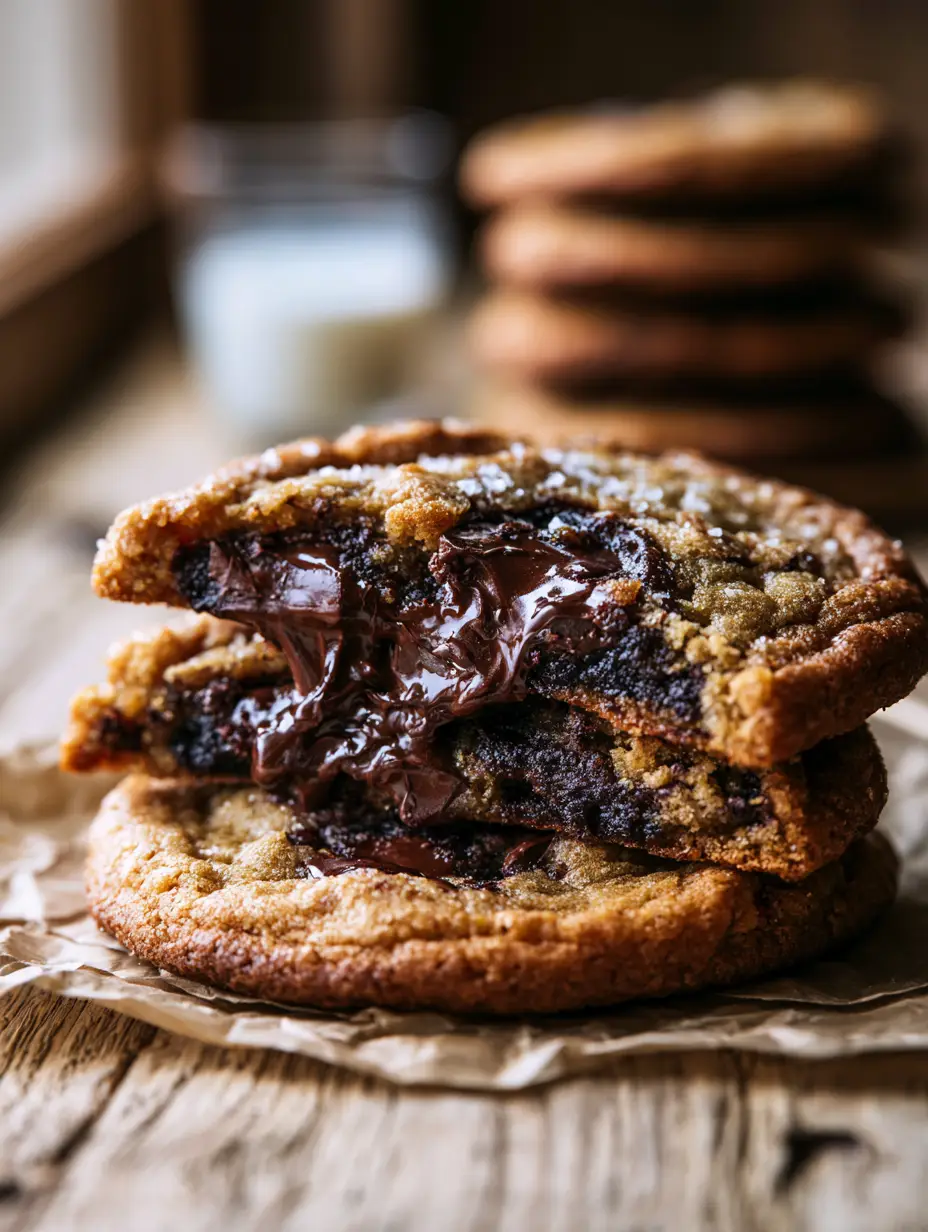
To achieve the visual perfection seen in professional food photography, we focus on creating a dense dough that holds its height. The result is a cookie with perfectly toasted, golden-tan edges and a soft, molten chocolate center that stretches when pulled apart. Served on wrinkled parchment paper, these cookies embody the inviting warmth of a Magnolia-inspired home.
Whether you are baking for a family gathering or just treating yourself, these cookies offer a sophisticated balance of sweet and salty. The addition of large semi-sweet chunks and a final dusting of flaky sea salt elevates the flavor profile, making each bite a multisensory experience. Let’s dive into the science of the perfect farmhouse bake.
Why This Farmhouse Cookie Strategy Works
- Massive Scale: These cookies are intentionally large, providing a satisfying weight and a dramatic presentation that mimics the famous Magnolia Table style.
- Textural Contrast: You get a crisp, golden-tan exterior edge that gives way to a dense, gooey, and molten chocolate interior.
- Visual Crag: The dough is handled specifically to maintain a rustic, craggy top rather than a smooth, manufactured look.
- Salted Finish: A generous garnish of flaky sea salt cuts through the richness of the semi-sweet chocolate chunks, highlighting the butter notes.
Essential Components for the Perfect Rustic Crumb
Unsalted Butter (1 cup / 227g): Using room temperature butter allows for proper aeration during the creaming process, which is foundational for the cookie’s height. It provides the rich, creamy mouthfeel essential for a high-end dessert.
Brown Sugar (1 cup / 200g) & Granulated Sugar (1/2 cup / 100g): The higher ratio of brown sugar is the secret to that deep golden-brown dough and the soft, chewy texture. It adds a hint of molasses flavor that pairs beautifully with the semi-sweet chocolate.
Large Eggs (2 units): Eggs act as the primary binding agent, providing structure and moisture. They ensure the massive cookie doesn’t crumble apart when you achieve that iconic “molten pull.”
All-Purpose Flour (2.5 cups / 312g): A higher flour count ensures the cookies remain thick and don’t spread too thin on the pan. This creates the “dense dough” foundation described in the visual blueprint.
Semi-Sweet Chocolate Bars (12 oz / 340g): Instead of standard chips, we use large, hand-chopped chunks. These create the large molten pools of chocolate that stretch between the halves of the cookie.
Flaky Sea Salt (1 tsp / 5g): This is the final visual and flavor cue. It adds a sophisticated sparkle to the golden-tan top and balances the sweetness of the dough.
Baking Soda (1 tsp / 5g) & Salt (1/2 tsp / 3g): These foundational leavening and seasoning agents ensure the dough rises just enough to create those craggy peaks and seasoned depth.
Must-Have Tools for Massive Bakery-Style Cookies
To achieve the visual depth and height shown in the photography, you will need a few specific tools. A heavy-duty stand mixer or hand mixer is essential for creaming the butter and sugars until light and fluffy. A large 3-tablespoon cookie scoop helps maintain uniform sizing for these massive treats.
For the authentic farmhouse look, always bake on wrinkled white parchment paper. The wrinkles allow for slight air circulation under the cookie and provide that rustic, high-end lifestyle aesthetic. Finally, a cooling rack is vital to prevent the bottoms from becoming soggy while the centers remain molten.
Step-by-Step to the Iconic Molten Center
Creaming for Structure
Start by creaming your 1 cup (227g) of softened butter with both sugars in a large bowl. Beat on medium-high for about 3 minutes until the mixture is pale and fluffy. This step incorporates air, which helps the cookies achieve their “massive” height without being heavy.
Incorporating the Bind
Add the eggs one at a time, followed by a teaspoon of vanilla extract. Mix until just combined, ensuring you scrape down the sides of the bowl. Over-mixing at this stage can lead to a tough cookie, so keep the speed low once the eggs are in.
The Dry Fold
In a separate bowl, whisk together the 2.5 cups (312g) of flour, baking soda, and fine salt. Gradually add this to the wet ingredients. Stop mixing when a few streaks of flour remain; this ensures the dough stays tender and develops that rustic farmhouse texture.
Hand-Chopped Chocolate Integration
Fold in your 12 oz (340g) of semi-sweet chocolate chunks by hand. Ensure the chunks are distributed evenly so every cookie has a molten chocolate center. If you love variety, you might also enjoy comparing this to a classic chocolate chip cookie recipe for a thinner, crispier alternative.
Chilling and Shaping
For the thickest results, chill the dough for at least 30 minutes. Once chilled, scoop large mounds (about 3 tablespoons each) onto your wrinkled parchment paper. Do not smooth the tops; the “craggy textured top” comes from the natural, rough shape of the scooped dough.
Baking for Visual Perfection
Bake at 350°F (175°C) for 10-12 minutes. Watch for the sensory cues: the edges should be a “golden-tan” and firm to the touch, while the centers should still look slightly soft and underbaked. This contrast is what creates the molten, gooey interior pull.
Secrets for the Perfect Craggy Texture
The “craggy top” is achieved by not over-handling the dough once it is scooped. When you place the dough on the wrinkled parchment, leave the surface irregular. As the baking soda reacts and the cookie expands, those irregularities become the rustic peaks and valleys characteristic of the Joanna Gaines style.
Another expert tip: halfway through baking, gently bang the cookie sheet against the oven rack once. This “pan banging” technique helps settle the center while keeping the edges tall, emphasizing the cookie’s depth and height. If you enjoy this chunky texture, you should also try making maraschino cherry chocolate chip cookies for a fruity twist.
Managing Your Batch: Storage and Freshness
These cookies are best enjoyed warm, right off the parchment paper, when the chocolate is at its most molten. However, they store beautifully in an airtight container at room temperature for up to 3 days. To regain that “gooey center” after they have cooled, microwave a single cookie for 10-15 seconds.
For long-term storage, you can freeze the shaped dough balls. When a craving hits, bake them directly from the freezer, adding 2 minutes to the total bake time. This ensures you always have a farmhouse-style treat ready for guests. For a breakfast version of these flavors, check out our chocolate-chip cookie dough overnight oats.
Perfect Pairings for a Farmhouse Treat
Nothing beats the classic pairing of a massive cookie and a blurred glass of cold milk, as seen in the high-end photography. The cold creaminess of the milk cuts through the rich, semi-sweet chocolate perfectly. If you are hosting a brunch, these cookies make a decadent side to a strawberry cold foam coffee.
For a full dessert spread, serve these alongside other farmhouse favorites. They look beautiful on a rustic wood table next to a stack of more cookies or even a bowl of fresh fruit. The goal is an inviting, unedited lifestyle look that encourages guests to dig in immediately.
Common Questions About This Magnolia-Inspired Bake
While chips work, large hand-chopped semi-sweet chocolate bars are essential for the ‘molten center’ and the ‘stretching chocolate’ visual described in this farmhouse recipe.
The craggy top comes from leaving the dough mounds rustic and un-smoothed when placing them on the parchment paper. The natural irregularities expand in the oven to create those beautiful peaks.
The flaky sea salt is a key component of the flavor profile, cutting through the richness of the semi-sweet chocolate and highlighting the toasted, golden-tan edges of the cookie.
To restore the molten chocolate center, microwave a cookie for 10-15 seconds. This softens the large chunks without drying out the dense, golden-brown dough.
Flat cookies are usually caused by butter that is too warm or not chilling the dough. For the massive Joanna Gaines style, ensure your butter is just room temperature and chill the scooped dough for at least 30 minutes before baking.
The Joanna Gaines Chocolate Chip Cookie Recipe
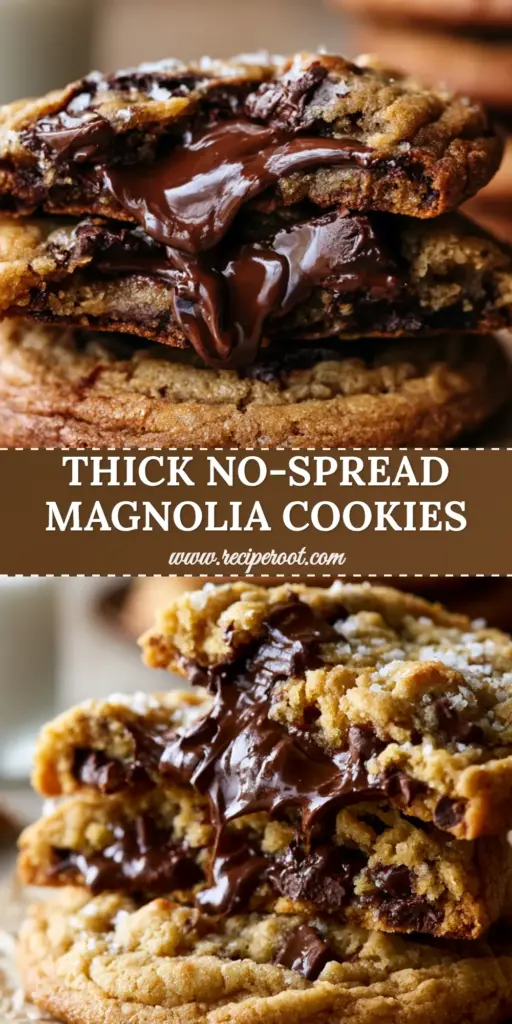
Joanna Gaines Chocolate Chip Cookies: The Ultimate Thick Farmhouse Recipe
Ingredients
Equipment
Method
- In a stand mixer, cream the softened butter, brown sugar, and granulated sugar on medium-high speed until light, fluffy, and pale (about 3 minutes).
- Add the eggs one at a time, followed by the vanilla, mixing until just combined and scraping the bowl as needed.
- Gradually add the flour, baking soda, and fine salt. Mix until a few streaks of flour remain to ensure a tender, craggy texture.
- Fold in the large semi-sweet chocolate chunks by hand until evenly distributed.
- Scoop 3-tablespoon mounds of dough and place on a tray. Chill in the refrigerator for 30 minutes to ensure a thick, massive cookie height.
- Place dough on wrinkled parchment paper and bake at 350°F (175°C) for 10-12 minutes until edges are golden-tan but centers remain soft.
- Remove from oven and immediately sprinkle with flaky sea salt. Allow to cool on the pan for 5 minutes to set the molten center.
Notes
Use hand-chopped chocolate bars instead of chips for the best molten pull.
Closing & Call to Action
Mastering the Joanna Gaines chocolate chip cookies is about embracing the rustic, the massive, and the molten. These cookies bring a piece of the farmhouse kitchen into your own home, offering a texture and flavor that is truly unmatched. The combination of toasted edges and large chocolate chunks ensures every bite is a celebration of classic baking.
If you loved this recipe, please leave a comment below and let us know how your craggy tops turned out! Don’t forget to follow us on Pinterest for more farmhouse-inspired treats and lifestyle photography tips. Happy baking!