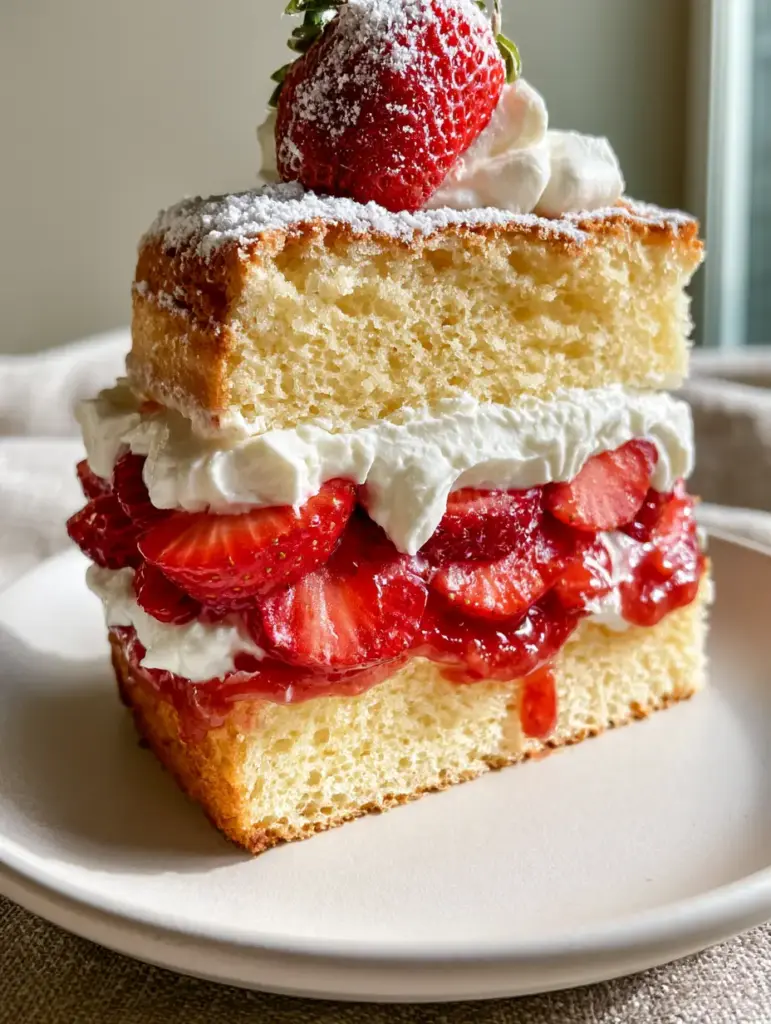
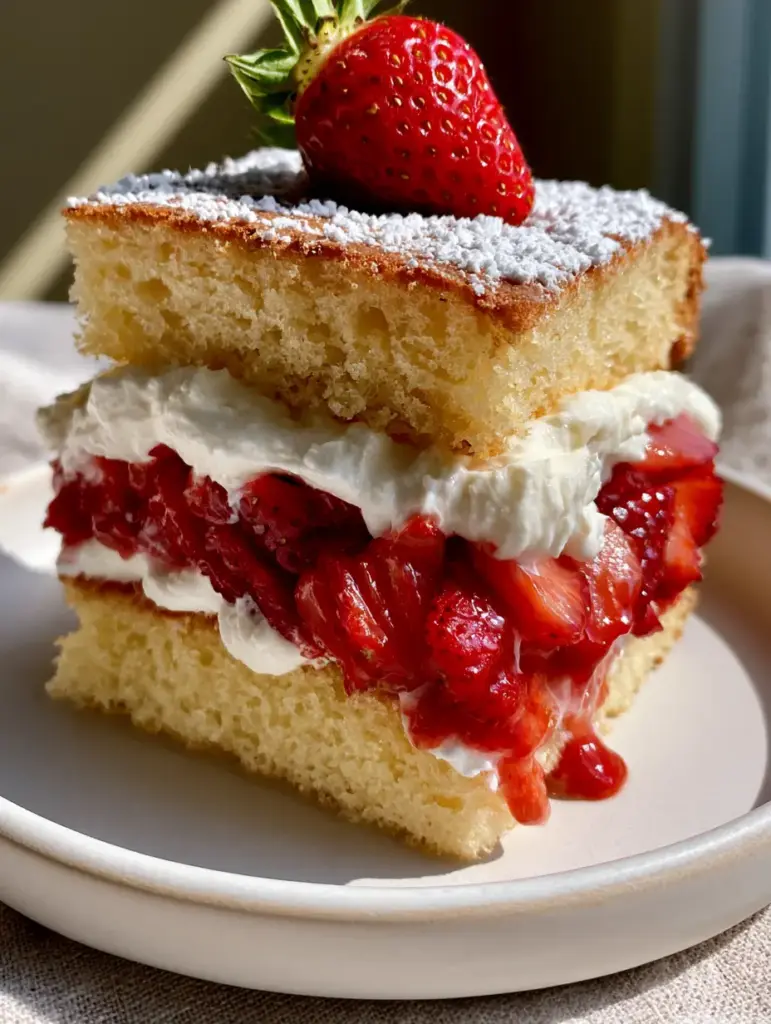
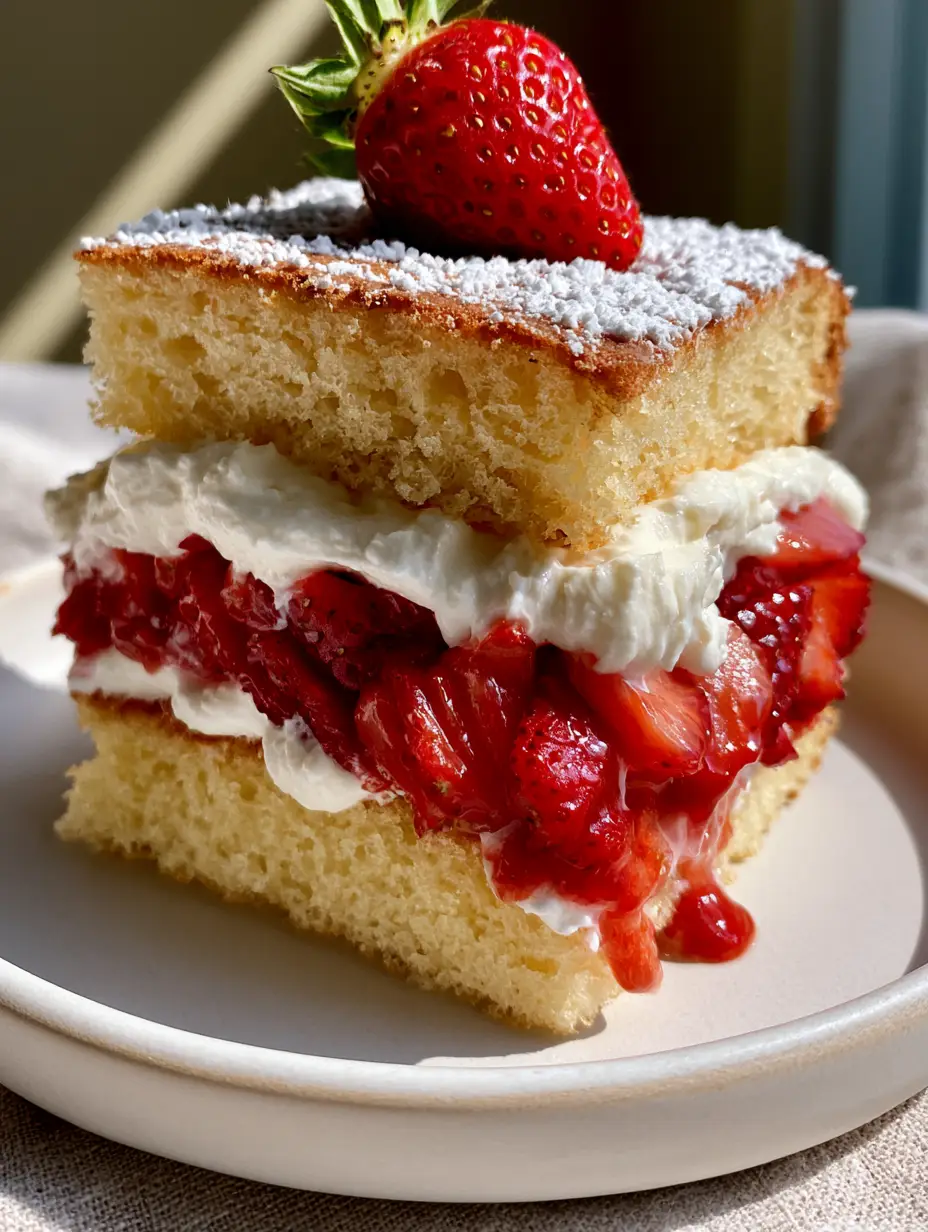
This strawberry sponge cake is the definition of ethereal. If you have been searching for a dessert that feels like biting into a sweetened summer cloud, you have found it. Unlike dense butter cakes, this recipe relies on the scientific power of whipped egg whites to create a pale golden, airy sponge with visible fine bubbles in the crumb, mirroring the delicate texture seen in professional patisseries.
Capturing the essence of a warm afternoon, this cake features layers of snowy white stabilized whipped cream and a dense arrangement of bright red, juicy sliced strawberries. Every slice is finished with a glossy strawberry coulis that drips perfectly down the side, just like the viral handheld smartphone photos taking over your feed. Whether you are a fan of a classic Japanese Strawberry Shortcake or looking for a more structural Strawberry Shortcake Cake, this version delivers unmatched elegance.
Why This Is the Ultimate Strawberry Sponge Cake
- Ultra-Light Crumb: We use a specific folding technique to ensure the sponge remains exceptionally soft and cloud-like.
- High-Definition Layers: The use of stabilized cream ensures your layers stay tall and sharp, not slumped or messy.
- Triple Strawberry Impact: Fresh sliced berries, a whole strawberry garnish, and a vibrant glossy coulis for maximum flavor.
- Professional Aesthetic: Designed to look exactly like a high-end bakery masterpiece, complete with a fine powdered sugar dusting.
Essential Ingredients for a Sky-High Sponge
To achieve that iconic strawberry sponge cake height, every ingredient serves a technical purpose. Do not skip the room-temperature requirement for your eggs!
For the Airy Golden Sponge
- 6 Large Eggs (Room Temp): Separated. The whites provide the lift, while the yolks add that signature pale golden hue.
- 1 cup (200g) Granulated Sugar: Divided to stabilize both the yolks and the meringue.
- 1 ½ cups (180g) Cake Flour: Sifted twice. Cake flour has lower protein, ensuring the crumb stays tender and light.
- 1 tsp (5ml) Vanilla Extract: For that nostalgic, floral aroma.
- 2 tbsp (30ml) Whole Milk: Adds just enough moisture to keep the sponge from being dry.
- ¼ tsp (1.5g) Cream of Tartar: The secret to a stable meringue that won’t collapse during folding.
For the Stabilized Cream & Fruit
- 2 cups (480ml) Heavy Whipping Cream: Must be very cold to achieve maximum volume.
- ½ cup (60g) Powdered Sugar: For sweetness and structure.
- 4 oz (113g) Mascarpone Cheese: Our secret for stabilized whipped cream that holds its shape for hours.
- 1 lb (450g) Fresh Strawberries: Sliced for the interior, whole for the crown.
- Strawberry Coulis: A glossy reduction of pureed berries and sugar for that signature drip.
Step-by-Step: Mastering the Cloud-Like Texture
Making a strawberry sponge cake is an exercise in patience and gentle movements. Follow these steps to ensure those “visible fine bubbles” stay intact.
1. Preparing the Airy Sponge Base
Preheat your oven to 325°F (165°C). Line two 8-inch round cake pans with parchment paper, but do not grease the sides. The cake needs to “climb” the walls of the pan to reach its full height.
In a large bowl, whisk egg yolks with half the sugar until they become pale and thick. This is known as the “ribbon stage.” Slowly whisk in the milk and vanilla. Sift the cake flour over the yolk mixture and gently whisk until just combined. The batter will be thick, but don’t worry—the meringue will lighten it up.
2. Whipping the Perfect Meringue
In a clean, grease-free bowl, beat the egg whites and cream of tartar on medium speed until foamy. Gradually add the remaining sugar one tablespoon at a time. Increase the speed to high and beat until stiff, glossy peaks form. You should be able to hold the bowl upside down without the meringue moving.
3. The Gentle Fold
Add one-third of the meringue to the yolk batter. Use a spatula to stir it in; this lightens the base. Now, add the remaining meringue. Use a “J-fold” motion: cut down the center, scoop under the bottom, and turn the batter over. Stop as soon as no white streaks remain. This preserves the fine bubbles in the crumb.
4. Baking to Golden Perfection
Divide the batter evenly between the pans. Drop the pans once on the counter to pop any large air bubbles. Bake for 25-30 minutes until the tops are pale golden and spring back when lightly touched. Invert the pans onto a wire rack immediately to cool; this prevents the airy sponge from collapsing under its own weight.
5. Creating the Glossy Strawberry Coulis
While the cake cools, blend 1 cup of strawberries with 2 tbsp of sugar and a squeeze of lemon juice. Strain through a fine-mesh sieve and simmer in a small saucepan until reduced by half. It should be thick and glossy, ready to create those perfect drips.
Assembly: The Signature Tall Slice
Once the cakes are completely cool, it’s time to build your strawberry sponge cake. Place the first layer on a matte white ceramic plate for that Pinterest-ready aesthetic.
Spread a thick layer of the stabilized mascarpone whipped cream. Arrange a dense layer of sliced strawberries over the cream, then top with a bit more cream to “glue” the next layer. Place the second cake layer on top.
Cover the top with more snowy white cream. Allow the strawberry coulis to drip slightly down the sides. Crown the center with a whole fresh strawberry and finish with a light dusting of fine powdered sugar for that soft, ethereal look.
Expert Tips for Pinterest Success
- Avoid Greasing Pans: As mentioned, the sponge needs to grip the sides to rise. Greasing will result in a flat, dense cake.
- Cold Cream is Key: For the most stable whipped cream, chill your bowl and beaters in the freezer for 10 minutes before starting.
- The “Handheld” Photo Angle: To get that smartphone photo look, use soft, warm natural afternoon sunlight from a side window and a neutral linen background.
- Sift Your Sugar: Always sift your powdered sugar for the final dusting to avoid unsightly clumps on your whole strawberry garnish.
Storage & Make-Ahead Advice
This strawberry sponge cake is best enjoyed the day it is made. However, due to the stabilized cream, it will hold up beautifully in the refrigerator for up to 24 hours. Keep it in a tall cake dome to prevent the cream from absorbing fridge odors. We do not recommend freezing the fully assembled cake, as the fresh strawberries will release moisture and become mushy upon thawing.
What to Serve With Strawberry Sponge Cake
This light dessert pairs perfectly with refreshing beverages. Try it with a Strawberry Green Tea for a light afternoon snack, or a Hibiscus Tea Strawberry Lemonade for a tart contrast. If you’re feeling adventurous, a Strawberry Dole Whip on the side makes for the ultimate strawberry-themed party!
Frequently Asked Questions
Cake flour is preferred for strawberry sponge cake because it has less protein, resulting in a finer, softer crumb. If you must use all-purpose, replace 2 tablespoons of flour with cornstarch for every cup.
Adding a stabilizer like mascarpone cheese or a small amount of gelatin ensures the whipped cream holds its shape between the airy sponge layers without melting.
It is best served the day it’s made, but it can be stored in the refrigerator for up to 24 hours. The stabilized cream will keep the layers intact.
No, do not grease the sides of the pans. The sponge cake needs to cling to the sides of the pan to rise properly and maintain its airy structure.
A sponge cake usually sinks if it was underbaked or if the oven door was opened too early. Ensure the cake is pale golden and springs back before removing it, and always cool it upside down.
The Ultimate Strawberry Sponge Cake Recipe
Strawberry Sponge Cake: The Lightest Cloud-Like Summer Dessert
Ingredients
Equipment
Method
- Beat egg whites with sugar until stiff, glossy peaks form and the mixture is stable.
- Gently fold the meringue into the yolk and flour mixture using a J-fold motion to preserve fine bubbles.
- Bake at 325°F (165°C) for 25-30 minutes until golden and airy.
Notes
Use cold mascarpone to ensure the cream is perfectly stabilized.
Save This Recipe to Pinterest!
Love this cloud-like strawberry sponge cake? Don’t lose the recipe! Click the Pin button to save it to your “Dream Desserts” or “Summer Baking” board on Pinterest. Follow @recipe_root for more viral-ready treats. If you make this cake, snap a photo and share it in the comments below—we love seeing your airy sponge results! Don’t forget to leave a 5-star rating if you enjoyed this recipe.