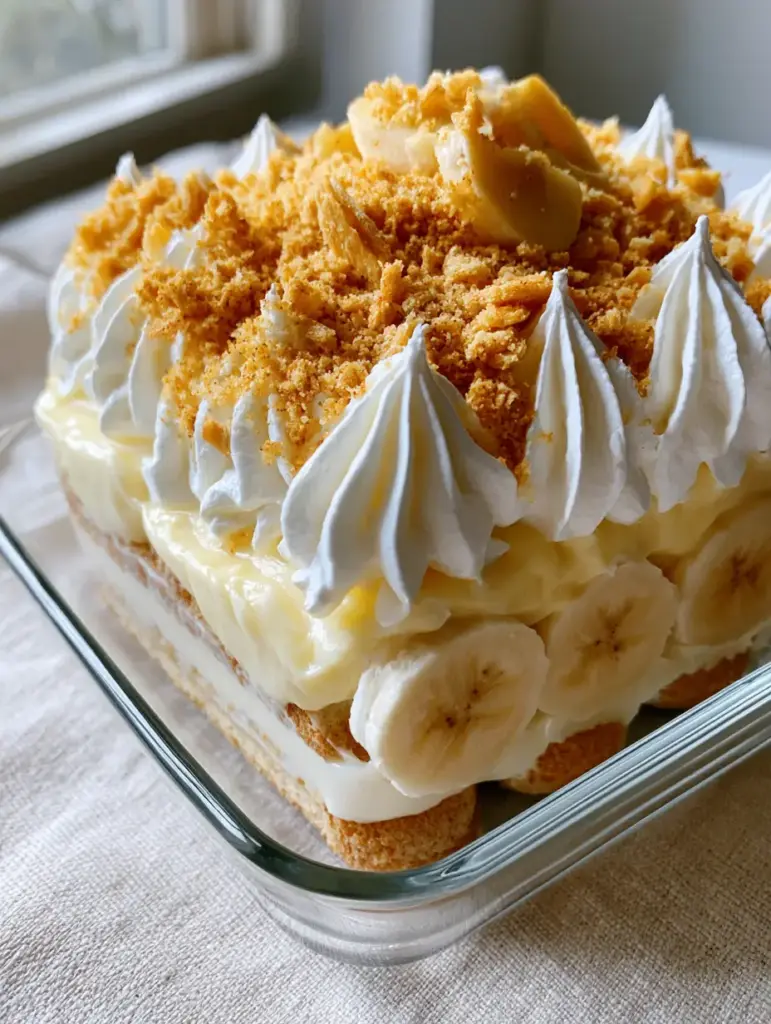
Combine the soul-warming comfort of a classic Southern staple with the sophisticated structure of an Italian masterpiece. This banana pudding tiramisu is a visual and textural triumph, featuring clean horizontal layers that look stunning in a modern glass dish.
Forget the heavy, soggy puddings of the past. We are utilizing the light, airy texture of Italian ladyfingers and the rich, velvety tang of mascarpone to create a dessert that is both nostalgic and high-end.
Every bite delivers a symphony of vanilla bean-infused milk, tropical fruit sweetness, and the iconic crunch of golden vanilla wafers. Whether you are hosting a summer soirée or looking for a show-stopping weekend treat, this recipe is designed to impress with professional, blogger-style aesthetics.
Why This Layered Masterpiece Works
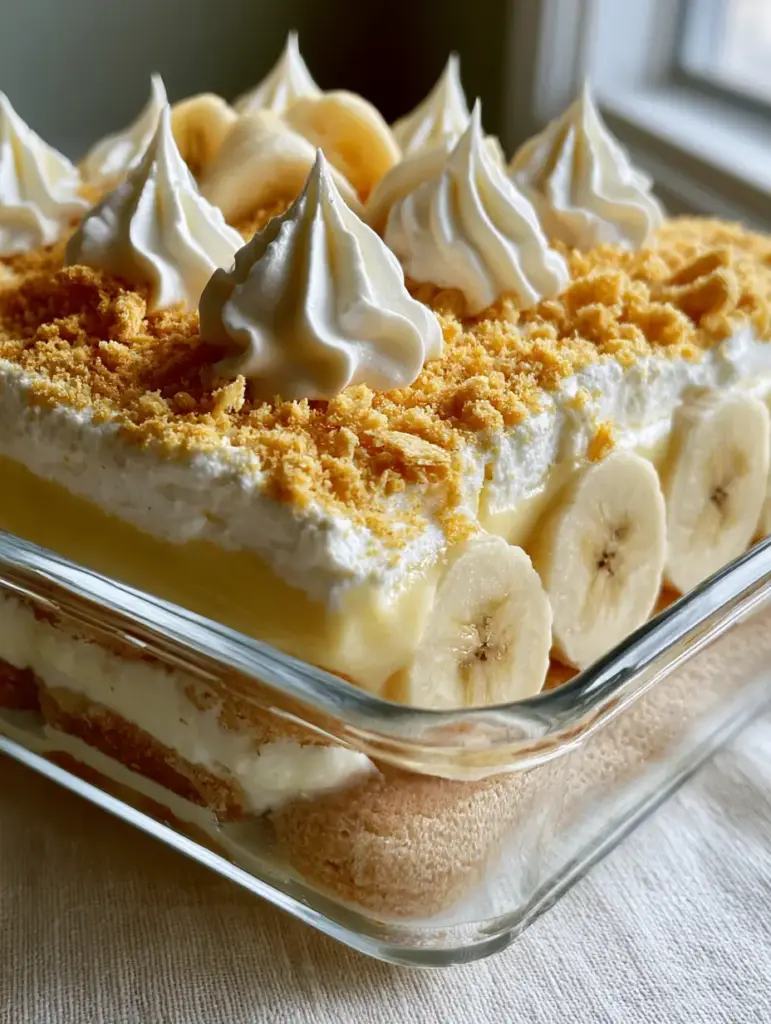
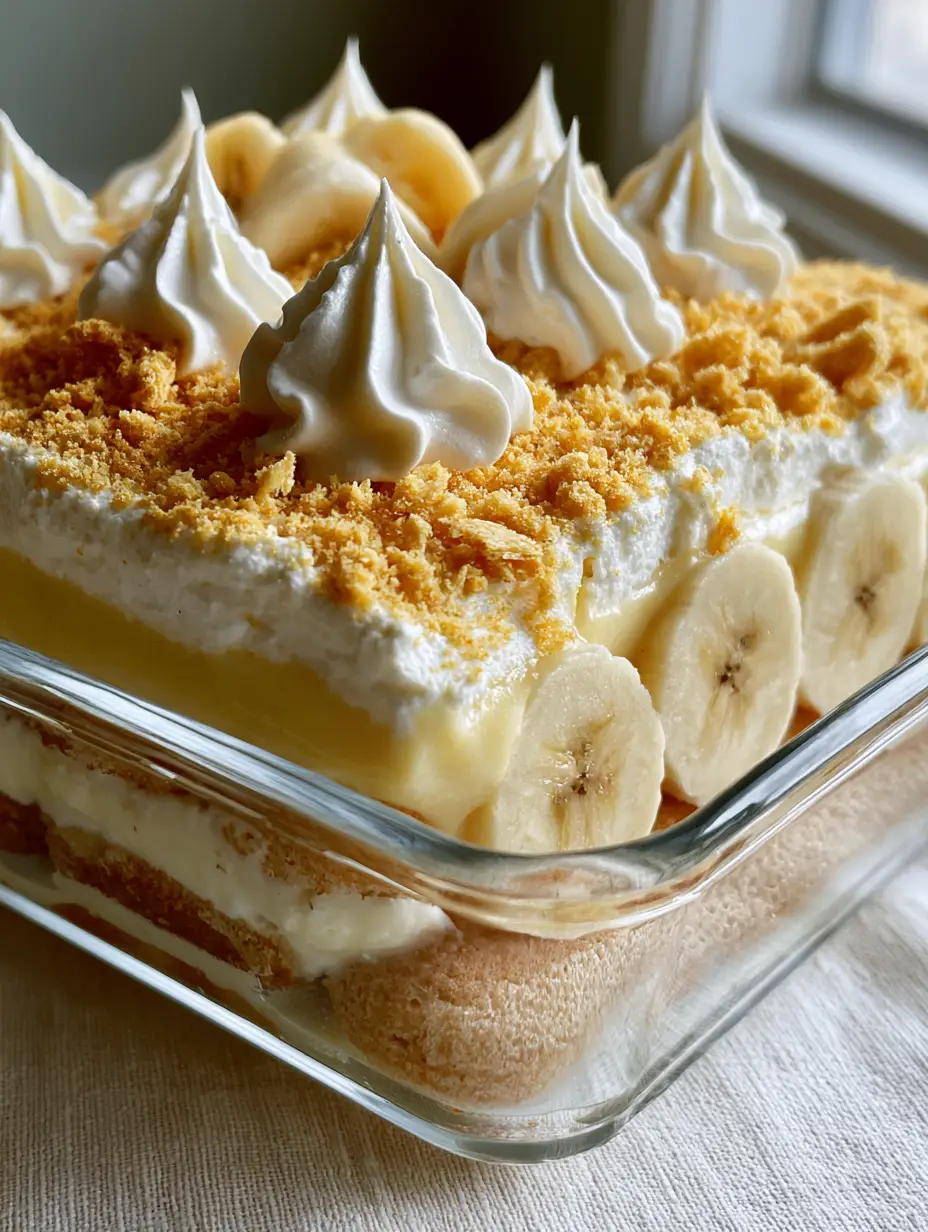
- Perfectly Defined Layers: Using a glass rectangular dish allows the pale yellow custard and golden ladyfingers to shine through in perfect horizontal alignment.
- The Gourmet Soak: Replacing traditional espresso with a vanilla-bean milk soak keeps the flavor profile bright and kid-friendly while maintaining the classic tiramisu technique.
- Stabilized Textures: We use high-fat mascarpone and stiff-peaked whipped cream to ensure the dessert holds its shape when sliced, avoiding the “slump” of traditional puddings.
- Visual Contrast: The heavy dusting of crushed vanilla wafers and cinnamon provides a rustic, textured finish against the clean lines of the cream.
The Anatomy of Gourmet Ingredients
Soft Ladyfingers (Savoiardi): These dry, airy biscuits act as the structural “bones” of the recipe. They are designed to absorb the vanilla soak without becoming mushy, maintaining a cake-like crumb.
Whole Milk (240ml) and Vanilla Bean: This forms the base of our soak. Using a real vanilla bean (or high-quality bean paste) adds those beautiful black specks and a deep, aromatic complexity that extract can’t match.
Mascarpone Cheese (450g): This Italian cream cheese provides a thick, buttery mouthfeel and a slight tang. It acts as the stabilizer for the banana custard, ensuring it stays velvety rather than runny.
Ripe Bananas: You will need fresh, firm bananas for the visible slices and very ripe bananas for the custard. The natural sugars in the ripe fruit provide the majority of the flavoring.
Heavy Whipping Cream (480ml): Use cold, high-fat cream to achieve the stiff, high peaks required for the topping. This provides the “cloud-like” finish seen in high-end food photography.
Vanilla Wafers and Cinnamon: These provide the essential textural “crunch.” Finely crushed wafers offer a golden sand-like appearance, while a hint of cinnamon adds warmth and visual depth.
Essential Tools for Professional Results
To achieve the “handheld smartphone photo” aesthetic, you need a 9×13 inch (23×33 cm) glass rectangular dish. The transparency is vital for showcasing the banana slices tucked against the glass. You will also need a stand mixer or electric hand mixer to achieve the “high, stiff peaks” for the whipped cream. A fine-mesh sieve is recommended for the cinnamon dusting to ensure an even, gourmet finish.
Constructing the Banana Pudding Tiramisu
Preparing the Vanilla Bean Soak
In a shallow bowl, combine 1 cup (240ml) of whole milk with the seeds scraped from one vanilla bean. Whisk vigorously until the seeds are distributed; this ensures every ladyfinger gets a hit of intense vanilla flavor. Submerge each ladyfinger for exactly 2 seconds per side—long enough to hydrate, but short enough to retain structural integrity.
Whisking the Mascarpone Banana Custard
Beat the mascarpone with 1/2 cup (100g) of granulated sugar until smooth and aerated. Fold in 1 cup (240ml) of mashed, very ripe bananas and a hint of vanilla paste until the mixture is a uniform pale yellow. The texture should be thick and velvety, holding its shape when the whisk is lifted.
Executing the Precision Layering
Lay the soaked ladyfingers in a single, tight layer at the base of your glass dish. Spread half of the mascarpone custard over the top, smoothing it to the edges. Before adding the next layer, press fresh, uniform banana rounds vertically against the glass walls—this is the “forensic” detail that creates a gourmet look.
The Final Flourish and Chilling
Repeat the ladyfinger and custard layers once more. Using a piping bag with a large round tip, create high, stiff peaks of stabilized whipped cream across the entire surface. Finish with a generous layer of finely crushed vanilla wafers and a delicate dusting of cinnamon. Chill for at least 6 hours to allow the flavors to marry and the structure to set.
Expert Tips for Success
- Prevent Banana Browning: Lightly toss your fresh banana slices in a tablespoon of lemon juice before tucking them against the glass to keep them bright and appetizing.
- Temperature Control: Ensure your mascarpone is at room temperature before mixing to prevent lumps, but keep your heavy cream ice-cold for maximum volume.
- The “Snap” Test: Your ladyfingers should still have a very slight “snap” in the center when you dip them; they will continue to soften as the tiramisu rests in the fridge.
- Clean Slices: For those perfect horizontal layers seen in the macro shots, wipe your knife with a warm, damp cloth between every single cut.
Shelf Life and Make-Ahead Advice
This banana pudding tiramisu is actually better when made a day in advance. The moisture from the custard slowly migrates into the ladyfingers, creating a seamless, cake-like texture. Store it in the refrigerator for up to 3 days. We do not recommend freezing this dish, as the fresh bananas will lose their texture and the mascarpone may grain upon thawing.
What to Serve With This Dessert
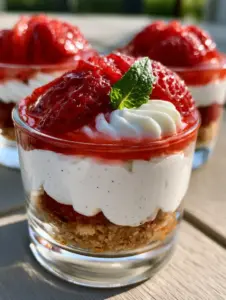
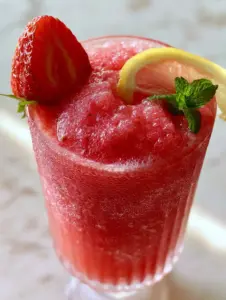
To balance the creamy sweetness of the banana and mascarpone, pair this tiramisu with a refreshing beverage. For a sophisticated party, try serving it alongside spiced rum cocktails or even strawberry rum cocktails to add a fruity acidity to the palate.
If you’re hosting a family-friendly gathering, pair it with a crisp dragon fruit lemonade or other non-alcoholic summer drinks to keep the afternoon light and breezy. For true banana lovers, you could even create a dessert bar featuring these banana pudding cupcakes for a variety of textures.
Frequently Asked Questions
It needs at least 6 hours to set, but 24 hours is ideal. This allows the vanilla-bean milk to fully penetrate the ladyfingers for a cake-like consistency.
While you can, real mashed bananas provide a more authentic flavor and a better texture for the pale yellow mascarpone custard. Extract can sometimes taste artificial.
Toss the fresh banana slices in a small amount of lemon or pineapple juice. The acidity prevents oxidation, keeping the slices bright against the glass.
The key is a ‘quick dip.’ Only submerge the ladyfingers for 1-2 seconds per side. They should still feel firm when you place them in the dish; they will soften as they sit.
Ensure your heavy cream and mixing bowl are ice-cold. Use a stand mixer on medium-high speed until the peaks are stiff enough to stand straight up when the whisk is removed.
Gourmet Banana Pudding Tiramisu Recipe
Banana Pudding Tiramisu: The Ultimate No-Bake Fusion Dessert
Ingredients
Equipment
Method
- Whisk milk and vanilla bean seeds in a shallow bowl until the seeds are well-distributed.
- Beat mascarpone, sugar, and mashed bananas until thick and pale yellow. The mixture should hold its shape.
- Quickly dip ladyfingers in vanilla milk and line the bottom of the glass dish. Spread half of the custard over the top.
- Press fresh banana rounds against the glass sides of the dish. Repeat the ladyfinger and custard layers.
- Whip heavy cream to stiff peaks. Pipe tall peaks over the top. Sprinkle with crushed wafers and dust with cinnamon.
Notes
Toss banana slices in lemon juice to prevent browning.
Closing & Call to Action
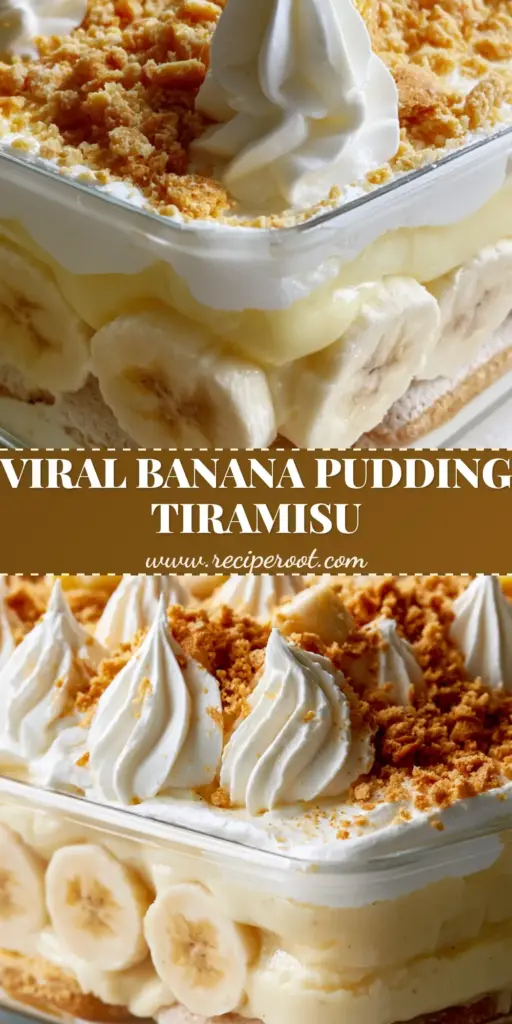
This banana pudding tiramisu is more than just a dessert; it’s a centerpiece that bridges the gap between casual comfort and high-end culinary art. With its perfectly uniform banana slices and high whipped cream peaks, it is guaranteed to be the star of your next gathering. Don’t forget to snap a photo of those beautiful layers before you dive in!
If you enjoyed this recipe, please leave a comment below and let us know how yours turned out! Follow us on Pinterest for more gourmet inspiration and share this post with your fellow home cooks.