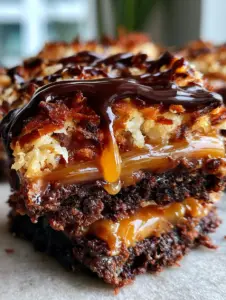
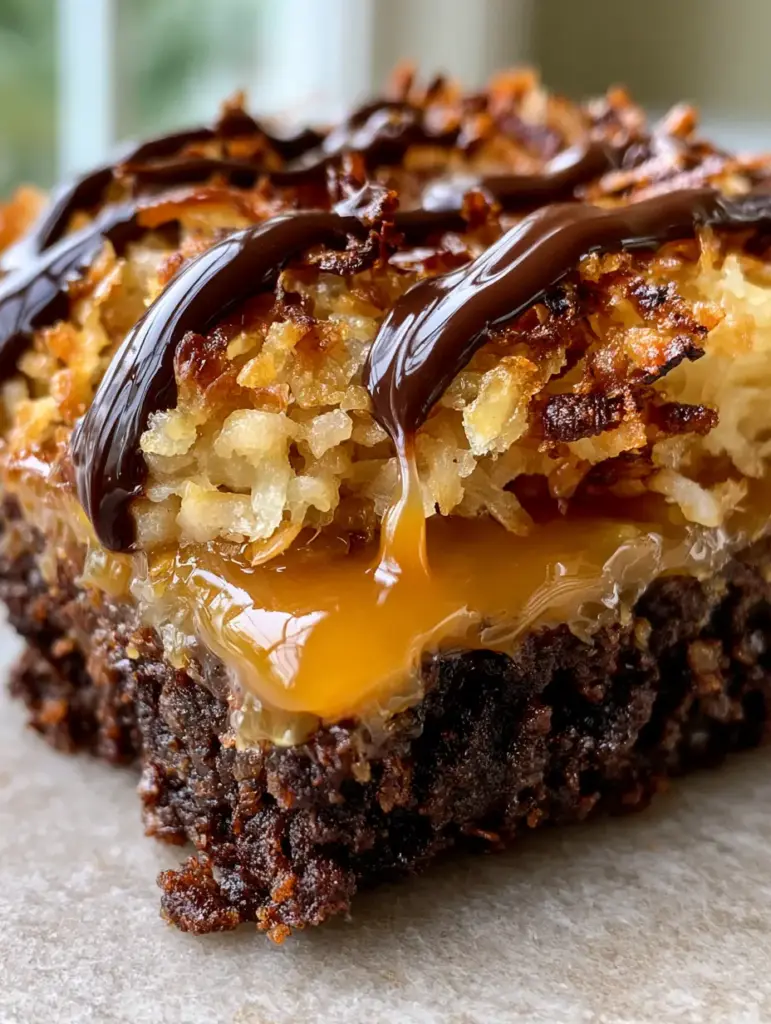
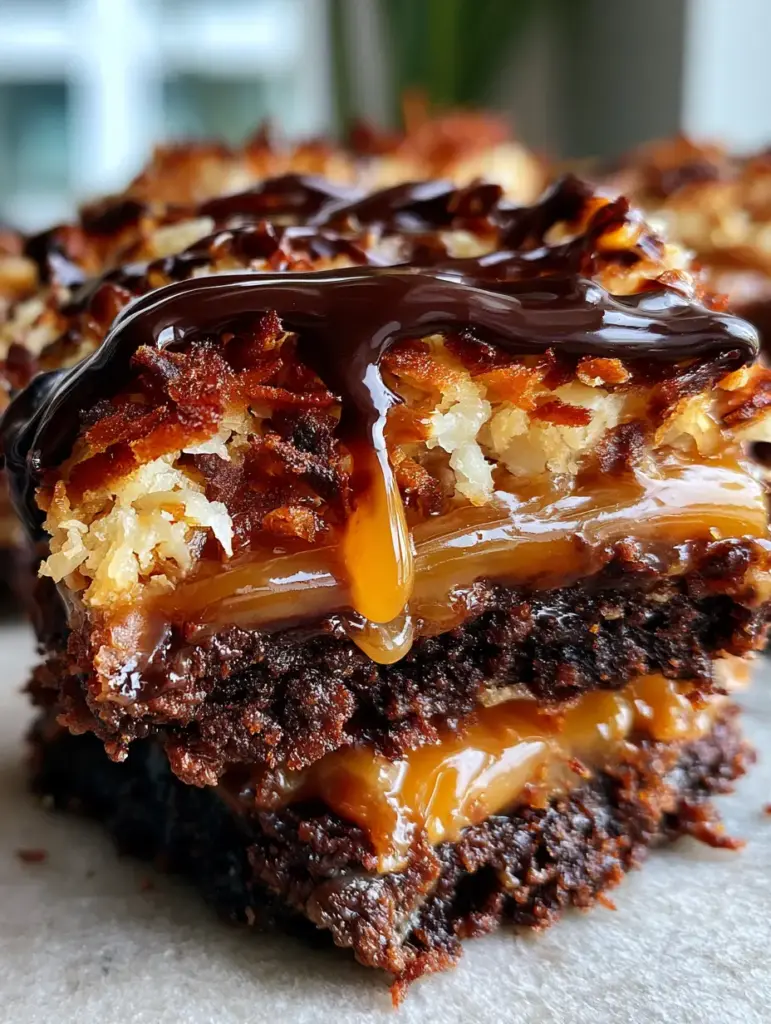
If you are looking for the most decadent dessert on the internet, these Samoa Brownies are the answer to your cravings. Inspired by the iconic Girl Scout cookie, this recipe takes those classic flavors and amplifies them into a thick, gourmet bar. Imagine a dense fudgy dark chocolate brownie base topped with a thick gooey amber caramel layer and a massive mound of toasted golden-brown shredded coconut. Every bite is finished with a glossy dark chocolate drizzle that catches the light perfectly.
Whether you are a long-time fan of Samoa Brownies or just looking for a new way to level up your baking game, this recipe delivers on every sensory level. The contrast between the moist brownie crumbs and the sticky caramel drip creates a texture that is both sophisticated and nostalgic. These aren’t just brownies; they are a masterclass in layered dessert engineering, designed to look as good as they taste.
Why These Samoa Brownies Are a Total Game-Changer
- The Texture Contrast: You get a chewy, dense fudgy dark chocolate brownie base paired with the crunch of toasted golden-brown shredded coconut.
- Visual Appeal: The thick viscous translucent golden-amber caramel creates a stunning sticky caramel drip that looks incredible in photos.
- Deep Flavor Profile: We use Dutch-processed cocoa and real dark chocolate to ensure the glossy dark chocolate drizzle complements the sweetness of the caramel.
- Pinterest-Perfect Finish: The varying shades of coconut—from cream to deep chestnut brown—make these bars a viral-worthy centerpiece.
If you love this flavor profile, you might also want to check out our Mounds brownies or these decadent Bounty brownies for more coconut and chocolate inspiration. For those who prefer a different filling, our peanut butter stuffed brownies are always a crowd favorite.
Essential Ingredients for Gourmet Samoa Brownies
Creating the perfect Samoa Brownies requires high-quality ingredients that allow each layer to shine. We aren’t just using a box mix here; we are building a foundation of flavor.
The Fudgy Brownie Base
Unsalted Butter: 1 cup (225g). We melt the butter to ensure a dense fudgy dark chocolate brownie base rather than a cakey one. Melted fat prevents air from being whipped in.
Dark Chocolate Chips: 1 cup (170g). Use a high cocoa percentage (at least 60%) to provide that ultra-fudgy texture and moist brownie crumbs.
Granulated Sugar: 1 ½ cups (300g). Sugar doesn’t just sweeten; it helps create that thin, crackly top that contrasts with the thick gooey amber caramel layer.
Dutch-Processed Cocoa Powder: ½ cup (45g). This gives the brownie its signature dark chocolate color and intense cocoa flavor.
The Gooey Caramel Topping
Soft Caramels: 11 oz (312g). Using high-quality soft caramels ensures a viscous translucent golden-amber caramel that won’t turn rock hard in the fridge.
Heavy Cream: 2 tbsp (30ml). This is the secret to the sticky caramel drip. It keeps the caramel soft enough to pull away with a fork.
Sweetened Shredded Coconut: 3 cups (285g). We will toast this until it reaches a beautiful golden-brown hue, ranging from cream to deep chestnut brown.
Mastering the Layers: Step-by-Step Instructions
Step 1: Achieving the Dense Fudgy Base
Preheat your oven to 350°F (175°C) and line an 8×8 inch (20x20cm) pan with parchment paper. In a large microwave-safe bowl, melt your butter and dark chocolate together in 30-second intervals.
Whisk in the sugar, then add 3 large eggs one at a time. Sift in the cocoa powder, 1 cup (125g) of all-purpose flour, and ½ tsp (3g) of sea salt. Salt is the invisible essential that balances the thick gooey amber caramel layer.
Bake for 25-30 minutes. You want moist brownie crumbs to be visible when you test with a toothpick. Do not overbake, or you will lose that dense fudgy dark chocolate brownie base.
Step 2: The Art of Toasting Coconut
While the brownies cool, spread your shredded coconut on a baking sheet. Bake at 325°F (160°C) for 5-8 minutes, tossing frequently. You are looking for a mosaic of colors: toasted golden-brown shredded coconut with hints of cream to deep chestnut brown.
The smell should be nutty and sweet. This step is non-negotiable for the Samoa Brownies experience; untoasted coconut lacks the crunch needed to balance the viscous translucent golden-amber caramel.
Step 3: Creating the Sticky Caramel Drip
In a small saucepan over low heat, melt the caramels and heavy cream. Stir constantly until you have a thick viscous translucent golden-amber caramel. Once smooth, fold in 2 ½ cups of the toasted coconut, saving the rest for the very top.
Pour this mixture over the cooled brownies. Use an offset spatula to spread it to the edges, creating that sticky caramel bond. This is what creates the single drop of caramel slowly pulled away when you lift a piece.
Step 4: The Glossy Dark Chocolate Drizzle
Melt ½ cup (85g) of dark chocolate chips with 1 tsp (5ml) of coconut oil. Use a spoon or a piping bag to create thick, glossy ribbons of dark chocolate sauce across the top. The oil ensures the chocolate stays glossy and doesn’t snap when you bite into the Samoa Brownies.
Expert Tips for Success
- Cool Completely: To get those clean, stacked pile edges, you must let the brownies set in the fridge for at least 2 hours before slicing.
- Use a Hot Knife: Dip your knife in hot water and wipe it dry between cuts to keep the thick gooey amber caramel layer from smearing.
- Watch the Coconut: Coconut goes from golden to burnt in seconds. Stay by the oven!
- Check Your Caramel: If your caramel is too stiff, add an extra teaspoon of cream. You want that viscous translucent look.
For more layered treats, try our flourless marshmallow crunch brownies or the whimsical strawberry shortcake artwork for a fruity alternative.
Storage, Reheating & Freezing
Storage: Keep these Samoa Brownies in an airtight container at room temperature for up to 3 days, or in the fridge for up to a week. The fridge keeps the dense fudgy dark chocolate brownie base extra chewy.
Freezing: These bars freeze beautifully. Wrap individual squares in plastic wrap and store in a freezer bag for up to 3 months. Thaw at room temperature for 30 minutes before serving to let the sticky caramel soften.
What to Serve With Samoa Brownies
These brownies are incredibly rich, so they pair best with a neutral beverage. A cold glass of milk or a hot cup of black coffee balances the thick gooey amber caramel layer perfectly. If you want to go all out for a party, serve them alongside our frappe recipe for a true sugar rush.
Frequently Asked Questions
Yes, you can use a boxed mix as a shortcut. However, for the authentic ‘dense fudgy’ texture and visual ‘moist crumbs,’ a homemade dark chocolate base is highly recommended.
They are safe at room temperature for 3 days, but refrigeration helps the caramel and chocolate layers set, making them much easier to slice into clean, stackable squares.
Toasted coconut goes from cream-colored to burnt very fast. Bake at 325°F (160°C) and toss the coconut every 2 minutes. Remove it from the oven as soon as most of it is golden-brown.
This usually happens if the caramel was overheated or if not enough heavy cream was added. Ensure you melt the caramels on low heat and add the full 2 tablespoons of cream to maintain that gooey, viscous texture.
The Ultimate Samoa Brownies Recipe
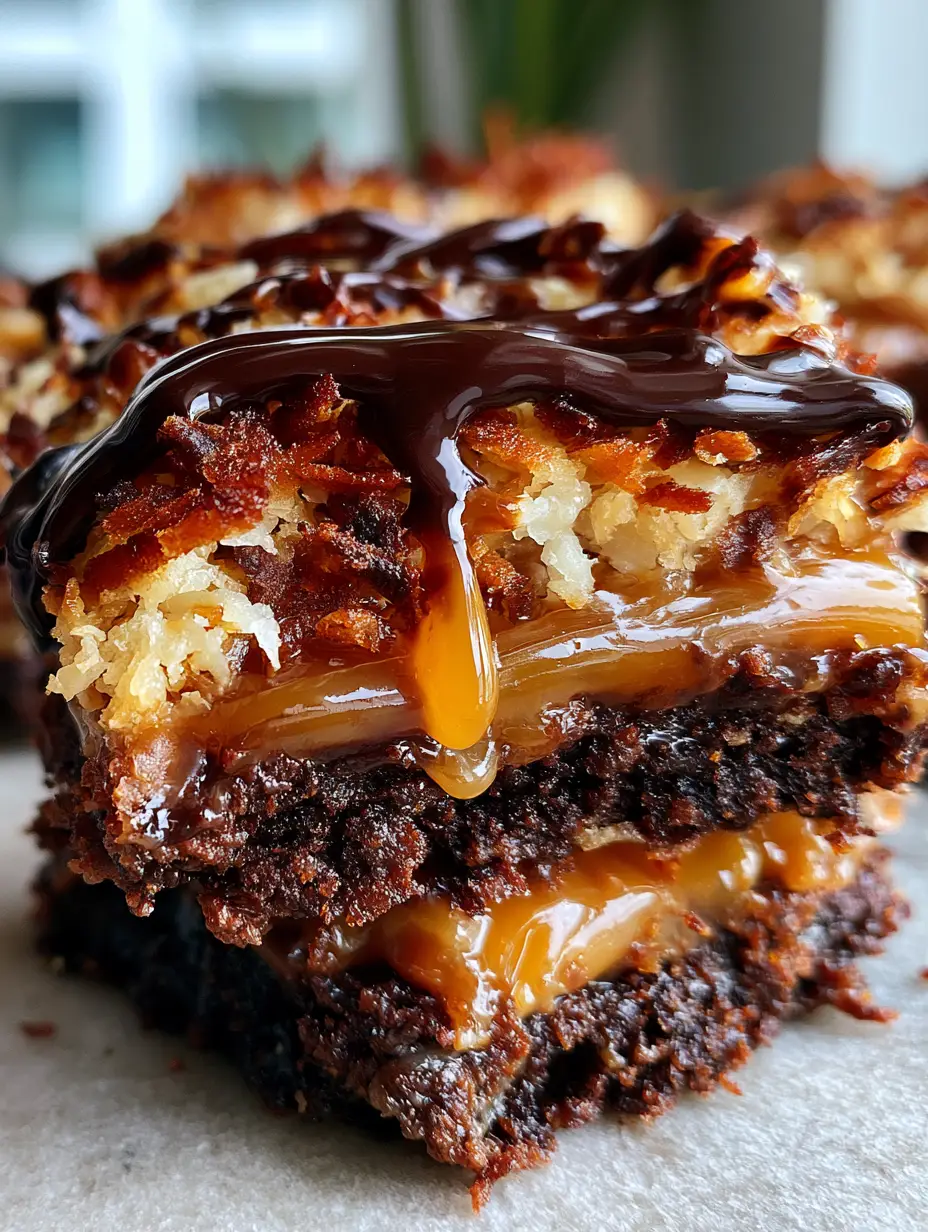
Samoa Brownies: The Ultimate Fudgy Caramel and Toasted Coconut Bars
Ingredients
Equipment
Method
- Melt butter and dark chocolate chips. Whisk in sugar and eggs. Fold in cocoa powder, flour, and salt until a thick batter forms.
- Pour into a lined pan and bake at 350°F (175°C) for 25-30 minutes until moist crumbs appear on a toothpick.
- Spread coconut on a tray and bake at 325°F (160°C) until golden-brown and fragrant.
- Melt caramels with heavy cream until a viscous translucent amber liquid forms. Fold in toasted coconut.
- Spread caramel coconut mixture over cooled brownies. Drizzle with melted glossy dark chocolate ribbons.
Notes
Don't overbake the base to maintain the fudgy texture.
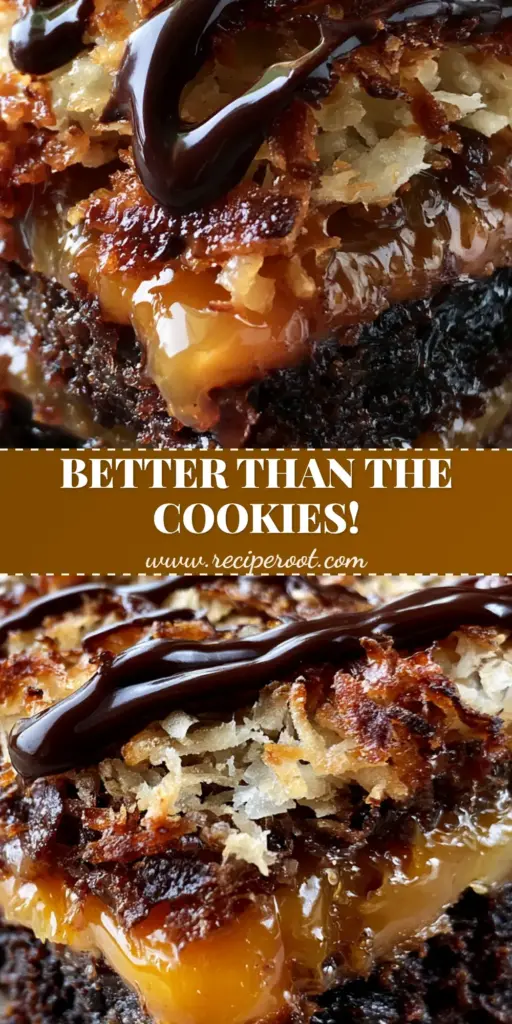
Save This Recipe to Pinterest!
Don’t lose this recipe! Pin this to your Desserts or Brownie board so you can make these Samoa Brownies whenever the craving hits. Follow recipe_root for more decadent baking inspiration.
Did you make these? Share a photo in the comments below and leave a 5-star rating! Seeing your thick, glossy ribbons of dark chocolate and toasted coconut creations makes our day!