Creating the perfect strawberry shortcake artwork is about more than just mixing fruit and flour; it is about capturing a nostalgic, gourmet aesthetic that tastes even better than it looks. This recipe transforms the humble classic into a visual masterpiece, reminiscent of a high-end 1980s food photography spread. By balancing a crumbly golden biscuit base with a velvet vanilla bean cream, we are building a dessert that is as structurally sound as it is delicious.
Whether you are a seasoned baker or a Pinterest enthusiast looking for that viral-worthy shot, this strawberry shortcake artwork delivers on every front. From the glistening thick strawberry glaze to the tiny, vibrant fresh mint leaf garnish, every element is designed to keep your guests—and your followers—starring in awe. Let’s dive into the culinary science of the perfect shortcake.
Why This Gourmet Strawberry Shortcake Artwork Works
- Textural Contrast: The crunch of a buttery, toasted biscuit meets the silkiness of dense vanilla bean whipped cream.
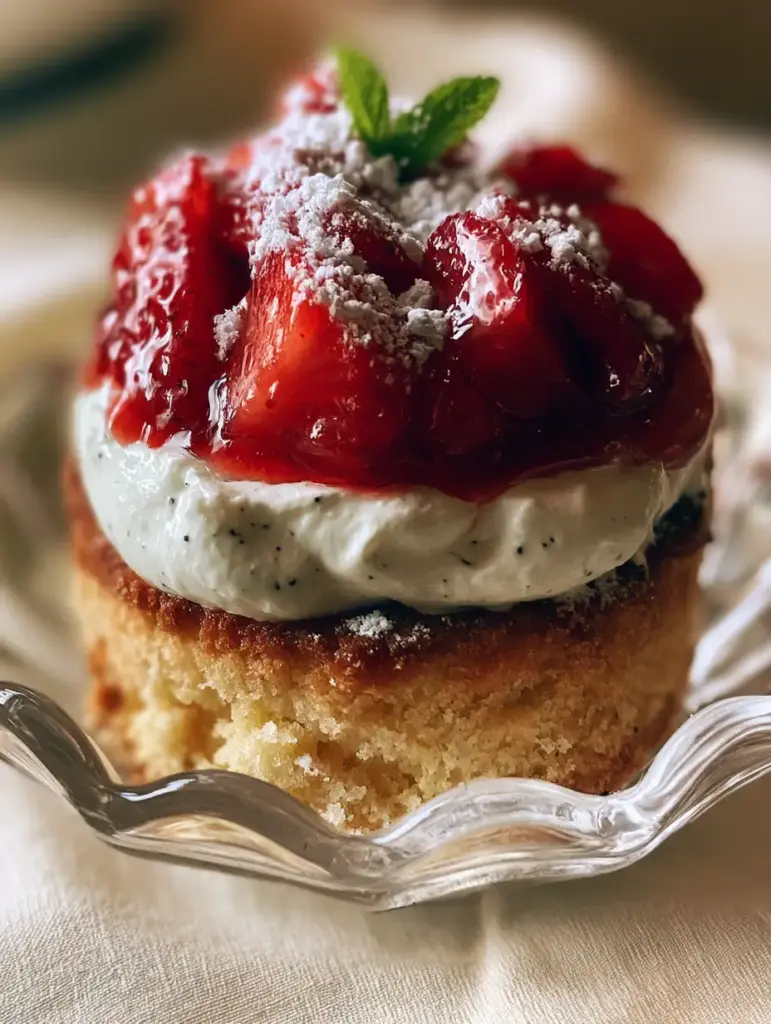
- Visual Depth: Visible black vanilla specks and a ruby-red glaze create a professional, high-definition finish.
- Balanced Sweetness: We use macerated berries to draw out natural juices, ensuring the strawberry shortcake artwork isn’t cloying.
- Vintage Appeal: Serving this in a vintage 1980s scalloped glass bowl adds a layer of sophisticated grit to your presentation.
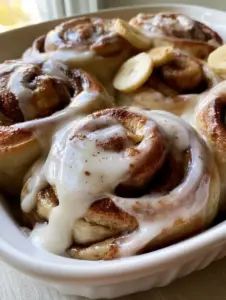
If you love the flavor profile of this classic, you might also want to try our strawberry shortcake cheesecake rolls for a portable version of this masterpiece.
The Essential Elements for Your Edible Masterpiece
To achieve the look of true strawberry shortcake artwork, the quality of ingredients is paramount. Each component serves a specific structural and flavor purpose.
For the Crumbly Biscuit Base
All-Purpose Flour: 2 cups (250g). Provides the essential structure for a sturdy, golden base.
Unsalted European Butter: 1/2 cup (113g), cold and cubed. High fat content ensures those visible buttery crumbs.
Baking Powder: 1 tablespoon (15g). The engine that gives our strawberry shortcake artwork its lift.
Heavy Cream: 3/4 cup (180ml). Binds the dough while keeping the crumb tender.
For the Velvet Vanilla Bean Cream
Heavy Whipping Cream: 1.5 cups (360ml). Must be ice-cold for maximum volume.
Mascarpone Cheese: 1/4 cup (60g). The secret to a dense, velvety cream that doesn’t collapse.
Vanilla Bean Pod: 1 whole pod, scraped. Essential for those visible black specks that signify gourmet quality.
For the Ruby Strawberry Layer
Fresh Strawberries: 1 lb (450g), sliced. Use the brightest red berries available for the best strawberry shortcake artwork visual.
Granulated Sugar: 1/4 cup (50g). Used for macerating to create that thick strawberry glaze.
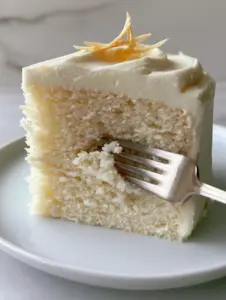
Looking for a different format? Our strawberry shortcake sheet cake is perfect for feeding a larger crowd while maintaining these elite flavors.
Mastering the Art of the Shortcake: Step-by-Step
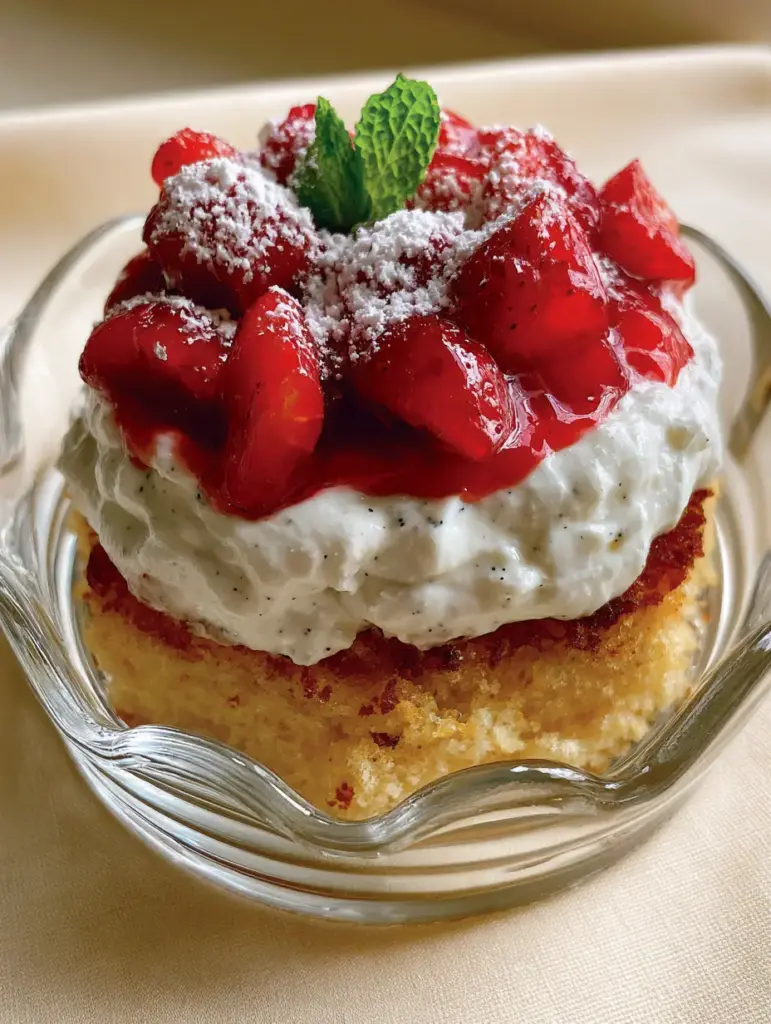
Step 1: Crafting the Crumbly Golden Biscuit
Start by preheating your oven to 425°F (220°C). In a large bowl, whisk your flour, sugar, and baking powder. Using a pastry cutter, work the cold butter into the flour until you see visible buttery crumbs the size of peas.
Slowly pour in the heavy cream and mix until just combined. Overworking the dough is the enemy of strawberry shortcake artwork; you want a rustic, crumbly texture. Turn the dough onto a floured surface, pat to 1-inch thickness, and cut into rounds. Brush with extra cream and a sprinkle of sugar for that golden-brown toasted finish. Bake for 12-15 minutes.
Step 2: Preparing the Macerated Ruby Strawberries
While the biscuits cool, toss your sliced strawberries with sugar and a splash of lemon juice. Let them sit for at least 20 minutes. This process, known as maceration, creates a ruby-red glistening syrup. To achieve the thick strawberry glaze seen in the strawberry shortcake artwork, strain a portion of the juice into a small saucepan and simmer until reduced by half before folding it back into the fruit.
Step 3: Whisking the Velvet Vanilla Bean Cream
In a chilled bowl, combine the heavy cream, mascarpone, and the seeds from the vanilla bean pod. Whip on medium-high speed until stiff peaks form. The mascarpone ensures the cream is dense and velvety, providing a stable middle layer that supports the weight of the glazed fruit.
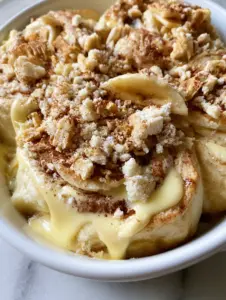
For an extra textural pop, consider adding some strawberry crunch topping between the layers of your strawberry shortcake artwork.
Step 4: The Vintage Presentation Assembly
To replicate the 1980s scalloped glass bowl aesthetic, place a warm biscuit at the bottom of the glass. Spoon a generous amount of the velvet vanilla bean cream over the center, allowing the black specks to be visible against the white cream. Top with the macerated ruby strawberries, drizzling the thick red glaze so it pools slightly in the cream.
Finish your strawberry shortcake artwork with a fine powdered sugar dust and place one tiny, vibrant green mint leaf right on top for the ultimate color contrast.
Expert Tips for Success
- Keep it Cold: Always use cold butter and cold cream. This is non-negotiable for achieving the crumbly golden biscuit base.
- Vanilla Quality: Do not use imitation extract. The visible black specks from a real vanilla bean are a hallmark of this strawberry shortcake artwork.
- The Bowl Matters: A vintage 1980s scalloped glass bowl allows light to hit the layers from all angles, making the ruby-red glaze pop.
- The Glaze Trick: If your berries aren’t juicy enough, a teaspoon of strawberry jam melted into the macerated liquid will help achieve that thick strawberry glaze.
If you enjoy the combination of fruit and cream, don’t miss our strawberry cream cake or the whimsical strawberries and cream cupcakes.
Storage, Reheating & Freezing
Storage: The components of the strawberry shortcake artwork should be stored separately. The biscuits stay fresh in an airtight container for 2 days. The cream and strawberries should be refrigerated and used within 24 hours.
Freezing: You can freeze the unbaked biscuit rounds for up to 3 months. Bake them directly from frozen, adding 2-3 minutes to the cook time. Do not freeze the assembled strawberry shortcake artwork as the cream will separate.
What to Serve With This
This strawberry shortcake artwork is a star on its own, but it pairs beautifully with a glass of chilled Prosecco or a light dessert wine. For a non-alcoholic pairing, a cold glass of whole milk enhances the buttery notes of the crumbly golden biscuit.
Frequently Asked Questions
While fresh strawberries provide the best ‘artwork’ visual, frozen can be used if thawed and drained thoroughly. However, the glaze will be thinner and less vibrant.
Focus on the textures: use a real vanilla bean for black specks in the cream, macerate strawberries for a ruby-red glaze, and serve in a vintage glass bowl for 80s aesthetic appeal.
The addition of mascarpone cheese adds density and a silkier mouthfeel compared to plain whipped cream, helping it hold its shape in the bowl.
You likely overworked the dough or the butter was too warm. Ensure butter is ice-cold and mix until you see visible crumbs before adding liquid.
The Full Strawberry Shortcake Artwork Recipe
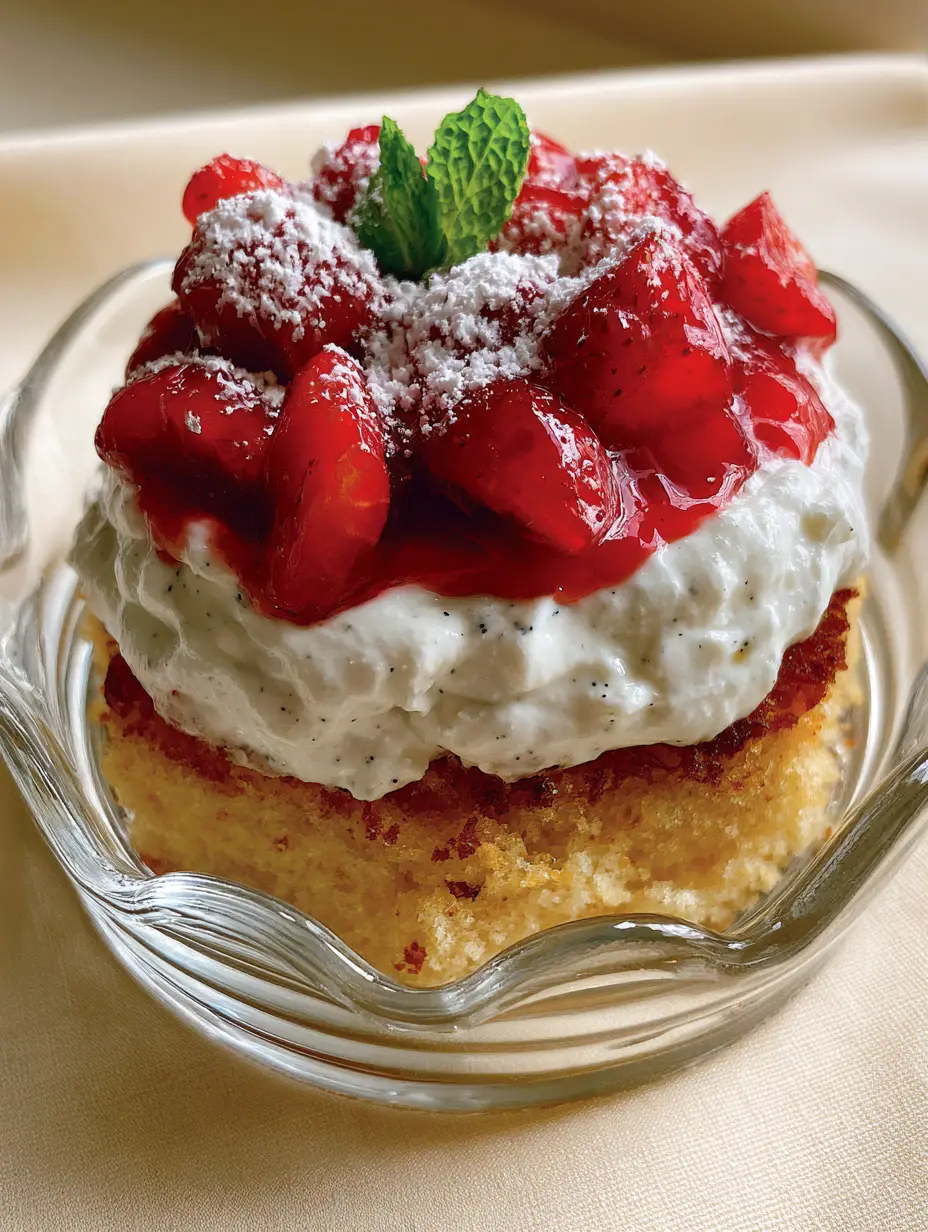
Strawberry Shortcake Artwork: The Ultimate Vintage Gourmet Recipe
Ingredients
Equipment
Method
- Rub cold butter into flour mixture to create visible crumbs. Add cream, pat to 1-inch, and bake at 425°F for 15 minutes until golden-brown.
- Whip heavy cream, mascarpone, and vanilla bean seeds until dense stiff peaks form.
- Layer biscuit, cream, and glazed strawberries in a glass bowl. Dust with powdered sugar and garnish with one mint leaf.
Notes
Macerate strawberries for at least 20 minutes to create the thick glaze.
Join the Recipe Root Community
Did you create your own strawberry shortcake artwork? We want to see your vintage aesthetic! Please save this recipe to your favorite Pinterest board and follow recipe_root for more gourmet inspiration. Share a photo of your scalloped bowl creation in the comments below and don’t forget to leave a 5-star rating to help other home cooks find this masterpiece!