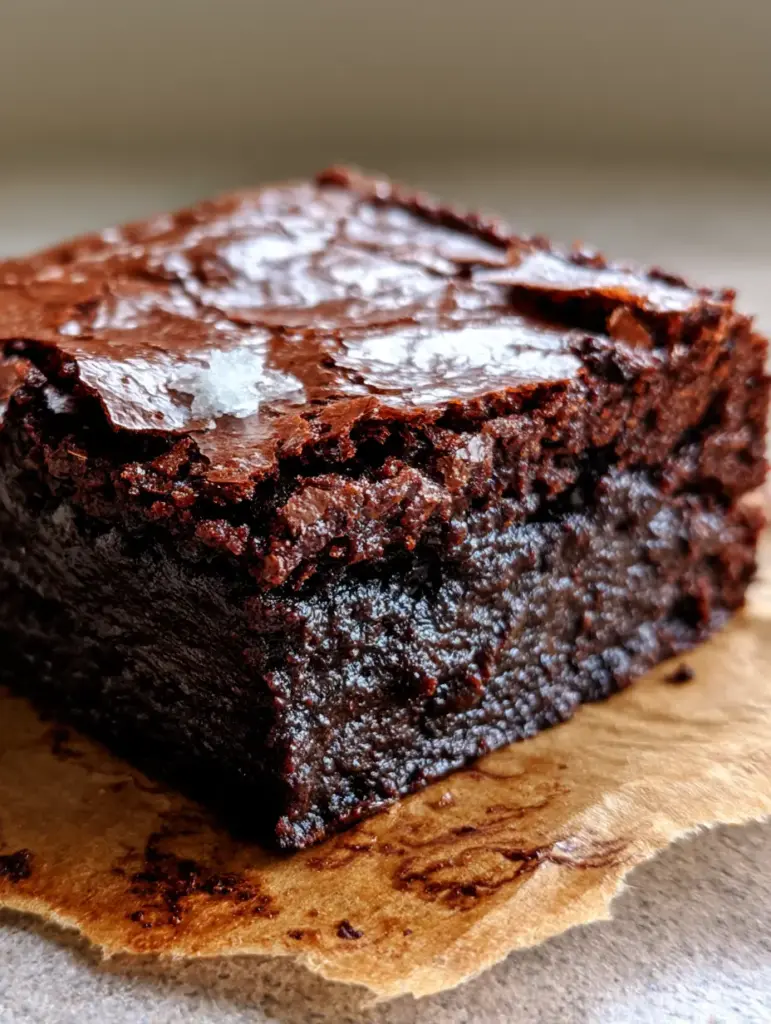
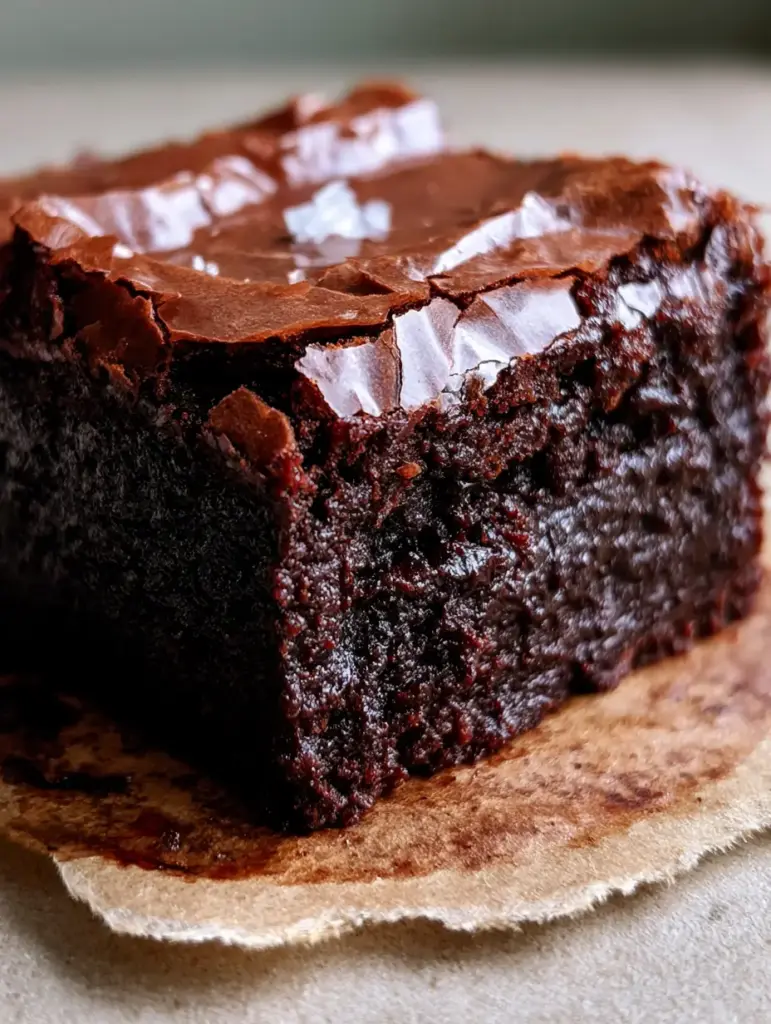
These Brownies are the holy grail of dessert baking, featuring a hyper-detailed paper-thin shiny chocolate crinkle top that shimmers like shattered glass. If you have been searching for the perfect balance between an ultra-dense, moist, dark cocoa fudgy center and a delicate, crisp surface, this is the only recipe you will ever need. We have engineered this batter to produce microscopic cracks and visible moisture, ensuring every bite is a decadent experience.
Forget cakey textures; we are strictly chasing the gooey, slightly underbaked aesthetic that looks stunning under natural side-lighting. Topped with a single grain of flaky sea salt and served on torn, grease-stained brown parchment paper, these Brownies are as beautiful as they are delicious. Whether you are a fan of Mounds brownies or prefer the tropical twist of Bounty brownies, this foundational fudgy recipe will become your new gold standard.
Why You Will Obsess Over These Fudgy Brownies
- The Perfect Crinkle: A specialized mixing technique creates that elusive, shimmery, paper-thin top layer that shatters when you bite into it.
- Ultra-Dense Texture: By minimizing aeration and using high-quality fats, we achieve a dark cocoa center with visible moisture and a heavy, gooey crumb.
- Flaky Sea Salt Finish: A touch of premium sea salt cuts through the richness of the dark chocolate, highlighting the complex cocoa notes.
- Pinterest-Perfect Aesthetic: These are designed to look incredible on the plate, especially when paired with artisan styling like torn brown parchment paper.
Essential Ingredients for the Ultimate Chocolate Texture
Unsalted Butter (1 cup / 227g): Using high-quality butter provides the fat necessary for a rich mouthfeel. We melt the butter to ensure it emulsifies perfectly with the sugars.
Granulated Sugar (1 ½ cups / 300g) & Light Brown Sugar (½ cup / 100g): The combination of sugars is vital. The granulated sugar helps create the shiny crust, while the brown sugar adds moisture and a hint of molasses depth.
Dark Chocolate Chips or Bar (8 oz / 225g): Melted chocolate is the secret to that “melted chocolate moisture” mentioned in our blueprint. It provides a structural fudginess that cocoa powder alone cannot replicate.
Dutch-Processed Cocoa Powder (¾ cup / 75g): This creates the deep, dark chocolate color and a smooth, mellow flavor profile that isn’t overly acidic.
Large Eggs (3 total): Eggs provide the structure. We whisk them vigorously with the sugar to create the meringue-like layer that rises to the top to form the crinkle crust.
Vanilla Extract (1 tbsp / 15ml) & Espresso Powder (1 tsp / 2g): These are “invisible” flavor enhancers. The espresso powder doesn’t make the Brownies taste like coffee; it simply intensifies the dark cocoa notes.
All-Purpose Flour (1 cup / 125g): We use a relatively small amount of flour to keep the protein content low, preventing a cakey texture and maintaining the dense, fudgy center.
Flaky Sea Salt (for garnish): This is the final touch. A single grain on a crack provides a necessary contrast to the sweetness.
Step-by-Step Guide to the Perfect Crinkle Top
Preparing the Signature Parchment Foundation
Start by preheating your oven to 350°F (175°C). Grease an 8×8 inch (20×20 cm) square baking pan thoroughly. Take a piece of brown parchment paper and tear it roughly so the edges hang over the sides.
This “grease-stained” look isn’t just for photos; the parchment allows you to lift the Brownies out cleanly without disturbing the delicate, shattered-glass top. If you enjoy stuffed variations like peanut butter stuffed brownies, the parchment handles the extra weight perfectly.
Melting the Chocolate for Maximum Moisture
In a medium microwave-safe bowl, combine the butter and 4 oz (113g) of the dark chocolate. Heat in 30-second bursts, stirring between each, until completely smooth and glossy.
This melted chocolate base is what creates the “visible moisture” in the side view of the brownie. Ensure the mixture is warm but not boiling, as we don’t want to scramble the eggs in the next step.
The Secret to the Paper-Thin Shiny Crust
In a large mixing bowl, combine the granulated sugar, brown sugar, and eggs. Use a whisk or a hand mixer on medium-high speed for at least 3-5 minutes.
Visual Cue: The mixture should become pale, thick, and doubled in volume. This step dissolves the sugar and incorporates air that will eventually form the microscopic cracks and shimmery surface.
Folding in the Dry Essentials
Gently whisk in the melted chocolate mixture and vanilla. Sift the cocoa powder, flour, and a pinch of fine salt over the wet ingredients. Use a rubber spatula to fold the batter until just combined.
Do not overmix! Overmixing develops gluten, which leads to a tough, bready texture rather than the ultra-dense, moist fudgy center we are aiming for.
Baking for Dense, Gooey Results
Pour the batter into the prepared pan and smooth the top. Bake for 25-30 minutes. The Brownies are done when the edges are set but the center still has a slight wobble.
Sensory Cue: Look for the “shattery” appearance on top. The surface should look like thin chocolate glass with delicate, shimmery cracks forming across the square.
Expert Tips for Success
- Temperature Control: Ensure your eggs are at room temperature to help the sugar dissolve more efficiently for a better crust.
- The Toothpick Test: When testing for doneness, the toothpick should come out with a few moist crumbs attached. If it’s clean, they are overbaked!
- Precision Measurements: Use a kitchen scale for the Metric (grams) measurements to ensure the flour-to-fat ratio is scientifically accurate.
- Natural Cooling: Let the Brownies cool completely in the pan. This allows the fudgy center to set and the cracks to become more pronounced.
How to Store and Keep Brownies Fresh
Store these in an airtight container at room temperature for up to 4 days. For a truly gooey experience, you can microwave a square for 10 seconds to revive the melted chocolate moisture.
If you want to freeze them, wrap individual squares in plastic wrap and place them in a freezer bag. They will stay fresh for up to 3 months. This is a great way to save leftovers if you’ve already made a batch of Samoa brownies or flourless marshmallow crunch brownies.
What to Serve With These Fudgy Treats
These Brownies are incredibly rich, so they pair best with something that offers a textural or temperature contrast. A scoop of cold vanilla bean ice cream or a dollop of unsweetened whipped cream is classic.
For a sophisticated pairing, serve them alongside a cup of dark roast coffee or a glass of cold milk. If you are hosting a dessert party, these squares look beautiful on a platter next to colorful strawberry shortcake inspired treats.
Frequently Asked Questions
While you can, using both melted chocolate and cocoa powder provides the best balance of structural fudginess and deep chocolate flavor.
Yes, granulated sugar is essential for the shiny, shimmery top, while brown sugar provides the moisture needed for a gooey center.
The secret is dissolving the sugar completely by whisking the eggs and sugar together for 3-5 minutes until the mixture is pale and thick before adding the chocolate.
They are done when the edges are firm but a toothpick inserted into the center comes out with a few moist, sticky crumbs rather than clean.
Cakey brownies usually result from over-mixing the flour or using too many eggs. To keep them fudgy, fold the flour in gently and don’t overbake.
The Ultimate Fudgy Brownie Recipe
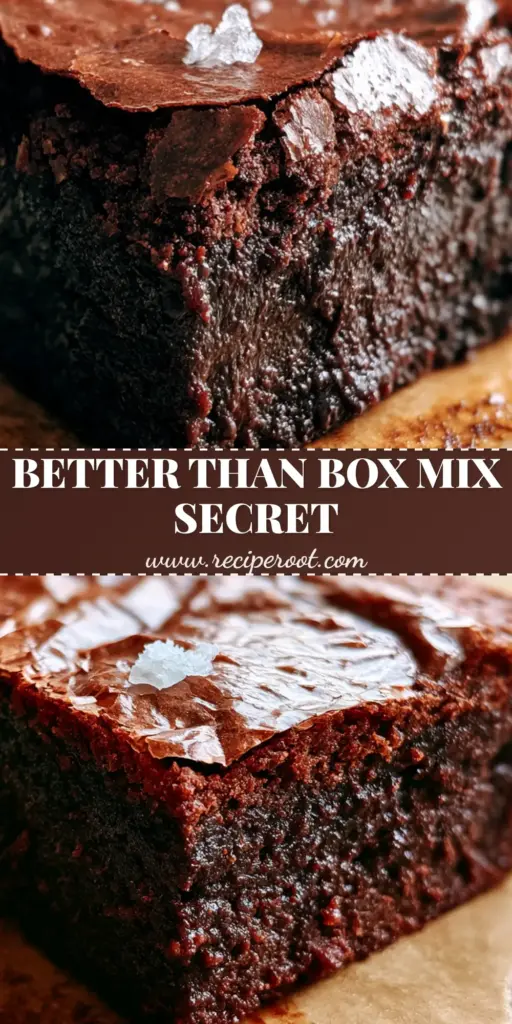
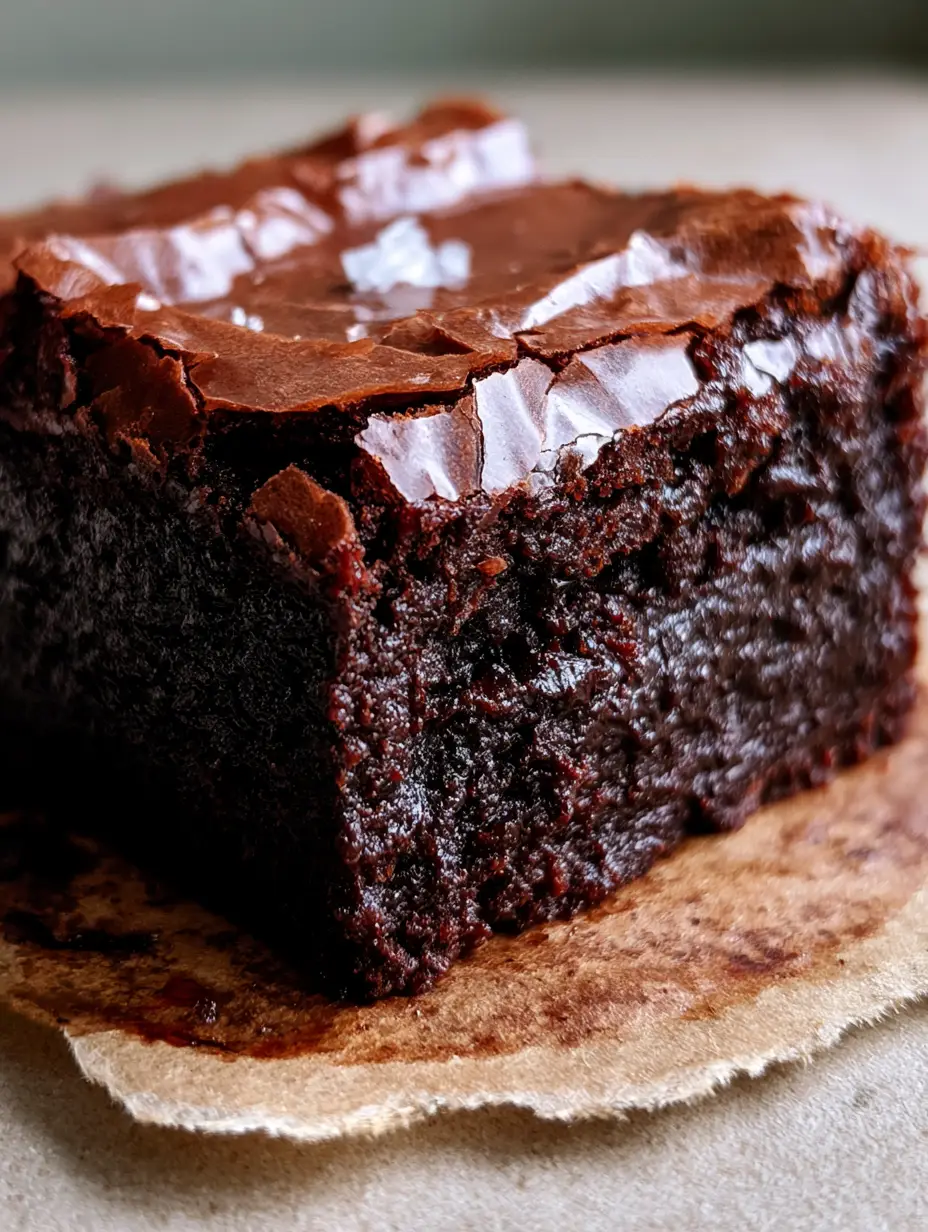
Brownies with a Paper-Thin Shiny Crinkle Crust and Fudgy Center
Ingredients
Equipment
Method
- Preheat oven to 350°F (175°C). Line an 8x8 pan with torn brown parchment paper.
- Melt butter and half the chocolate together until smooth.
- Whisk eggs and sugars for 3-5 minutes until thick and pale to create the crinkle top.
- Fold in chocolate mixture, then dry ingredients. Bake for 25-30 minutes until a shimmery crust forms.
Notes
Use room temperature eggs to help the sugar dissolve for the perfect shiny top.
Join the Community!
Did you achieve that perfect paper-thin shiny crinkle crust? We want to see! Save this recipe to your favorite Pinterest board so you never lose it. Follow recipe_root for more decadent baking inspiration.
Please leave a 5-star rating in the recipe card above and share a photo of your microscopic cracks and fudgy centers in the comments below. Happy baking!