There is a specific, soul-satisfying sound that defines a perfect dessert: the sharp, glass-like crack of a silver spoon breaking through a deeply caramelized sugar crust. These mini crème brûlée cheesecakes capture that exact moment of culinary magic, shrinking the elegance of a Parisian bistro into a handheld, bite-sized indulgence. If you have ever felt torn between the silky allure of a vanilla bean cheesecake and the burnt-sugar charm of a crème brûlée, this recipe is your ultimate resolution.
Imagine a dense, velvety pale-yellow cheesecake filling, speckled with thousands of tiny black vanilla bean seeds, sitting atop a compressed, golden-brown buttery graham cracker crust. The crowning glory is a thick, amber-hued layer of sugar, torched until it bubbles into a hard, translucent pane. When you take that first bite, the contrast between the cold, creamy base and the warm, bitter-sweet crunch of the sugar shards creates a sensory experience that is frankly unmatched by any other individual dessert.
In this guide, we are going to master the forensic details that make these mini crème brûlée cheesecakes a showstopper. From achieving the perfect “shatter” to ensuring your graham cracker base stays crisp under the weight of the custard, we will dive deep into the science of caramelization and the art of the water bath.
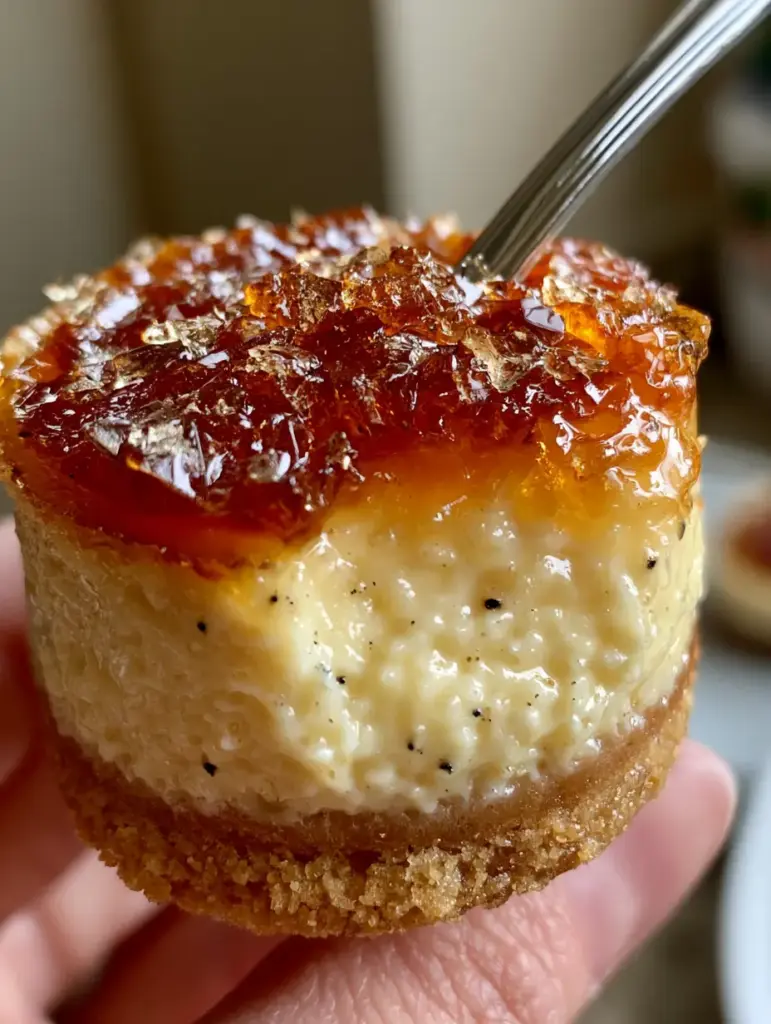
Why These Individual Brûlée Treats Outshine Traditional Cheesecake
- The Perfect Texture Contrast: You get the crunch of the shattered sugar shards against the velvety smoothness of the vanilla bean filling.
- Individual Portioning: No messy slicing required; these are perfectly contained in their liners, making them ideal for high-end dinner parties.
- Visual Sophistication: The visible vanilla bean specks and the glistening amber topping provide an “authentic food photography” aesthetic without any filters needed.
- Make-Ahead Convenience: You can bake the bases and fillings in advance and simply torch the tops right before your guests arrive for maximum “wow” factor.
If you love the convenience of small-batch desserts, you might also want to check out our classic mini cheesecakes or these decadent mini caramel cheesecakes for your next gathering.
Essential Components for the Ultimate Vanilla Bean Base
To achieve the visual and structural results seen in our professional blueprint, every ingredient must serve a specific scientific purpose. We aren’t just making a snack; we are engineering a masterpiece of texture.
Full-Fat Cream Cheese (450g / 16oz): This provides the structural integrity and the “dense, velvety” texture described in the visual prompt. Always ensure it is at room temperature to prevent lumps in your pale-yellow filling.
Granulated Sugar (100g / ½ cup): While it provides sweetness, sugar also interferes with the protein bonds in the eggs, ensuring the cheesecake remains creamy rather than rubbery. We will also use extra sugar for the signature amber topping.
Vanilla Bean Paste or Fresh Pods (1 tbsp / 15ml): This is non-negotiable for the “visible tiny black vanilla bean specks.” While extract works for flavor, the paste provides the high-end visual cues that define a true crème brûlée.
Large Eggs (2 units): Eggs act as the binder that turns a soft cream cheese mixture into a stable, sliceable custard. They are the “foundation” ingredients that give the cheesecake its lift and richness.
Graham Cracker Crumbs (150g / 1 ½ cups): These form the “compressed, golden-brown buttery graham cracker crust.” The crumbs must be fine to ensure the base doesn’t crumble when you hit it with a spoon.
Unsalted Butter (85g / 6 tbsp): Melted butter acts as the glue for your crust. When chilled, it solidifies, creating that satisfying “snap” at the bottom of the mini crème brûlée cheesecakes.
Tools Required for the Perfect Torch and Shatter
To get that professional, handheld smartphone photo look, you will need a few specific pieces of equipment. While the ingredients do the heavy lifting, the tools provide the finishing touches.
A standard 12-cup muffin tin is the traditional vessel, but for the best results, use a tin with straight sides if available. High-quality paper liners are essential to ensure the sides of your cheesecake remain pristine and pale-yellow once removed.
The most critical tool is a kitchen butane torch. While some suggest using a broiler, a broiler cannot achieve the localized “thick amber caramelized sugar topping” without melting the entire cheesecake. The torch allows you to focus heat directly on the sugar, creating those sharp, glass-like shards.
Lastly, a silver spoon is the preferred “forensic” tool for serving. The weight of a real silver or stainless steel spoon is necessary to provide the force required to shatter the sugar layer without crushing the delicate filling beneath.
Crafting the Compressed Graham Cracker Foundation
The secret to a crust that doesn’t get soggy is the “double-bake” method. Start by combining your graham cracker crumbs with a pinch of salt and your melted butter. The mixture should feel like wet sand and hold its shape when squeezed in your palm.
Press approximately one large tablespoon of the mixture into each liner. Use the bottom of a small glass or a shot glass to compress the crumbs firmly. This compression is what creates the “compressed, golden-brown” look seen in the close-up photos.
Bake the crusts for 5-7 minutes at 325°F (165°C). This short stint in the oven toasts the butter and sugar, creating a moisture barrier that protects the crust from the damp cheesecake filling. Let them cool completely before adding the batter.
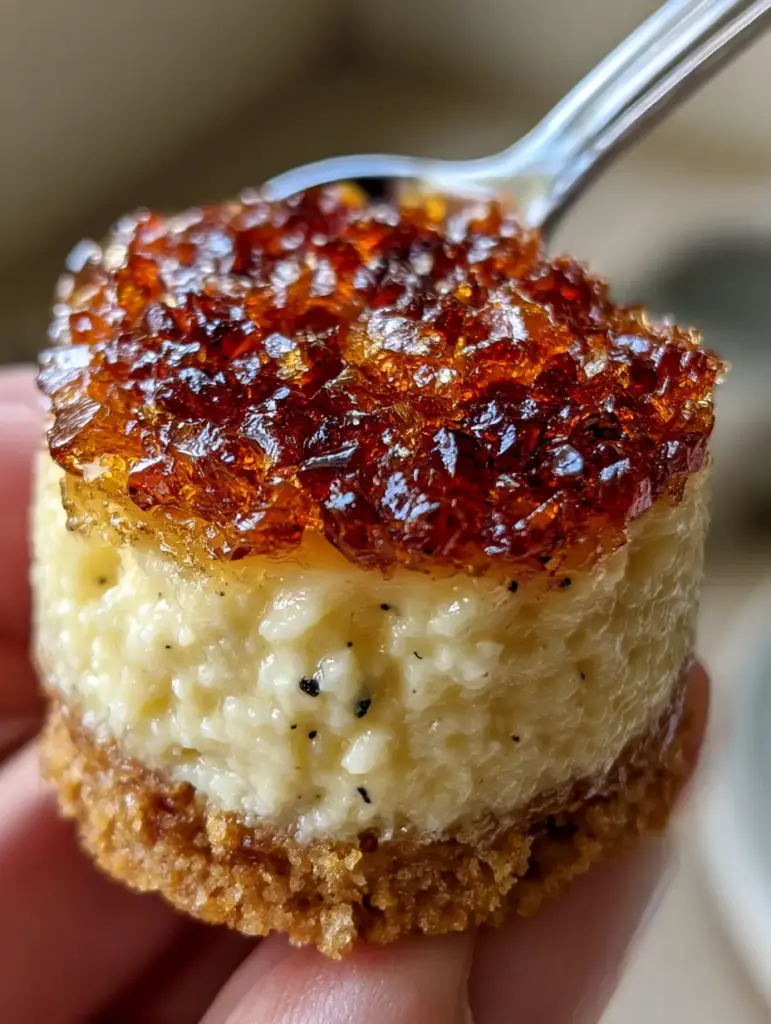
Mixing the Velvety Vanilla Bean Filling
When preparing the filling for your mini crème brûlée cheesecakes, air is your enemy. Unlike a sponge cake, we want a “dense, velvety” texture, not a light and airy one. Air bubbles lead to cracks during the cooling process.
Beat the room-temperature cream cheese and sugar on low speed just until smooth. Scrape down the sides of the bowl frequently. Once smooth, add your vanilla bean paste. You should see the mixture transform as the tiny black specks distribute evenly through the pale-yellow batter.
Add the eggs one at a time, mixing on the lowest speed only until the yellow streak disappears. If you see bubbles on the surface of the batter, tap the bowl firmly on the counter several times to force the air to the surface where it can pop before baking.
For more creamy variations, you might enjoy our banana pudding cheesecakes or the ultra-decadent mini Oreo cheesecakes.
The Science of the Water Bath and Slow Cooling
To maintain that pristine, pale-yellow color without any browning on the edges, you must use a water bath (bain-marie). Place your muffin tin inside a larger roasting pan and fill the roasting pan with boiling water until it reaches halfway up the sides of the muffin tin.
The water acts as a temperature regulator, ensuring the cheesecakes never rise above 212°F (100°C). This prevents the proteins in the eggs from tightening too quickly, which is what causes the centers to sink or crack. Bake for 18-22 minutes until the edges are set but the center still has a slight, gelatinous jiggle.
The most difficult step is the wait. Once baked, turn off the oven and crack the door. Let the cheesecakes sit in the cooling oven for 30 minutes. This slow transition prevents “thermal shock.” Afterward, refrigerate for at least 4 hours (ideally overnight). A cold cheesecake is essential before you apply the heat of a torch.
Achieving the Signature Amber Caramelized Topping
This is the moment of truth where your mini crème brûlée cheesecakes truly become “brûlée.” Take your chilled cheesecakes out of the refrigerator and blot any moisture or condensation off the top with a paper towel. Sugar will not caramelize properly on a wet surface; it will simply turn into syrup.
Sprinkle a teaspoon of granulated sugar over the top of each cheesecake. Tilt the cheesecake in a circular motion to ensure the sugar covers the entire surface edge-to-edge. Shake off any excess.
Ignite your torch and hold the flame about 2-3 inches (5-7cm) away from the sugar. Move the flame in constant, small circles. Watch for the visual cues: first, the sugar will melt into clear liquid, then it will begin to bubble, and finally, it will transform into a deep, glistening amber. Stop just as the sugar begins to smoke slightly; this is where the “burnt” flavor provides the perfect counterpoint to the sweet vanilla.
Allow the sugar to harden for at least 2 minutes. During this time, the liquid sugar crystallizes into a glass-like pane that will produce those iconic shattered sugar shards when struck with a silver spoon.
Troubleshooting the Perfect Crack
“The secret to the perfect shatter isn’t just the heat; it’s the sugar density. Too little sugar and you get a thin film; too much and you get a rock-hard layer that ruins the creamy filling.”
If your sugar isn’t hardening, it likely means your torch wasn’t hot enough or you held it too far away. The sugar needs to reach the “hard crack” stage of caramelization. If your cheesecake is melting during the process, it means you took too long. Work quickly and in batches.
If you prefer a different fruit profile, our mini lemon cheesecakes offer a similar citrusy brightness that pairs beautifully with a caramelized top.
What to Serve with Mini Crème Brûlée Cheesecakes
While these are a standalone masterpiece, they pair beautifully with other textured desserts for a dessert tapas board. Consider serving them alongside something fruity or chocolate-heavy to balance the vanilla profile.
For a Southern-inspired spread, these cheesecakes look stunning next to creamy banana pudding or banana pudding bars. If you want to lean into the “mini” theme, add some Nilla wafer banana pudding cups to the table.
If your guests crave more crunch, a side of strawberry crunch banana pudding or even a decadent chocolate chip cookie mini cheesecake will provide a variety of textures and flavors that keep the palate excited.
Storage and Make-Ahead Instructions
You can prepare the cheesecakes (crust and filling) up to 3 days in advance. Keep them in the refrigerator, covered loosely with plastic wrap. However, do not torch the sugar topping until you are ready to serve. The sugar is hygroscopic, meaning it absorbs moisture from the air and the cheesecake. Within an hour or two of torching, the hard “shatter” will soften into a liquid caramel sauce.
While you can freeze the un-torched cheesecakes for up to a month, we recommend fresh preparation for the best “velvety” mouthfeel. If you do freeze them, thaw them completely in the refrigerator before attempting the sugar caramelization.
Yes! You can bake and refrigerate the cheesecakes up to 3 days ahead. Just wait to apply and torch the sugar until right before you serve them.
It is not recommended. A broiler provides uneven heat that will melt the delicate cheesecake filling before the sugar can reach the amber ‘hard crack’ stage required for shattered shards.
Use high-quality vanilla bean paste or the seeds scraped directly from a vanilla pod. Liquid extracts provide flavor but lack the visual ‘forensic’ specks seen in authentic crème brûlée.
Standard granulated white sugar works best. It has a uniform crystal size that melts evenly and creates a clear, glass-like amber finish.
Sugar is hygroscopic and absorbs moisture from both the air and the cheesecake. For the best crunch, only torch the sugar immediately before serving.
The Ultimate Mini Crème Brûlée Cheesecake Recipe
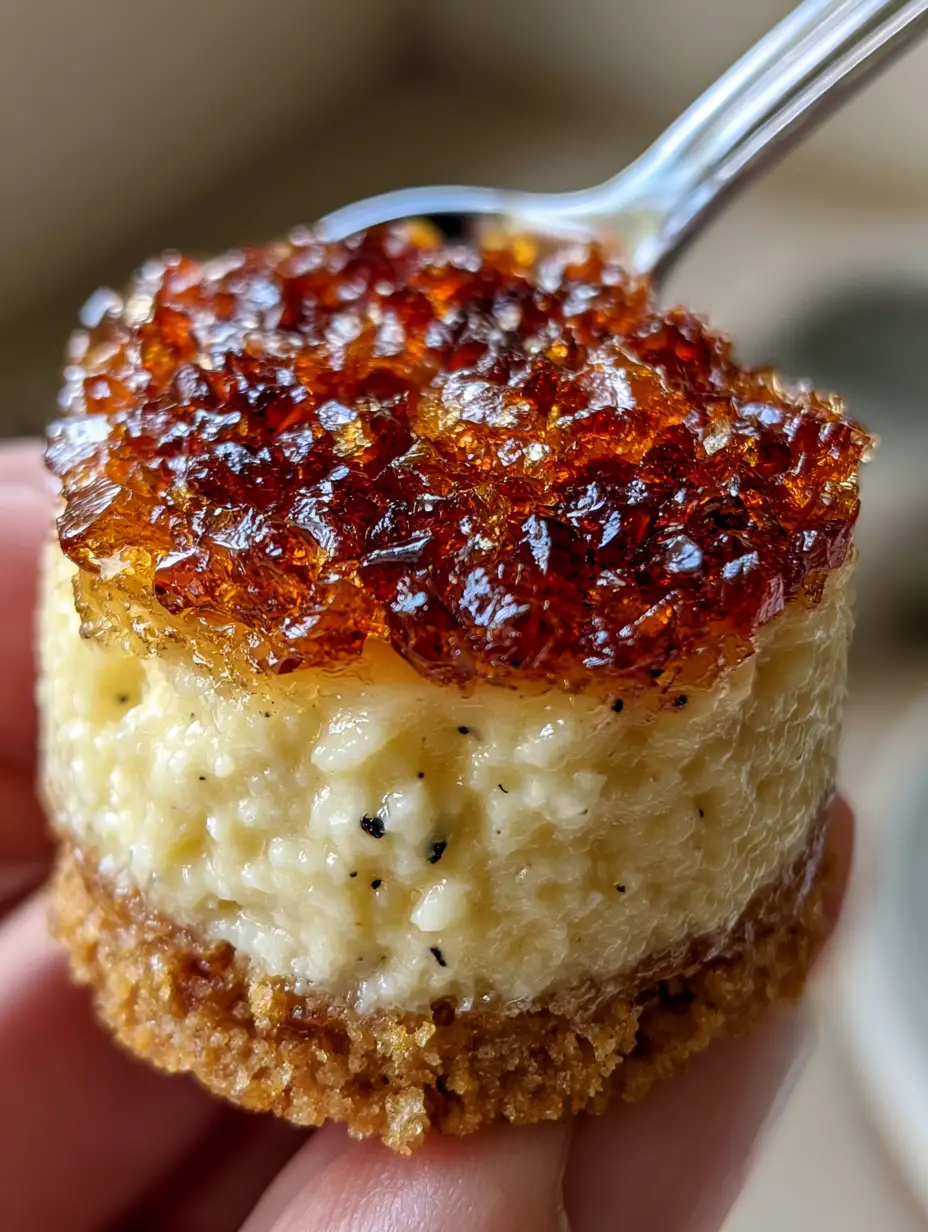
Mini Crème Brûlée Cheesecakes with Shattered Sugar Shards
Ingredients
Equipment
Method
- Mix graham cracker crumbs, melted butter, and sugar. Press 1 tablespoon into each lined muffin cup using a flat-bottomed glass for compression.
- Bake at 325°F (165°C) for 6 minutes until golden brown. Cool completely.
- Beat cream cheese and sugar on low speed until velvety and smooth. Mix in vanilla bean paste until black specks are evenly distributed.
- Add eggs one at a time, mixing only until incorporated. Stir in heavy cream by hand to avoid air bubbles.
- Fill liners with batter. Place tin in a roasting pan filled halfway with boiling water. Bake for 20 minutes.
- Cool in the oven with the door cracked for 30 minutes, then refrigerate for at least 4 hours.
- Sprinkle 1 teaspoon of sugar over each chilled cheesecake. Use a kitchen torch to melt the sugar until it turns a deep amber and bubbles.
- Let sit for 2 minutes until the sugar sets into a hard, glass-like pane.
Notes
Do not torch the sugar until immediately before serving to maintain the shatter.
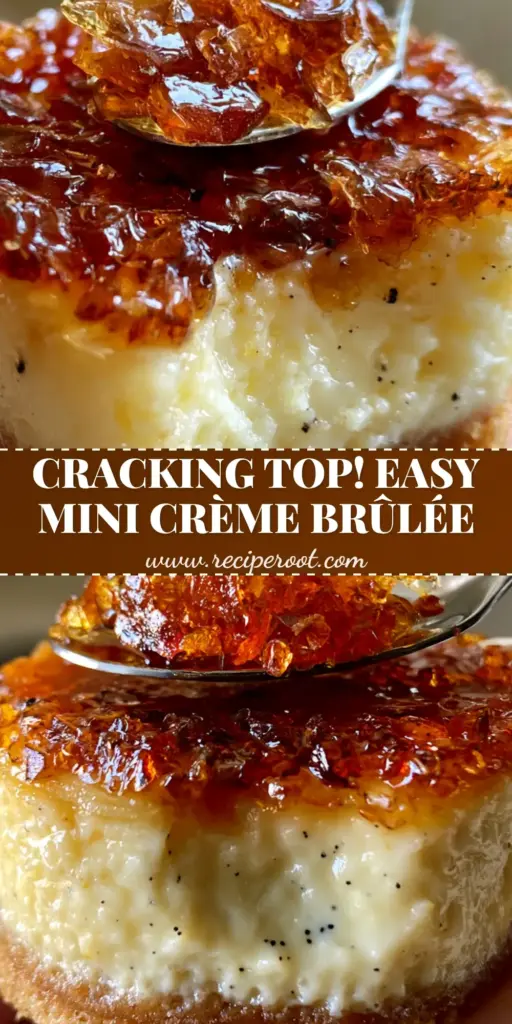
Closing Thoughts: Join the Recipe Root Community
Mastering the mini crème brûlée cheesecakes is a rite of passage for any home baker looking to bridge the gap between simple home cooking and professional pastry arts. The combination of the “shattered sugar shards” and the “dense, velvety pale-yellow cheesecake” is a triumph of culinary science and visual beauty.
Did your sugar crack perfectly? We want to see your results! Leave a comment below and share your success stories. Don’t forget to follow us and save this recipe to your boards on Pinterest so you always have this showstopper ready for your next event!


