There is a specific kind of magic that happens when a Creamy Banana Pudding is executed with professional precision. This isn’t just a simple boxed mix dessert; it is a structural masterpiece featuring layers of velvet-smooth custard, crisp vanilla wafers, and perfectly ripened fruit. If you have ever gazed at a glass trifle dish filled with defined, stable layers and wondered how to achieve that gourmet look, you are in the right place.
Our Creamy Banana Pudding is designed to be the centerpiece of your dessert table, mirroring the clean, modern aesthetic of high-end bakery displays. By focusing on a “cooked-from-scratch” custard and stabilized whipped cream, we ensure that every spoonful offers a dense yet airy texture that never turns runny. This recipe bridges the gap between nostalgic Southern comfort and elite pastry technique.
Whether you are preparing this for a summer potluck or a sophisticated dinner party, the visual appeal is just as important as the flavor profile. We will guide you through the process of creating high, stiff peaks of whipped cream and the art of the upright wafer perimeter. Get ready to master the ultimate version of this classic American treasure.
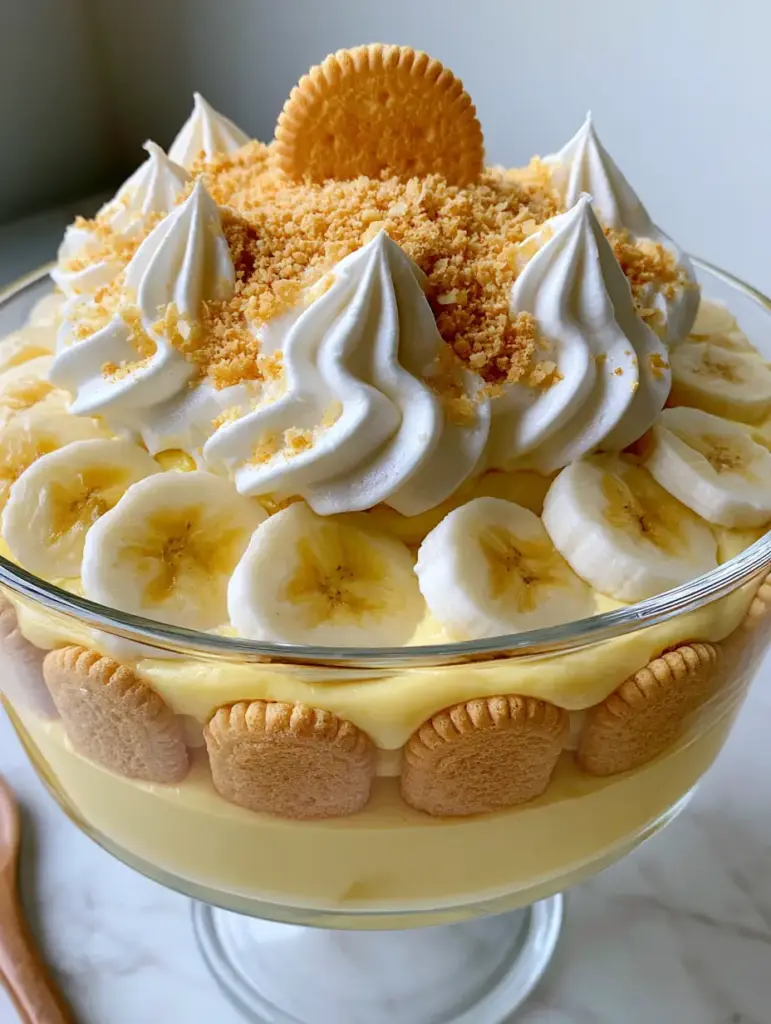
Why This Gourmet Creamy Banana Pudding Stands Above the Rest
- Architectural Stability: Unlike watered-down versions, this pudding uses a cornstarch-and-egg-yolk base to ensure the layers stay distinct and the wafers maintain their “upright” position against the glass.
- Multi-Textural Experience: You will enjoy the contrast between the silky, pale yellow custard, the snap of the whole Nilla wafers, and the delicate crunch of the golden cookie crumbles on top.
- Visual Precision: We use specific layering techniques to ensure your bananas stay bright white-and-yellow and your whipped cream maintains its stiff, decorative peaks for hours.
- Deep Flavor Profile: By incorporating real vanilla bean paste and high-fat dairy, the custard achieves a “velvet” mouthfeel that instant mixes simply cannot replicate.
The Essential Elements for Gourmet Banana Pudding Layers
Whole Milk (720ml / 3 cups): This serves as the liquid foundation of our custard. Using full-fat milk is non-negotiable for achieving the rich, creamy texture required to support the weight of the bananas and cookies.
Large Egg Yolks (4 yolks): The yolks provide the “pale yellow” hue and the emulsifying power needed for a velvet finish. They add a fatty richness that makes the pudding feel indulgent and professional.
Granulated Sugar (150g / 3/4 cup): This provides the necessary sweetness without overpowering the natural flavor of the fresh bananas. It also aids in the structural integrity of the cooked custard base.
Cornstarch (40g / 1/4 cup): This is our primary thickening agent. It ensures the pudding is “dense and airy” rather than runny, allowing for those perfectly defined layers visible through a glass dish.
Unsalted Butter (45g / 3 tbsp): Whisked in at the very end, cold butter creates a glossy sheen and a silky mouthfeel. This is the secret to that “velvet” descriptor in our visual blueprint.
Vanilla Bean Paste (10ml / 2 tsp): While extract works, the paste provides those beautiful tiny black specks and a more concentrated gourmet vanilla aroma. It elevates the Creamy Banana Pudding from basic to extraordinary.
Heavy Whipping Cream (480ml / 2 cups): Used both for folding into the custard and for the topping. It must be very cold to achieve the high, stiff peaks described in the visual prompt.
Nilla Wafers (1 box / 312g): We use these for three purposes: the base, the “upright” perimeter, and the crushed golden crumbles that finish the top of the dish.
Fresh Bananas (4-5 large): Select bananas that are bright yellow with minimal spotting. This ensures they are firm enough to slice into “neat rounds” without turning into mush between the custard layers.
Salt (1/4 tsp): A tiny pinch of fine sea salt is essential to balance the sugar and enhance the delicate vanilla and banana notes.
Professional Tools for a Flawless Trifle Presentation
To achieve the “eye-level handheld smartphone photo” look, you need a clear glass trifle dish or a deep glass bowl. This allows the defined layers and the golden-brown wafers standing upright to be fully visible to your guests. A heavy-bottomed saucepan is also vital for even heat distribution, preventing the custard from scorching on the bottom.
A fine-mesh sieve is an “invisible” essential for gourmet results. Pouring your finished custard through a sieve removes any tiny bits of cooked egg, ensuring a perfectly smooth, velvet texture. Finally, an electric hand mixer or stand mixer is required to beat the heavy cream into those iconic stiff peaks that won’t collapse under the weight of the cookie crumbles.
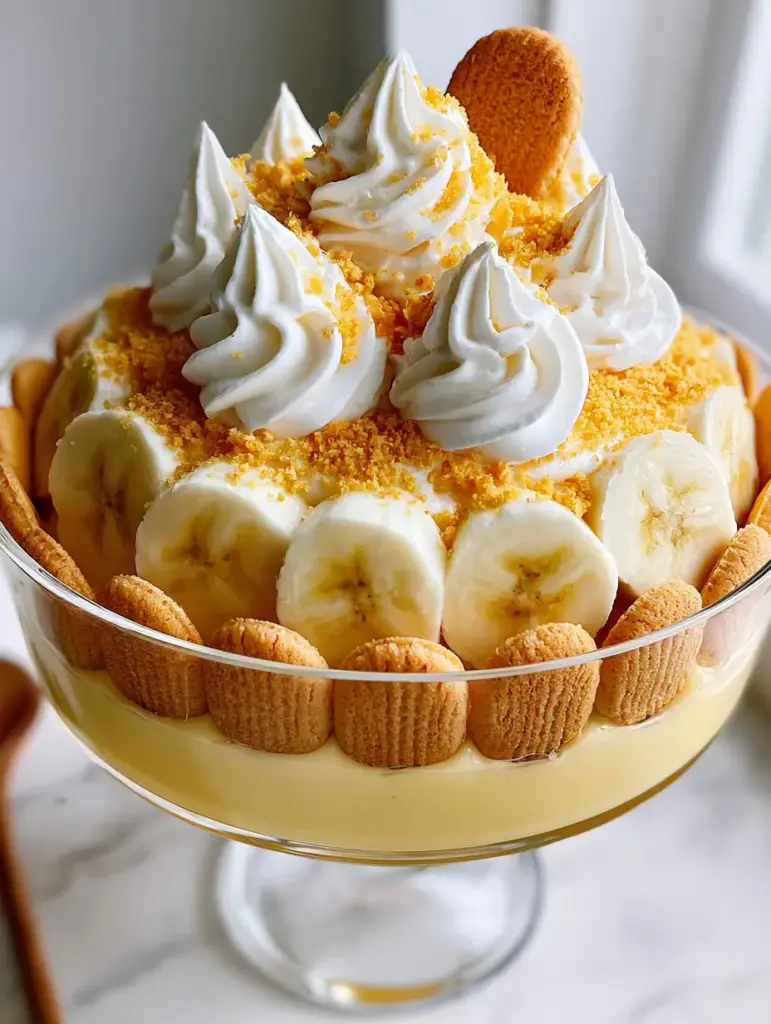
Step-By-Step Guide to the Ultimate Velvet Custard
1. Tempering the Egg Yolks for Smoothness
In a medium bowl, whisk together your egg yolks, cornstarch, sugar, and salt until the mixture is pale and thick. In your saucepan, heat the milk over medium heat until it reaches a gentle simmer, looking for small bubbles around the edges. Slowly drizzle about half a cup of the hot milk into the egg mixture while whisking constantly; this “tempering” prevents the eggs from scrambling.
2. Thickening the Pudding Base
Pour the tempered egg mixture back into the saucepan with the remaining milk. Cook over medium-low heat, whisking vigorously and continuously. You are looking for a sensory cue: the whisk will start to leave distinct “tracks” in the pudding, and it will begin to bubble lazily. Once it is thick enough to coat the back of a spoon, remove it from the heat immediately.
3. The Finishing Velvet Touch
Whisk in the cold butter and vanilla bean paste until the butter is fully melted and the custard is glossy. For the ultimate professional result, press the custard through a fine-mesh sieve into a clean bowl. Cover the surface directly with plastic wrap to prevent a skin from forming and refrigerate until completely chilled and set—usually about 4 hours.
4. Creating the Airy Texture
Once the custard is cold, whip 1 cup (240ml) of the heavy cream to stiff peaks. Gently fold this into the chilled custard using a rubber spatula. This transformation changes the dense base into the “dense yet airy” texture described in our visual blueprint, making the Creamy Banana Pudding feel light on the palate.
The Art of Layering: Building Your Visual Masterpiece
Establishing the Foundation
Start by spreading a thin layer of the airy custard at the bottom of your clear glass trifle dish. This acts as the “glue” for your first layer of cookies. If you like a variety of textures, you might also consider trying portable banana pudding bars for your next event.
Creating the Upright Wafer Perimeter
Take whole Nilla wafers and stand them upright against the glass, pressing the flat side against the dish. This creates that “crisp perimeter” visible in the Midjourney prompt. Fill the center of the ring with more wafers and a layer of “neatly sliced, bright white-and-yellow fresh banana rounds.”
Repeating for Definition
Pour half of your remaining custard over the bananas, spreading it carefully to the edges to seal them in and prevent browning. Repeat the layers of wafers and bananas. This structured approach is what separates a gourmet dessert from a standard Paula Deen-style recipe that often uses a more “mixed” approach.
Achieving High Stiff Peaks and the Final Garnish
Whip the remaining 1 cup (240ml) of heavy cream with a tablespoon of powdered sugar until you reach “high, stiff peaks.” Using a piping bag or a large spoon, dollop the cream over the final layer of custard. Ensure the peaks are prominent and stable.
To finish, take a handful of Nilla wafers and crush them into “fine golden cookie crumbs.” Sprinkle these generously over the whipped cream. For the final touch, place one whole vanilla wafer perched perfectly on top, just like the modern aesthetic of our reference photo. If you love this crunch, you have to try our strawberry crunch twist for a fruity variation.
Expert Tips for Success
- Banana Timing: Only slice your bananas as you are building the layers. To keep them “bright white,” you can toss the slices in a tiny bit of lemon juice, though the custard seal usually does the trick.
- Temperature Control: Ensure your custard is completely cold before folding in the whipped cream. If the custard is even slightly warm, it will deflate the cream and turn the pudding runny.
- Wafer Placement: For the best visual, select the most uniform, golden-brown wafers from the box for the “upright” perimeter. Save the broken ones for the “fine golden cookie crumbs” on top.
- The Chill Factor: While you can eat this immediately, the Creamy Banana Pudding is best after 4-6 hours in the fridge. This allows the wafers to soften slightly into a cake-like texture while remaining “crisp” in appearance.
Storage and Freshness Guidelines
Creamy Banana Pudding is best enjoyed within 24 to 48 hours of assembly. Because we use fresh bananas, they will eventually begin to release moisture and soften. Keep the dish tightly covered with plastic wrap in the refrigerator. We do not recommend freezing this pudding, as the custard and fresh bananas will change texture significantly upon thawing.
If you find yourself with leftover cookies, they are perfect for making mini nilla wafer cups the next day. The crushed crumbles on top may lose their crunch after 24 hours, so you can always add a fresh sprinkle just before serving leftovers.
Complementary Pairings for Your Dessert Table
This rich and Creamy Banana Pudding pairs beautifully with other classic American desserts. If you are hosting a large gathering, consider serving it alongside a tray of banana pudding lush or even some tart fruit options to balance the sweetness. A hot cup of coffee or a cold glass of milk is the traditional beverage of choice for this gourmet treat.
Frequently Asked Questions
While you can, it will lack the ‘velvet’ texture and structural stability shown in our recipe. Scratch-made custard using cornstarch and egg yolks is essential for the dense, airy layers.
The best way is to ensure they are fully submerged or ‘sealed’ by the custard, which prevents oxidation. You can also lightly toss the slices in lemon or pineapple juice before layering.
For the best flavor and texture, chill for at least 4-6 hours. This allows the wafers to soften slightly into a cake-like consistency while keeping the custard cold and stable.
Use very cold heavy whipping cream and a cold bowl. Whip until the beaters leave clear, stiff tracks in the cream that don’t slouch when the mixer is lifted.
This usually happens if the custard wasn’t cooked long enough to fully activate the cornstarch, or if you folded in the whipped cream while the custard was still warm.
The Ultimate Creamy Banana Pudding Recipe
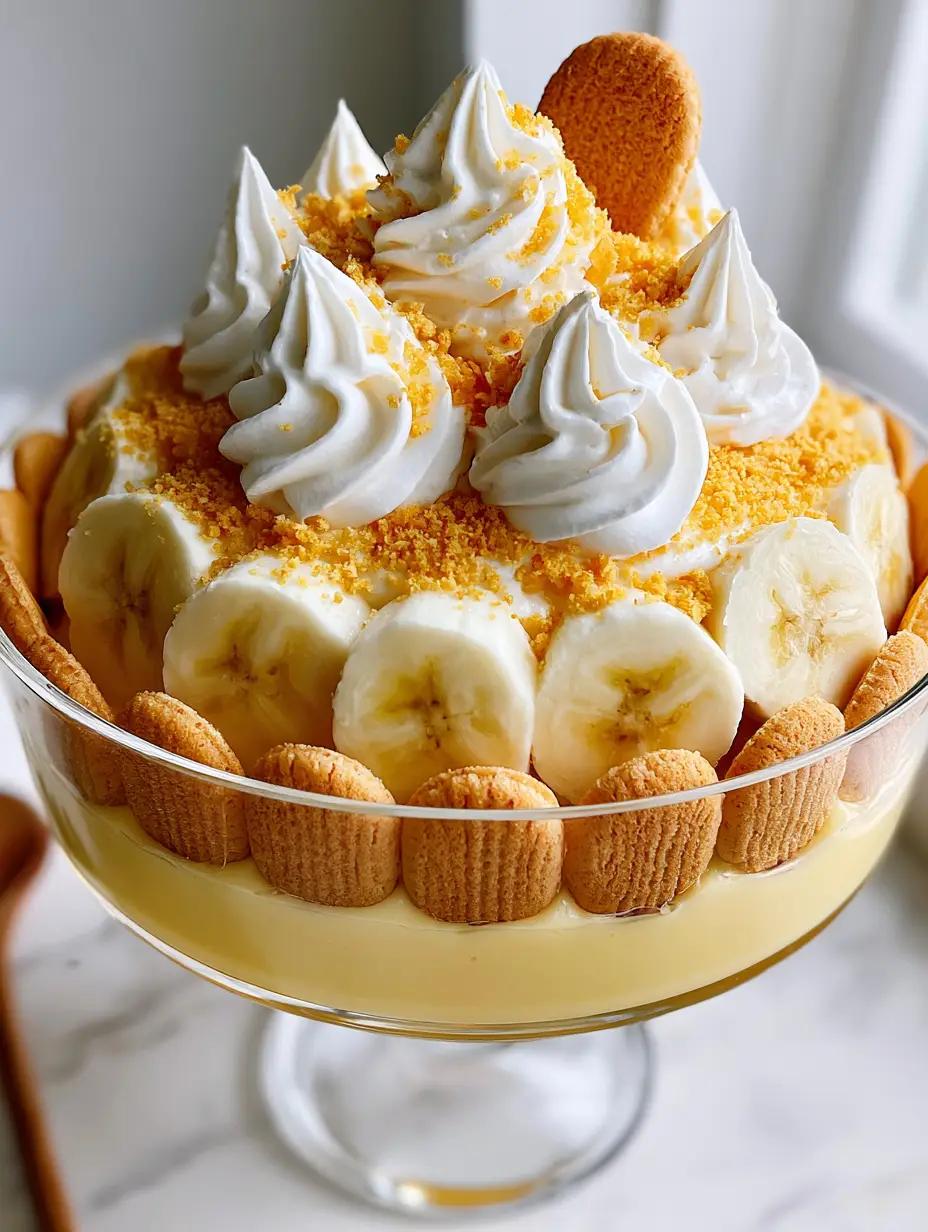
Creamy Banana Pudding with Velvet Custard and Stiff Whipped Peaks
Ingredients
Equipment
Method
- Whisk yolks, cornstarch, sugar, and salt. Heat milk until simmering, then slowly whisk 1/2 cup into the egg mixture.
- Return mixture to saucepan. Cook over medium-low heat, whisking until thick and bubbly.
- Remove from heat. Whisk in cold butter and vanilla paste. Strain through a sieve and chill for 4 hours.
- Whip 1 cup of heavy cream to stiff peaks and gently fold into the chilled custard base.
- Place upright wafers against the glass. Layer custard, bananas, and whole wafers until dish is full.
- Whip remaining cream to stiff peaks. Top the dish and garnish with crushed cookie crumbles and one whole wafer.
Notes
Toss bananas in a splash of lemon juice to prevent browning if assembling more than 4 hours in advance.
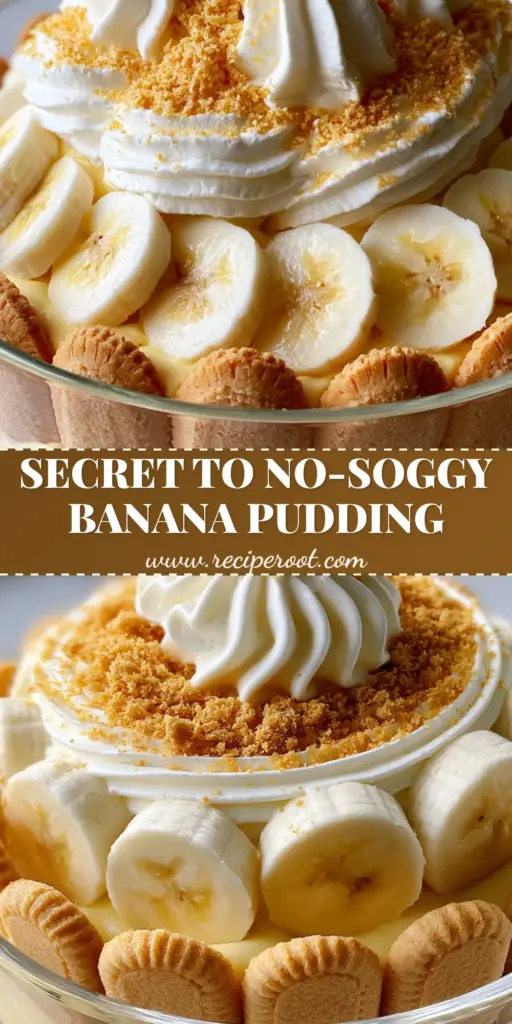
The Final Word on This Culinary Classic
Mastering the Creamy Banana Pudding is a rite of passage for any enthusiastic home cook. By following these forensic visual cues—from the upright wafers to the stiff whipped peaks—you are creating more than just a dessert; you are creating a memory. The combination of scratch-made velvet custard and fresh fruit is a timeless winner that never fails to impress.
We would love to see your beautiful trifle creations! If you enjoyed this recipe, please leave a comment below and share your results. Be sure to follow us on Pinterest for more gourmet inspiration and dessert tips!


