When it comes to nostalgic holiday baking, Peanut butter blossoms stand in a league of their own. There is something profoundly satisfying about the contrast between a soft, golden-tan peanut butter dough and the iconic, glossy milk chocolate kiss nestled in the center. If you have ever been disappointed by dry, crumbly versions that shatter upon the first bite, you are in the right place.
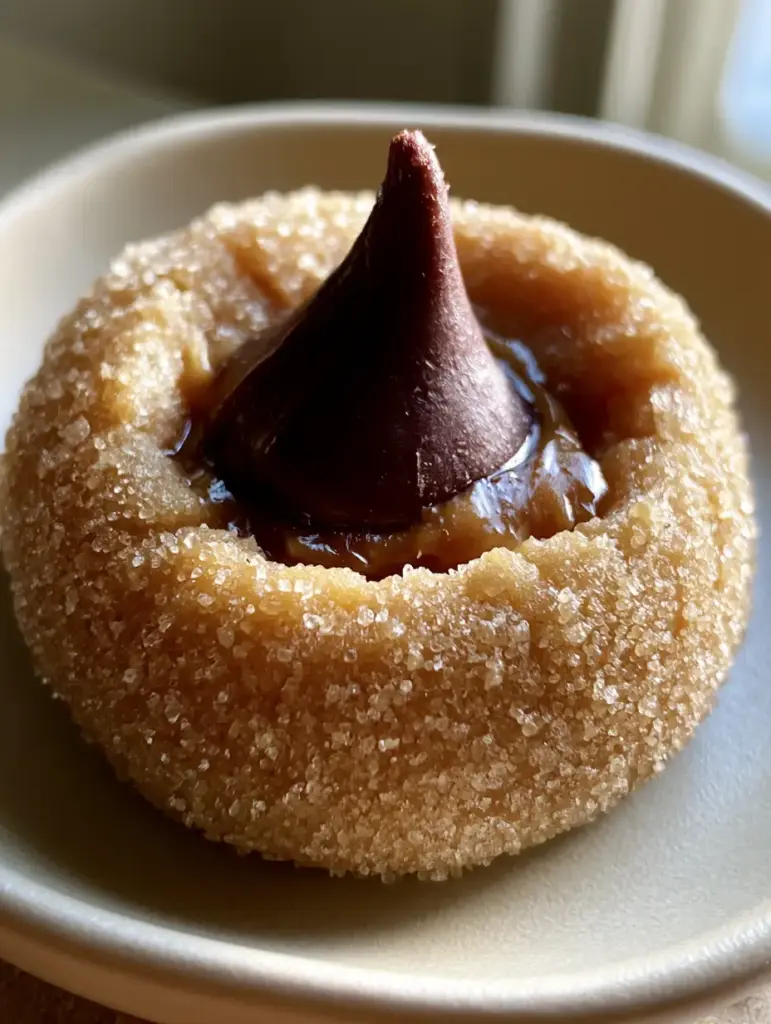
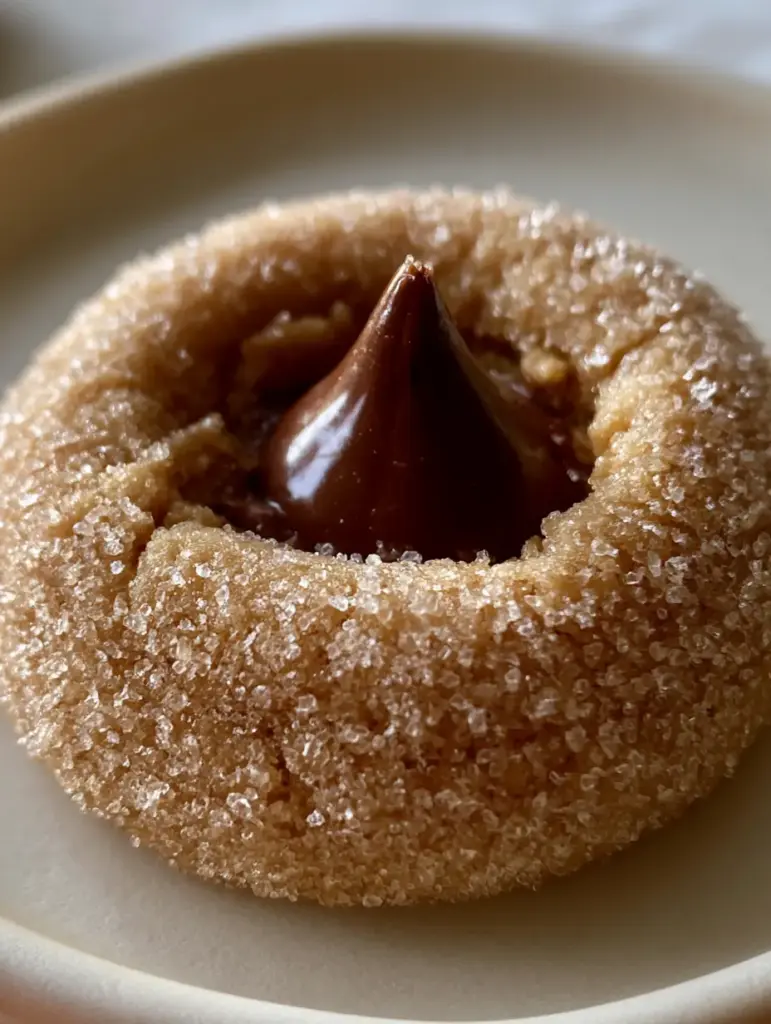
Our culinary forensic approach ensures that every single cookie reflects the stunning visual of a professional macro shot. Imagine a thick, tender base coated in a fine layer of sparkling granulated sugar crystals, with edges so flawlessly smooth and rounded that they appear airbrushed. This recipe isn’t just about flavor; it is about achieving that specific moist interior crumb structure and the gentle, glossy melt where the chocolate meets the warm cookie.
Whether you are preparing a hot cocoa charcuterie board for a winter gathering or simply craving a classic treat, these blossoms offer a sensory experience that begins with the glisten of sugar and ends with a rich, melting chocolate finish.
Why These Soft Peanut Butter Blossoms Are Superior
- Unrivaled Texture: A specific ratio of fats ensures a moist interior crumb structure that stays soft for days.
- Visual Perfection: The dough is engineered to be pliable, resulting in smooth uncracked cookie edges every time.
- The Glossy Melt: Precision timing for the chocolate placement creates that professional, slightly melted look without losing the Kiss’s shape.
- Dual-Sugar Harmony: A blend of sugars inside the dough provides chewiness, while the fine granulated sugar coating adds a sparkling crunch.
The Anatomy of a Perfect Peanut Butter Cookie Base
To achieve the visual result of a golden-tan dough that remains moist and tender, we must look at the science of the ingredients. Peanut butter is a complex fat; it provides both structure and moisture, but it can also lead to dryness if not balanced correctly with other liquid ingredients.
Unsalted Butter (1/2 cup / 113g): Softened to room temperature, butter provides the foundational fat that allows for a tender crumb. It carries the flavor of the peanut butter throughout the palate.
Creamy Peanut Butter (3/4 cup / 190g): For the smooth, uncracked edges we see in the visual blueprint, use a standard commercial creamy peanut butter. Natural varieties with oil separation can cause the dough to spread too much or become gritty.
Granulated Sugar (1/2 cup / 100g) & Packed Brown Sugar (1/2 cup / 100g): This 50/50 split is vital. The granulated sugar helps the edges set, while the molasses in the brown sugar retains the moisture needed for that soft interior.
Large Egg (1 unit): The egg acts as the primary emulsifier, binding the fats and sugars together to prevent the dough from crumbling when you press the chocolate into the center.
Whole Milk (2 tbsp / 30ml): This is our “secret” invisible ingredient. A small splash of milk adds just enough hydration to ensure the dough is pliable enough to be pressed without cracking at the margins.
Pure Vanilla Extract (1 tsp / 5ml): While the peanut butter is the star, vanilla adds a necessary aromatic depth that bridges the dough and the milk chocolate.
All-Purpose Flour (1 & 3/4 cups / 220g): Measured precisely, this provides the structure. Over-measuring flour is the number one cause of cracked, dry cookies.
Baking Soda (1 tsp / 5g) & Fine Sea Salt (1/2 tsp / 3g): Leavening for a gentle rise and salt to cut through the richness of the dark milk chocolate.
Essential Equipment for Culinary Precision
To replicate the macro-shot quality of these Peanut butter blossoms, you need the right tools. A standard baking sheet lined with parchment paper ensures even heat distribution and prevents the bottoms from browning too quickly.
A small cookie scoop (about 1 tablespoon capacity) is essential for uniformity. Consistent sizing ensures that every cookie finishes baking at the exact same time, preserving that moist crumb. Finally, a shallow bowl for your coating sugar allows for an even, sparkling distribution of crystals across the golden-tan surface.
Step-by-Step Instructions for the Perfect Blossom
1. The Creaming Phase and Moisture Integration
Start by preheating your oven to 375°F (190°C). In a large mixing bowl, beat the softened butter, creamy peanut butter, 1/2 cup of granulated sugar, and brown sugar until the mixture is light and fluffy. This should take about 2-3 minutes at medium speed.
Add the egg, milk, and vanilla extract. Beat until fully incorporated. You should see a smooth, pale tan paste that looks almost like a thick frosting. This high moisture content is what prevents the “fissures” described in the visual prompt.
2. Incorporating Dry Ingredients for Structural Integrity
Whisk together the flour, baking soda, and salt in a separate bowl. Gradually add this to the wet ingredients, mixing on low speed until just combined. Do not overmix, as this develops gluten and can make the cookie tough.
The resulting dough should be soft to the touch and slightly tacky but should not stick to your hands. If the dough feels too warm, chill it for 15 minutes to ensure the smooth, rounded edges hold their shape during the bake.
3. Shaping and Coating for Visual Sparkle
Shape the dough into 1-inch (2.5cm) spheres. Roll each ball in the extra granulated sugar until it is completely encrusted in sparkling crystals. This coating creates the beautiful texture highlighted by natural side-lighting in professional photography.
Place the balls 2 inches apart on your prepared baking sheet. Do not flatten them; the weight of the chocolate later will do the work for you. This preserves the “thick, soft” appearance of the dough base.
4. The Precision Bake and The Glossy Melt
Bake for 8 to 10 minutes. Watch for the sensory cues: the cookies should be puffed and just beginning to turn a pale golden-tan. The edges should look set but still incredibly soft. Do not wait for them to brown deeply.
Immediately upon removing the tray from the oven, press a milk chocolate kiss firmly into the center of each cookie. You will see the cookie edges expand slightly while remaining flawlessly smooth. The residual heat will create that sought-after “slight, glossy melt” where the chocolate meets the dough.
Expert Tips for Success
- Temperature Control: If your kitchen is hot, your chocolate might melt too much. If the kiss starts to lose its point, move the tray to a cool area or the refrigerator for 5 minutes to set the gloss.
- The Flour Trick: Always fluff your flour with a spoon before measuring it into a cup to avoid packing it down. Excess flour is the enemy of the uncracked edge.
- Sugar Grade: Use “Extra Fine” granulated sugar for the coating to achieve the most delicate sparkling effect seen in the macro photo.
- Freshness Counts: Ensure your baking soda is fresh (less than 6 months old) to get that thick, soft rise rather than a flat, dense disc.
Storage, Reheating & Freezing
To maintain the moist interior crumb structure, store these cookies in an airtight container at room temperature for up to 5 days. Placing a small piece of white bread in the container is an old baker’s trick to keep them extra soft.
These Peanut butter blossoms freeze beautifully. You can freeze the baked cookies for up to 3 months. To reheat, simply let them thaw at room temperature. Avoid microwaving, as this will turn the chocolate kiss into a puddle.
What to Serve With This Classic Treat
These cookies are a staple for any dessert spread. They pair excellently with other classic textures. If you enjoy the peanut-chocolate combination, consider serving them alongside creamy peanut butter fudge or no-bake peanut butter balls.
For a festive cookie tray, contrast the salty-sweet profile of these blossoms with the cinnamon warmth of chewy snickerdoodles or the richness of a homemade chocolate pie. If you are leaning into the season, they are a perfect companion to seasonal autumn pies.
Frequently Asked Questions
It is not recommended. Natural peanut butter often separates, leading to a dough that is either too oily or too dry, which prevents the smooth, rounded edges seen in the photos.
Press the kiss into the cookie immediately after it comes out of the oven. The residual heat creates a slight melt at the base, creating a glossy seal without collapsing the shape.
Store them in an airtight container at room temperature. The brown sugar and milk in the dough help retain moisture, but an airtight seal is essential to prevent them from drying out.
If your kitchen is warm or the dough feels very sticky, chilling for 15-30 minutes helps the cookies maintain their thick, soft shape and prevents spreading.
Cracking is usually caused by too much flour or overbaking. Ensure you measure your flour by weight or the ‘spoon and level’ method, and add a splash of milk to the dough for extra pliability.
The Ultimate Peanut Butter Blossoms Recipe
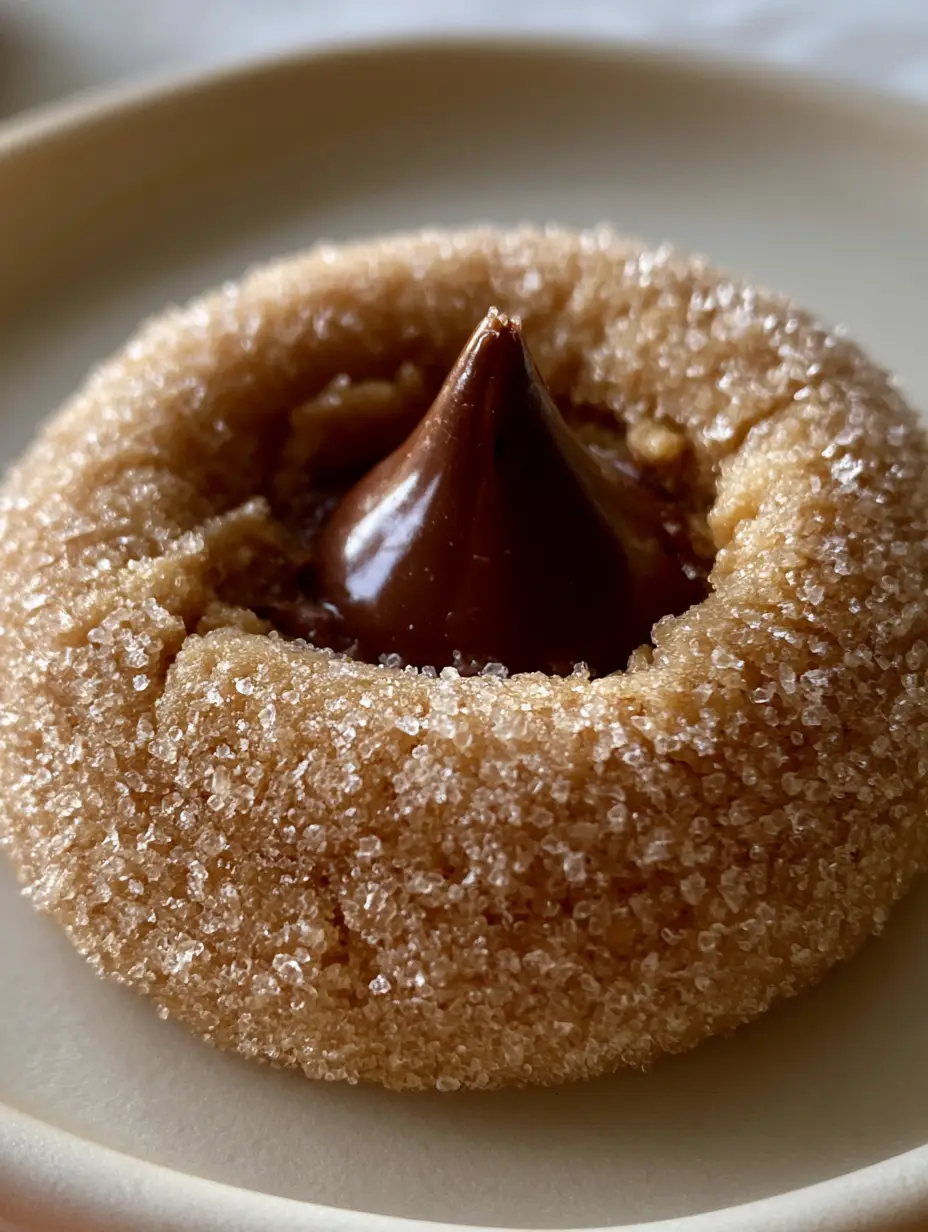
Peanut butter blossoms: The Secret to Perfectly Soft and Crack-Free Cookies
Ingredients
Equipment
Method
- Beat butter, peanut butter, and 1/2 cup each of granulated and brown sugar until light and fluffy (2-3 minutes).
- Mix in egg, milk, and vanilla until smooth and pale tan.
- Slowly add flour, baking soda, and salt. Mix on low until just combined to ensure a moist interior crumb.
- Shape into 1-inch balls and roll in granulated sugar until sparkling.
- Bake at 375°F (190°C) for 8-10 minutes until puffed and edges are set but smooth.
- Immediately press a chocolate kiss into the center of each warm cookie to achieve a glossy melt.
Notes
Use commercial creamy peanut butter for the best structural results.
Start Your Baking Journey Today
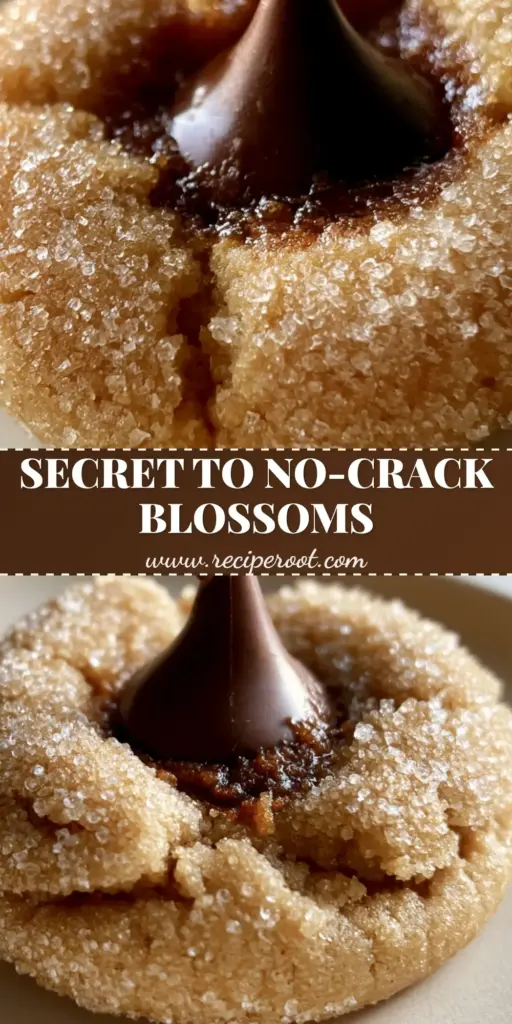
Mastering the Peanut butter blossoms is a rite of passage for every home cook. With their sparkling sugar coating, soft golden dough, and that perfect glossy chocolate center, they are as beautiful to look at as they are to eat. Don’t forget to capture your own macro shot of that tender crumb before they all disappear!
If you loved this recipe, please leave a comment below and let us know how your cookies turned out. Be sure to share your creations with us on Pinterest to inspire other bakers in our community!


