There is nothing quite like the visual impact of a towering, sweating glass of blue raspberry lemonade catching the golden-hour light. This isn’t just a drink; it is a sensory experience that combines the sharp, acidic bite of fresh lemons with the nostalgic, electric sweetness of blue raspberry. Whether you are hosting a backyard bash or simply looking for a way to elevate your hydration game, this recipe delivers a vibrant neon glow that looks as good as it tastes.
When you hold this glass, you will notice the weight of the crystal-clear ice cubes clinking against the sides and the fine, snow-like texture of the crushed ice floating at the top. The translucent, glowing neon blue liquid is alive with tiny carbonation bubbles that cling to the thin lemon rounds pressed against the glass. Every sip offers a refreshing contrast between the tart citrus and the aromatic mint crown, making it the definitive choice for summer drinks for energy and hydration.
In this guide, we are going to dive deep into the culinary science of layering flavors and textures. We will move beyond basic mixing to explore how to achieve that perfect “sweating glass” aesthetic seen in high-end food photography. Get ready to master the art of the perfect pour and create a beverage that will be the star of your next gathering.
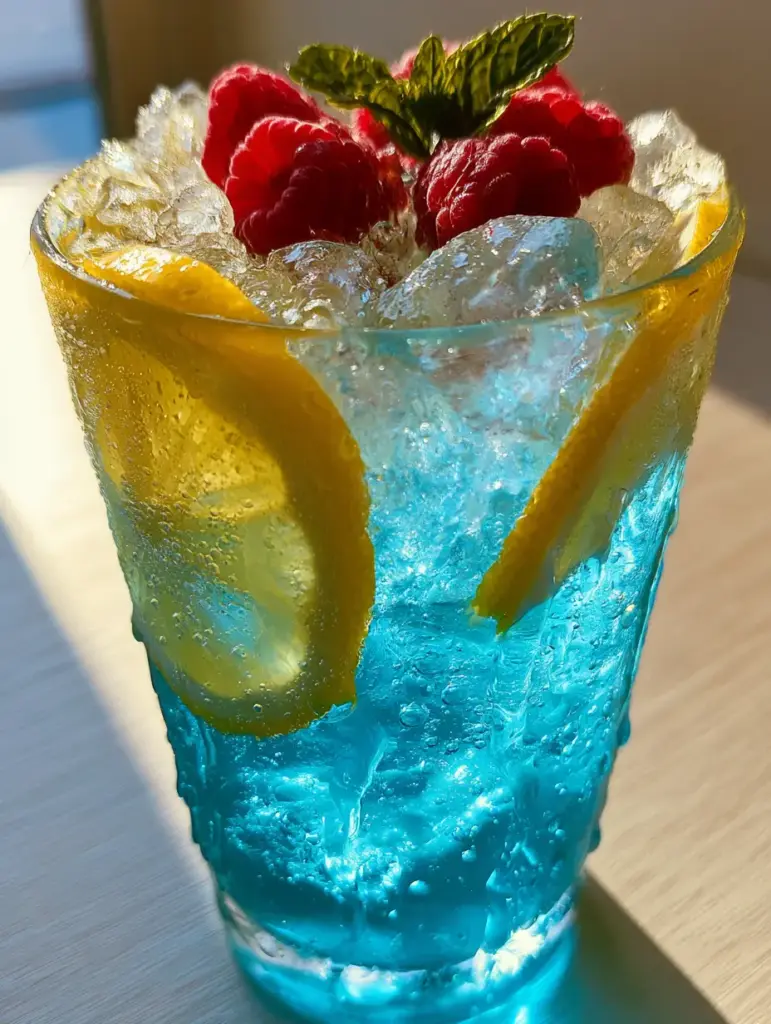
The Visual Architecture of a Perfect Neon Mocktail
- Vibrant Electric Hue: The liquid displays a translucent, glowing neon blue that creates a stunning visual contrast against the bright yellow citrus.
- Dual-Ice Texture: By combining large, crystal-clear ice cubes with a top layer of glistening crushed ice, we maximize surface area for chilling while creating a professional aesthetic.
- Carbonated Effervescence: Small bubbles of sparkling water cling to the interior of the glass and the lemon slices, adding life and movement to the drink.
- Garnish Elevation: A crown of plump, deep red raspberries and a vibrant green mint sprig provide a sophisticated color palette that pops against the blue liquid.
- Condensation Cues: The exterior of the glass is covered in large, realistic water droplets, signaling immediate refreshment and a perfectly chilled temperature.
Sourcing the Foundation: Essential Ingredients for Electric Flavor
The Citrus Core: Fresh Lemon Juice
You will need 1/2 cup (120ml) of freshly squeezed lemon juice. Do not reach for the bottled concentrate; the volatile oils in fresh lemons provide a brightness that is essential to balancing the heavy sugar profile of the syrup. Select lemons that feel heavy for their size, as this indicates a higher juice content and a thinner rind.
The Electric Component: Blue Raspberry Syrup
For that signature neon glow, use 1/4 cup (60ml) of high-quality electric blue raspberry syrup. This syrup provides both the intense cerulean color and the specific berry-candy flavor profile that defines this drink. If you are looking for more creative beverage inspiration, you might even consider how this flavor profile compares to the unique tang of a pickle lemonade.
The Fizzy Medium: Sparkling Water
To achieve the “tiny bubbles” described in our visual blueprint, you need 1 cup (240ml) of highly carbonated sparkling water or club soda. The carbonation cuts through the sweetness of the syrup, providing a crisp finish on the palate. Ensure the water is ice-cold before mixing to prevent the ice from melting too rapidly.
The Textural Element: Dual Ice Varieties
Preparation requires 1 cup (approx. 150g) of crystal-clear ice cubes and 1/2 cup (approx. 75g) of crushed ice. The large cubes provide the structural integrity needed to hold the lemon rounds against the glass, while the crushed ice creates that “glistening” top layer that catches the light so beautifully.
Foundational Balancers: Salt and Sweetener
A tiny pinch of fine sea salt (less than 1/8 tsp) is a professional secret that enhances the perception of sweetness and suppresses bitterness. If your lemons are particularly tart, keep an extra 1 tbsp (15ml) of simple syrup nearby to adjust the balance without altering the blue color.
The Visual Accents: Garnishes
Gather 3-4 thin lemon rounds, 5-6 fresh red raspberries, and a single, sturdy sprig of fresh mint. The lemon rounds must be sliced thinly enough to be flexible, allowing them to be pressed flush against the curved interior of the glass for that professional “layered” look.
Advanced Barware and Tools for Professional Presentation
To achieve the handheld smartphone photo aesthetic, start with a tall, highball or Collins glass. The height of the glass is crucial for displaying the gradient of the blue liquid and the layering of the ice and fruit. A glass with thin walls will also facilitate the rapid formation of those beautiful condensation droplets when filled with ice-cold liquid.
A long-handled bar spoon is necessary for “bruising” the mint slightly and for layering the syrup if you prefer a gradient effect. You will also need a sharp mandoline or a professional chef’s knife to get those lemon rounds consistently thin. Finally, a citrus press will ensure you extract every drop of juice without including the bitter pith or seeds.
The Blueprint: Step-by-Step Evolution of a Masterpiece
Step 1: Preparing the Citrus and Glass Lining
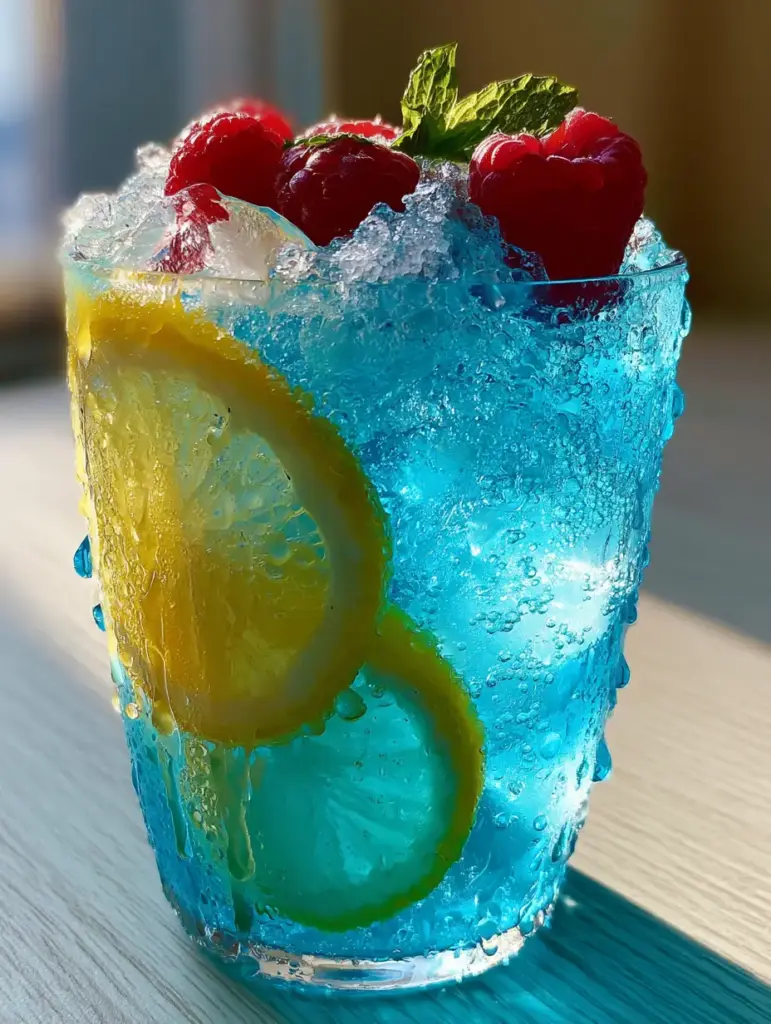
Start by slicing your fresh lemon into rounds approximately 1/8 inch (3mm) thick. Take your tall glass and, using a clean finger or the back of a spoon, press the lemon rounds firmly against the inside walls of the glass. The moisture from the lemon will help them stick temporarily until the ice is added to lock them in place.
Step 2: Engineering the Ice Structure
Carefully drop your crystal-clear ice cubes into the glass. Do this slowly so you don’t dislodge the lemon rounds. Fill the glass about 3/4 of the way with the large cubes. This creates the “packed” look mentioned in our visual prompt and ensures the drink stays cold for a longer duration during your 4th of July party ideas.
Step 3: The Flavor Fusion
In a separate mixing vessel, combine the 1/2 cup (120ml) of fresh lemon juice with the 1/4 cup (60ml) of electric blue raspberry syrup and the pinch of salt. Stir gently until the mixture is a uniform, glowing neon blue. Pour this mixture over the ice in your prepared glass, filling it about halfway.
Step 4: The Carbonated Lift
Top the glass with the 1 cup (240ml) of sparkling water. Pour slowly down the side of the glass to preserve as much carbonation as possible. You should see tiny bubbles of carbonation clinging to the sides of the glass and the lemon slices immediately. Watch for the liquid to transition into a translucent, glowing blue as the water integrates with the syrup.
Step 5: The Glistening Crown
Add the 1/2 cup (75g) of crushed ice to the very top of the glass, mounding it slightly above the rim. This crushed ice will catch the light and create a shimmering effect. Gently nestle the fresh red raspberries into the crushed ice and tuck the mint sprig into the side. Give the mint a quick “smack” between your palms before adding it to release the aromatic oils.
Expert Tips for Success and Troubleshooting
- Temperature Control: If your glass isn’t “sweating” enough, place the empty glass in the freezer for 5 minutes before assembly. The temperature differential between the frozen glass and the humid air will trigger immediate, large water droplets.
- Syrup Density: Different brands of blue raspberry syrup have varying sugar contents. If your syrup is very thick, mix it with a splash of warm water first to ensure it incorporates fully with the lemon juice.
- Clarity Issues: To keep the drink translucent, ensure your sparkling water is fresh. Flat water will result in a duller, less “glowing” appearance.
- Flavor Balance: If the drink feels too sweet, add a few extra drops of lemon juice directly onto the crushed ice. This provides a tart “hit” with the first few sips.
Preserving the Glow: Storage and Make-Ahead Strategies
While this blue raspberry lemonade is best served immediately to enjoy the carbonation and the “sweating glass” effect, you can prep components in advance. The lemon juice and blue raspberry syrup mixture can be combined and stored in an airtight container in the refrigerator for up to 3 days. However, do not add the sparkling water or ice until you are ready to serve.
If you have leftover liquid (without ice), you can freeze it in ice cube trays. These blue lemonade cubes are perfect for adding to plain water or even a coconut pineapple lemonade for a fun color swirl. Avoid freezing the garnishes, as the mint and raspberries will lose their structural integrity once thawed.
The Perfect Social Spread: What to Serve Alongside
Because this drink is so visually dominant and sweet-tart, it pairs beautifully with salty or rich snacks. Consider serving it alongside a tray of rice krispie treats for a nostalgic dessert spread. The light, airy crunch of the treats won’t overwhelm the refreshing nature of the lemonade.
For a more substantial pairing, the sharp citrus in the lemonade cuts through the richness of chocolate beautifully. Try it with a plate of brown butter espresso brownies or even some soft batch mini M&M chocolate chip cookies. The blue hue of the drink also makes it a natural fit for themed events where you might serve birthday cake pops.
Blue Raspberry Lemonade Clarity: Common Queries Answered
Yes, you can substitute sparkling water with still filtered water for a classic lemonade texture, though you will lose the visual appeal of the carbonation bubbles mentioned in the blueprint.
Absolutely! This recipe works beautifully as a base for a cocktail. Simply add 1.5 oz (45ml) of vodka or silver tequila before topping with the sparkling water for a boozy electric lemonade.
Slice the lemons very thin (about 1/8 inch) and press them against the dry interior of the glass. Once you add the large ice cubes, they will act as a physical barrier to keep the slices in place.
Blue raspberry is a flavor profile rather than a fruit found in nature. It was originally created by food scientists to distinguish raspberry-flavored products from cherry and strawberry ones using Blue No. 1 dye.
The electric neon blue color comes from high-quality blue raspberry syrup, which uses specific food-grade dyes to achieve a translucent, glowing effect when mixed with acidic lemon juice and water.
The Ultimate Blue Raspberry Lemonade Recipe
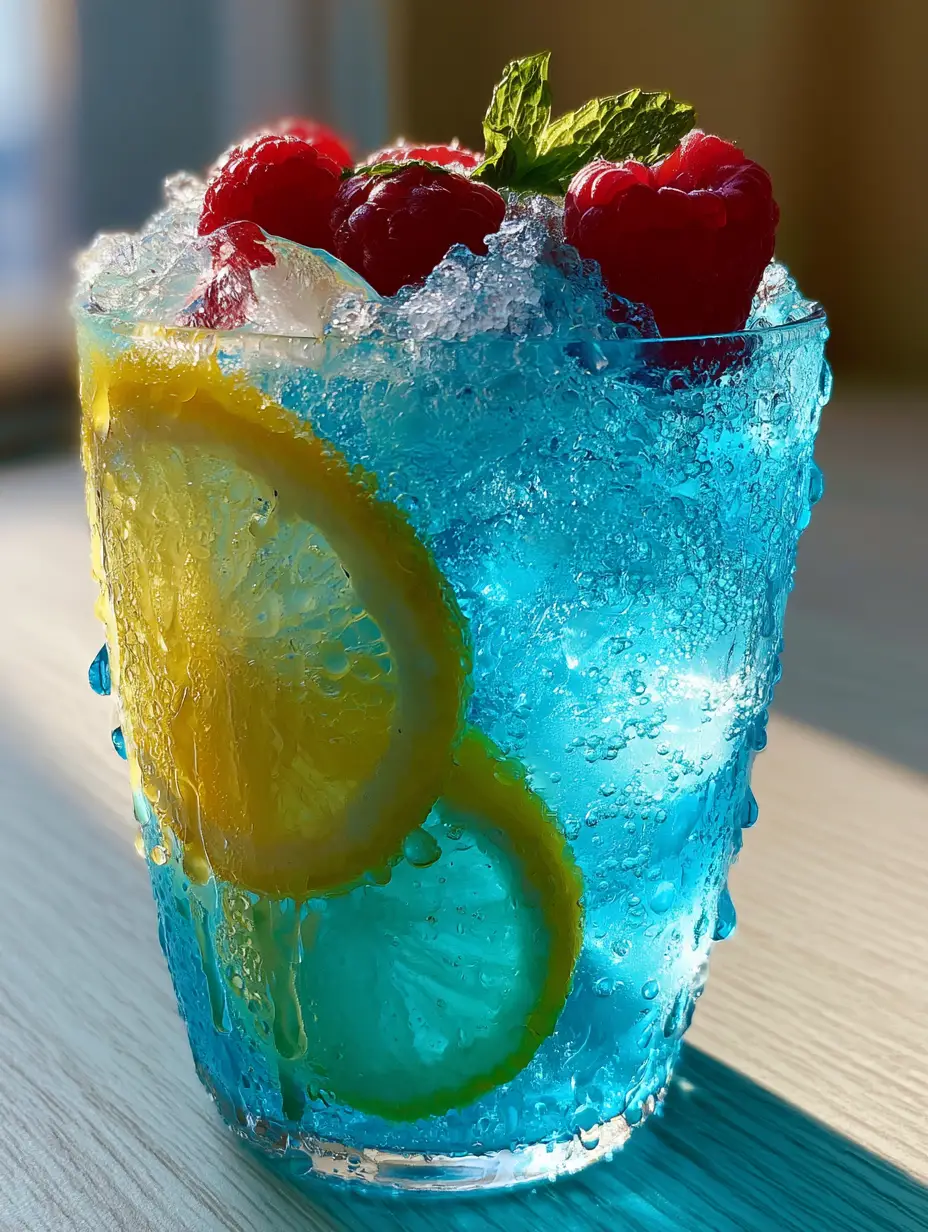
Blue Raspberry Lemonade: The Ultimate Electric Summer Refresher
Ingredients
Equipment
Method
- Press the thin lemon rounds against the interior walls of a tall glass so they stick to the surface.
- Carefully fill the glass 3/4 full with large crystal-clear ice cubes, securing the lemon slices in place.
- In a separate pitcher, whisk together the lemon juice, blue raspberry syrup, and sea salt until combined into a neon blue liquid.
- Pour the blue mixture over the ice cubes. Top with chilled sparkling water, pouring slowly to maintain carbonation.
- Mound crushed ice over the top. Garnish with fresh raspberries and a slapped sprig of mint. Observe the condensation droplets forming on the exterior for the perfect visual cue.
Notes
For a stronger 'sweat' on the glass, chill the glass in the freezer for 5 minutes before assembling.
Conclusion: Sip into the Neon Sunset
Crafting the perfect blue raspberry lemonade is about more than just mixing sugar and water; it is about creating a moment of pure, chilled bliss. By following this blueprint, you have mastered the balance of electric color, fizzy texture, and sharp citrus flavor. This drink is a guaranteed showstopper that brings a touch of “golden hour” magic to any table.
We would love to see your creations! Share your photos on social media and be sure to tag us. For more vibrant drink inspiration and summer hosting tips, follow us on Pinterest. Don’t forget to leave a comment below and let us know how your electric lemonade turned out!


