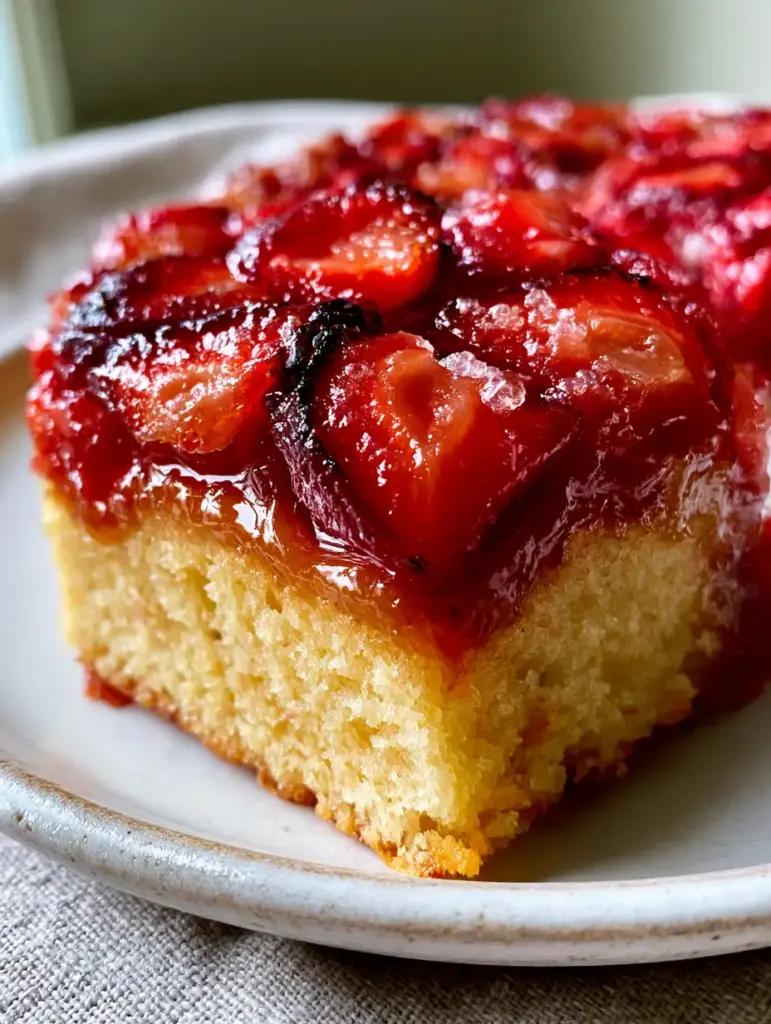
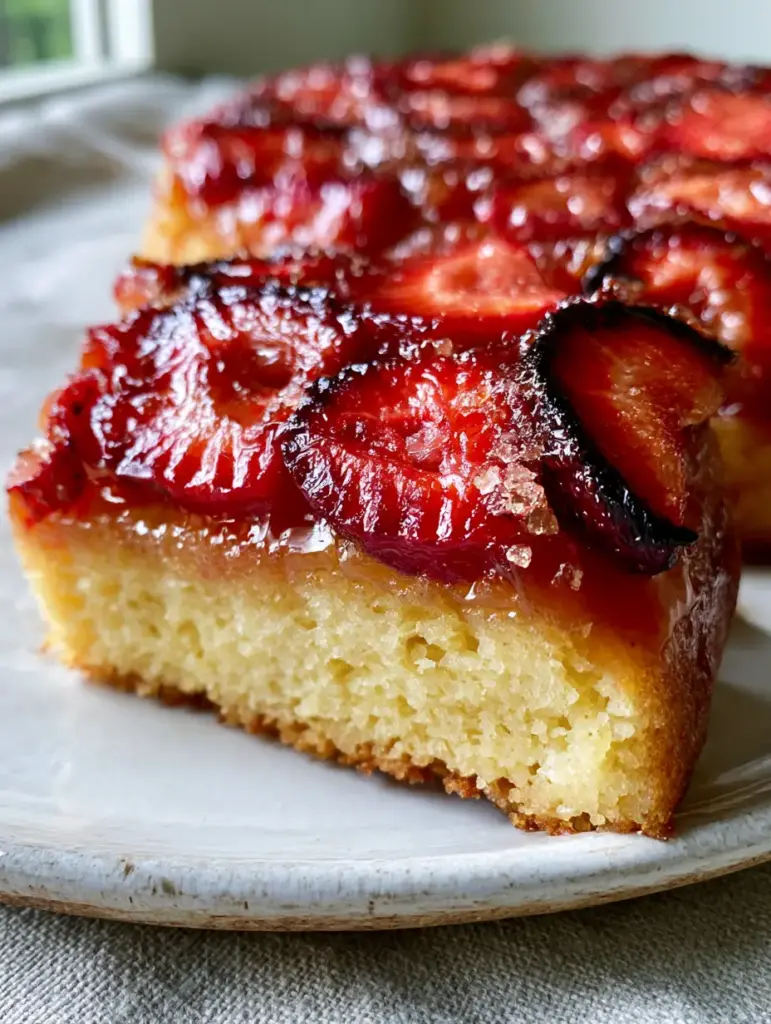
Imagine a sun-drenched summer afternoon where the light catches the vibrant, ruby-red mosaic of a freshly baked strawberry upside down cake. This isn’t just a dessert; it’s a culinary spectacle that combines the rustic charm of caramelized fruit with the sophisticated structure of a professional sponge. As you lift a single slice from the plate, the thick, glistening translucent amber syrup glaze clings to the fruit, revealing a tall, airy, golden-yellow buttery sponge underneath.
The beauty of this strawberry upside down cake lies in the contrast. You have the slightly charred fruit edges providing a hint of smoky depth, juxtaposed against the fresh strawberry juice droplets that bead on the surface. Unlike many fruit-topped cakes that become sodden and heavy, this recipe utilizes a specific scientific approach to ensure a clean, dry crumb and a distinct, non-soggy boundary between the fruit layer and the bread.
Whether you are hosting a garden party or looking for the perfect centerpiece for a family brunch, this cake delivers on every sensory promise. The aroma of simmering sugar and vanilla will fill your kitchen, signaling the arrival of a dessert that is as minimalist and appetizing as a high-end editorial photograph. Let’s dive into the mechanics of creating this masterpiece.
Why This Strawberry Upside Down Cake Works Every Time
- The Mosaic Visual: By shingling the sliced berries in a dense, overlapping pattern, we create a stunning geometric top that rivals professional patisserie.
- Amber Caramelization: We don’t just melt sugar; we create a true amber syrup that interacts with the strawberry acids to produce a thick, glistening glaze.
- Structural Integrity: The golden-yellow buttery sponge is engineered to be sturdy enough to hold the fruit weight but airy enough to melt in your mouth.
- The Charred Edge Factor: A high-heat initial burst ensures those slightly darkened, caramelized edges that provide a professional, “burnt sugar” flavor profile.
The Secret Ingredients for a Glistening Amber Glaze and Moist Crumb
Fresh Ruby-Red Strawberries (450g / approx. 1 lb): Choose berries that are firm and vibrantly red throughout. These provide the structural “tiles” for our mosaic and the natural juices that create the glaze.
Unsalted High-Fat Butter (226g / 1 cup): Use European-style butter if possible. The lower water content ensures the amber syrup remains thick rather than watery, and it provides the golden hue to the sponge.
Granulated White Sugar (300g / 1.5 cups): This is split between the topping and the batter. In the topping, it creates the crystalline sugar grains visible on the finished fruit; in the batter, it provides aeration.
Cake Flour (250g / 2 cups): Cake flour has a lower protein content than all-purpose flour. This is the key to achieving that clean, dry crumb and preventing the cake from becoming tough or bread-like.
Whole Milk (120ml / 0.5 cup): Room temperature milk ensures the batter emulsifies perfectly. It adds the necessary moisture for a moist cake crumb without weighing down the rise.
Baking Powder (10g / 2 tsp): This is our “invisible” foundational ingredient. It provides the chemical leavening required for the tall, airy sponge cake base.
Pure Vanilla Bean Paste (1 tbsp / 15ml): While extract works, the paste adds those tiny black flecks that look incredible against the golden-yellow sponge and complement the strawberry flavor.
Essential Tools for the Perfect Fruit Mosaic
To achieve the visual result described in our blueprint, you will need a 9-inch (23cm) heavy-bottomed cake pan or a well-seasoned cast-iron skillet. The heavy bottom is non-negotiable for even heat distribution, which prevents the amber sugar glaze from burning before the cake is set. You will also need sharp paring knives for the precision slicing of the strawberries and a fine-mesh sieve for aerating the flour to ensure that “airy” texture.
Mastering the Strawberry Upside Down Cake: Step-by-Step Instructions
Creating the Caramelized Foundation
Preheat your oven to 350°F (175°C). Start by melting 1/4 cup (57g) of butter directly in your baking pan or in a small saucepan. Once melted, whisk in 1/2 cup (100g) of granulated sugar until it looks like wet sand. Spread this mixture evenly across the bottom of the pan.
This layer is the engine of the amber syrup glaze. As the cake bakes, the strawberry juices will mix with this sugar and butter, creating that glistening, translucent finish. Ensure the sugar is spread to the very edges to encourage the charred fruit edges we are looking for.
Designing the Strawberry Mosaic
Hull your strawberries and slice them vertically into 1/8-inch (3mm) thick pieces. Start from the outside edge of the pan and arrange the slices in concentric circles, overlapping them slightly like shingles on a roof. This “mosaic” ensures that every square inch of the cake top is covered in fruit.
Press the berries firmly into the sugar-butter mixture. If you have extra berries, chop them finely and fill any small gaps. This density prevents the cake batter from seeping through to the top, maintaining that non-soggy boundary between fruit and bread.
Building the Tall, Airy Golden-Yellow Sponge
In a large bowl, cream the remaining 3/4 cup (170g) of butter with 1 cup (200g) of sugar. Beat on high for at least 5 minutes. You are looking for a visual cue: the mixture should turn from yellow to a pale ivory and look noticeably fluffy. This aeration is what creates the “tall, airy” structure.
Add 2 large eggs, one at a time, followed by the vanilla paste. Sift in your cake flour, baking powder, and a pinch of salt. Gradually pour in the milk while mixing on low. The resulting batter should be thick, pale yellow, and velvet-smooth. If you enjoy fruit-forward treats, you might also love our strawberry cheesecake cookies for a different texture profile.
The Baking and Flip Technique
Carefully spoon the batter over the strawberry mosaic. Use an offset spatula to smooth the top without disturbing the fruit underneath. Bake for 45-50 minutes. Look for the sensory cues: the edges should be bubbling with amber syrup, and the top of the cake should be a deep golden-brown.
Crucially, let the cake rest in the pan for exactly 10 minutes. This allows the caramelized glaze to slightly thicken so it clings to the fruit rather than running off. Place a rustic white ceramic plate over the pan and, in one confident motion, invert it. Lift the pan slowly to reveal the glistening masterpiece.
Expert Tips for a Professional Finish
- Temperature Control: Ensure your eggs and milk are at room temperature. Cold ingredients can cause the butter to clump, resulting in a dense crumb rather than an airy one.
- Berry Selection: If your strawberries are particularly tart, sprinkle a few crystalline sugar grains over them before adding the batter to enhance the caramelization.
- The “Flip” Confidence: Don’t hesitate during the inversion. A slow flip causes the glaze to shift unevenly. For more fruit-based inspiration, check out our peach cobbler muffins.
- Avoid Over-Mixing: Once the flour is added, mix only until combined. Over-mixing develops gluten, which will destroy the “clean, dry crumb” we are aiming for.
How to Store and Reheat Your Cake
Because of the fresh fruit and high moisture content of the glaze, this cake is best enjoyed on the day it is made. However, if you have leftovers, store them in an airtight container in the refrigerator for up to 3 days. To maintain the golden-yellow buttery sponge texture, let the slice come to room temperature before serving.
We do not recommend freezing this cake, as the strawberries will lose their structural integrity and the glistening amber sugar glaze will become watery upon thawing. If you are looking for a more “make-ahead” friendly dessert, our no-bake cheesecake bars are a fantastic alternative.
Perfect Pairings for a Summer Vibe
To highlight the summer vibe of this dish, serve a slice with a dollop of unsweetened whipped cream or a scoop of high-quality vanilla bean ice cream. The creamy fat balances the acidity of the charred fruit edges. For a refreshing beverage pairing, a chilled watermelon drink or even a light rum punch complements the caramelized notes of the strawberry upside down cake beautifully.
If you’re serving this for brunch, consider a side of our banana bread muffins to provide a variety of textures for your guests.
Frequently Asked Questions
We recommend fresh strawberries for the best visual mosaic and glaze. Frozen berries release too much moisture, which can compromise the ‘non-soggy boundary’ and prevent the charred fruit edges from forming.
To prevent sogginess, use cake flour for a tighter crumb, overlap the strawberry slices densely to create a barrier, and ensure you let the cake rest for exactly 10 minutes after baking so the juices set.
Both work well, but a cast-iron skillet provides superior heat retention, which helps in achieving those desirable charred fruit edges and a thicker caramelization.
The golden-yellow hue comes from using high-quality unsalted butter, large egg yolks, and the reaction between the sugar and the whole milk during the baking process.
This usually happens if you wait too long to flip the cake. The sugar continues to cool and harden like candy. Aim for the 10-minute mark for a clean release while the amber syrup is still fluid.
The Ultimate Strawberry Upside Down Cake Recipe
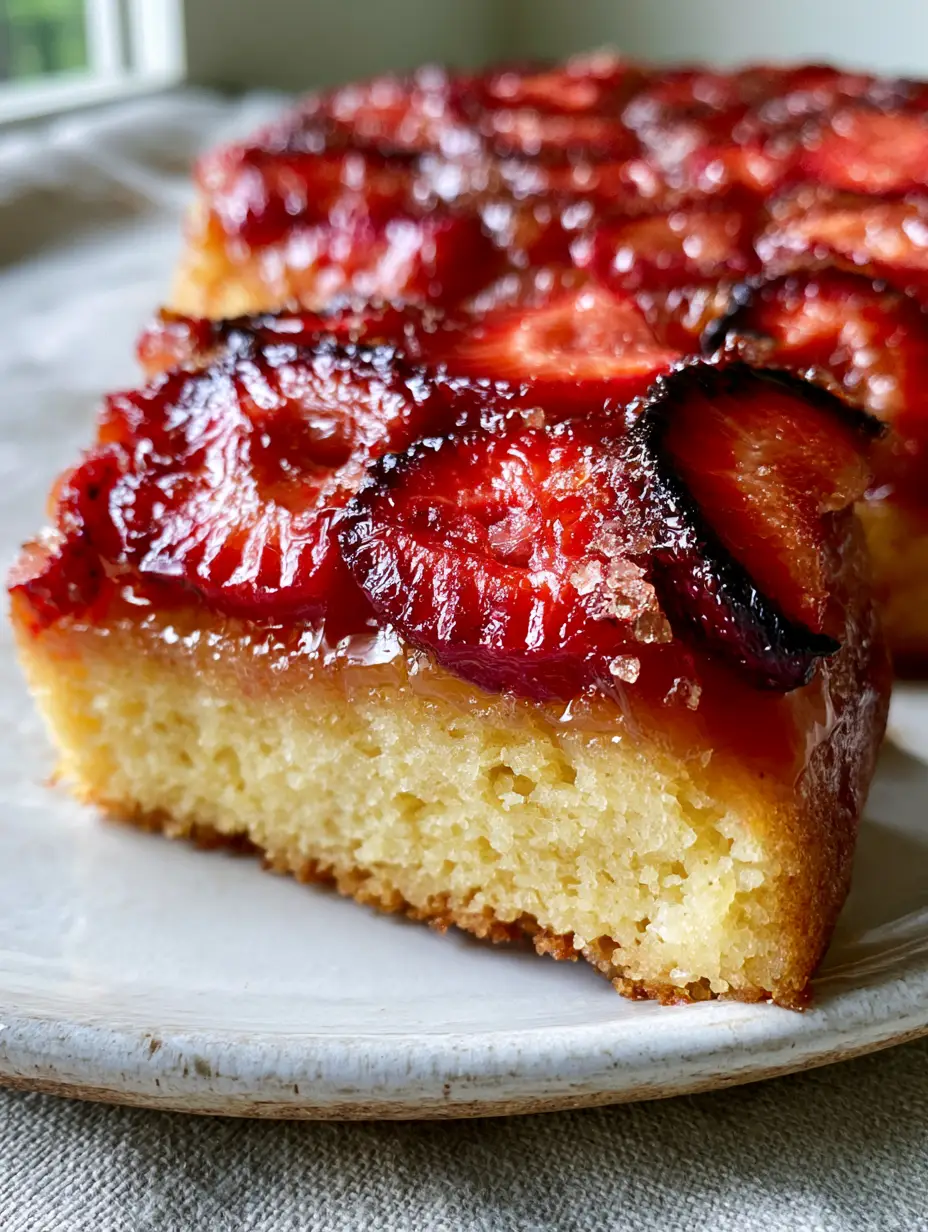
Strawberry Upside Down Cake with Glistening Amber Glaze
Ingredients
Equipment
Method
- Preheat oven to 350°F (175°C). Melt 57g butter in the pan, then stir in 100g sugar to create a wet sand consistency.
- Place sliced strawberries in an overlapping mosaic pattern over the sugar mixture, pressing down firmly.
- Cream 170g butter and 200g sugar for 5 minutes until pale ivory and fluffy. Add eggs and vanilla.
- Sift in cake flour and baking powder. Add milk gradually and mix until a smooth, thick batter forms.
- Spread batter over berries. Bake for 45-50 minutes until golden-brown and syrup is bubbling.
- Rest for 10 minutes in the pan, then invert onto a rustic white ceramic plate.
Notes
Use cake flour to maintain a distinct boundary between the fruit and the sponge.
Closing & Call to Action
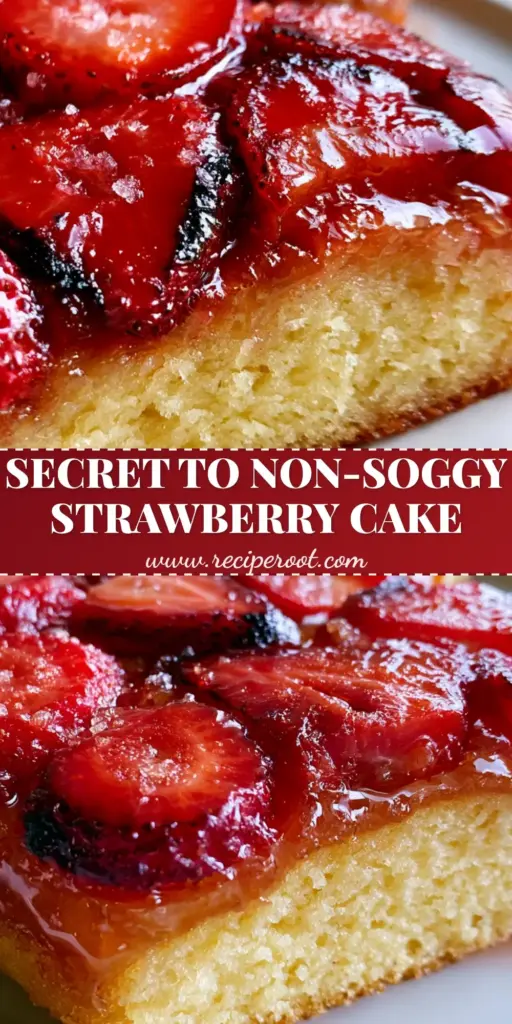
The strawberry upside down cake is a testament to how simple ingredients, when treated with culinary precision, can create something truly extraordinary. From the mosaic of ruby-red fruit to the golden-yellow sponge, every element is designed to delight the senses. If you enjoyed this recipe, please leave a comment below and share your results! Don’t forget to follow us on Pinterest for more visually stunning recipes like this one.


