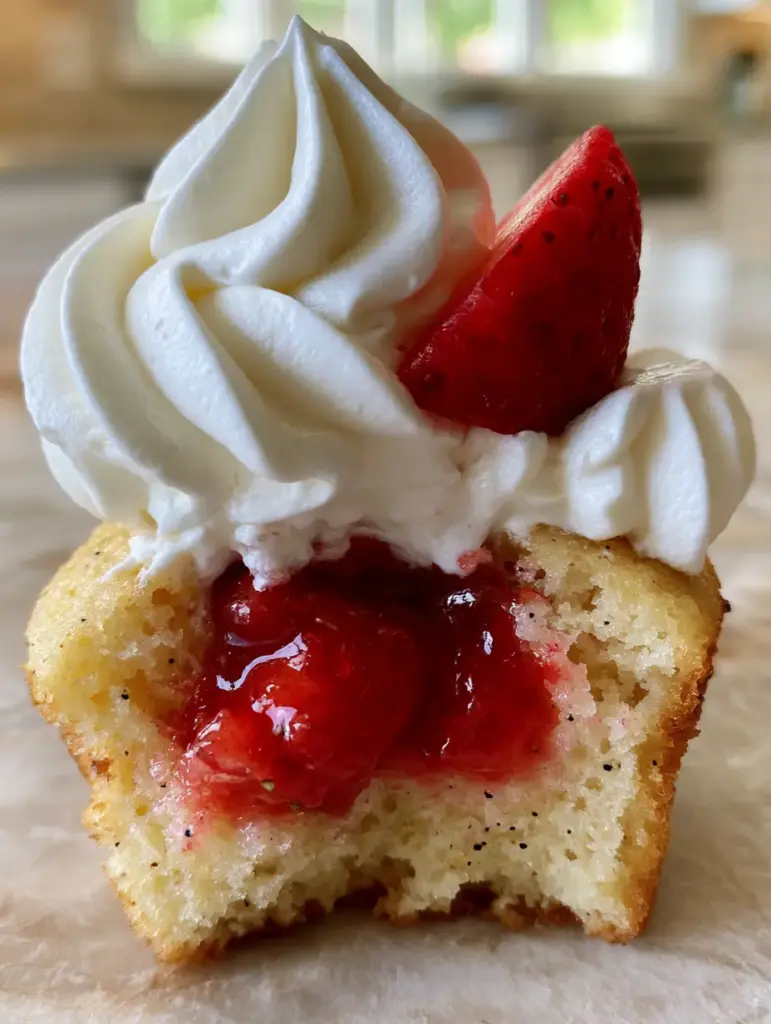
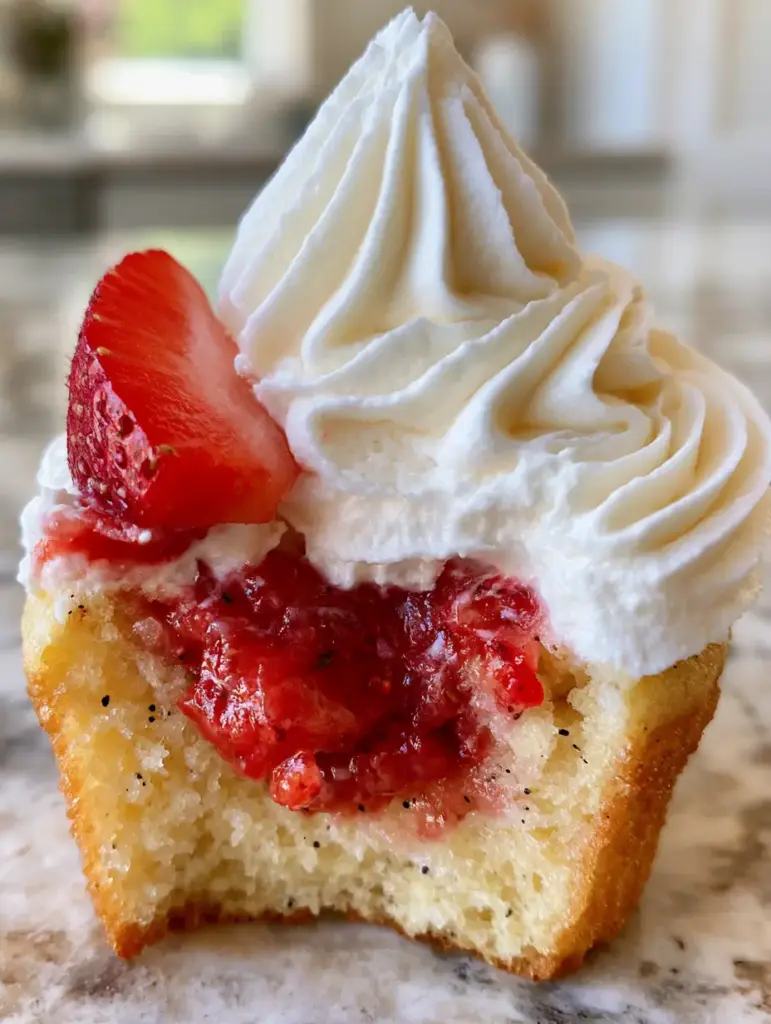
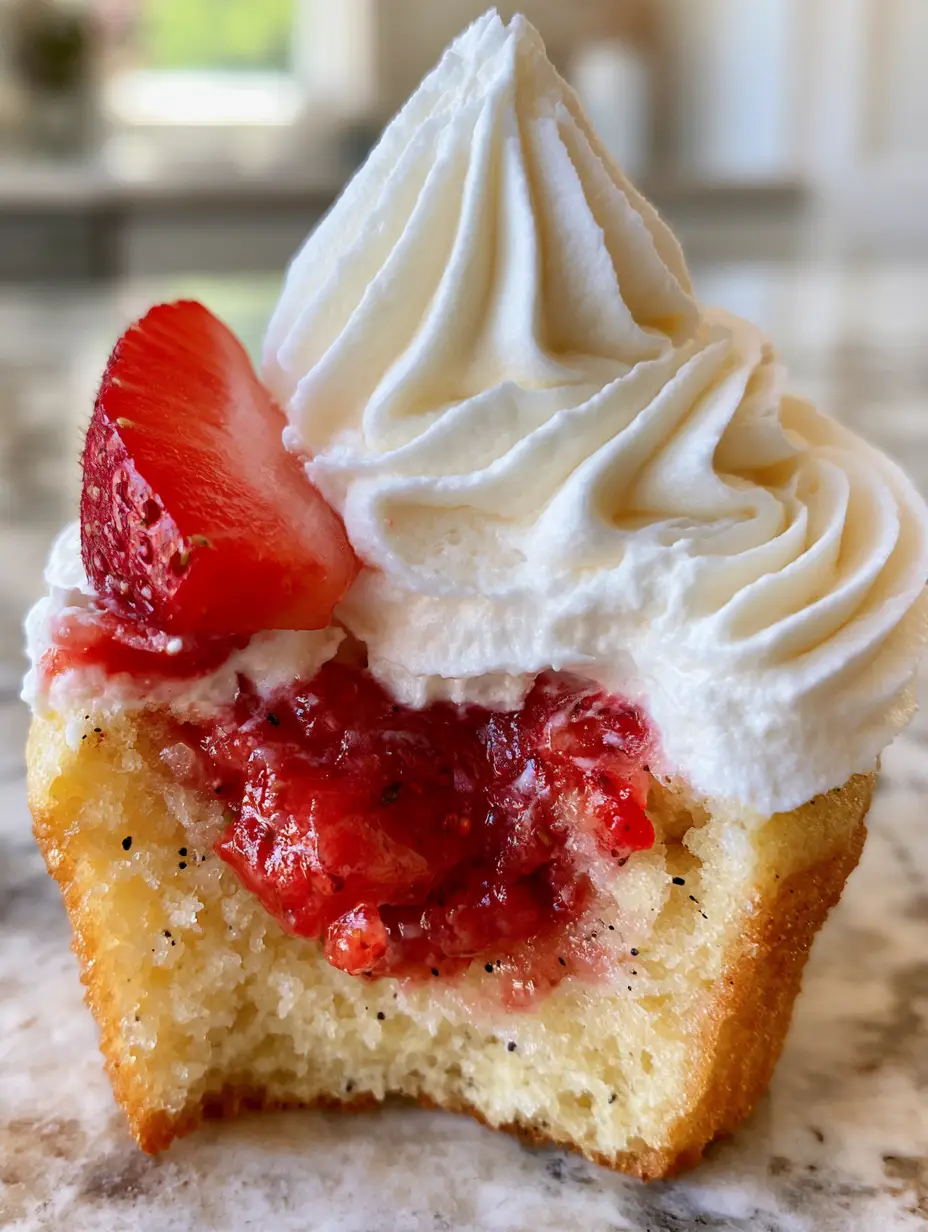
There is nothing quite like the first bite of a perfectly crafted Strawberry Shortcake cupcake. Imagine a moist, golden-brown sponge that shimmers with tiny black vanilla specks, holding a secret treasure of glossy, chunky strawberry compote. This isn’t just a dessert; it’s a textural masterpiece designed for those who crave the nostalgic flavors of summer in a handheld, gourmet format.
The magic of these Strawberry Shortcake cupcakes lies in the contrast between the dense, velvety stabilized whipped cream and the bright, acidic burst of the fresh fruit center. Whether you are hosting a garden party or simply treat-hunting for the weekend, this recipe delivers a professional-grade result that looks exactly like a high-end bakery display.
We have meticulously engineered this recipe to ensure every element—from the sharp, matte peaks of the frosting to the oozing red compote—is achievable in your home kitchen. Let’s dive into the culinary science that makes these cupcakes the ultimate summer indulgence.
Why These Are the Best Strawberry Shortcake Cupcakes You Will Ever Bake
- The Golden Vanilla Bean Base: We use real vanilla bean paste to ensure those signature black specks are visible in every moist bite of the golden sponge.
- Oozing Compote Center: Unlike dry fillings, our strawberry center is glossy, chunky, and perfectly thickened to provide a satisfying “ooze” when bitten into.
- Structural Frosting Integrity: Our stabilized whipped cream is engineered to hold sharp, defined peaks even in warmer weather, providing a matte, dense finish.
- Bakery-Standard Visuals: With a fresh strawberry wedge garnish and a classic white paper liner, these cupcakes are the epitome of “food photography” goals.
- Perfect Flavor Balance: The sweetness of the sponge is balanced by the tartness of the berries and the light, cloud-like nature of the cream.
The Essential Ingredients for Your Vanilla Bean Masterpiece
Unsalted Butter (1 cup / 227g): High-quality butter provides the richness and the “golden” hue required for the sponge. Ensure it is softened to room temperature (around 65°F/18°C) to facilitate proper aeration during the creaming process.
Granulated Sugar (1.5 cups / 300g): This provides sweetness and helps create a fine, tender crumb by breaking up the flour proteins. It also aids in the browning of the cupcake edges for that perfect visual finish.
Large Eggs (3 total): Eggs provide the structure and leavening necessary for a moist sponge. Always use room-temperature eggs to prevent the batter from curdling during mixing.
Vanilla Bean Paste (2 tsp / 10ml): This is the secret to the “tiny black vanilla specks” mentioned in our blueprint. Vanilla bean paste offers a deeper, more complex flavor than standard extract.
Cake Flour (2.5 cups / 315g): Cake flour has a lower protein content than all-purpose flour. This ensures a delicate, soft texture that mimics a traditional shortcake biscuit while remaining light enough for a cupcake.
Baking Powder (2.5 tsp / 12g): A foundational “invisible” ingredient. This provides the lift needed for a beautiful domed top that supports the massive swirl of cream.
Whole Milk (1 cup / 240ml): Milk adds moisture and fat to the crumb. For a richer result, you can substitute a portion of this with sour cream.
Fresh Strawberries (2 cups / 300g, chopped): These will be cooked down into our glossy compote. Look for deeply red, ripe berries for the best natural color and flavor.
Heavy Whipping Cream (2 cups / 480ml): Use cream with at least 36% fat content. This is essential for achieving the dense, velvety peaks seen in the visual prompt.
Gelatin Powder (1 tsp / 5g): This is our stabilizing agent. It ensures the whipped cream doesn’t weep or lose its shape, keeping those peaks sharp and matte.
Tools Required for Professional Results
To achieve the “towering swirl” and “defined peaks,” you will need a few specific kitchen tools. A high-powered stand mixer is preferred for aerating the heavy cream to its maximum volume. You will also need a cupcake corer (or a small paring knife) to create the space for the strawberry filling.
For the frosting, a large open-star piping tip (like a Wilton 1M) is ideal for creating that massive, velvety swirl. Finally, ensure you have a standard 12-cup muffin tin lined with high-quality white paper liners to match the clean, kitchen-aesthetic of our blueprint.
Step 1: Crafting the Golden Vanilla Bean Sponge
Preparing the Batter for Maximum Aeration
Preheat your oven to 350°F (175°C). In the bowl of your stand mixer, cream the softened butter and granulated sugar together on medium-high speed. You are looking for a pale, fluffy texture; this usually takes about 3 to 5 minutes of continuous beating.
Add the eggs one at a time, beating well after each addition. This is the moment to fold in your vanilla bean paste. Observe the batter—you should see thousands of tiny black specks evenly distributed throughout the pale yellow mixture.
Mixing the Dry and Wet Ingredients
In a separate bowl, whisk together the cake flour, baking powder, and a pinch of salt. Gradually add the dry ingredients to the butter mixture, alternating with the whole milk. Begin and end with the flour to prevent the batter from over-developing gluten.
Stop mixing as soon as the last streak of flour disappears. Over-mixing at this stage will lead to a tough, bready cupcake rather than the tender, moist sponge we are aiming for. The batter should be thick and fragrant.
Baking to a Golden-Brown Perfection
Divide the batter evenly among the white paper liners, filling each about two-thirds full. Bake for 18-22 minutes. You are looking for a “visual cue” of a light golden-brown surface and a springy texture when touched lightly in the center.
Once baked, transfer the cupcakes to a wire rack. They must be completely cool before you attempt to core or frost them, otherwise, the stabilized cream will melt instantly upon contact.
Step 2: The Glossy Red Strawberry Filling
Simmering the Compote
While the cupcakes cool, combine your chopped strawberries, 2 tablespoons of sugar, and a splash of lemon juice in a small saucepan. Cook over medium heat, stirring frequently. The berries will begin to release their juices, creating a bright red liquid.
To achieve that “glossy and chunky” look, mix 1 teaspoon of cornstarch with a tablespoon of water and stir it into the simmering berries. This creates a slurry that thickens the juices without making them gummy. Cook for another 2 minutes until the mixture coats the back of a spoon.
Filling the Centers
Using a cupcake corer, remove the center of each cooled cupcake, going about two-thirds of the way down. Spoon the strawberry compote into each hole. Don’t be afraid to let it sit slightly higher than the rim of the cake—this ensures that “oozing” effect when someone takes a large bite.
If you enjoy this flavor profile, you might also love our strawberry shortcake cookies or a more traditional classic strawberry shortcake dessert for your next gathering.
Step 3: Engineering the Stabilized Whipped Cream
Stabilizing the Peaks
To get those “sharp, defined peaks” that look “dense and matte,” we must stabilize the cream. Bloom your gelatin in a tablespoon of cold water, then microwave it for 10 seconds until liquid. Let it cool slightly so it doesn’t curdle the cream.
Whip the heavy cream with powdered sugar until soft peaks form. With the mixer running on low, slowly drizzle in the liquid gelatin. Increase the speed to medium-high and whip until the cream is thick and holds its shape perfectly.
The Towering Swirl Technique
Fit a piping bag with a large star tip. Start at the outer edge of the cupcake and pipe in a circular motion, moving toward the center and upward. You want a “massive, towering swirl” that completely covers the strawberry filling.
The cream should look velvety and matte. Avoid over-whipping, or the cream will become grainy and look like butter. The goal is a smooth, high-resolution texture that looks professional and delicious.
Expert Tips for Bakery-Quality Results
- Temperature Control: Never frost a warm cupcake. The residual heat will break the emulsion of the whipped cream, causing it to slide off the sponge.
- The “Speck” Factor: If you cannot find vanilla bean paste, you can scrape the seeds from a whole vanilla bean pod for the same visual effect in the sponge.
- Strawberry Selection: If your strawberries are out of season and a bit pale, add a tiny drop of natural red food coloring to the compote to achieve that “glossy red” blueprint requirement.
- Consistency is Key: When piping, maintain steady pressure on the bag. This ensures the “sharp, defined peaks” are uniform across all twelve cupcakes.
Serving and Pairing Suggestions
These Strawberry Shortcake cupcakes are best served within a few hours of assembly to maintain the crispness of the white paper liner and the fluffiness of the cream. However, thanks to the gelatin, the frosting will hold up quite well for up to 24 hours in the refrigerator.
For a complete dessert spread, consider pairing these with our banana pudding cupcakes for a variety of fruit-based treats. If you are looking for something lighter for breakfast the next day, our strawberry muffins or strawberry cheesecake muffins are excellent options.
Storage, Reheating, and Freezing
Storage: Store these cupcakes in an airtight container in the refrigerator for up to 3 days. The moisture from the strawberry filling will actually help keep the sponge moist over time.
Freezing: You can freeze the unfrosted, unfilled vanilla bean sponges for up to 3 months. Wrap them tightly in plastic wrap. We do not recommend freezing the assembled cupcakes as the whipped cream and fresh strawberry garnish do not thaw well.
Frequently Asked Questions
You can bake the sponges and make the compote a day in advance. However, for the best visual result (the matte, sharp peaks), we recommend whipping the cream and assembling them on the day of serving.
Yes, frozen strawberries work well for the compote. Since they release more liquid, you may need to simmer them slightly longer or add a bit more cornstarch to achieve that glossy, thick consistency.
The key is the cornstarch slurry. You want to thicken the juices just enough so they are glossy and slow-moving, but not so much that they become a solid jelly.
The golden color comes from creaming high-quality butter and sugar, while the tiny black specks are achieved by using vanilla bean paste instead of liquid extract.
Whipped cream usually melts because the cupcakes are still too warm or the cream wasn’t properly stabilized. Ensure your cupcakes are completely cool and use gelatin or mascarpone to keep the frosting firm.
The Ultimate Strawberry Shortcake Cupcakes Recipe
Strawberry Shortcake Cupcakes with Vanilla Bean Sponge and Oozing Strawberry Centers
Ingredients
Equipment
Method
- Cream butter and sugar for 5 minutes until pale and fluffy. Add eggs and vanilla bean paste.
- Alternate adding dry ingredients and milk. Mix until just combined to keep the crumb tender.
- Fill liners 2/3 full and bake at 350°F (175°C) for 18-22 minutes until golden-brown.
- Cook strawberries and sugar until juicy. Stir in cornstarch slurry and simmer until glossy and thick.
- Remove the center of cooled cupcakes and spoon in the chunky strawberry filling.
- Whip heavy cream with sugar and stabilized gelatin until matte, sharp peaks form. Pipe massive swirls and garnish with a strawberry wedge.
Notes
Use real vanilla bean paste for the most authentic visual and flavor profile.
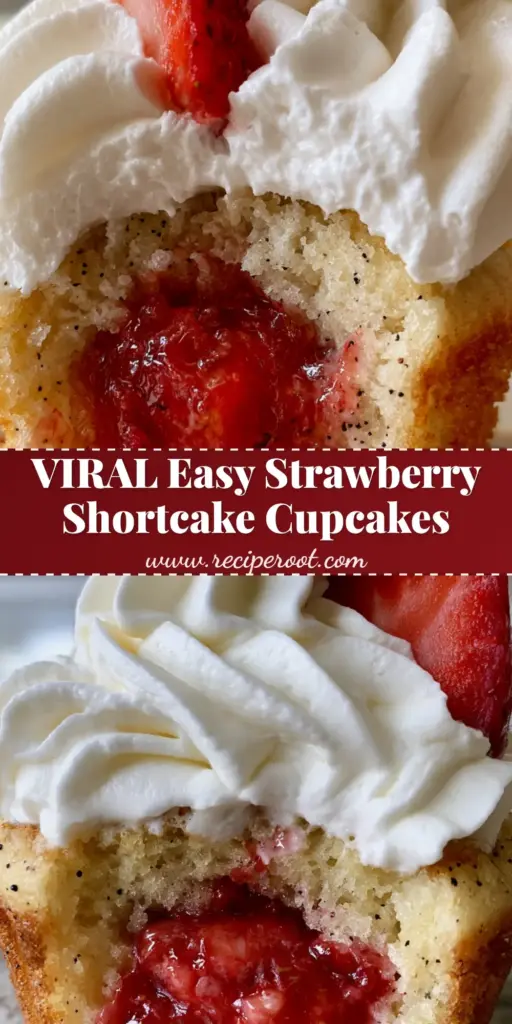
Creating these Strawberry Shortcake cupcakes is a rewarding experience that combines technical baking with artistic flair. The sight of that golden sponge with its vanilla specks and the bright red, oozing center is guaranteed to impress any guest. We hope this recipe brings a slice of summer joy to your kitchen!
If you enjoyed this recipe, please leave a comment below and share your results! You can also find more inspiration on our Pinterest page. Don’t forget to sign up for our newsletter for weekly gourmet recipes delivered straight to your inbox.