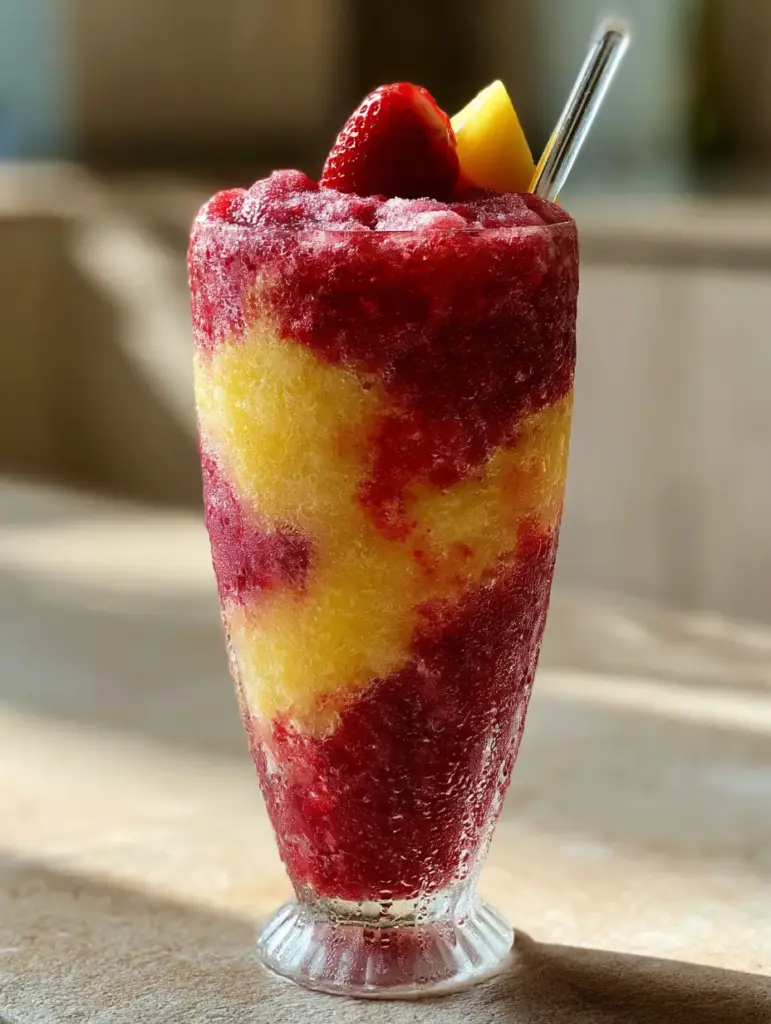
Pineapple strawberry slushies are the ultimate refreshing escape when the sun is high and you need something vibrant, cold, and incredibly delicious. This isn’t your average watery convenience store drink; we are talking about a dense, frosty masterpiece with vibrant swirls of pastel yellow and deep ruby red fruit pulp. By using frozen fruit instead of ice, you achieve a velvety, whipped sorbet texture that stays thick until the very last sip.
If you love the tropical vibes of these pineapple strawberry slushies, you might also enjoy the fruity profile of my strawberry crunch topping or even a decadent strawberry cheesecake for your next summer gathering.
Why You Will Crave These Frosty Slushies
- Ultra-Thick Texture: No visible ice crystals here—just smooth, whipped fruit goodness that looks like high-end sorbet.
- Visual Showstopper: The natural separation of the yellow pineapple and red strawberry creates a stunning “sunset” effect in the glass.
- Naturally Sweet: With no added refined sugars, the concentrated sweetness of the frozen fruit does all the heavy lifting.
- Fast & Refreshing: Ready in under 10 minutes, making it the perfect Pinterest-worthy afternoon pick-me-up.
The Simple Ingredients You’ll Need
To get that velvety, dense consistency, the quality and state of your ingredients are paramount. Here is what you need for the perfect pineapple strawberry slushies:
2 cups (320g) Frozen Pineapple Chunks: Using frozen fruit is the secret to a thick slushie that isn’t diluted by melting ice. Pineapple provides the creamy, tropical base.
2 cups (300g) Frozen Whole Strawberries: These provide the deep ruby red color and a tart, berry finish that balances the sweet pineapple.
1/2 cup (120ml) Fresh Pineapple Juice: A splash of juice acts as the “liquid bridge,” helping the blender blades catch the frozen fruit without making the drink watery.
Fresh Garnishes: You will need one triangular pineapple wedge and one fresh strawberry half per glass to achieve that professional, high-end look.
Step-By-Step: Creating the Perfect Fruit Swirl
The key to the professional look in the Visual Recipe Blueprint is blending the fruits separately. This prevents them from turning into a muddy brown color and keeps the vibrant pastel yellow and deep ruby red distinct.
Step 1: The Pineapple Layer
Place the 2 cups (320g) of frozen pineapple chunks into a high-speed blender. Add 1/4 cup (60ml) of the fresh pineapple juice. Pulse on high until the mixture is smooth and resembles whipped soft-serve. If it’s too thick, add one more tablespoon of juice. Transfer to a bowl and keep in the freezer while you prep the berries.
Step 2: The Strawberry Layer
Rinse the blender quickly. Add the 2 cups (300g) of frozen whole strawberries and the remaining 1/4 cup (60ml) of juice. Blend until you see a deep ruby red frozen fruit pulp. It should be thick enough to hold its shape on a spoon.
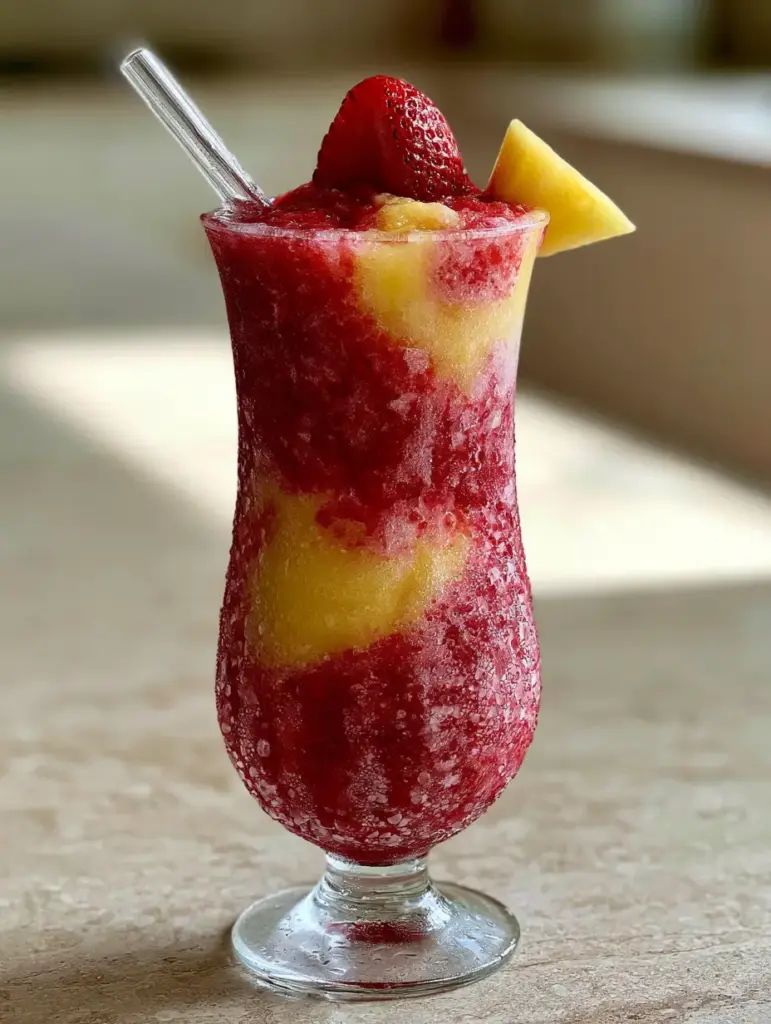
Step 3: The Artistic Pour
To get those velvety swirls, use a spoon to alternate dollops of the pineapple mixture and the strawberry mixture into a tall, elegant fluted glass. Use a clear glass straw to gently stir just once or twice—don’t overmix! You want to see the distinct colors.
Step 4: The Finishing Touches
Wipe any drips from the rim. Top with a fresh strawberry half and a triangular pineapple wedge tucked onto the edge of the glass. Serve immediately while the exterior of the glass is covered in heavy, cold condensation.
Expert Tips for Slushie Success
- Freeze Your Glasswork: Put your fluted glasses in the freezer for 15 minutes before serving. This creates those beautiful tiny water droplets of condensation instantly.
- High-Speed Blender is Key: To avoid ice crystals and get that “sorbet” look, a powerful blender is necessary to pulverize the frozen fruit fibers.
- Adjust the Liquid: If your blender is struggling, add juice 1 tablespoon at a time. Too much liquid will turn your slushie into a juice.
- Use Ripe Fruit: If you are freezing your own fruit, ensure it is at peak ripeness for the best natural sugar content.
Storage and Make-Ahead Instructions
Can you make these ahead of time? These pineapple strawberry slushies are best enjoyed immediately to maintain their “whipped” texture. However, if you have leftovers, you can pour them into a silicone muffin tin and freeze. When you’re ready for another, just pop a couple of the frozen pucks back into the blender with a tiny splash of juice.
If you love this fruity combination, you might want to try these Dole whip cupcakes for a similar tropical flavor profile in cake form!
What to Serve With Fruit Slushies
These slushies are quite filling on their own, but they pair beautifully with light summer snacks. Try them alongside a fresh fruit platter or even something salty like coconut shrimp. If you’re hosting a brunch, these go perfectly with strawberry cream cake for a total berry-themed celebration.
Frequently Asked Questions
You can, but you will need to add at least 2 cups of ice to get a slushie consistency. This will dilute the flavor and create ice crystals. For the best texture, always use frozen fruit.
Generally, no! Frozen pineapple is very high in natural sugars. However, if your strawberries are a bit tart, you can add 1 tablespoon of agave nectar or simple syrup during the blending process.
Simply replace the pineapple juice with vodka, silver rum, or even tequila for a tropical frozen margarita vibe!
If you blend the strawberries and pineapple together, the colors will mix into a brownish-orange. To get the vibrant swirls, blend the fruits separately and layer them in the glass.
The Ultimate Pineapple Strawberry Slushie Recipe
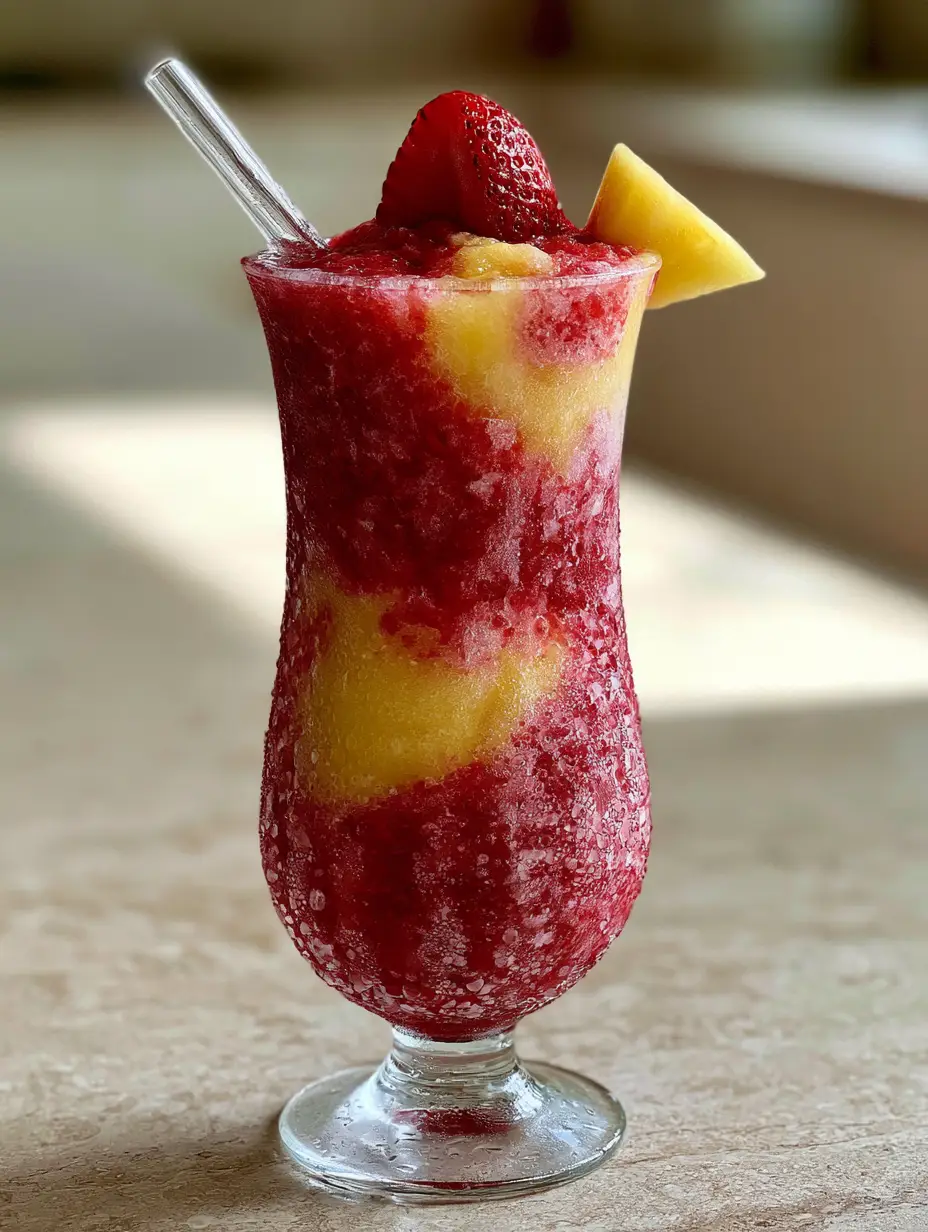
Pineapple Strawberry Slushies: A Thick and Frosty 2-Ingredient Treat
Ingredients
Equipment
Method
- Combine frozen pineapple and 1/4 cup juice in a blender. Pulse until smooth and thick like sorbet.
- Clean blender and combine frozen strawberries and remaining juice. Blend until a deep ruby red pulp forms.
- Alternate spoonfuls of each mixture into fluted glasses to create swirls. Garnish with pineapple wedge and strawberry half.
Notes
Use only frozen fruit—adding ice will dilute the flavor and ruin the texture.
Save This Recipe to Pinterest!
Don’t lose this recipe! Pin this post to your “Summer Drinks” or “Healthy Treats” board so you can find it whenever the temperature spikes. If you make these pineapple strawberry slushies, I want to see your gorgeous swirls! Upload a photo in the comments below and please give this recipe a 5-star rating if you loved it. Following @recipe_root on Pinterest helps us keep the kitchen lights on!