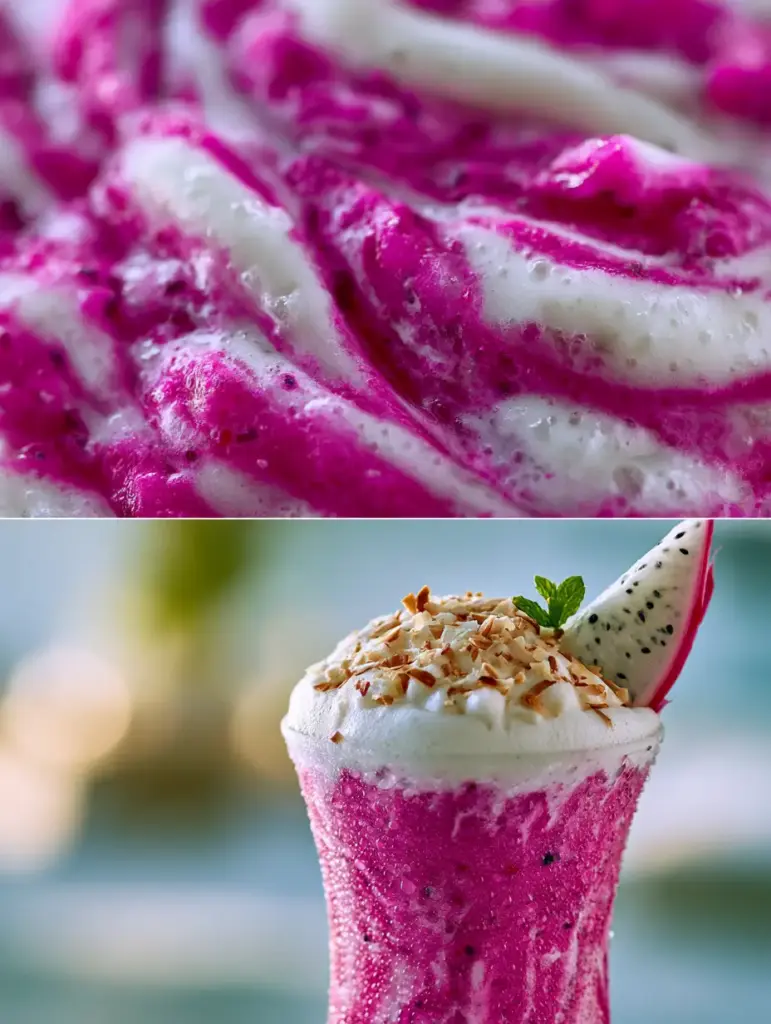
Imagine standing on a sun-drenched tropical patio, the warm afternoon light catching a glass so vibrant it looks like a liquid sunset. The Dragon Fruit Colada is not just a beverage; it is a visual masterpiece that blends the electric, neon pink of pitaya with the velvety white of premium coconut milk.
This recipe captures that exact moment of refreshment, focusing on the macro textures of tiny ice crystals and the architectural beauty of a thick coconut foam topper. Whether you are looking for a show-stopping mocktail or a base for your next summer party, this drink delivers high-impact color and sophisticated flavor.
By using frozen pitaya puree, we achieve a texture that is thick enough to hold a garnish yet smooth enough to sip through a straw. Every element, from the toasted golden coconut flakes to the fresh white dragon fruit slice, has been selected to create a sensory experience that rivals any high-end beach resort.
Why This Vibrant Pink Pitaya Drink Is a Summer Essential
- Electric Visual Impact: The contrast between the neon pink puree and the snowy white coconut milk creates a mesmerizing swirl that is perfect for photography.
- Sophisticated Texture: We use a specific blending technique to maintain crushed ice crystals, ensuring the drink stays frozen longer even in the summer heat.
- Dual-Dragon Fruit Profile: By combining pink puree in the base and a white dragon fruit slice as a garnish, we showcase the full botanical beauty of the cactus fruit.
- Velvety Mouthfeel: The addition of a thick coconut foam topper provides a creamy contrast to the icy, refreshing base.
The Vibrant Palette: Essential Ingredients for Your Pitaya Masterpiece
Frozen Hot Pink Dragon Fruit Puree: You will need 1 cup (225g) of frozen pitaya chunks or puree packets. This provides the “electric” color seen in our blueprint and ensures a thick, frozen consistency without diluting the flavor.
Full-Fat Coconut Milk: Use 1/2 cup (120ml) of canned coconut milk for the base. The high fat content is essential for that “creamy” visual swirl and a rich, luxurious mouthfeel that balances the fruit’s acidity.
Crushed Ice: 1.5 cups (approx. 200g) of ice creates the “macro ice crystals” described in our visual prompt. Crushed ice blends more evenly than large cubes, resulting in a more uniform frozen texture.
Coconut Cream for Foam: 1/4 cup (60ml) of chilled coconut cream (the thick part from the top of the can). This is the secret to the “thick coconut foam topper” that sits proudly atop the drink without sinking.
Toasted Coconut Shavings: 2 tbsp (10g) of unsweetened coconut flakes. Toasting these until golden brown adds a necessary crunch and a nutty aroma that elevates the tropical profile.
Fresh White Dragon Fruit: One triangular slice with visible black seeds. This provides a stark, elegant contrast against the pink liquid, fulfilling the “Forensic Visual Accuracy” of our recipe.
Natural Sweetener: 1 tbsp (21g) of agave nectar or honey. Since dragon fruit is naturally mild, a touch of sweetener brightens the “neon” flavors and balances the earthy coconut.
Fresh Mint Sprig: A tiny green sprig for the final aromatic touch. The green color pops against the pink and white, completing the tropical aesthetic.
The Gear: Professional Tools for the Perfect Frozen Consistency
To achieve the “split-screen” quality of our visual prompt, a high-speed blender is non-negotiable. You need a motor powerful enough to pulverize frozen pitaya while keeping those tiny ice crystals intact for texture.
For the coconut foam, a handheld milk frother or a small whisk is required. This allows you to aerate the coconut cream into a stable, thick foam that mimics the look of a professional latte or a high-end cocktail.
Finally, a tall hurricane glass is the traditional vessel for a Dragon Fruit Colada. If you want to replicate the “heavy condensation droplets” seen in the prompt, chill your glass in the freezer for at least 15 minutes before serving.
How to Construct the Ultimate Dragon Fruit Colada
Step 1: Achieving the Golden Toasted Garnish
Place your unsweetened coconut flakes in a small dry skillet over medium-low heat. Stir constantly for 2-3 minutes until the edges turn a deep golden brown and the kitchen smells like toasted paradise.
Remove the flakes immediately from the pan to stop the cooking process. Set these aside to cool; they will provide the “toasted golden” visual and a satisfying crunch to every sip.
Step 2: Blending the Electric Pink Base
In your high-speed blender, combine the 1 cup (225g) of frozen pink dragon fruit puree, 1/2 cup (120ml) of coconut milk, and the agave nectar. Pulse several times to break down the frozen fruit before blending on high.
Add the 1.5 cups (200g) of crushed ice and blend for only 15-20 seconds. You are looking for a “frozen texture” that shows a swirl of electric pink mixing into the white milk, not a completely liquid juice.
Step 3: Creating the Architectural Coconut Foam
In a small chilled bowl, take the 1/4 cup (60ml) of thick coconut cream. Use your milk frother to whisk it vigorously for 30-45 seconds until it doubles in volume and becomes a “thick coconut foam.”
If the foam is too thin, add a pinch of powdered sugar to help stabilize the fats. This foam must be sturdy enough to support the weight of the coconut shavings and the dragon fruit slice.
Step 4: The Art of the Pour and Garnish
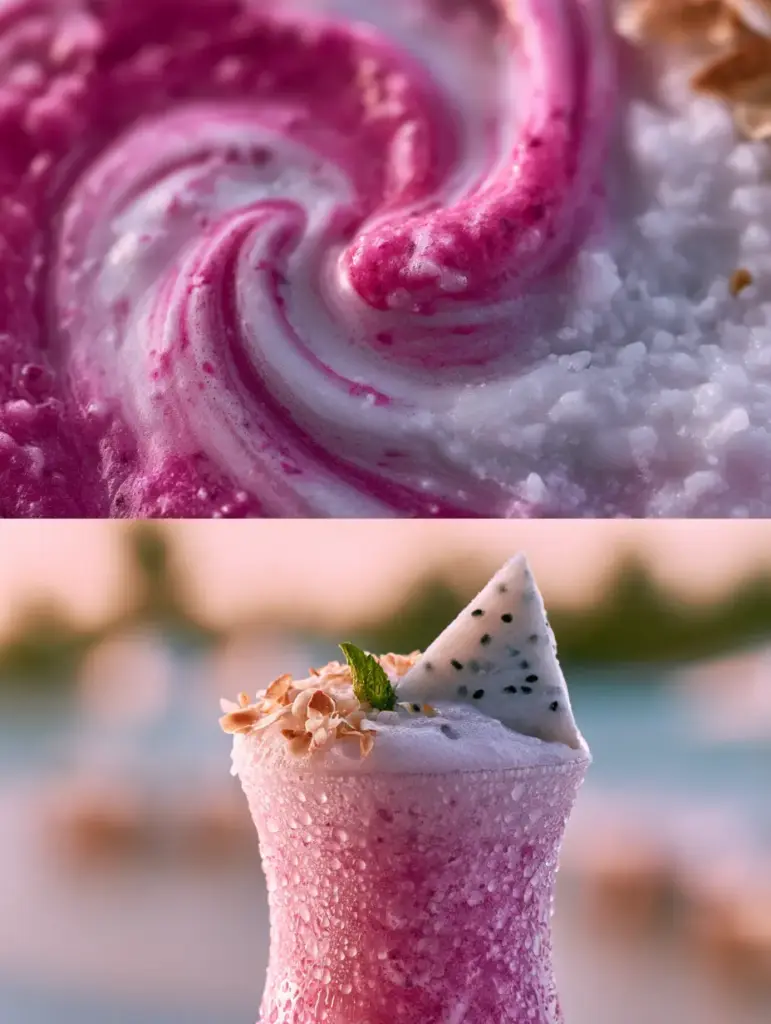
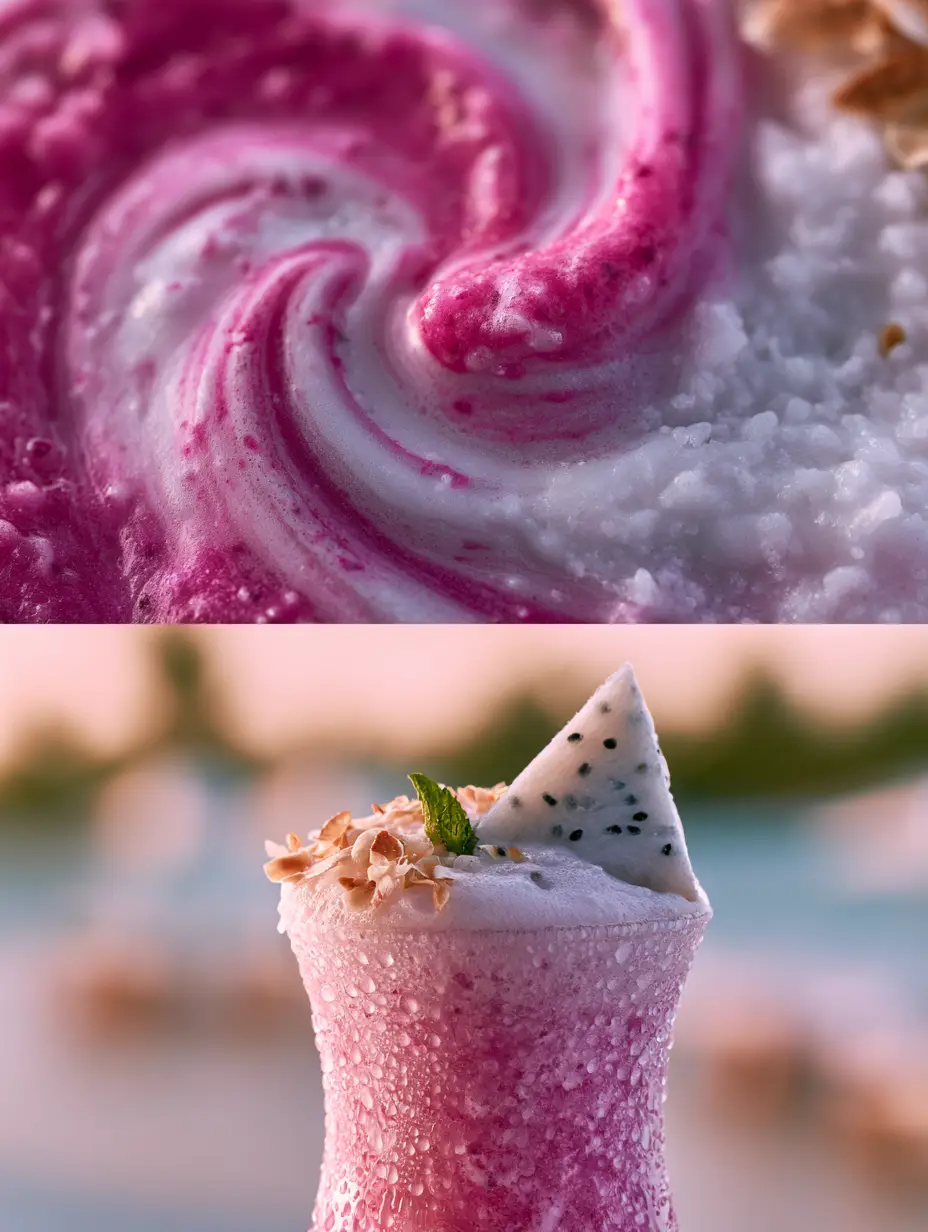
Pour the frozen pink mixture into your chilled hurricane glass, leaving about an inch of space at the top. Notice the “vibrant neon pink” color as it hits the cold glass, immediately creating those “heavy condensation droplets.”
Gently spoon the coconut foam over the top, creating a distinct white layer. Sprinkle the toasted coconut flakes over the foam and nestle the triangular white dragon fruit slice and the tiny mint sprig into the side of the foam.
Pro Tips for a Recipe-Root Approved Result
- The Temperature Trick: If your puree is too hard to blend, let it sit at room temperature for 3 minutes before starting. This prevents the blender from stalling and helps achieve the “swirl” texture.
- Seed Visibility: When slicing the white dragon fruit for garnish, use a very sharp knife to ensure the black seeds remain intact and aren’t smeared, maintaining that “macro close-up” clarity.
- Acid Balance: If your Dragon Fruit Colada feels too “flat,” add a squeeze of fresh lime juice. The acid cuts through the coconut fat and makes the pink color appear even more electric.
- Preventing Foam Sink: Ensure your coconut cream is cold. If it is warm, it will melt into the frozen base instead of sitting on top as a “thick foam topper.”
Flavor Pairings and Tropical Inspirations
This Dragon Fruit Colada is a standout on its own, but it pairs beautifully with other tropical treats. If you are hosting a summer brunch, consider serving it alongside banana bread muffins or perhaps some lavender cupcakes for a floral contrast.
If you love the flavor profile of this drink but want something with a bit more “kick,” you can easily adapt this into a cocktail. It shares many structural similarities with a classic rum punch or a fruity pineapple rum punch.
For those who prefer a different fruit profile, the technique used here works perfectly for a watermelon drink or a creamy strawberry shortcake smoothie. The key is maintaining that frozen, layered architecture.
Maximizing Your Dragon Fruit Experience
Can I use fresh dragon fruit instead of frozen? To achieve the “frozen texture” shown in the blueprint, you must use frozen fruit. If you only have fresh, peel and cube it, then freeze it for at least 4 hours before blending.
How do I get the “electric pink” color? There are two main types of dragon fruit: white-fleshed and pink-fleshed. Only the pink-fleshed (Pitaya Roja) will give you that neon glow. The white-fleshed variety is perfect for the garnish but will result in a greyish-purple drink if blended.
Is this drink shelf-stable? No, this is a “5-minute” recipe intended for immediate consumption. Because it relies on “tiny ice crystals” and “heavy condensation,” it will lose its structural integrity if left to sit or if placed in the refrigerator.
This drink is best served immediately to enjoy the frozen ‘ice crystal’ texture. If made ahead, the ice will melt and the vibrant pink swirl will blend into a uniform, thinner liquid.
Ensure your coconut cream is very cold before frothing. You can also add a teaspoon of powdered sugar or a tiny pinch of xanthan gum to provide structural stability to the air bubbles.
Yes, dragon fruit is high in magnesium, iron, and fiber. In this colada, it provides a nutrient-dense base that pairs well with the healthy fats found in full-fat coconut milk.
You can use fresh pink dragon fruit cubed and frozen overnight. If only white dragon fruit is available, you can add a teaspoon of beet powder or hibiscus tea to achieve a similar electric pink hue.
Pink dragon fruit contains betalains, which provide the intense neon color. White dragon fruit has a milder flavor and a white interior with black seeds, making it a perfect visual contrast for garnishing.
The Ultimate 5-Minute Dragon Fruit Colada Recipe
Dragon Fruit Colada: The Electric Pink Tropical Escape You Can Make in 5 Minutes
Ingredients
Equipment
Method
- Place coconut flakes in a dry skillet over medium-low heat. Stir constantly for 2-3 minutes until golden brown and fragrant. Remove and cool.
- Combine frozen pink pitaya, coconut milk, and agave in a blender. Pulse to break up fruit, then add crushed ice and blend for 15-20 seconds until a thick swirl forms.
- Whisk chilled coconut cream with a milk frother for 30-45 seconds until it becomes a thick, stable foam topper.
- Pour the pink mixture into a chilled glass. Top with a thick layer of coconut foam. Garnish with toasted flakes, the white dragon fruit slice, and a mint sprig.
Notes
Tip 2: If the drink is too thick, add 1 tbsp of water or lime juice to help the swirl movement.
Join the Tropical Revolution!
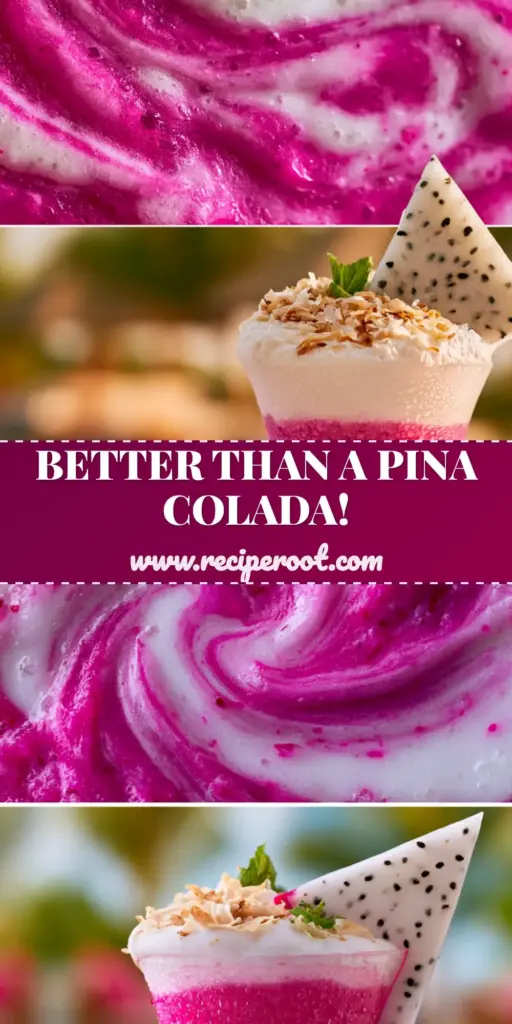
The Dragon Fruit Colada is more than just a drink; it’s a sensory escape to the tropics. We would love to see your “electric pink” creations! Did you manage to capture that perfect “macro close-up” of the coconut foam?
Leave a comment below with your results, and don’t forget to follow us on Pinterest for more visually stunning recipes. Sharing this recipe helps us continue to bring professional culinary forensics to your home kitchen!


