The quest for the ultimate crumbl copycat cookie recipe ends right here. If you have ever stood in line for those iconic pink boxes, you know the specific magic we are trying to replicate: a cookie so massive it requires two hands, a center that defies the laws of physics with its doughy softness, and a golden, crinkled exterior that shatters ever so slightly before giving way to molten chocolate.
Achieving this level of bakery-style perfection at home isn’t just about mixing flour and sugar; it is about culinary forensics. We have deconstructed the “Crumbl” profile—focusing on the jagged cookie edges and the glistening pools of milk and semi-sweet chocolate—to ensure your kitchen smells exactly like a professional bakeshop. Get ready to master the art of the thick, underbaked masterpiece.
In this guide, we will walk through the science of cold butter, the necessity of cornstarch for that “melt-in-your-mouth” texture, and the specific “stacking” technique that creates those signature deep cracks. Whether you are a fan of their rotating flavors or a purist who loves the classic milk chocolate chip, this recipe delivers the exact sensory experience of a warm, fresh-out-of-the-oven Crumbl treat.
Why This Is the Only Crumbl Copycat Cookie Recipe You Need
- The Iconic Texture: We achieve the signature soft underbaked center by utilizing specific temperature controls and a higher flour-to-butter ratio.
- Dual-Chocolate Profile: By combining molten milk chocolate chips with chopped semi-sweet chocolate chunks, we create complex “glistening pools” of cocoa.
- Professional Aesthetics: Our “scoop and stack” method ensures you get those atmospheric jagged cookie edges and deep surface cracks every single time.
- The Salted Finish: A precise dusting of gourmet flaky sea salt cuts through the richness, balancing the sweetness just like the pros do.
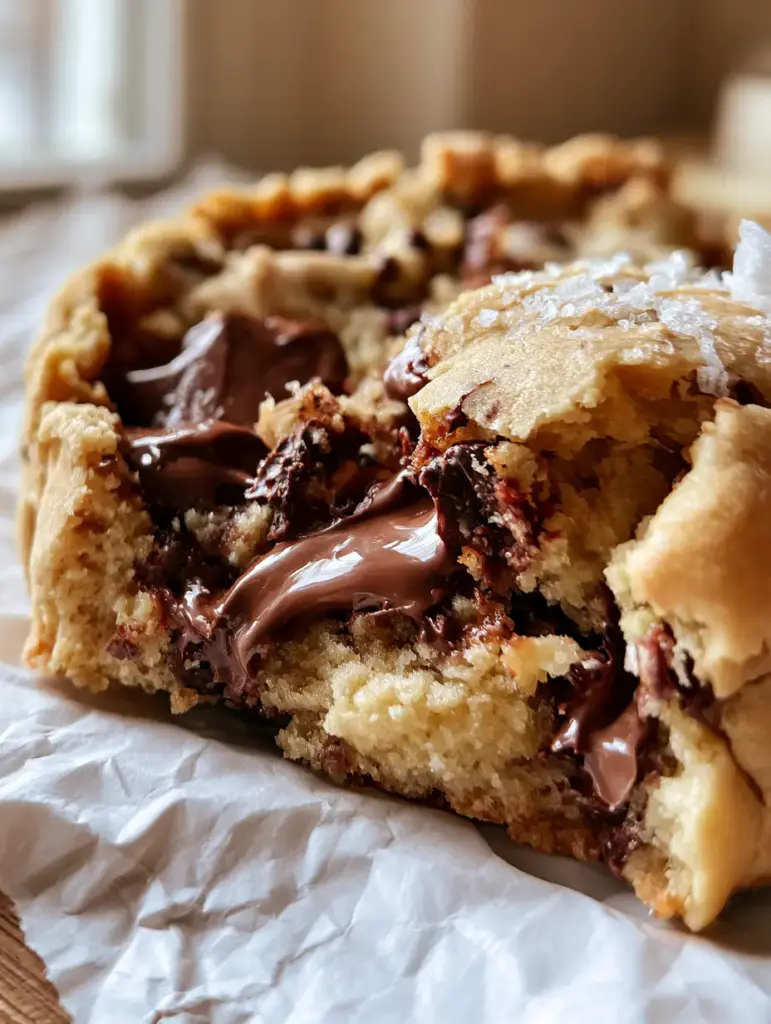
The Science Behind the Ingredients for Massive Cookies
To recreate a crumbl copycat cookie recipe, every ingredient must serve a structural or textural purpose. We aren’t just making cookies; we are building a dessert that holds its height without becoming cakey.
Unsalted Butter (Cold and Cubed): 1 cup (227g). Unlike traditional recipes that call for softened butter, using cold, cubed butter prevents the cookies from spreading too thin, ensuring they stay thick and massive.
Light Brown Sugar (Packed): 1 cup (200g). Brown sugar provides the essential moisture and molasses notes required for a chewy, “fudgy” interior that stays soft for days.
Granulated White Sugar: 1/2 cup (100g). This helps create those crinkled, jagged edges by caramelizing the exterior of the dough quickly under high heat.
Large Eggs (Cold): 2 eggs. Eggs provide the “lift” and structure; keeping them cold helps maintain the overall low temperature of the dough before it hits the oven.
All-Purpose Flour: 3 cups (375g). A higher volume of flour is the secret to the “heavy” feel of a Crumbl cookie, providing the bulk needed for a 6-ounce (170g) portion.
Cornstarch: 2 tsp (5g). This is our “secret weapon” for tenderness; it softens the proteins in the flour to create that signature doughy, underbaked center.
Baking Soda and Salt: 1 tsp (5g) each. These provide the necessary leavening and flavor enhancement to ensure the dough isn’t cloyingly sweet.
Milk Chocolate Chips: 1.5 cups (255g). We use high-quality milk chocolate to mimic the classic Crumbl flavor profile that fans crave.
Semi-Sweet Chocolate Chunks: 1/2 cup (85g). Chopping a bar into chunks creates varying sizes of chocolate, leading to those beautiful, oozing “pools” visible when the cookie is pulled apart.
Flaky Sea Salt: For finishing. A light dusting on the light golden tan surface adds a professional touch and a necessary flavor contrast.
Essential Bakery Tools for Success
To achieve the visual result seen on crumpled white parchment paper, you will need a few specific tools. A heavy-duty stand mixer is recommended to handle the thick, cold dough without straining the motor.
Precision is key, so a digital kitchen scale is highly recommended for weighing out exactly 6-ounce (170g) portions. Finally, use a large rimmed baking sheet lined with high-quality parchment paper to ensure the bottoms don’t brown too quickly while the centers stay soft.
Step-by-Step Evolution of the Perfect Copycat Cookie
Creaming the Cold Fat and Sugars
Start by placing your cold, cubed butter, brown sugar, and granulated sugar into the bowl of a stand mixer. Beat on medium-high speed for 4-5 minutes until the mixture is pale and the sugar has partially aerated the cold fat.
You are looking for a texture that is light but still firm. Add the cold eggs one at a time, mixing just until combined; do not over-mix here, as we want to keep the dough temperature as low as possible.
Incorporating the Dry Architecture
In a separate bowl, whisk together the flour, cornstarch, baking soda, and table salt. Turn the mixer to the lowest setting and slowly add the dry ingredients to the wet.
Stop mixing the moment you see only a few streaks of flour remaining. Over-mixing at this stage develops gluten, which will turn your soft, doughy center into a tough, bread-like texture.
Folding in the Molten Chocolate Elements
Gently fold in the milk chocolate chips and the semi-sweet chocolate chunks by hand using a sturdy spatula. Ensure the chocolate is evenly distributed so every bite has a “glistening pool” of cocoa.
If your kitchen is warm, place the entire bowl of dough in the refrigerator for 15 minutes before portioning. This ensures the cookies maintain their thick, golden dough structure in the oven.
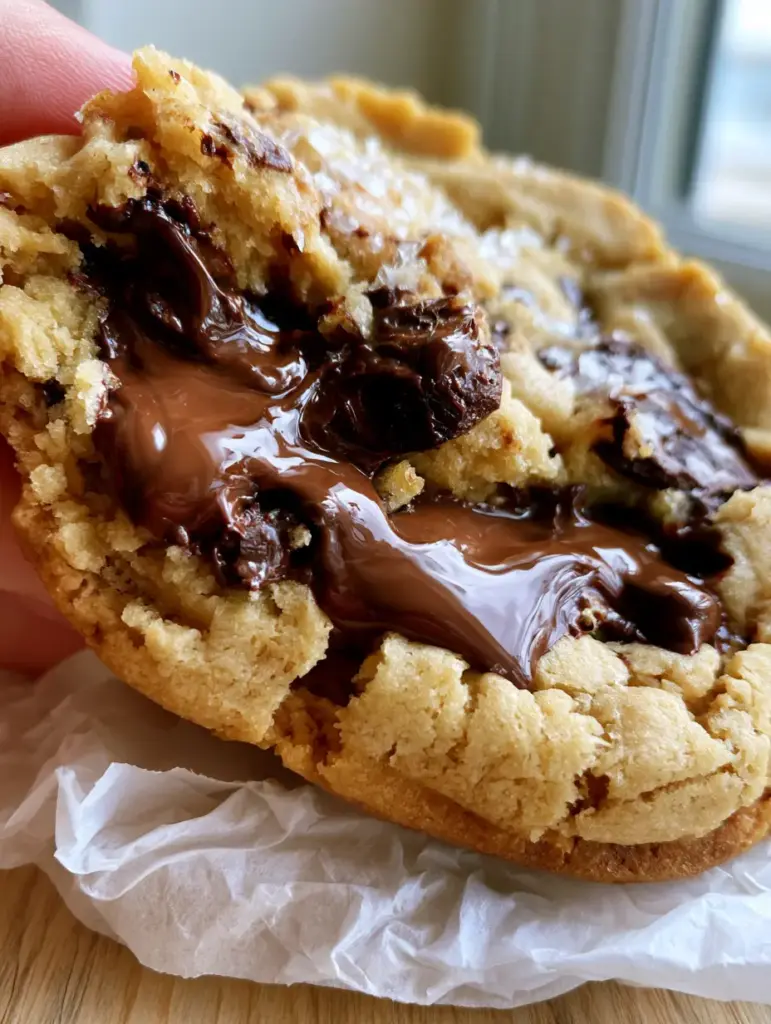
The “Scoop and Stack” Technique for Jagged Edges
This is the most critical step for the crumbl copycat cookie recipe aesthetic. Weigh out 6 ounces (170g) of dough. Instead of rolling it into a smooth ball, break the portion in half.
Stack the two halves on top of each other with the “torn” jagged sides facing upward. This creates the deep cracks and crinkled edges as the dough expands and settles during the bake.
Baking for Sensory Perfection
Preheat your oven to 375°F (190°C). This high temperature is vital; it “shocks” the outside of the cookie into setting while leaving the interior warm and doughy.
Bake for 10-12 minutes. Look for “visual cues”: the edges should be a light golden tan, but the center should still look slightly “wet” and underbaked. Do not wait for the center to firm up in the oven, or you will lose the signature texture.
Expert Tips for Bakery-Standard Results
- The Carryover Cook: The cookies MUST rest on the hot baking sheet for at least 15-20 minutes after removal. This allows the underbaked center to set into a fudgy consistency.
- The “Parchment Crinkle”: For the best photography, serve these on crumpled white parchment paper. The texture of the paper mirrors the crinkled edges of the cookie.
- The Chocolate Pool Hack: If your chocolate isn’t “oozing” enough, press a few extra chunks into the top of the dough stacks immediately before baking.
- Avoid Room Temp Butter: If you use soft butter, your cookies will spread into flat pancakes. Keep it cold!
Storage, Reheating, and Preserving the Softness
These cookies are best enjoyed warm, but they store remarkably well. Keep them in an airtight container at room temperature for up to 3 days. To maintain that “freshly pulled apart” feel, avoid refrigerating them as this can dry out the starch structure.
To reheat, place a cookie in the microwave for 10-15 seconds. This will re-melt the milk chocolate and soften the center back to its original doughy state. You can also freeze the unbaked “stacked” dough balls for up to 3 months—just add 2 minutes to the bake time from frozen.
What to Serve with These Massive Cookies
A cookie this rich deserves a companion. While a cold glass of milk is traditional, these are incredible when served alongside a creamy banana pudding for a full dessert spread. The lightness of the pudding contrasts beautifully with the dense, thick cookie dough.
If you are hosting a party, try pairing these with homemade cake balls or even crumbl brownie batter cookies for a true “Crumbl at Home” experience. For a seasonal twist, a drizzle of warm pumpkin pie sauce over the top can transform the chocolate profile into something cozy and autumnal.
Frequently Asked Questions
Yes, but Crumbl’s signature flavor comes from milk chocolate. We recommend a mix of milk chocolate chips and semi-sweet chunks for the best flavor and ‘melt’ profile.
While not required for this specific recipe, chilling the portioned dough balls for 30-60 minutes can further enhance the flavor and prevent spreading.
Use the ‘scoop and stack’ method. Tear your 6oz dough ball in half and stack the two pieces with the rough, torn sides facing up. Do not roll them into smooth balls.
Yes. The center should look slightly ‘wet’ and underbaked. They will continue to cook and set on the hot baking sheet for 20 minutes after leaving the oven.
The most common reason is using softened butter. For this recipe, you must use cold, cubed butter and ensure your dough remains chilled before baking to maintain height.
The Ultimate Crumbl Copycat Cookie Recipe
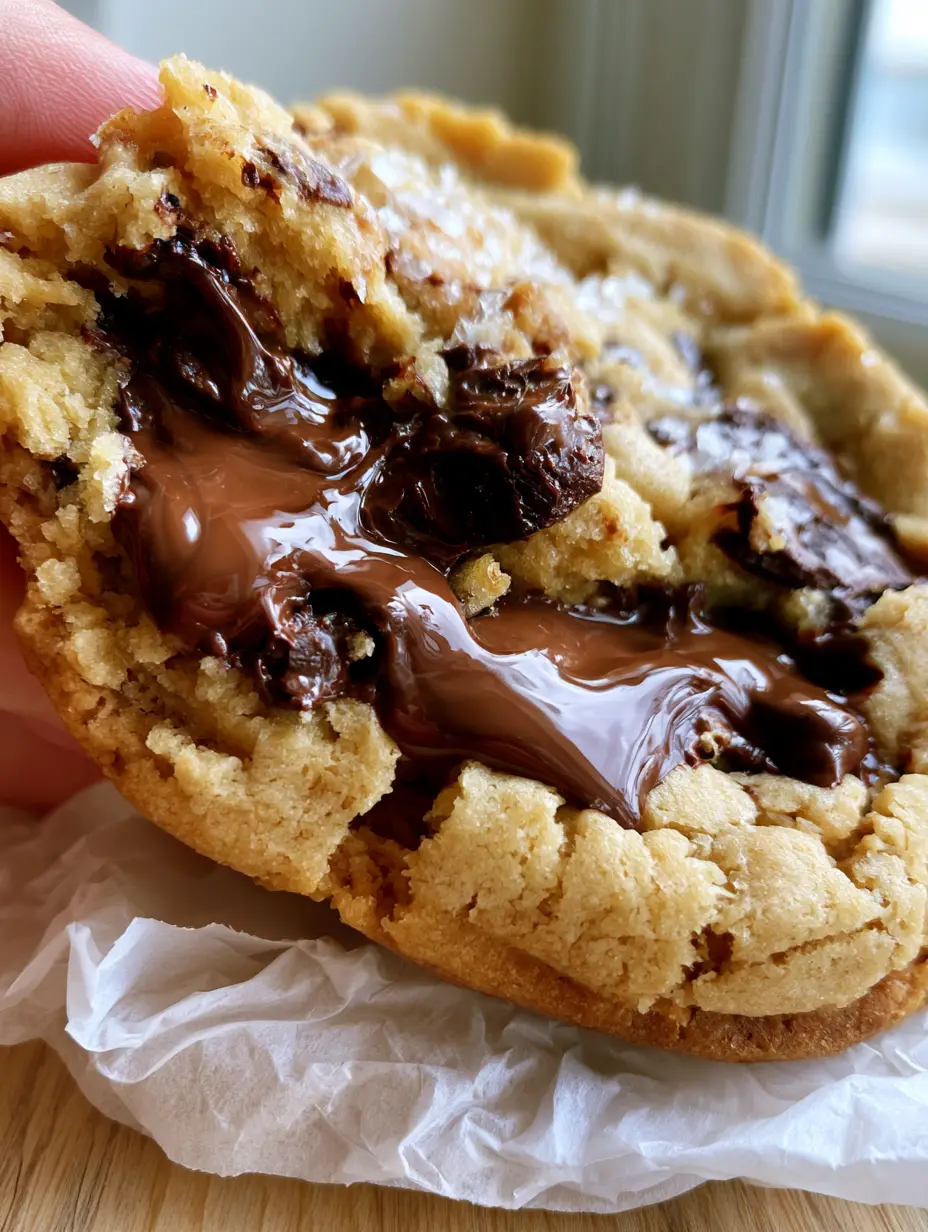
Crumbl Copycat Cookie Recipe: Thick, Molten, and Perfectly Underbaked
Ingredients
Equipment
Method
- In a stand mixer, cream the cold cubed butter with brown and granulated sugars on medium-high for 4-5 minutes until pale and aerated. Add cold eggs one at a time, mixing until just combined.
- Whisk flour, cornstarch, baking soda, and salt. Add to the mixer on low speed, stopping as soon as few flour streaks remain. Fold in chocolate chips and chunks by hand.
- Weigh out 6oz (170g) portions. Tear each portion in half and stack them with the jagged, torn sides facing up on the parchment paper.
- Bake at 375°F (190°C) for 10-12 minutes until edges are light golden but centers look underbaked. Cool on the pan for 20 minutes to set. Finish with flaky sea salt.
Notes
The cookies will look raw in the center when you pull them out; carryover cooking on the hot sheet is essential for the fudgy texture.
Closing & Call to Action
Mastering the crumbl copycat cookie recipe is a rite of passage for any serious home baker. By focusing on the temperature of your ingredients and the specific “stacking” method, you can create a cookie that looks and tastes exactly like the professional version—molten chocolate, jagged edges, and all.
We would love to see your results! Did you get those perfect glistening pools of chocolate? Leave a comment below and let us know how your batch turned out. Don’t forget to save this recipe to your “Dessert Goals” board on Pinterest and sign up for our newsletter for more bakery-style secrets!


