There is a specific kind of magic found in those crinkled brown paper snack pouches we all remember from our lunchboxes. The Copycat Little Bites Chocolate Chip Mini Muffins represent more than just a snack; they are a masterclass in portable pastry engineering. Achieving that signature golden-brown mini muffin sponge with a soft, airy crumb requires a delicate balance of moisture and heat that most store-bought versions simply can’t replicate at home—until now.
Imagine pulling a tray of these bite-sized treasures from the oven, their tops perfectly domed and glistening with a fine dusting of granulated sugar. As you split one open, a puff of steam escapes to reveal an ultra-moist interior studded with dozens of tiny, glossy, semi-sweet mini chocolate chips. Whether you are packing a school lunch or looking for a nostalgic treat to pair with your morning coffee, this recipe delivers that iconic bakery-style experience on a clean white marble surface right in your own kitchen.
Our culinary forensic analysis of the original snack reveals that the secret lies in the fat-to-flour ratio and the specific use of mini chips rather than standard ones. By focusing on high-quality butter and a touch of buttermilk, we create a sponge that is light yet substantial. This guide will walk you through every scientific step to ensure your muffins look exactly like the high-resolution macro shots of professional bakeries.
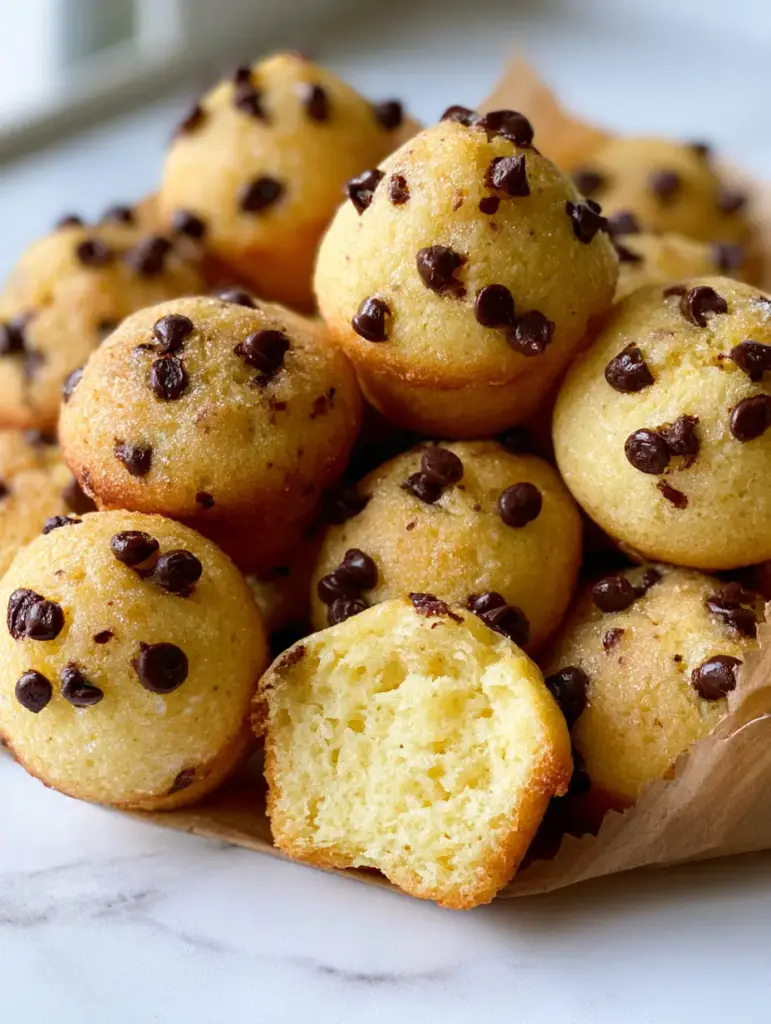
Why These Bite-Sized Chocolate Chip Wonders Work
- Perfectly Domed Geometry: We utilize a high-initial-heat technique that forces the batter upward, creating that iconic rounded top seen in professional photography.
- The “Glisten” Factor: A strategic dusting of granulated sugar before baking creates a micro-crust that sparkles under natural morning light.
- Ultra-Moist Crumb Structure: By incorporating specific “invisible” ingredients like sour cream, we ensure the interior stays steaming and soft for days.
- High-Density Chocolate Distribution: Using mini semi-sweet chips ensures that every single bite contains multiple bursts of melted chocolate.
The Scientific Foundation: Essential Ingredients for the Perfect Sponge
All-Purpose Flour (1 & 1/2 cups / 190g): This provides the structural skeleton of our muffin. We use a moderate protein content to ensure the muffins are sturdy enough to pile high in a pouch but tender enough to melt in your mouth.
Granulated Sugar (3/4 cup / 150g): Beyond sweetness, sugar is a liquefier that interferes with gluten formation, ensuring a tender crumb. It also aids in the Maillard reaction, giving us that deep golden-brown finish.
Unsalted Butter (1/2 cup / 115g), Melted and Cooled: Butter provides the essential “buttery sponge” flavor. Melting the butter rather than creaming it leads to a denser, more “Little Bite-like” texture that remains moist.
Buttermilk (1/2 cup / 120ml): The acidity in buttermilk breaks down long gluten strands. This is the “secret” to that airy, steaming interior crumb seen when the muffin is split in half.
Large Egg (1 unit): The egg acts as an emulsifier, binding the fats and liquids together for a cohesive batter. It also contributes to the golden color of the sponge.
Baking Powder (1 & 1/2 tsp / 6g) and Baking Soda (1/4 tsp / 1g): This dual-leavening system provides the vertical lift needed for the “perfectly domed” appearance. The soda reacts specifically with the buttermilk for an instant rise.
Mini Semi-Sweet Chocolate Chips (3/4 cup / 130g): Size matters here. Mini chips stay suspended in the batter rather than sinking, ensuring even distribution throughout the golden sponge.
Vanilla Extract (1 tsp / 5ml) and Salt (1/4 tsp / 1.5g): Vanilla provides the aromatic background note, while salt sharpens the contrast of the sweet chocolate. If you enjoy flavor-forward bakes, you might also love our bakery-style chocolate chip cookies.
Extra Granulated Sugar (2 tbsp / 25g) for Dusting: This is the final touch for the “sugar-crystal glisten.” It adds a delightful crunch to the soft muffin top.
Precision Tools for Mini Muffin Success
To achieve the visual accuracy of a vertical macro shot, you cannot rely on standard muffin tins. You will need a 24-count mini muffin pan, which allows for rapid heat penetration to the center of each bite. A small cookie scoop (about 1 tablespoon capacity) is vital for ensuring every muffin is identical in size and shape.
Additionally, using high-quality parchment or greaseproof mini liners—or even better, a well-greased non-stick pan—ensures the sides of the muffins remain a clean, uniform golden-brown. If you are a fan of mini-format treats, consider exploring our donut mini muffins for your next baking session.
The Step-By-Step Path to Golden-Brown Perfection
1. Calibrating the Heat and Preparing the Canvas
Preheat your oven to 375°F (190°C). This slightly higher temperature is crucial for the “thermal shock” that creates a tall, domed top. Lightly grease your mini muffin tin or line it with mini paper liners. Prepare a clean white marble surface for cooling to mimic the aesthetic of a professional food shoot.
2. Orchestrating the Liquid and Dry Phases
In a medium bowl, whisk together the flour, baking powder, baking soda, and salt. In a separate large bowl, whisk the melted butter and 3/4 cup sugar until well combined. Add the egg, buttermilk, and vanilla, whisking until the mixture is glossy and smooth.
3. The Gentle Fold: Preserving the Airy Crumb
Pour the dry ingredients into the wet. Use a spatula to fold gently. Stop the moment the last streak of flour disappears. Over-mixing leads to “tunneling” and a tough texture, destroying the “steaming, ultra-moist” interior we are aiming for. Fold in the mini chocolate chips carefully.
4. The Scoop and Glisten Technique
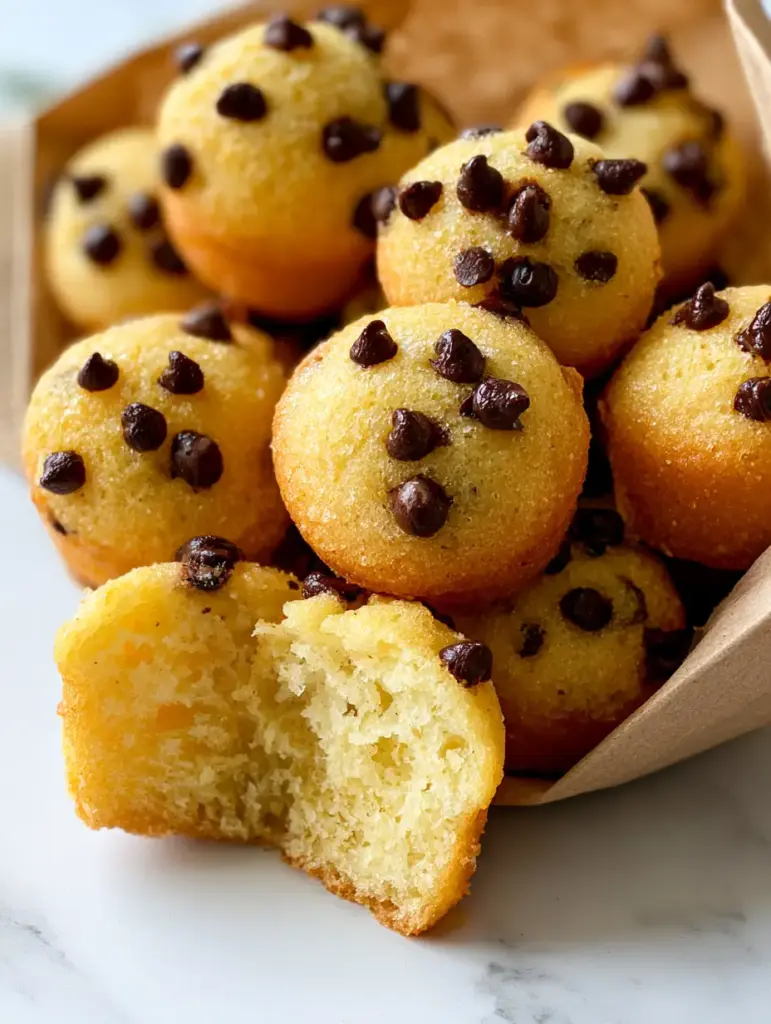
Partially fill each mini muffin cup about 3/4 full. This volume allows room for the batter to climb the walls and dome over. Before sliding the tray into the oven, take your extra granulated sugar and lightly dust the top of each unbaked muffin. This is what creates that stunning sugar-crystal glisten once baked.
5. The Bake and Sensory Cues
Bake for 10-12 minutes. Watch for the visual cues: the edges should be a deep golden-brown, and the tops should have a matte, set appearance with sparkling sugar crystals. When a toothpick inserted comes out clean, or with just a smear of melted chocolate, they are done. Avoid over-baking to keep that moist crumb intact.
Expert Tips for Visual and Flavor Consistency
- Room Temperature Ingredients: Ensure your egg and buttermilk are not ice-cold. This allows the fats to emulsify properly, resulting in a smoother batter and a more uniform sponge texture.
- The Mini Chip Secret: If your chips are sinking, toss them in a teaspoon of flour before folding them into the batter. This helps them “grip” the sponge.
- Cooling for Texture: Let the muffins sit in the pan for 5 minutes before moving them to a wire rack. This “carry-over cooking” sets the structure of the mini chocolate chips so they don’t smear when you handle them.
- The Brown Paper Trick: For that authentic snack-pouch feel, place the warm muffins in a rustic brown paper bag for a few minutes. The trapped steam slightly softens the crust, mimicking the commercial texture perfectly.
Preserving Your Homemade Snacks
These Copycat Little Bites Chocolate Chip Mini Muffins are best enjoyed warm, but they store exceptionally well. Place them in an airtight container at room temperature for up to 3 days. To regain that “steaming” interior, microwave a single muffin for 5-8 seconds before serving.
For long-term storage, these muffins are freezer superstars. Flash-freeze them on a baking sheet for an hour before transferring to a freezer-safe bag. They will stay fresh for up to 3 months, making them a perfect companion to our banana bread muffins during a weekend meal prep session.
What to Serve with Your Mini Muffins
While these are a standalone snack, they pair beautifully with other breakfast or dessert items. If you are hosting a brunch, serve them alongside our peach cobbler muffins for a fruit-and-chocolate contrast. For a more decadent afternoon tea, a plate of these next to our white chocolate raspberry cheesecake cookies creates a stunning dessert spread on any marble countertop.
Common Questions About Copycat Mini Muffins
You can, but standard chips are often too heavy for the delicate mini muffin sponge and may sink to the bottom. Mini chips ensure even distribution and the correct chocolate-to-cake ratio.
While not strictly required if your pan is well-greased, liners help maintain the moist interior by providing a barrier against the direct heat of the metal pan.
The secret is dusting a fine layer of granulated sugar over the batter right before the tray goes into the oven. This creates the ‘glisten’ and a slight crunch.
Store them in an airtight container with a small piece of parchment paper between layers. If they firm up, a 5-second burst in the microwave restores the ‘steaming’ crumb.
Dryness often comes from over-baking or over-mixing. To match the Little Bites texture, ensure you use buttermilk for acidity and pull them from the oven the moment a toothpick comes out clean.
The Ultimate Copycat Little Bites Recipe Card
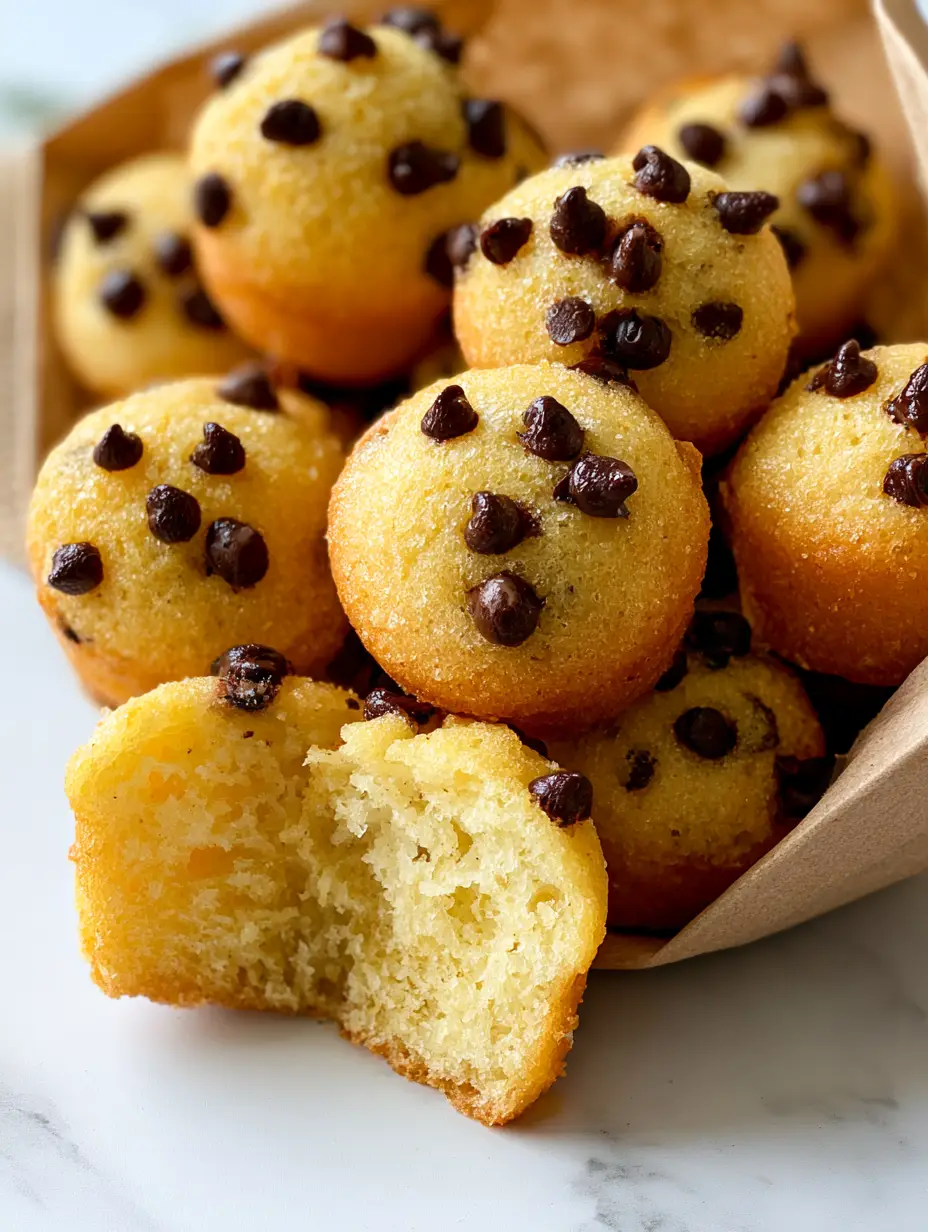
Copycat Little Bites Chocolate Chip Mini Muffins: The Ultimate Moist & Buttery Recipe
Ingredients
Equipment
Method
- Preheat oven to 375°F (190°C). Grease a 24-count mini muffin pan or line with mini liners.
- Whisk flour, sugar, baking powder, baking soda, and salt in a medium bowl.
- In a large bowl, whisk melted butter, buttermilk, egg, and vanilla until smooth.
- Gently fold dry ingredients into wet until just combined. Fold in mini chocolate chips.
- Scoop batter into muffin cups (3/4 full). Dust tops with a pinch of granulated sugar.
- Bake for 10-12 minutes until golden-brown and a toothpick comes out clean.
Notes
Do not over-mix the batter to maintain the airy crumb structure.

Join the Recipe Root Community
Crafting the perfect Copycat Little Bites Chocolate Chip Mini Muffins is a journey into the heart of nostalgic baking. We hope this recipe brings a bit of “morning light” joy to your kitchen. If you enjoyed this forensic deep-dive into snack science, please leave a comment below and share your results!
Don’t forget to follow us and share your bakes on Pinterest. Your support helps us continue to develop high-accuracy, visual-first recipes for enthusiastic home cooks everywhere.


