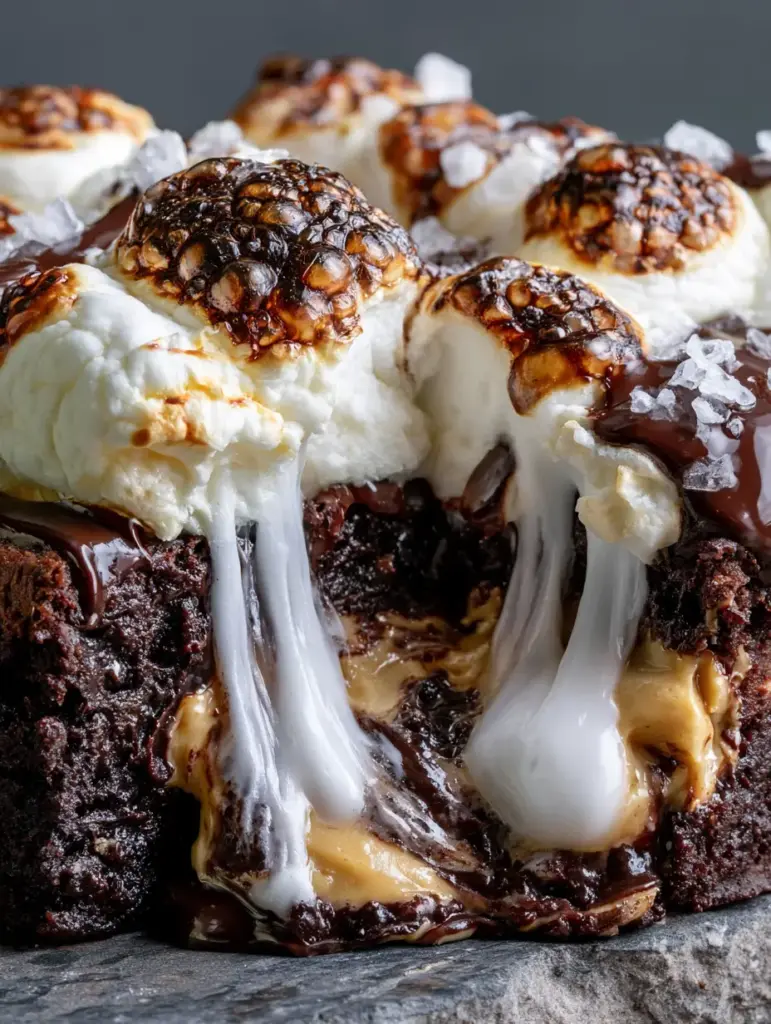
Marshmallow Peanut Butter Brownies are the viral dessert sensation your kitchen has been waiting for. If you have been searching for the perfect intersection of a rich, dark cocoa fudgy brownie base and a thick creamy peanut butter swirl, look no further. This recipe isn’t just a treat; it is a visual masterpiece featuring toasted golden-brown marshmallows and long, gooey marshmallow strands that stretch with every single bite. By combining high-quality fats with a specific layering technique, we achieve that sought-after handheld smartphone photo aesthetic—think glossy chocolate, bubbly marshmallow surfaces, and a sprinkle of flaky sea salt crystals.
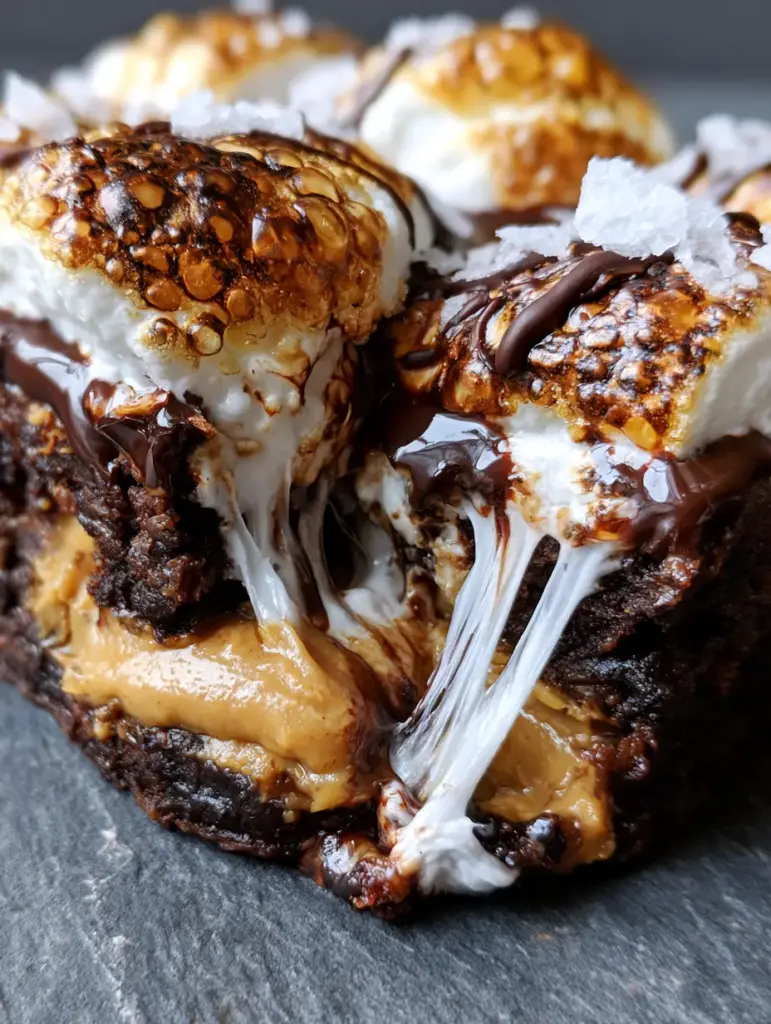
Why These Fudgy Marshmallow Peanut Butter Brownies Work
- Textural Contrast: We pair a dense, moisture-heavy brownie base with the airy, pillowy softness of toasted marshmallows.
- Visual Appeal: The melted semi-sweet chocolate drizzle creates high-gloss reflections that pop against the matte peanut butter swirls.
- Balanced Flavor: We use a specific ratio of dark cocoa and flaky sea salt crystals to ensure the sweetness of the marshmallow doesn’t overwhelm the palate.
- Pinterest-Perfect Pull: These brownies are engineered for the “cheese pull” equivalent of desserts, thanks to the specific marshmallow placement.
If you love this combination of salty and sweet, you might also want to explore our decadent peanut butter stuffed brownies or these unique marshmallow crunch brownies for more inspiration.
The Essential Ingredients for Deep Chocolate Flavor
Creating the best Marshmallow Peanut Butter Brownies requires understanding the chemistry of your ingredients. We aren’t just making a box mix; we are building layers of flavor that stand up to the heavy hitting duo of peanut butter and marshmallow.
Unsalted Butter: 1 cup (226g). We melt the butter to ensure a dense, fudgy texture rather than a cakey one. Using unsalted allows us to control the seasoning with the flaky sea salt crystals at the end.
Dark Dutch-Processed Cocoa Powder: 3/4 cup (75g). This provides the “dark cocoa fudgy brownie base” mentioned in our visual blueprint. Dutch-process cocoa is less acidic and darker in color than natural cocoa.
Creamy Peanut Butter: 1/2 cup (125g). Opt for a “no-stir” brand to achieve that thick creamy peanut butter swirl. Natural oils in artisanal peanut butters can sometimes separate and make the brownies greasy.
Large Marshmallows: 2 cups (approx. 150g). We use large marshmallows halved to ensure they create those long, gooey marshmallow strands when pulled apart.
Semi-Sweet Chocolate Chips: 1/2 cup (90g). These are melted down for the final melted semi-sweet chocolate drizzle that adds a professional finish.
How to Make Marshmallow Peanut Butter Brownies Step-by-Step
1. Preparing the Dark Cocoa Fudgy Brownie Base
Start by preheating your oven to 350°F (175°C). Line an 8×8 inch (20×20 cm) baking pan with parchment paper, leaving an overhang on the sides. In a large microwave-safe bowl, combine your 1 cup (226g) of butter and 2 cups (400g) of granulated sugar. Heat until the butter is completely melted, then whisk vigorously until the mixture looks like wet sand. This step helps create the glossy reflections on the finished brownie surface.
Whisk in 4 large eggs, one at a time, followed by 1 tablespoon (15ml) of vanilla extract. Sift in your 3/4 cup (75g) of dark cocoa powder, 1 cup (125g) of all-purpose flour, and 1/2 teaspoon (3g) of fine sea salt. Fold the mixture gently until no flour streaks remain. You should have a thick, dense, dark chocolate fudgy brownie batter.
2. Creating the Thick Creamy Peanut Butter Swirl
Pour the brownie batter into your prepared pan. Take your 1/2 cup (125g) of creamy peanut butter and heat it in the microwave for 20 seconds until it reaches a pourable consistency. Drop large dollops of peanut butter across the top of the brownie batter. Use a butter knife to swirl the peanut butter into the chocolate, creating a thick, creamy, matte peanut butter swirl. Do not over-swirl, or the colors will muddy together.
3. Baking and Adding the Toasted Golden-Brown Marshmallows
Bake the brownies for 25-30 minutes. The edges should be set, but the center should still have a slight jiggle. Remove the pan from the oven and immediately cover the top with your 2 cups (150g) of marshmallows. If you are a fan of these textures, you will also love our classic fudgy brownie recipes.
Switch your oven to the “Broil” setting. Place the brownies back in the oven for 1-2 minutes. Watch them constantly! You are looking for a perfect golden-brown char with bubbly surfaces. Once the marshmallows are toasted and gooey, remove them from the heat.
4. The Finishing Drizzle and Flaky Sea Salt
While the brownies cool slightly, melt your 1/2 cup (90g) of semi-sweet chocolate chips with 1 teaspoon (5ml) of coconut oil. Use a spoon to create a melted semi-sweet chocolate drizzle across the toasted marshmallows. Finally, sprinkle a generous pinch of flaky sea salt crystals over the top. This enhances the dark cocoa and cuts through the sweetness of the marshmallow.
Expert Tips for the Perfect Brownie Pull
- The Temperature Rule: For the most long, gooey marshmallow strands, serve these brownies while they are still slightly warm. If they cool completely, the marshmallows will set.
- Slicing Technique: Use a hot, clean knife to slice. Wipe the blade between every single cut to maintain the clean lines of the peanut butter swirl.
- Don’t Overbake: The brownie base will continue to firm up as it cools. Overbaking leads to a dry crumb, whereas we want visible moisture in the center.
- Internal Link Inspiration: If you enjoy stuffed desserts, try our peanut butter cupcakes for your next baking project.
Storage, Reheating & Freezing Instructions
Store your Marshmallow Peanut Butter Brownies in an airtight container at room temperature for up to 3 days. We do not recommend refrigerating them, as the cold air can make the dark cocoa fudgy brownie base go hard and the marshmallows rubbery.
To reheat, place a single brownie in the microwave for 10-15 seconds. This will reactivate the gooey marshmallow strands and soften the peanut butter. You can also freeze these brownies (without the marshmallow topping) for up to 3 months. If freezing the full assembly, be aware the marshmallow texture may change slightly upon thawing.
What to Serve With Marshmallow Peanut Butter Brownies
These brownies are incredibly rich, so they pair best with neutral or slightly acidic accompaniments. A tall glass of cold milk is the classic choice. For a more elevated experience, serve a square with a scoop of vanilla bean ice cream or a side of fresh raspberries to cut through the creamy peanut butter.
If you’re looking for more chocolate-heavy treats, check out our coconut brownies or Bounty-inspired bars.
Frequently Asked Questions
You can, but you won’t get the same ‘toasted char’ or ‘gooey strands.’ Fluff tends to dissolve more easily. For the best visual results, use halved large marshmallows.
Run a sharp knife under hot water, wipe it dry, and make a cut. Repeat the cleaning and heating process for every single slice to ensure the peanut butter swirl remains visible.
The secret is to add the marshmallows during the last 2 minutes of baking or under the broiler. If you bake them for the full 30 minutes, they will melt completely into the batter.
A standard creamy ‘no-stir’ peanut butter works best. Natural peanut butters that require stirring can be too oily, which may cause the brownie base to become greasy.
The Ultimate Marshmallow Peanut Butter Brownie Recipe
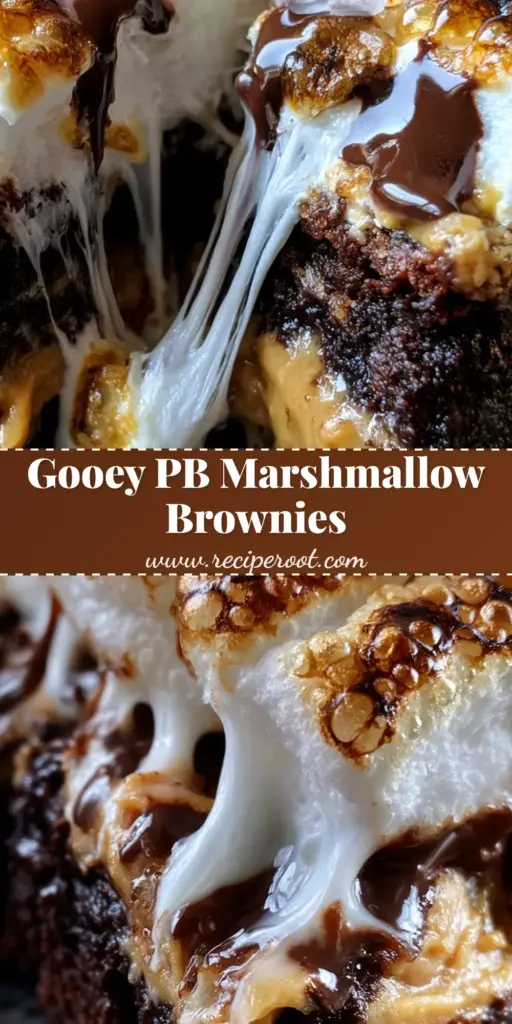
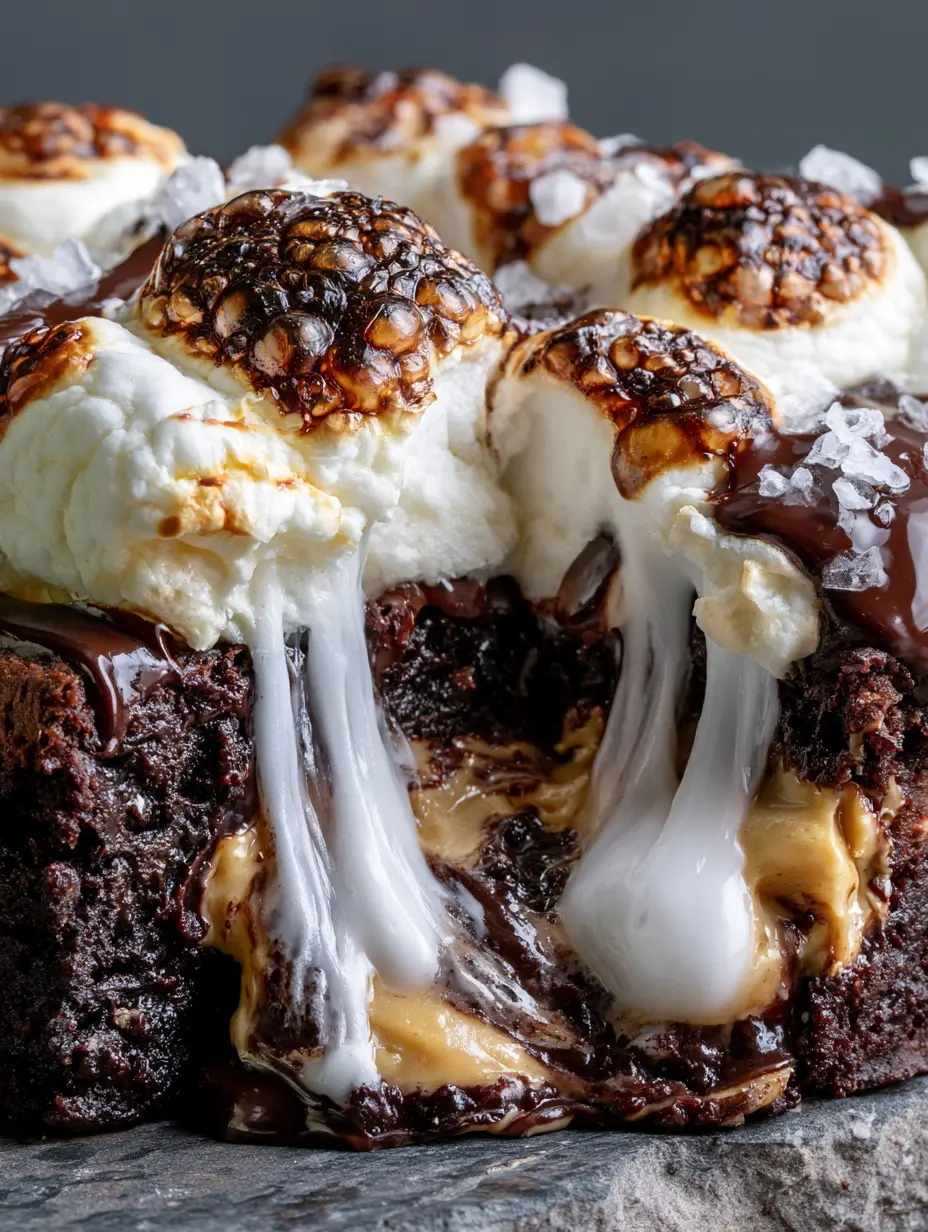
Marshmallow Peanut Butter Brownies: The Ultimate Fudgy Decadence
Ingredients
Equipment
Method
- Preheat oven to 350°F (175°C) and line an 8x8 pan with parchment.
- Combine melted butter and sugar. Whisk in eggs and vanilla.
- Fold in cocoa powder, flour, and salt until just combined.
- Pour batter into pan. Warm peanut butter and swirl into the batter with a knife.
- Bake for 25-30 minutes until edges are set.
- Top with marshmallows and broil for 1-2 minutes until golden brown.
- Drizzle with melted chocolate and sprinkle with flaky sea salt.
Notes
Watch the broiler carefully to avoid burning marshmallows.
Share the Gooey Goodness!
Did you manage to capture that perfect Marshmallow Peanut Butter Brownies pull? We want to see it! Please save this recipe to your favorite Pinterest board by clicking the “Save” button. Follow recipe_root for more decadent dessert inspiration. If you made these, leave a 5-star rating in the recipe card above and share your photos in the comments below!