There is something undeniably nostalgic about the combination of a sponge cake, silky custard, and rich chocolate. These Boston cream pie cupcakes take that legendary Massachusetts hotel classic and transform it into a sophisticated, handheld masterpiece designed for the modern home baker.
Every bite of these cupcakes offers a symphony of textures, from the tight, fine-crumbed golden sponge to the velvety, chilled pastry cream that sits at the center. We have meticulously engineered this recipe to ensure that the pastry cream holds its shape while remaining incredibly soft, featuring tiny visible specks of real vanilla bean.
The crowning glory is an ultra-glossy dark chocolate ganache that provides a mirror-like reflection under natural light. This isn’t just a cupcake; it is a miniature architectural feat of pastry science that looks as though it stepped right out of a high-end social media feed.
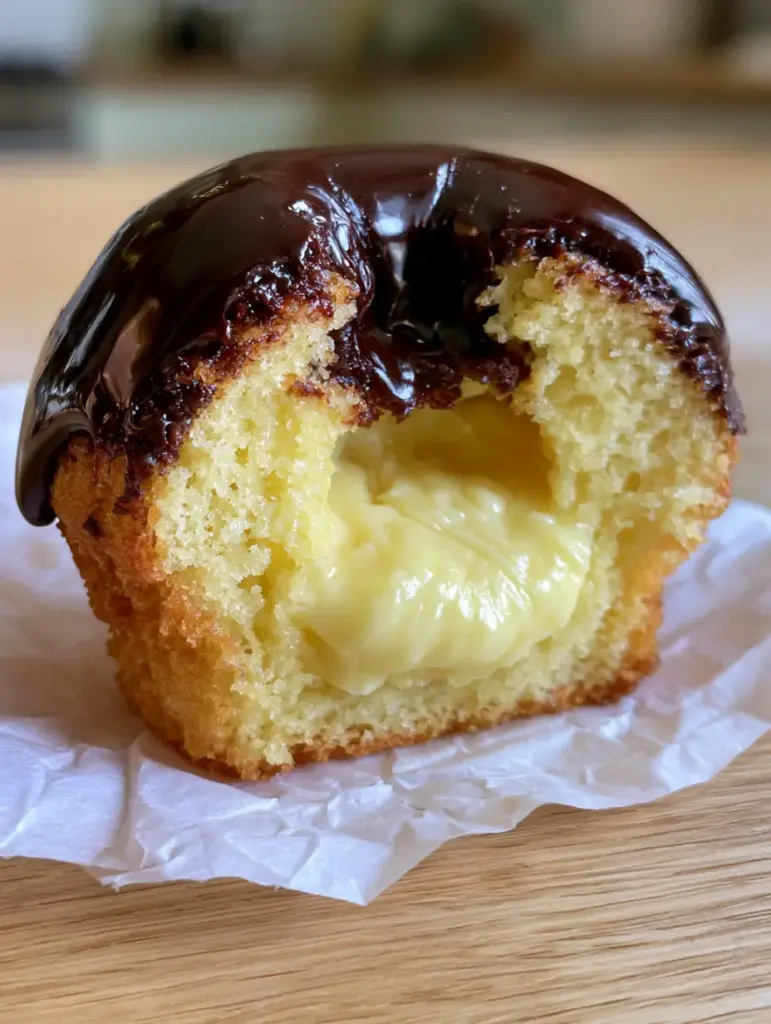
The Anatomy of an Iconic Handheld Dessert
- The Golden Sponge: A moist, airy yellow cake specifically formulated to provide a sturdy base for the heavy filling without losing its delicate, melt-in-the-mouth crumb.
- Vanilla Bean Core: A thick, pale-yellow pastry cream infused with real vanilla bean pods, ensuring a depth of flavor that instant puddings simply cannot replicate.
- High-Gloss Ganache: A dark chocolate topping with a “mirror-glaze” finish that stays shiny even after setting, catching soft reflective highlights.
- Perfect Proportions: A vertical cross-section reveals an overflowing center of cream that perfectly balances the sweetness of the chocolate and the buttery cake.
The Golden Trio: Essential Ingredients for the Perfect Cupcake
To achieve the “forensic visual accuracy” of a professional bakery, every ingredient in this list serves a specific chemical and aesthetic purpose. We do not use fillers; we use flavor-first foundations.
For the Moist Golden Yellow Sponge
Cake Flour: 1 ½ cups (190g). Unlike all-purpose flour, cake flour has a lower protein content, which is essential for creating that “visible fine crumb” seen in our cross-section photos.
Granulated Sugar: 1 cup (200g). Sugar does more than sweeten; it provides the structural tenderness by interfering with gluten development and aids in the browning of the golden-yellow exterior.
Unsalted Butter: ½ cup (115g), softened. High-quality European-style butter adds the necessary fat for a moist mouthfeel and a rich, traditional flavor profile.
Whole Milk: ½ cup (120ml). Milk provides the liquid required to hydrate the starches and contributes to the soft, airy texture of the final bake.
Large Egg Yolks: 3 yolks. By using additional yolks instead of just whole eggs, we achieve the deep “golden-yellow” color that defines a true Boston cream pie base.
Baking Powder: 1 ½ tsp (6g). This leavening agent is the “invisible ingredient” that ensures the cupcakes rise evenly and remain airy rather than dense.
For the Thick Vanilla Bean Pastry Cream
Whole Milk: 2 cups (480ml). The high fat content in whole milk is non-negotiable for a pastry cream that is “thick and velvety” enough to hold its shape when sliced.
Vanilla Bean Paste or Pod: 1 tbsp (15g) or 1 whole pod. We use real vanilla to ensure those “tiny specks of real vanilla bean” are visible throughout the pale-yellow filling.
Egg Yolks: 4 yolks. These provide the emulsifiers (lecithin) that turn liquid milk into a stable, custardy cream that won’t soak into the cake.
Cornstarch: ¼ cup (30g). This is the structural stabilizer that ensures the cream is “overflowing” but still “holds its shape” when the cupcake is halved.
For the Ultra-Glossy Dark Chocolate Ganache
Dark Chocolate (60% Cacao): 4 oz (115g). High-quality dark chocolate provides the deep, moody color and the sophisticated snap needed for a professional finish.
Heavy Cream: ½ cup (120ml). The high milk-fat percentage in heavy cream creates a rich emulsion that results in a smooth, pourable glaze.
Light Corn Syrup: 1 tbsp (15ml). This is the baker’s secret for “soft reflective highlights” and a mirror-like sheen that persists even after the chocolate has cooled.
Precision Tools for Pastry Success
Achieving the visual perfection of a “handheld smartphone photo” requires more than just ingredients; it requires the right tools to handle the delicate textures.
- 12-Cup Muffin Tin: Standard sizing ensures even heat distribution for that perfectly domed sponge.
- Small Sharp Paring Knife: Used for “coring” the cupcakes to make room for the overflowing pastry cream center.
- Fine-Mesh Sieve: Crucial for straining the pastry cream to ensure a “velvety” texture free of any accidentally cooked egg bits.
- Piping Bag with Round Tip: For injecting the filling deep into the crumb without cracking the golden exterior.
- Offset Spatula: To guide the ganache so it is “slightly dripping over the edges” with intentional precision.
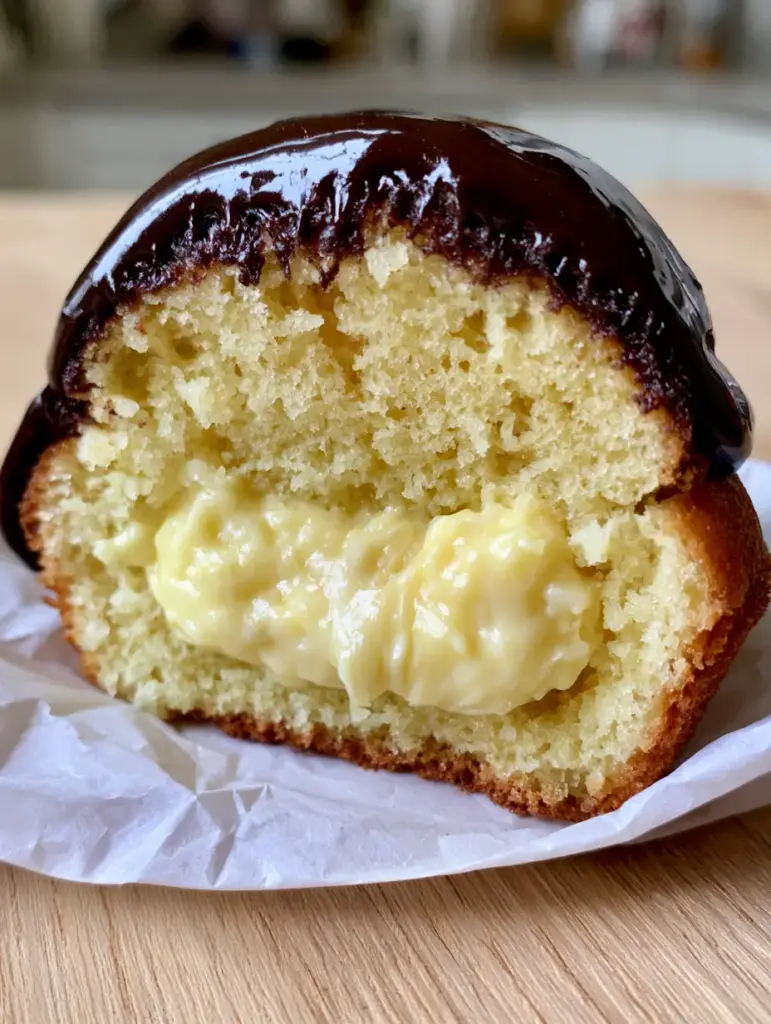
The Step-by-Step Path to Pastry Perfection
Phase 1: Crafting the Silky Vanilla Bean Custard
We begin with the pastry cream because it requires significant chilling time to reach the “thick, velvety” consistency required for a perfect cross-section.
In a medium saucepan, combine the 2 cups (480ml) of milk and the scraped vanilla bean seeds. Heat over medium until you see small bubbles forming at the edges—this is the “scalded” stage where the vanilla flavor fully infuses.
In a separate bowl, whisk the 4 egg yolks, granulated sugar, and ¼ cup (30g) of cornstarch until the mixture turns a pale lemon color. This aeration is the first step toward a light, non-rubbery texture.
Slowly drizzle half of the hot milk into the egg mixture while whisking constantly. This “tempering” process warms the eggs gradually so they don’t scramble, maintaining the “pale-yellow” visual profile.
Return the entire mixture to the saucepan and whisk vigorously over medium heat. Watch for the sensory cue: the liquid will suddenly transform into a thick, glossy custard that “bloops” or bubbles slowly. Remove from heat immediately.
Strain the cream through a fine-mesh sieve into a bowl and press plastic wrap directly onto the surface. This prevents a “skin” from forming, keeping the cream perfectly smooth for filling later.
Phase 2: Baking the Golden Yellow Sponge
Preheat your oven to 350°F (175°C). Line your muffin tin with high-quality paper liners; for the best aesthetic, use white greaseproof paper that mimics the “crumpled white greaseproof paper” in our visual prompt.
Cream the softened butter and sugar together for at least 3-5 minutes. You are looking for a visual change: the mixture should look significantly paler and fluffier as air is incorporated.
Add the egg yolks one at a time, followed by the vanilla. The high yolk count will begin to turn the batter a beautiful, rich “golden yellow.”
Alternately add the dry ingredients and the milk, starting and ending with the flour. Mix only until just combined; overmixing will destroy the “airy, moist” crumb we are aiming for.
Fill the liners 2/3 full and bake for 18-20 minutes. Look for a visual cue: the tops should be springy to the touch and just barely golden-brown at the very edges.
Phase 3: The Mirror-Glaze Ganache Application
Once the cupcakes are completely cool, it is time to create the “ultra-glossy” topping. Finely chop the dark chocolate and place it in a heat-proof glass bowl.
Heat the heavy cream and corn syrup in a small pot until it just begins to simmer. Do not let it reach a rolling boil, as this can break the chocolate’s emulsion.
Pour the hot cream over the chocolate and let it sit undisturbed for 5 minutes. This allows the chocolate to melt evenly from the residual heat, ensuring a “mirror-glaze” finish without air bubbles.
Gently whisk from the center outward until a “dark chocolate ganache” forms. It should be exceptionally glossy and hold a reflective sheen as you stir.
The Assembly: Achieving the Perfect Cross-Section
Use a paring knife to cut a cone-shaped piece out of the center of each cupcake, about 1 inch (2.5cm) deep. Don’t throw away the “plugs”—you can snack on those or crumble them into a homemade banana pudding later.
Transfer your chilled pastry cream into a piping bag. Squeeze the cream into the cavity until it is “overflowing” slightly above the top of the cake.
Dip the top of each filled cupcake directly into the warm ganache. Lift it straight up and give it a small swirl to encourage those “slight drips over the edges” seen in the high-quality social media photography.
Let the cupcakes set at room temperature for 30 minutes. This allows the ganache to firm up enough to handle while maintaining its “soft reflective highlights.”
Expert Tips for Visual and Culinary Success
- The “Vanishing” Vanilla: If your vanilla bean specks settle at the bottom of your cream, whisk the cream again once it has partially cooled but before it fully sets to redistribute the seeds.
- Gloss Preservation: Never refrigerate the ganache before it has fully set at room temperature. Sudden temperature shifts can cause “blooming,” which dulls the glossy dark chocolate finish.
- The Clean Cut: To achieve the “vertical half slice” look from the prompt, use a sharp chef’s knife dipped in hot water and wiped dry between each cut.
- Moisture Control: If your cupcakes feel dry, brush the sponge with a tiny bit of simple syrup before filling. This technique is common in professional bakeries to ensure “moisture of the cake” is visible in photos.
The Ideal Environment for Your Masterpieces
These cupcakes are delicate due to the fresh dairy in the pastry cream. Store them in an airtight container in the refrigerator for up to 3 days.
For the best flavor and “velvety” texture, let the cupcakes sit at room temperature for 15-20 minutes before serving. This softens the butter in the sponge and ensures the ganache has its signature reflective sheen.
We do not recommend freezing these cupcakes once assembled, as the cornstarch-based pastry cream can “weep” or become grainy upon thawing. If you must prep ahead, freeze the unfilled sponge cakes and make the cream fresh.
What to Serve With Boston Cream Pie Cupcakes
These rich, chocolatey treats pair beautifully with light, fruit-forward desserts or creamy classics. Consider serving them alongside a classic blueberry pie for a contrast in flavors at your next gathering.
If you love the custardy center of these cupcakes, you will definitely enjoy the layers in our banana pudding lush or a refreshing strawberry crunch banana pudding. The vanilla notes in these cupcakes also complement a warm pumpkin pie sauce during the autumn months.
Common Questions About This Bakery Classic
Yes, you can bake the sponges and make the pastry cream 24 hours ahead. For the best visual results, dip them in fresh ganache on the day you plan to serve them.
While possible, instant pudding lacks the structural stability to ‘hold its shape’ in a cross-section. For the professional look and tiny vanilla bean specks, we recommend the homemade cornstarch-based pastry cream.
Ensure both the cupcake and the pastry cream are completely cool before assembly. Filling a warm cupcake with cream will cause the steam to trap, resulting in a mushy sponge.
The secret lies in using a higher ratio of egg yolks to whole eggs. The natural fats and pigments in the yolks provide that deep golden hue and a superior moist crumb.
A dull ganache often results from missing the corn syrup or refrigerating it too quickly. The corn syrup provides the mirror-glaze sheen, while room-temperature setting prevents condensation dullness.
The Ultimate Boston Cream Pie Cupcakes Recipe
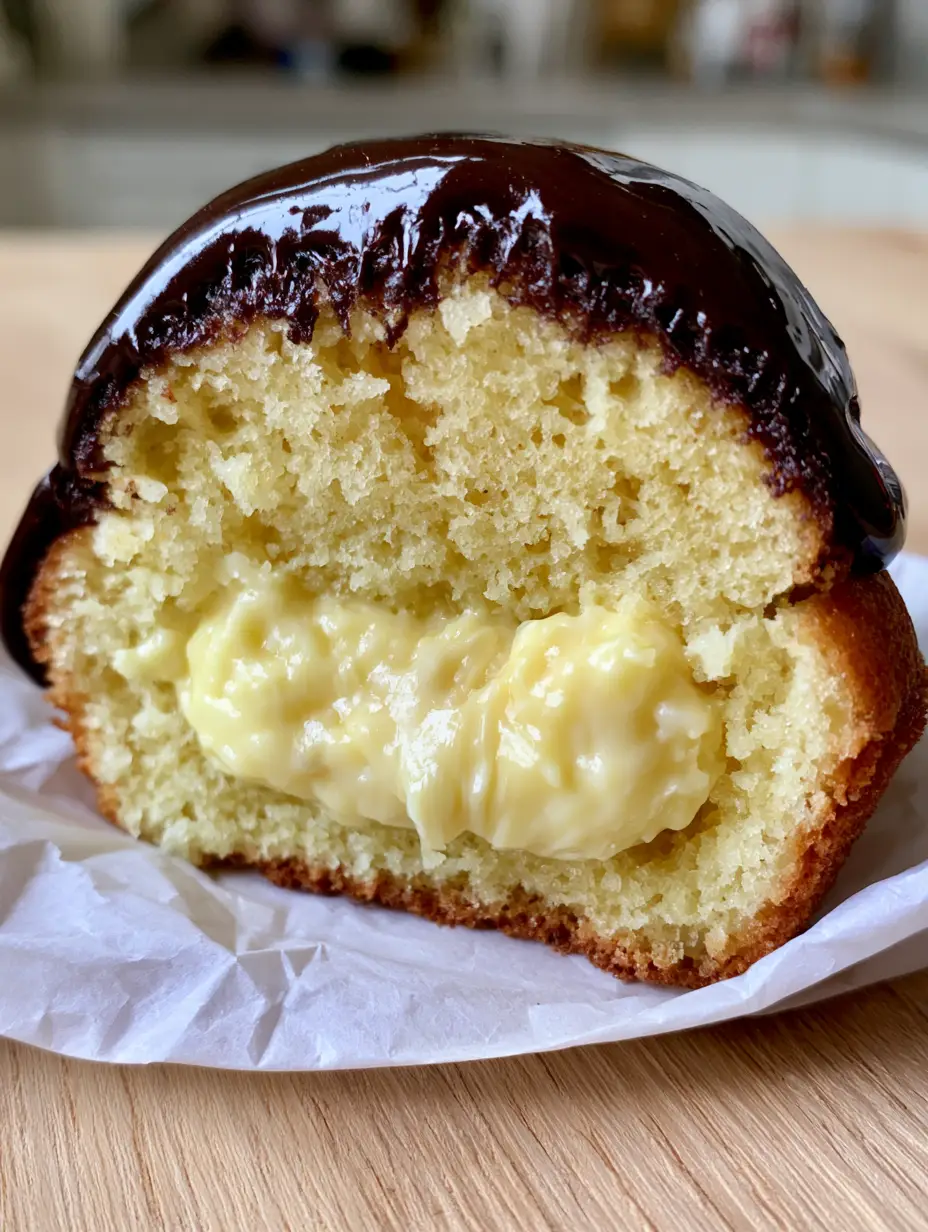
Boston Cream Pie Cupcakes with Vanilla Bean Filling and Mirror-Glaze Ganache
Ingredients
Equipment
Method
- Heat milk and vanilla in a saucepan until simmering. Whisk egg yolks, sugar, and cornstarch in a bowl.
- Slowly whisk hot milk into eggs, then return to heat. Cook until thick and bubbling. Strain and chill with plastic wrap on surface.
- Cream butter and sugar. Add yolks and vanilla. Alternately mix in dry ingredients and milk.
- Fill liners 2/3 full. Bake at 350°F (175°C) for 18-20 minutes until golden and springy.
- Remove centers of cooled cupcakes. Pipe in the chilled pastry cream until overflowing.
- Melt chocolate with hot cream and corn syrup. Dip cupcake tops into ganache for a glossy finish.
Notes
Ensure your pastry cream is fully chilled before piping to maintain the structured cross-section.
Join the Recipe Root Community
We hope these Boston cream pie cupcakes become a staple in your dessert rotation! The combination of “ultra-glossy dark chocolate” and “thick vanilla bean pastry cream” is a guaranteed crowd-pleaser that looks just as good as it tastes.
If you made this recipe, we want to see your “vertical cross-sections!” Tag us on social media and follow our Pinterest for more visually stunning recipes. Don’t forget to leave a comment below with your favorite baking tips!


