There is something inherently captivating about the contrast between a pitch-black cocoa crust and a snow-white, velvety filling. Our Mini Oreo Cheesecakes capture this aesthetic perfectly, offering a sophisticated twist on a childhood favorite that looks as good on a smartphone camera as it tastes on the palate.
Imagine a thick, compressed layer of dark chocolate cookie crumbs supporting a dense, ultra-creamy cheesecake center. Each bite is punctuated by tiny specks of vanilla and crushed cookie bits, finished with a professional dusting of cookie “soil” and a vertically placed mini Oreo for that iconic silhouette.
Whether you are preparing these for a high-end dessert spread or simply looking for the perfect portion-controlled treat, this recipe delivers professional results. The soft, matte sheen of the filling and the crisp architecture of the crust make these Mini Oreo Cheesecakes a true showstopper.
Why These Miniature Cookies and Cream Delights Stand Out
- Textural Contrast: The crunch of the dark chocolate cookie crumb crust provides a structural foundation for the silky, whipped cream cheese filling.
- Visual Precision: Designed to match the aesthetic of modern food photography, these treats feature a vertical garnish and fine cookie dust for a high-end finish.
- Portion Perfection: Using white paper cupcake liners ensures each cheesecake is individually wrapped and ready for serving without the mess of slicing.
- Balanced Sweetness: By incorporating real vanilla and a hint of salt, we balance the deep cocoa notes of the Oreo bits to prevent the dessert from being cloying.
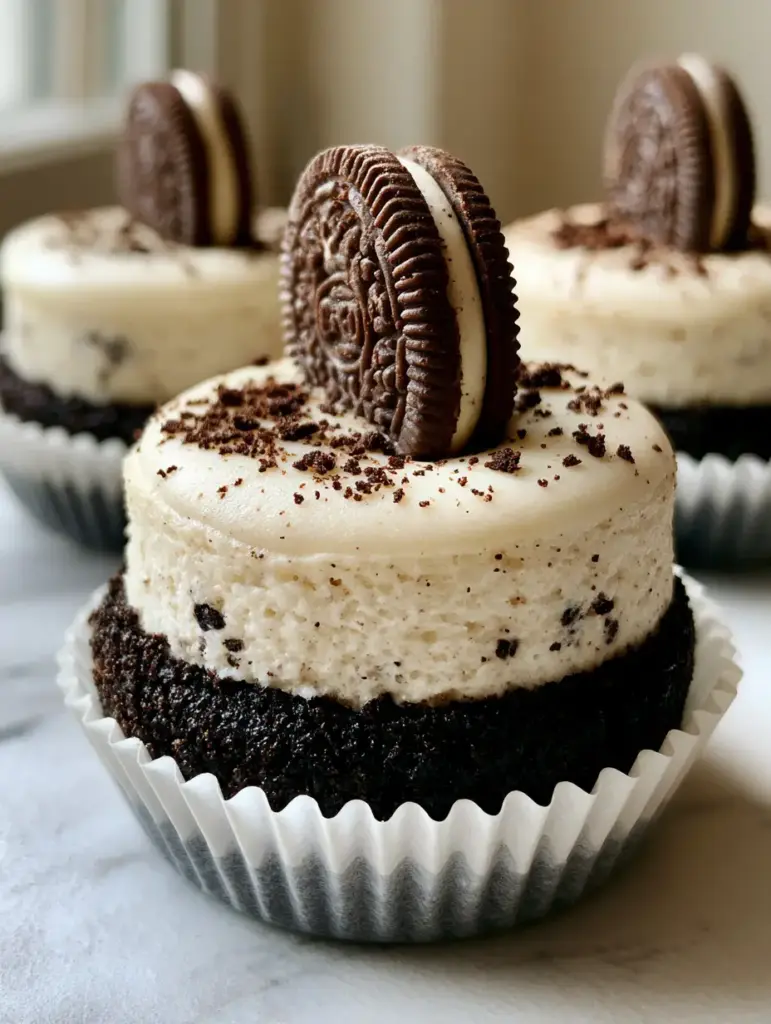
Mastering the Elements: The Essential Ingredients for Success
The Foundation: The Dark Chocolate Cookie Crust
24 whole Oreo cookies (approx. 270g): These serve as the primary flavor profile and the source of the dark black cocoa crumbs required for the thick, packed base. The cream filling in the cookies helps bind the crust together, ensuring it doesn’t crumble when you peel away the liner.
4 tbsp (56g) unsalted butter, melted: Butter acts as the “glue” for your crust. Using unsalted butter allows you to control the sodium levels, ensuring the chocolate remains the star of the show.
The Heart: Ultra-Creamy Cheesecake Filling
16 oz (450g) full-fat cream cheese, room temperature: To achieve that dense, matte sheen described in our visual blueprint, you must use block cream cheese. Avoid whipped varieties, as they contain too much air and will not yield the same velvety texture.
1/2 cup (100g) granulated sugar: This provides just enough sweetness to complement the tangy cream cheese without overshadowing the flavor of the cookies and cream components.
1/2 cup (120g) full-fat sour cream: This is the secret to a soft, creamy mouthfeel. The acidity in the sour cream breaks down the protein structure of the cheese, resulting in a smoother finish.
2 large eggs, room temperature: Eggs provide the necessary structure to keep the cheesecakes upright and dense. Adding them one at a time prevents over-incorporation of air.
1 tsp (5ml) pure vanilla extract: This creates those “visible tiny specks of vanilla” that signal a high-quality, homemade dessert.
1/2 cup (50g) finely crushed Oreo bits: These are folded into the batter to create the speckled, marbled look within the white filling.
The Finishing Touches: Artistic Garnishes
12 mini Oreo cookies: These are pressed vertically into the top of each cheesecake, providing height and a recognizable brand identity to the dish.
2 tbsp (15g) fine chocolate cookie dust: Achieved by blitzing cookie wafers without the cream, this dust adds a professional “fine dining” aesthetic to the final presentation.
The Pro’s Tool Kit for Tiny Cheesecakes
To achieve the precise look of our Mini Oreo Cheesecakes, you will need a standard 12-cup muffin tin paired with high-quality white paper cupcake liners. The white liners provide a clean, neutral background that makes the dark black crust and white filling “pop” visually.
A food processor is essential for achieving the two distinct textures of cookie crumbs: the coarse, packed crumbs for the base and the fine, silken dust for the garnish. You will also benefit from a handheld mixer or a stand mixer fitted with the paddle attachment to ensure the filling is smooth without being overly aerated.
Step-by-Step: Crafting Your Mini Masterpieces
Constructing the Black Cocoa Base
Preheat your oven to 325°F (163°C). Place 24 whole Oreos in a food processor and pulse until they reach the consistency of wet sand. You want the crumbs to be fine enough to pack tightly, ensuring the base doesn’t fall apart.
Transfer the crumbs to a bowl and stir in the 4 tbsp (56g) of melted butter. Line your muffin tin with the white paper liners. Spoon approximately 1.5 tbsp (22g) of the mixture into each liner. Use the bottom of a small glass or a measuring cup to press the crumbs down firmly; you are looking for a thick, packed layer that feels solid to the touch.
Bake the crusts for 5 minutes. This “par-baking” step sets the butter and ensures the crust remains crisp even after the creamy filling is added. Set the tin aside to cool while you prepare the batter.
Mixing the Velvety Speckled Filling
In a large bowl, beat the 16 oz (450g) of room-temperature cream cheese and 1/2 cup (100g) of sugar until completely smooth. Use a medium speed to avoid whipping in too much air; we want a dense, matte result, not a fluffy mousse.
Scrape down the sides of the bowl and add the 1/2 cup (120g) of sour cream and 1 tsp (5ml) of vanilla extract. Once combined, add the eggs one at a time, mixing just until the yellow disappears. Finally, gently fold in the 1/2 cup (50g) of crushed Oreo bits using a spatula. You should see distinct specks of dark cookie throughout the white batter.
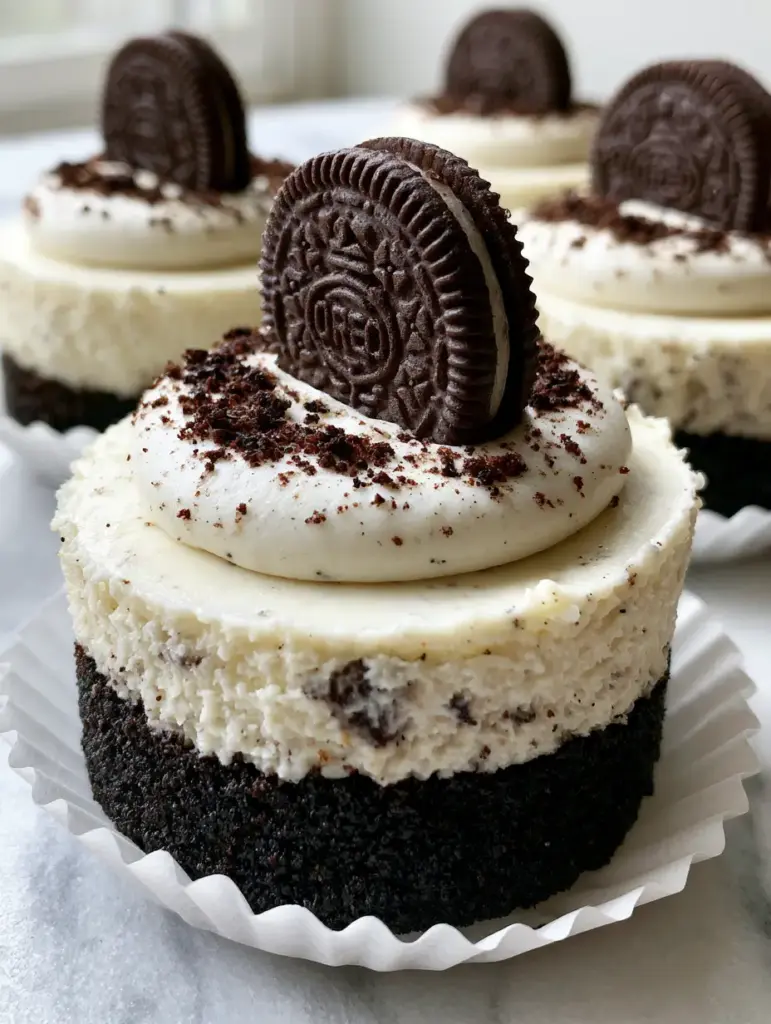
Baking and Achieving the Matte Sheen
Divide the batter evenly among the 12 liners, filling them nearly to the top. Bake for 18–22 minutes. The Mini Oreo Cheesecakes are done when the edges are set but the centers still have a very slight, rhythmic jiggle when the pan is tapped.
Crucially, do not overbake. Overbaking causes cracks and destroys the “soft, matte sheen” we are aiming for. Turn off the oven, crack the door slightly, and let the cheesecakes sit inside for 10 minutes. This slow cooling prevents the centers from sinking too deeply.
Expert Tips for Success
- Temperature Control: Ensure your cream cheese and eggs are truly at room temperature. Cold ingredients lead to lumps, which will ruin the “ultra-creamy” visual of the filling.
- The Vertical Press: Wait to add the whole mini Oreo garnish until the cheesecakes have cooled for about 20 minutes. If you add them while the filling is hot, the cookie may soften too much; if you wait until they are fully set, the cookie won’t “stick.”
- Dusting Technique: Use a fine-mesh sieve to apply the cookie dust. This ensures the “fine chocolate cookie dust” is distributed evenly rather than in clumps.
- Peeling Perfection: For the cleanest edges, chill the cheesecakes in the refrigerator for at least 4 hours before removing them from the paper liners.
Preserving the Texture: Storage and Freezing
These Mini Oreo Cheesecakes should be stored in an airtight container in the refrigerator for up to 5 days. The moisture from the cheesecake will naturally soften the crust slightly over time, but the flavor will actually deepen as the vanilla and cocoa meld.
To freeze, place the fully cooled and set cheesecakes (without the mini Oreo garnish) on a baking sheet to flash-freeze. Once solid, wrap them individually in plastic wrap and store in a freezer bag for up to 3 months. Thaw in the refrigerator overnight before adding the fresh garnish and cookie dust.
The Perfect Pairings for Your Mini Cheesecakes
While these treats are a standalone triumph, they pair beautifully with other items from our miniature cheesecake collection. If you are hosting a party, consider offering a variety of flavors, such as tangy lemon or salted caramel for a balanced dessert tray.
For a whimsical “cookies and cream” themed event, serve these alongside banana pudding cheesecakes or even Golden Oreo pudding cups. The contrast between the dark chocolate of the Oreos and the bright fruit flavors creates a dynamic tasting experience.
Frequently Asked Questions
While you can adapt the flavor to a no-bake version using whipped cream, this specific recipe focuses on a baked, dense, and matte texture that is only achievable through the baking process.
Ensure you use the entire Oreo cookie (including the cream) for the base and pulse them into a very fine crumb. The natural dark cocoa in the cookie provides that deep black color without needing extra dyes.
Chop the cookies by hand into small bits rather than pulverizing them, and gently fold them into the batter at the very end. Over-mixing once the cookies are added will bleed the dark color into the white filling.
Cheesecakes usually sink due to too much air being incorporated during mixing or sudden temperature changes. To prevent this, mix on low speed and let them cool gradually in the oven with the door cracked.
The Final Recipe for Mini Oreo Cheesecakes
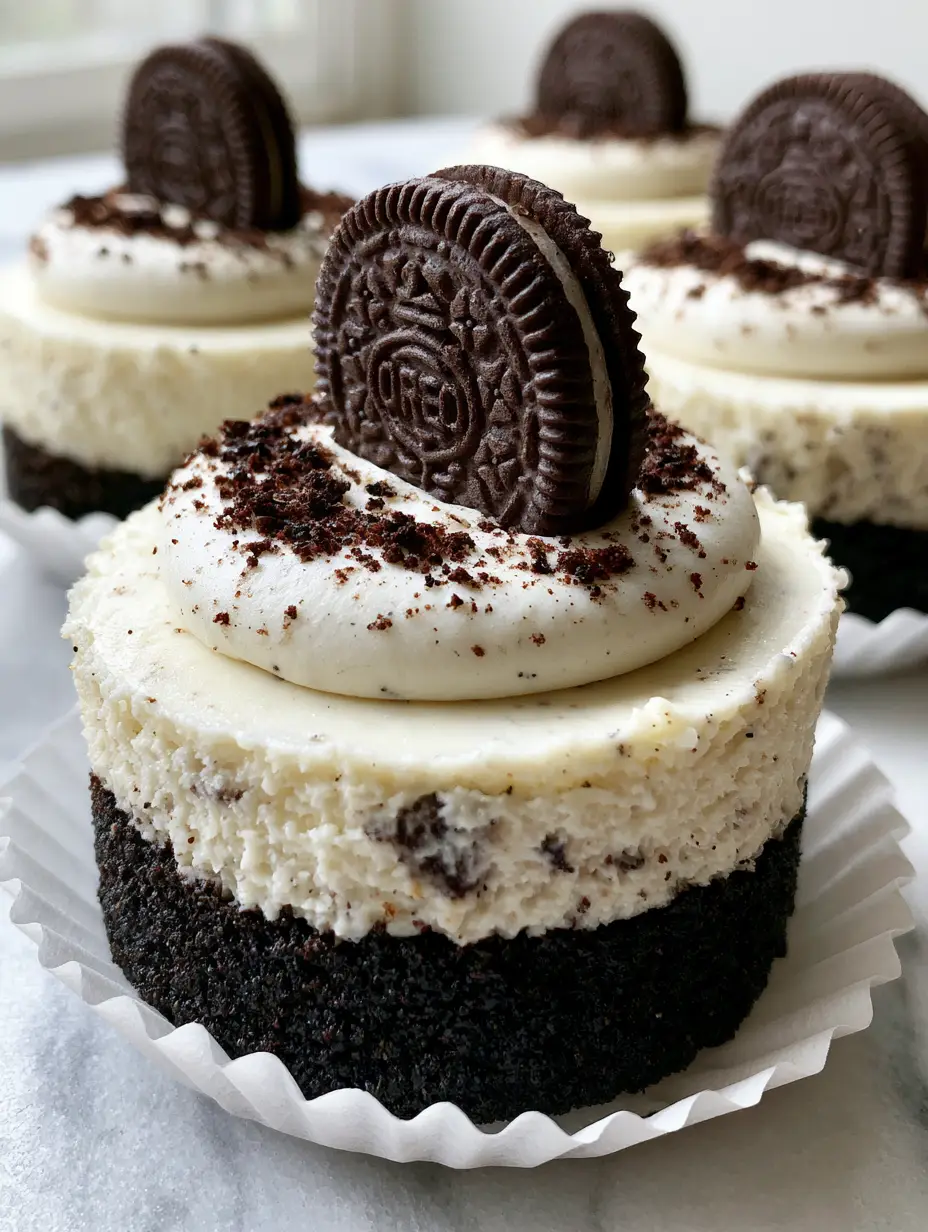
Mini Oreo Cheesecakes: The Ultimate Velvet-Texture Cookies and Cream Recipe
Ingredients
Equipment
Method
- Pulse 24 Oreos in a food processor until fine. Mix with 4 tbsp (56g) melted butter.
- Press 1.5 tbsp (22g) of crumbs into each white paper liner. Pack tightly with a glass bottom.
- Bake the crusts at 325°F (163°C) for 5 minutes, then let cool.
- Beat room temperature cream cheese and sugar until smooth and matte.
- Mix in sour cream, vanilla, and eggs one at a time on low speed.
- Gently fold in 1/2 cup (50g) of crushed Oreo bits until speckled.
- Fill liners and bake for 18-22 minutes until edges are set but centers jiggle slightly.
- Press one mini Oreo vertically into each cheesecake while cooling. Dust with fine cookie soil.
Notes
Do not overbeat the batter to maintain a dense, matte texture.
Closing & Call to Action
Mastering the Mini Oreo Cheesecakes is a rewarding experience that combines scientific baking principles with artistic food styling. The result is a dense, velvety, and visually stunning dessert that satisfies every craving for cookies and cream. If you enjoyed this guide to perfect individual desserts, please leave a comment below and share your photos with us!
For more daily recipe inspiration and professional plating tips, follow us on Pinterest. Don’t forget to save this recipe to your “Dessert Goals” board so you can find it the next time you need a guaranteed crowd-pleaser!


