There is a specific kind of magic that happens when the aroma of nutty, toasted brown butter meets the sharp, sophisticated bitterness of 70 percent dark chocolate. If you have been searching for the ultimate salted caramel chocolate chip cookies, your quest ends here. This recipe isn’t just another cookie; it is a structural masterpiece of textures.
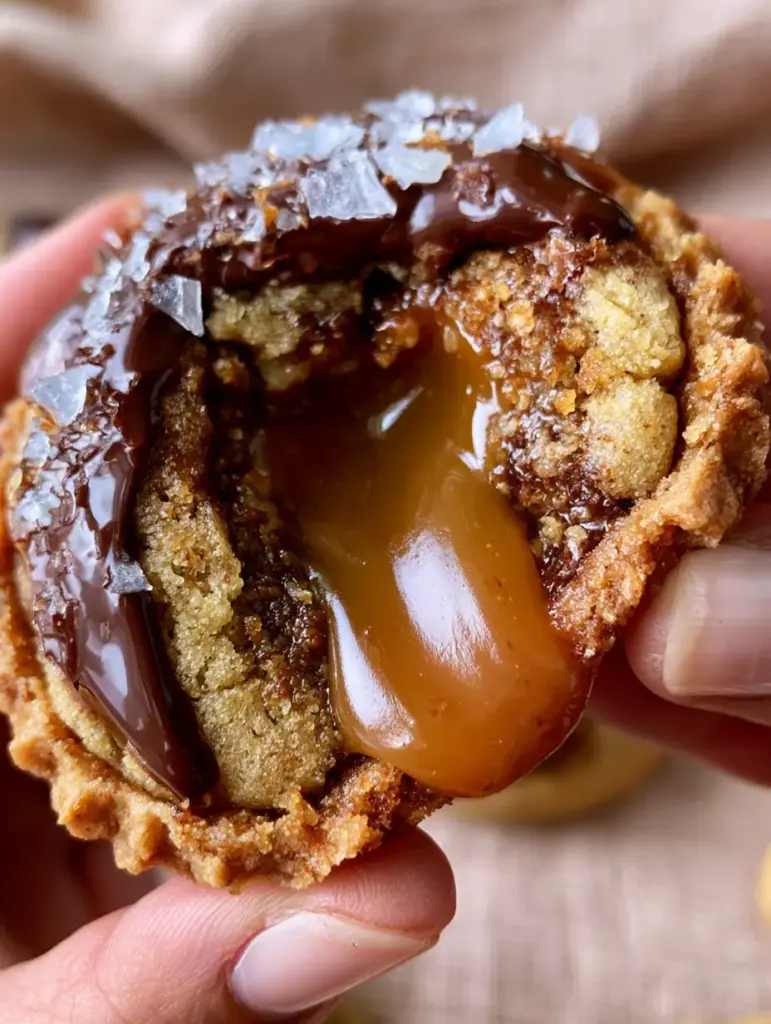
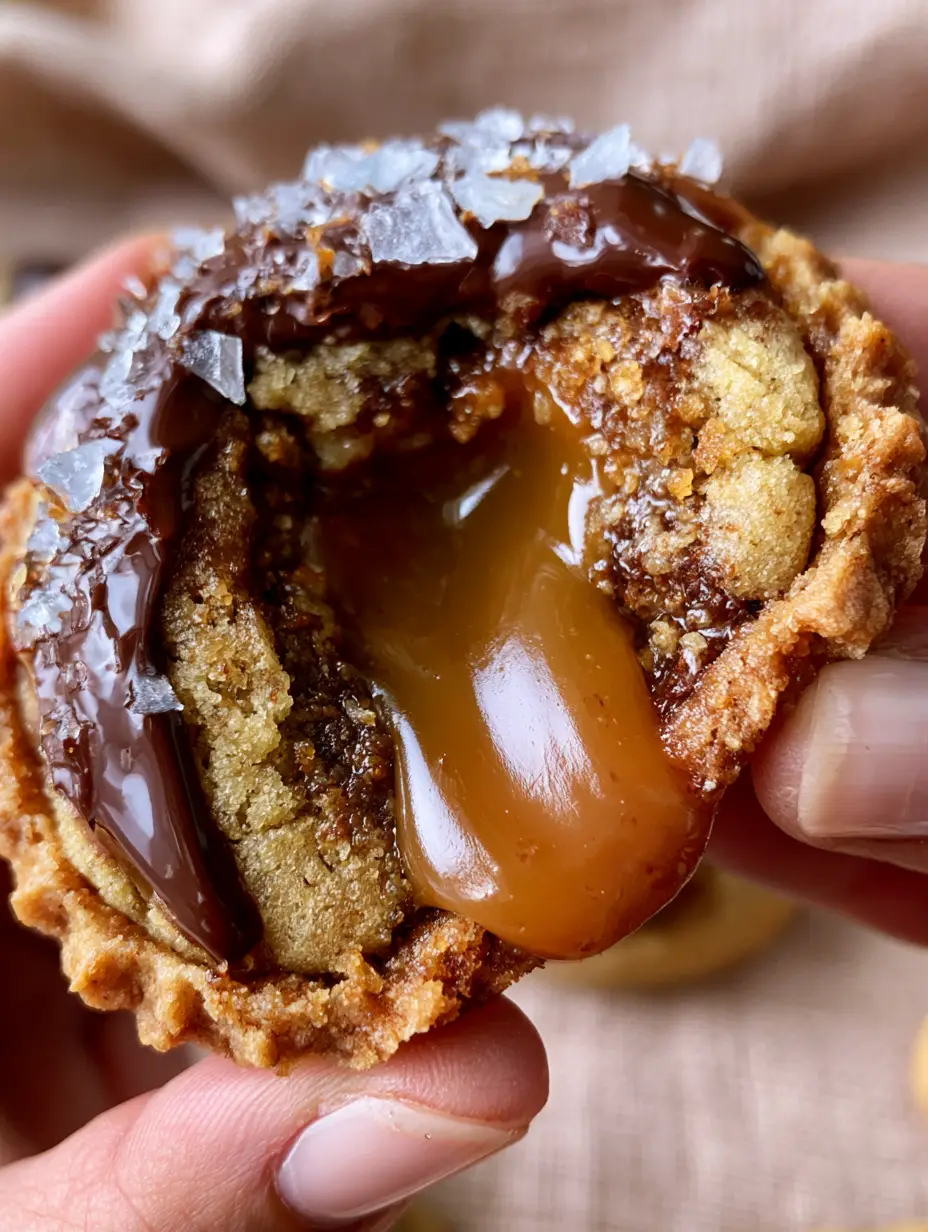
Imagine a thick, bakery-style cookie that feels substantial in your hand. As you gently pull it apart, the soft dough gives way to reveal a thick, flowing, viscous river of golden liquid caramel. This isn’t just a snack; it’s a sensory experience designed for the true dessert enthusiast.
By combining professional pastry techniques with accessible home kitchen methods, we have created a cookie that features glistening pools of melted dark chocolate and oversized, translucent flakes of Maldon sea salt. The result is a perfect balance of sweet, salty, and rich flavors that will ruin all other cookies for you forever.
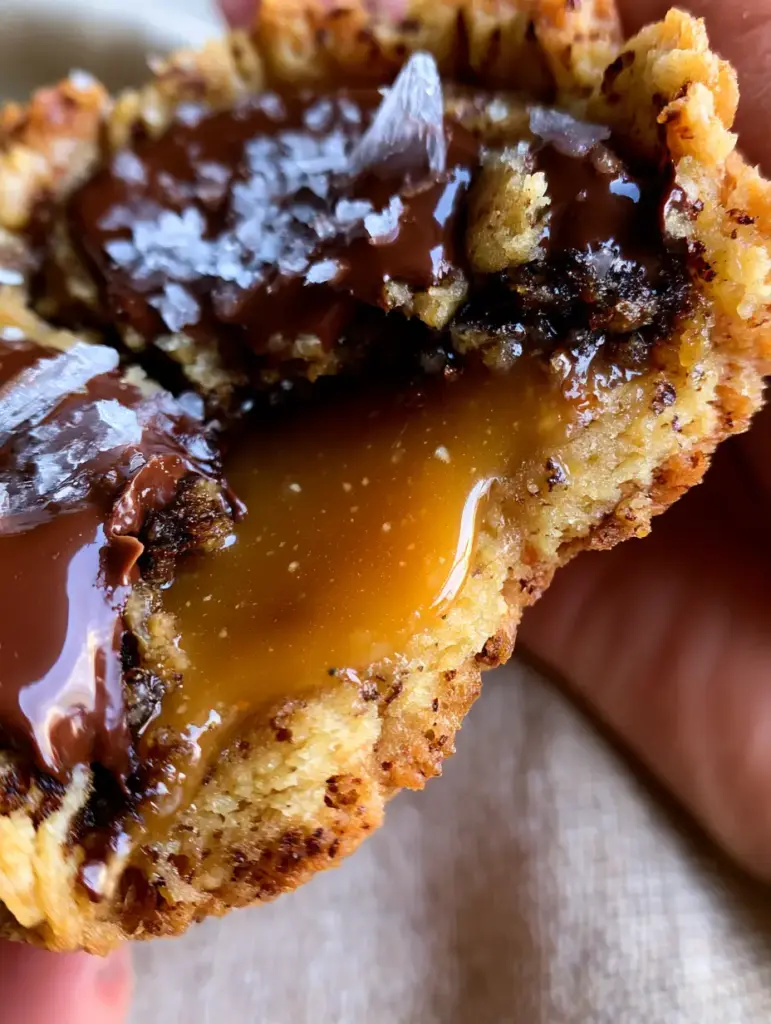
The Sensory Appeal of These Salted Caramel Chocolate Chip Cookies
- Visual Texture: Deep golden-brown ruffled edges that offer a satisfying crunch, contrasting against a soft, pale, and underbaked interior dough.
- The Caramel Core: A hidden reservoir of liquid gold caramel that remains molten even after the cookies have cooled slightly.
- Chocolate Pools: Instead of small chips, we use chopped 70 percent dark chocolate to create wide, glistening pools of cocoa intensity.
- Aromatic Depth: The inclusion of toasted brown butter provides visible specks of milk solids that carry notes of hazelnut and toasted brioche.
The Chemistry of Ingredients: Choosing the Right Components
To achieve the specific visual and structural results of these salted caramel chocolate chip cookies, every ingredient serves a dual purpose: flavor and physics. We aren’t just mixing dough; we are engineering a vessel for molten caramel.
Unsalted European-Style Butter: 1 cup (227g). We use high-fat butter to ensure the “toasted” flavor is prominent. The water content evaporates during the browning process, leaving behind concentrated fat and flavorful browned milk solids.
Granulated Sugar & Dark Brown Sugar: ½ cup (100g) white and 1 cup (200g) dark brown. The high molasses content in dark brown sugar provides the chewiness and moisture needed to keep the interior pale and soft, while the white sugar helps create those crispy, ruffled edges.
Large Eggs: 2 room temperature eggs. These provide the protein structure that contains the “flowing river” of caramel. Without the right emulsification, the caramel would simply soak into the dough rather than remaining a distinct layer.
70% Dark Chocolate Bar: 8 oz (225g), roughly chopped. Avoid standard chips if you want those “molten pools.” Chopping a high-quality bar allows the chocolate to spread into wide, thin layers throughout the dough.
Maldon Sea Salt: 2 tbsp (10g). These oversized, translucent flakes provide the essential “crunch” and visual sparkle that cuts through the richness of the caramel.
Soft Caramel Candies: 12-15 pieces (approximately 150g). To get that liquid gold center, we use high-quality soft caramels wrapped in a small amount of heavy cream to ensure they stay viscous.
Essential Equipment for Bakery-Style Results
To replicate the handheld smartphone photo look of a thick, bakery-style cookie, you need tools that manage heat distribution effectively. Using the right equipment prevents the dough from spreading into a flat puddle.
A heavy-bottomed stainless steel saucepan is non-negotiable for browning your butter. The light-colored bottom allows you to see the exact moment the milk solids turn golden-brown, preventing the butter from burning and turning bitter.
We also recommend a large 3-tablespoon (45ml) cookie scoop. This ensures every salted caramel chocolate chip cookie is uniform in size, which is critical for even baking and containing the caramel core perfectly in the center.
Finally, a professional-grade cooling rack allows air to circulate under the cookies immediately after they leave the oven. This stops the cooking process and preserves that “soft pale interior dough” described in our visual blueprint.
Step-by-Step: Mastering the Brown Butter Foundation
Achieving the Perfect Toast
In your saucepan over medium heat, melt the butter. Continue cooking, whisking constantly, as it begins to foam and pop. This is the water evaporating. Once the popping subsides, watch for the “toasted brown butter specks” to appear at the bottom. Immediately remove from heat and transfer to a heat-proof bowl to stop the cooking.
Creaming for Structure
Combine the cooled brown butter with your sugars. You aren’t just mixing; you are aerating. Beat for at least 3 minutes until the mixture looks like wet sand. Add the eggs one at a time, ensuring each is fully incorporated to create a stable emulsion for your bakery-style dough.
Folding the Dark Chocolate Pools
Gently fold in your 70% dark chocolate chunks. By hand-folding, you prevent the chocolate from streaking the dough, keeping the dough pale while ensuring every bite has a “molten pool.” Add your flour, baking soda, and salt, mixing just until no white streaks remain.
The Secret Technique: Engineering the Liquid Gold Center
To get that “flowing, viscous river” of caramel, you cannot simply put a caramel in the middle. You must wrap the caramel in a way that protects it from the direct heat of the oven. Take a tablespoon of dough, flatten it, place a slightly softened caramel in the center, and top with another tablespoon of dough.
Seal the edges tightly. This containment is what allows the caramel to melt into a liquid state without leaking out onto the pan. If you’ve enjoyed caramel-infused desserts before, you know that the key is the temperature contrast between the dough and the filling.
Chill the dough balls for at least 2 hours. This step is mandatory. Chilling solidifies the fat, ensuring the cookies stay thick and maintain their “bakery-style” height while the center transforms into liquid gold.
Baking Cues: Visual Signs of Perfection
Preheat your oven to 350°F (175°C). Place the chilled dough balls on a parchment-lined sheet. Bake for 11-13 minutes. Look for the “golden-brown crispy edges” to just start setting while the centers still look slightly “underdone” and pale.
The moment they come out of the oven, hit them with the oversized Maldon sea salt flakes. The heat of the chocolate pools will help the salt adhere, creating those glistening highlights seen in professional food photography.
Pro Tips for Success
- The Pan Bang: Halfway through baking, gently lift the pan and drop it against the oven rack. This creates those “ruffled edges” and helps the caramel settle into the center of the cookie.
- Room Temp Eggs: Cold eggs will seize the brown butter, creating a chunky dough. Always use room temperature eggs for a smooth, professional finish.
- Quality of Chocolate: Use a bar with at least 70% cacao. The bitterness is the necessary foil to the “liquid gold” sweetness of the caramel.
- Storage Logic: These cookies are best served warm. If eating the next day, microwave for 8 seconds to return the caramel to its viscous, flowing state.
What to Serve With Salted Caramel Chocolate Chip Cookies
These cookies are incredibly rich, making them the perfect partner for a glass of cold milk or a bitter espresso. If you are planning a dessert spread, they pair beautifully with other textured treats like soft batch cookies or a light caramel cinnamon roll.
For a true “caramel lover’s” experience, serve these alongside a small scoop of vanilla bean ice cream. The heat from the molten chocolate pools and the flowing caramel center creates a decadent “sundae” effect on the plate.
Frequently Asked Questions
No, standard caramel sauce is too thin and will absorb into the dough. Use soft caramel candies or a very thick, chilled homemade caramel specifically made for filling.
Instead of using standard chocolate chips, roughly chop a high-quality 70% dark chocolate bar. The irregular chunks melt into wider, glistening pools during baking.
Ensure the caramel is completely encased in the dough with no cracks. Chilling the dough balls for at least 2 hours before baking also helps the dough set before the caramel melts too much.
Always use unsalted butter. This allows you to control the salt level perfectly, especially since we are adding Maldon sea salt flakes as a finishing touch.
Brown butter (beurre noisette) adds a toasted, nutty depth and visible brown specks that complement the richness of the caramel and dark chocolate.
The Ultimate Salted Caramel Chocolate Chip Cookie Recipe
Salted Caramel Chocolate Chip Cookies with Toasted Brown Butter
Ingredients
Equipment
Method
- Melt butter in a saucepan over medium heat. Whisk until it foams, pops, and develops golden-brown specks with a nutty aroma. Transfer to a bowl to cool.
- Cream cooled brown butter and sugars for 3 minutes. Add eggs and vanilla, beating until fluffy. Fold in flour and baking soda until just combined.
- Scoop a ball of dough, flatten it, and place a caramel in the center. Enclose the caramel fully with dough. Repeat for all cookies and chill for 2 hours.
- Preheat oven to 350°F (175°C). Bake for 11-13 minutes until edges are golden-brown and crispy but the center is still pale and soft.
- Immediately sprinkle with Maldon sea salt flakes while the dark chocolate pools are still molten.
Notes
Use high-quality 70% chocolate for the best flavor balance.
Closing & Call to Action
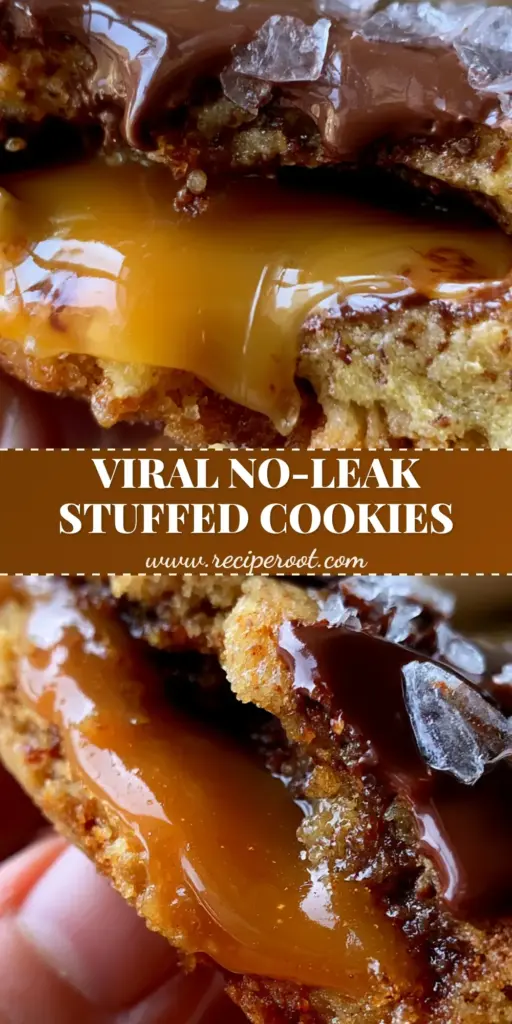
These salted caramel chocolate chip cookies represent the pinnacle of home baking. With their toasted brown butter base, molten dark chocolate pools, and that signature liquid gold center, they are guaranteed to be the star of any gathering. The contrast of the crispy ruffled edges and the soft pale interior creates a texture profile that is truly world-class.
If you made these and loved the “cookie pull” effect, let us know in the comments below! Don’t forget to follow us on Pinterest and share your bakes with the community. Happy baking!


