There is a specific, fleeting moment of culinary magic that occurs when you pull apart a warm, freshly baked cookie. When that cookie happens to be caramel chocolate chip cookies, that moment is elevated into a sensory masterpiece. Imagine a thick, artisanal dough infused with the nutty depth of browned butter, giving way to a wide and gooey ribbon of molten translucent golden caramel that stretches effortlessly between two halves.
These aren’t your average bakery finds; these are scientifically engineered for the ultimate texture profile. We are talking about large, glistening pools of melted dark chocolate nestled within a soft and doughy interior, contrasted sharply by crispy, toasted golden-brown edges. A final scattering of Maldon sea salt flakes catches the light, cutting through the richness of the caramel to create a balanced, professional-grade dessert right in your home kitchen.
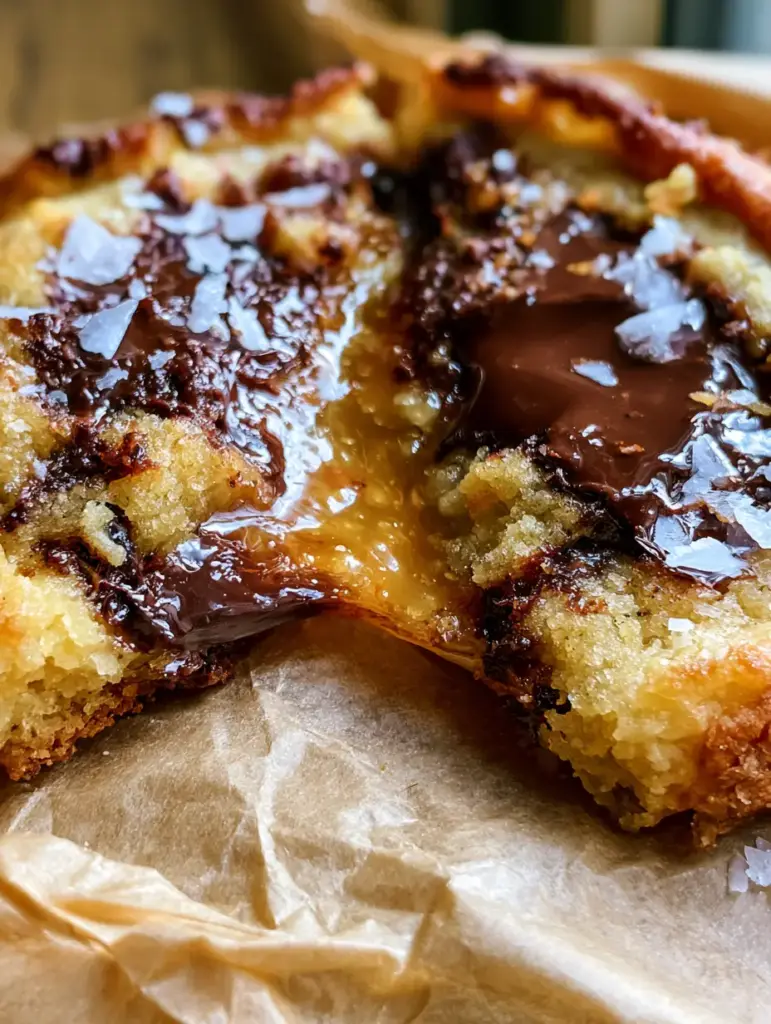
The Science of the Perfect Gooey Ribbon and Toasted Edge
To achieve the specific visual and textural results seen in elite food photography, we focus on three pillars of cookie chemistry. First, the brown butter provides the “flecks” and the foundational aroma. Second, the caramel must be encased in a way that it remains molten without leaking. Third, the ratio of sugars ensures those toasted, crispy edges while maintaining a center that stays soft and doughy.
- The Molten Core: By using a high-quality soft caramel candy or a chilled salted caramel ganache, we ensure the center stays liquid long after the cookie leaves the oven.
- The Brown Butter Base: Toasting the milk solids in the butter creates a complex, nutty flavor profile that pairs perfectly with semi-sweet chocolate.
- Textural Contrast: A high protein flour combined with a touch of cornstarch creates that signature “pull” and prevents the cookie from becoming cakey.
- Salt Integration: Flaky sea salt isn’t just a garnish; it acts as a flavor enhancer that bridges the gap between the dark chocolate pools and the sweet caramel.
The Foundation: High-Quality Ingredients for Artisanal Results
Unsalted Butter: 1 cup (225g). We start with high-quality unsalted butter which will be transformed into brown butter. This process removes water content and toasts the milk solids, providing the “brown butter flecks” visible in the dough.
Brown Sugar (Packed): 1 cup (200g). The high molasses content in brown sugar is responsible for the soft, chewy texture and the deep, caramelized color of the cookie’s interior.
Granulated Sugar: 1/2 cup (100g). While brown sugar provides chew, white sugar is essential for achieving those crispy, toasted golden-brown edges through the process of caramelization.
Large Eggs: 2 total (Room Temperature). Eggs provide structure and moisture. We use one full egg and one extra yolk to increase the fat content, ensuring the center remains doughy and rich.
All-Purpose Flour: 2 & 1/4 cups (280g). This provides the necessary structure to hold the heavy inclusions of chocolate and caramel without the cookie spreading into a pancake.
Cornstarch: 1 tsp (5g). A secret weapon for “soft batch” style cookies, cornstarch softens the flour’s proteins, resulting in a more tender, delicate crumb.
Semi-Sweet Chocolate Chunks: 1.5 cups (255g). Using chopped bars rather than chips creates those “large pools of melted dark chocolate” because the chocolate is formulated to melt more fluidly than stabilized chips.
Soft Caramel Candies: 12-15 pieces. Look for soft, high-quality caramels that will melt into a translucent golden ribbon. These will be tucked into the center of the dough balls.
Maldon Flaky Sea Salt: 1 tbsp (15g). These large, flat crystals provide the visual “scattered” look and a localized burst of saltiness that balances the sugar.
Essential Equipment for Bakery-Quality Cookies
To replicate the exact look of our best chocolate chip cookies, you will need a heavy-duty light-colored saucepan for browning the butter. A light-colored bottom allows you to see the milk solids changing color, preventing burning.
A large cookie scoop (approx. 3 tablespoons) is non-negotiable for achieving the “thick” profile. You will also need “natural parchment paper”—crinkling it before placing it on the baking sheet creates the rustic, artisanal look described in our visual blueprint.
The Brown Butter Transformation: A Step-by-Step Guide
Achieving the Deep Amber Hue
In a medium saucepan over medium heat, melt the butter. Once melted, continue to cook, swirling the pan constantly. The butter will begin to foam and pop; this is the water evaporating.
Continue cooking until the popping stops and you see little brown bits (milk solids) settling at the bottom. The liquid should be a deep amber color and smell intensely nutty. Immediately remove from heat and pour into a heat-proof bowl to stop the cooking process.
Mixing the Dough for Maximum Density
Combine the browned butter with both sugars. Because we are using melted butter, you don’t need a stand mixer; a sturdy whisk will do. Whisk in the eggs and vanilla until the mixture is glossy and slightly pale.
Sift in your dry ingredients: flour, cornstarch, baking soda, and a pinch of fine salt. Fold the mixture gently with a spatula until just a few streaks of flour remain. This prevents over-developing the gluten, keeping the centers “soft and doughy.”
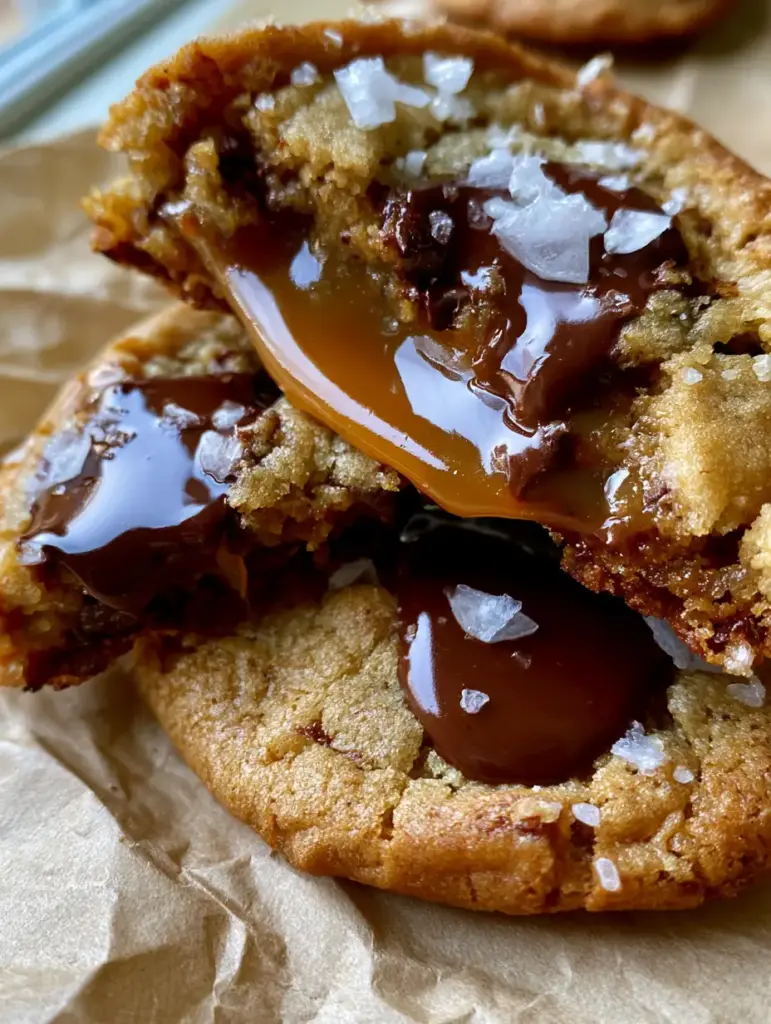
The Strategic Stuffing of the Caramel
Fold in your chopped semi-sweet chocolate. Scoop a large mound of dough (about 3 tbsp). Create a deep indentation with your thumb and place a soft caramel in the center.
Carefully wrap the dough around the caramel, ensuring it is completely sealed. If any caramel is exposed, it will leak onto the parchment paper and burn rather than creating that “gooey ribbon” inside the cookie.
Pro-Tips for Achieving the “Molten” Look
- The Chill Factor: Do not skip the 2-hour chill time. Cold dough ensures the edges set while the center remains underbaked and doughy.
- The “Pan Bang”: Five minutes before the cookies are done, lift the baking sheet and drop it firmly on the oven rack. This creates the ripples and helps the chocolate pool.
- The Cookie Scoot: Immediately after taking the cookies out, use a large circular cutter or glass to “scoot” the edges into a perfect circle.
- Visual Cue for Doneness: The edges should be “toasted golden,” but the centers should still look slightly “wet” and underbaked. They will firm up on the hot pan.
How to Store and Reheat for Longevity
These caramel chocolate chip cookies are best enjoyed warm when the caramel is at its most translucent and fluid. However, they can be stored in an airtight container at room temperature for up to 4 days.
To recapture the molten experience, microwave a single cookie for 10-15 seconds. This will re-melt the chocolate pools and the caramel ribbon. For long-term storage, you can freeze the stuffed, unbaked dough balls for up to 3 months and bake them directly from the freezer, adding 2 minutes to the bake time.
What to Serve with Gourmet Cookies
These cookies are incredibly rich, making them the perfect partner for a cold glass of whole milk or a bitter espresso. If you are looking to build a dessert spread, they pair beautifully with our salted caramel cheesecake for a themed caramel night.
If you prefer a lighter contrast, serve them alongside pumpkin snickerdoodle cookies during the autumn months to offer guests a variety of textures and spice profiles.
Common Questions About Caramel Cookies
Caramel sauce is too fluid and will cause the cookies to collapse. For the best molten ribbon, use soft caramel candies or a very thick, chilled caramel ganache.
The flecks are toasted milk solids. Do not strain your brown butter! Scrape the bottom of the pan to include all those flavorful bits in your dough.
Chopped high-quality chocolate bars (at least 60% cacao) melt much better than standard chocolate chips, which contain stabilizers that prevent them from pooling.
This usually happens if the dough isn’t sealed tightly around the caramel or if the dough wasn’t chilled. Ensure the caramel is fully encased in the dough ball before baking.
Brown butter is melted, which makes the dough softer initially. You must chill the dough for at least 2 hours to allow the fats to solidify for the best texture.
The Ultimate Caramel Chocolate Chip Cookie Recipe
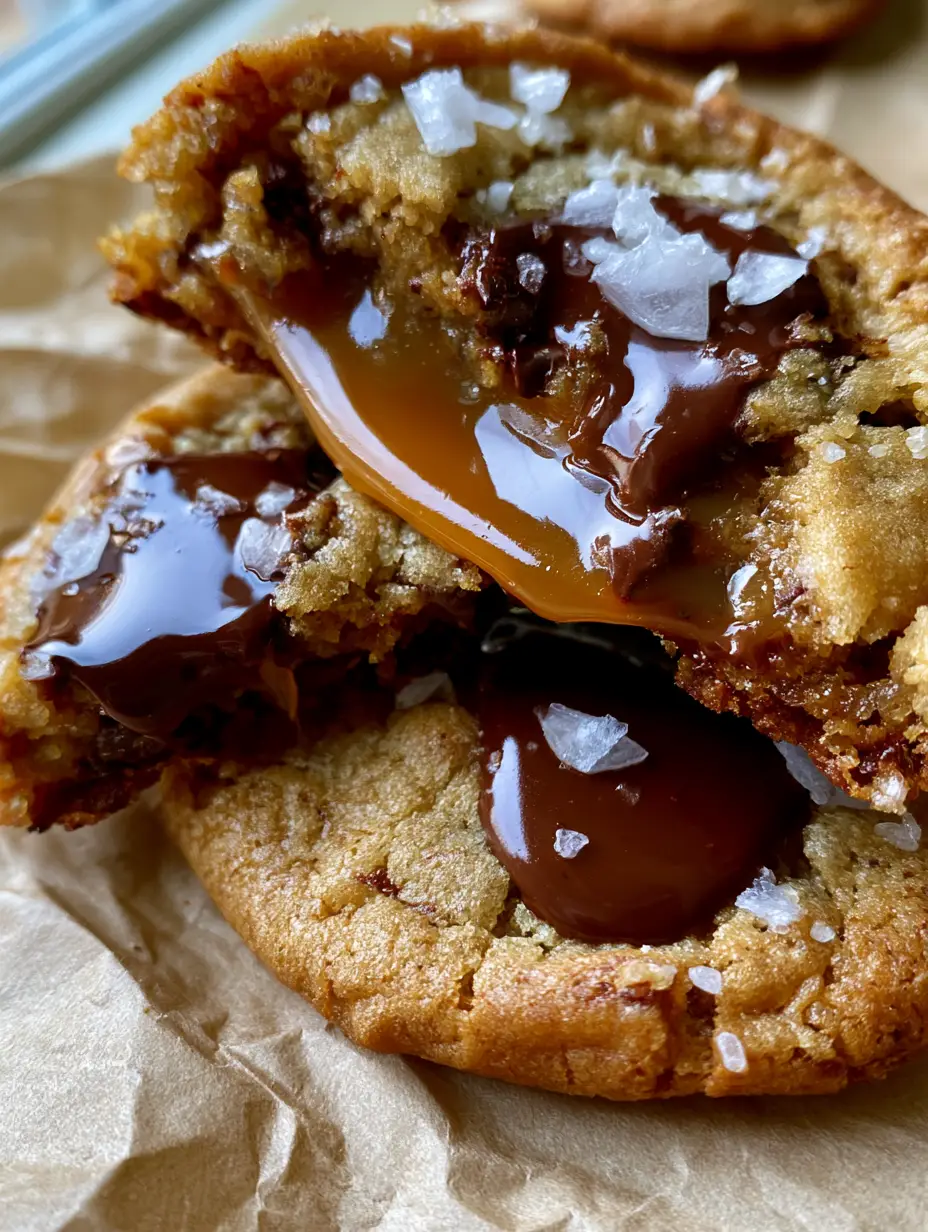
Caramel Chocolate Chip Cookies with Brown Butter and Sea Salt
Ingredients
Equipment
Method
- Melt butter in a saucepan over medium heat. Cook until it foams, pops, and then turns amber with visible brown flecks. Pour into a bowl to cool.
- Whisk browned butter with sugars. Add eggs and vanilla, whisking until glossy. Fold in dry ingredients and chocolate chunks.
- Scoop 3 tbsp of dough, flatten slightly, and place a caramel in the center. Seal the dough around it completely.
- Chill dough balls for 2 hours. Bake at 350°F (175°C) for 10-12 minutes until edges are toasted golden but center is soft.
Notes
Use high-quality chocolate bars instead of chips for better melting.
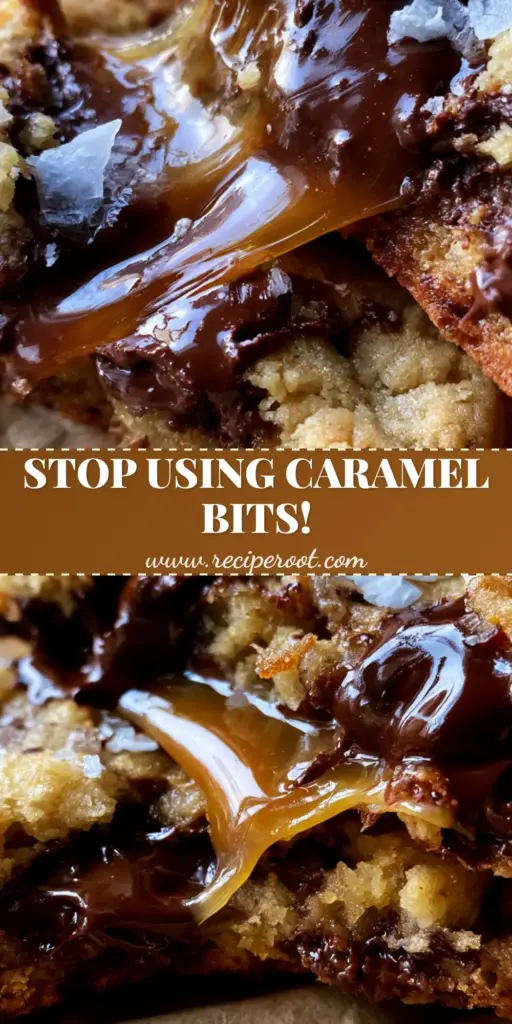
Closing & Call to Action
Mastering the caramel chocolate chip cookies is a rite of passage for any serious home baker. The combination of the nutty brown butter, the molten caramel core, and those glistening chocolate pools creates a cookie that is as visually stunning as it is delicious. If you make these, be sure to snap a photo of your “caramel pull” and tag us!
Want more decadent dessert inspiration? Follow us on Pinterest and sign up for our newsletter to get the latest artisanal recipes delivered straight to your inbox. Don’t forget to leave a comment below if you have any questions about the browning process!


