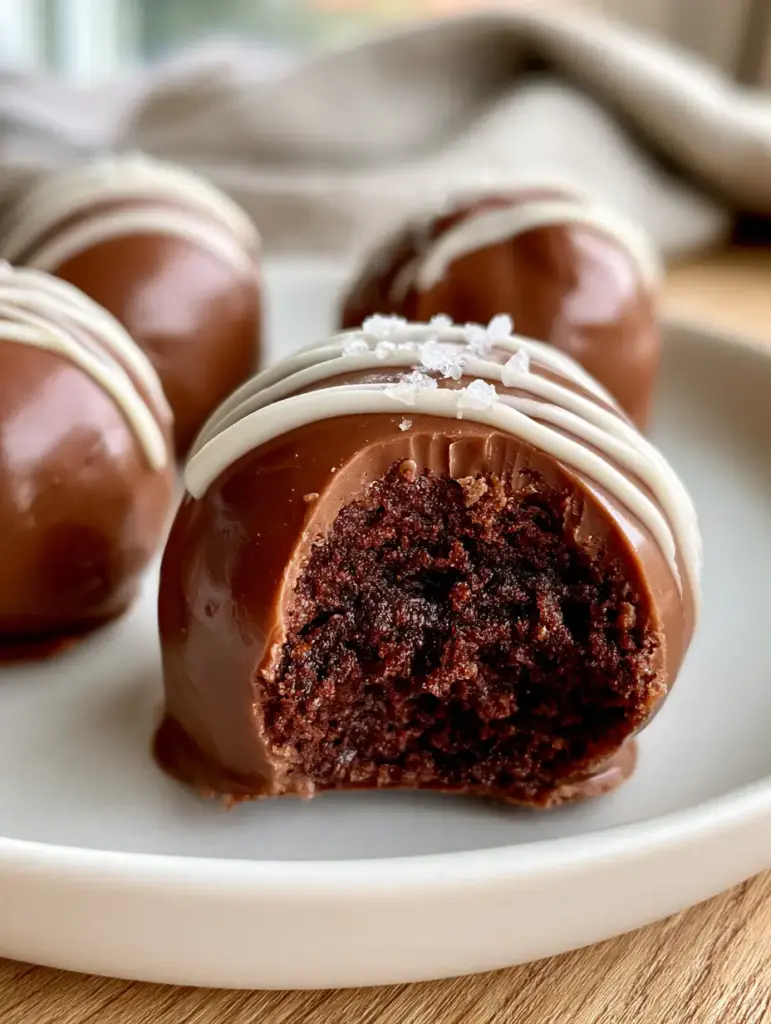
The perfect cake balls recipe is the holy grail of the dessert world, striking a delicate balance between a dense, fudgy interior and a professional-grade, snap-worthy chocolate shell. When you take that first bite, you shouldn’t just taste sugar; you should experience a transition from a crisp, tempered milk chocolate exterior to a moist, dark chocolate center that melts on the tongue.
Achieving that high-end, boutique aesthetic—reminiscent of a macro smartphone photo on a minimalist white plate—requires more than just mixing crumbs with frosting. It requires culinary precision, from the crumb-to-binder ratio to the scientific tempering of the chocolate coating.
In this guide, we are stripping away the “cake pop” amateurism and elevating this cake balls recipe into a gourmet confection. Whether you are serving these at a high-end gathering or gifting them to a fellow chocolate lover, the addition of a thin white chocolate drizzle and microscopic sea salt flakes ensures a flavor profile that is as sophisticated as it is indulgent.
Why This Gourmet Cake Balls Recipe Works
- The Texture Contrast: By using a creamy fudge binder instead of standard canned frosting, the interior achieves a dense, truffle-like consistency that doesn’t feel “mushy.”
- Professional Gloss: We utilize tempered milk chocolate to ensure a flawlessly smooth, ultra-glossy finish that remains stable at room temperature without cracking.
- Visual Sophistication: The delicate white chocolate drizzle provides a high-contrast aesthetic, perfectly complemented by the sparkle of fine sea salt crystals.
- Scientific Ratios: Every measurement is calibrated to ensure the balls hold their shape during the dipping process, preventing the dreaded “sliding off the fork” catastrophe.
The Anatomy of a Perfect Chocolate Cake Ball
To recreate the visual described in our blueprint, every ingredient must serve a structural and flavor-based purpose. We aren’t just making a snack; we are building a multi-layered dessert experience.
Moist Chocolate Cake: You need a cake with a tight crumb and high moisture content. A standard 9×13 inch (23x33cm) chocolate cake serves as the foundation; it should be baked until just set to keep the “fudgy” potential high.
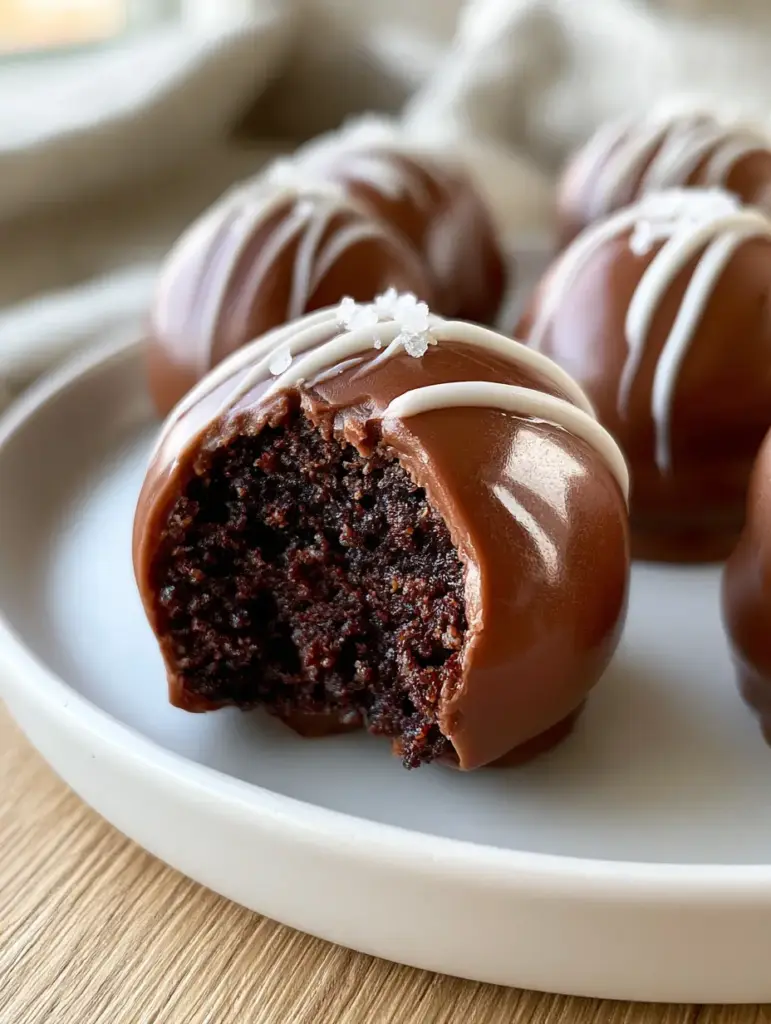
Creamy Fudge Binder: Instead of sugary buttercream, we use a mixture of heavy cream and dark chocolate. This acts as a ganache-style binder, providing the “dense, moist, fudgy” center seen in the cross-section of our visual blueprint.
Milk Chocolate for Tempering: High-quality couverture milk chocolate with at least 31% cocoa butter is essential. This ensures the “ultra-glossy” result that makes the handheld smartphone photo look so appetizing.
White Chocolate Accents: A small amount of high-quality white chocolate is melted for the drizzle. It needs to be fluid enough to create “thin” lines rather than thick globs.
Fine Sea Salt Flakes: These microscopic crystals provide a necessary “pop” that cuts through the richness of the milk chocolate shell, balancing the palate and enhancing the cocoa notes.
While these truffles are a showstopper on their own, they are often the centerpiece of a larger dessert spread. If you are looking for other creamy, indulgent options, you might also enjoy a classic creamy banana pudding or perhaps a specialized chocolate peanut butter banana pudding to keep the flavor themes consistent.
Essential Equipment for Professional Results
To achieve the “zero cracks or imperfections” look, you cannot rely on standard kitchen spoons. Precision tools are the bridge between a home-baked treat and a gourmet masterpiece.
You will need a Food Processor to achieve a fine, uniform crumb. Hand-crumbing often leaves large chunks that ruin the “dense” interior aesthetic.
A Digital Instant-Read Thermometer is non-negotiable for tempering chocolate. Without it, you cannot guarantee the chocolate will set with that signature glossy highlight.
Finally, Dipping Forks or a Spiral Tool are required. These allow excess chocolate to drain away efficiently, preventing a “puddle” or “foot” of chocolate at the base of your cake ball.
Step-By-Step: Mastering the Fudgy Center
Preparing the Fine Chocolate Crumb
Start with your cooled 9×13 inch (23x33cm) chocolate cake. Remove any overly browned or “crusty” edges, as these will create lumps in your smooth center.
Break the cake into large chunks and pulse in a food processor until it resembles fine, dark sand. This uniformity is the secret to a “dense” center that looks professional when bitten into.
Creating the Creamy Fudge Binder
In a small saucepan, heat 1/2 cup (120ml) of heavy cream until it just begins to simmer. Pour this over 4 oz (115g) of finely chopped dark chocolate and let it sit for 2 minutes.
Gently whisk from the center outward until a glossy, thick ganache forms. This “creamy fudge” binder provides a much more sophisticated flavor than store-bought frosting, which is often too sweet for this cake balls recipe.
The Folding and Rolling Process
Slowly add the ganache to your cake crumbs, one tablespoon at a time. You are looking for a texture that holds together when squeezed but doesn’t stick to your hands like wet dough.
Scoop 1 tbsp (15g) portions and roll them between your palms until perfectly spherical. Place them on a parchment-lined tray and chill for at least 1 hour; they must be firm and cold before they hit the warm chocolate coating.
The Art of the Ultra-Glossy Coating
Tempering the Milk Chocolate
Melt 16 oz (450g) of milk chocolate in a double boiler until it reaches 113°F (45°C). Remove from heat and “seed” it by adding small chunks of un-melted chocolate, stirring constantly until the temperature drops to 84°F (29°C).
Briefly reheat the chocolate to 88°F (31°C). This specific temperature range ensures the cocoa butter crystals stabilize, resulting in that “flawlessly smooth” and “ultra-glossy” finish we see in the morning sunlight highlights.
The Dipping and Setting Technique
Lower a chilled cake ball into the tempered chocolate using a dipping fork. Lift it out, tapping the fork gently against the side of the bowl to remove the excess.
Slide the ball onto a matte white ceramic plate or parchment paper. If your temper is correct, the chocolate will begin to set with a beautiful sheen within 2-3 minutes.
The Final Flourish: Drizzle and Salt
Melt 2 oz (55g) of white chocolate and place it in a small piping bag with a microscopic tip. Use a swift, horizontal motion to create a “thin white chocolate drizzle” across the top of each ball.
Immediately, while the drizzle is still wet, sprinkle a “tiny pinch of microscopic sea salt crystals” over the center. This timing is critical so the salt adheres to the drizzle rather than bouncing off the hardened shell.
If you find yourself with extra white chocolate, it works beautifully as a garnish for other treats, such as a pound cake banana pudding or even atop some chocolate chip cake batter cookies.
Expert Tips for Success
- Avoid Sweating: If your cake balls “sweat” (develop water droplets) after dipping, it means the temperature difference between the cold ball and the warm room was too extreme. Let the chilled balls sit at room temperature for 10 minutes before dipping.
- The Toothpick Trick: To ensure the “bite” reveals a clean center, make sure your binder is fully incorporated. Any dry crumbs will make the interior look crumbly rather than fudgy.
- Thinning the Chocolate: If your tempered chocolate is too thick to drizzle, add 1 tsp (5ml) of melted coconut oil. This keeps it fluid without ruining the temper.
- Salt Selection: Use Fleur de Sel or a finely crushed Maldon. Do not use table salt, as the iodine flavor is too harsh for the delicate milk chocolate.
Storage and Shelf Life
These gourmet treats are best stored in an airtight container in a cool, dry place. Thanks to the tempered shell, they do not require refrigeration if consumed within 3 days.
For longer storage, you can refrigerate them for up to 2 weeks. However, allow them to come to room temperature before serving to regain that “soft morning sunlight” glow on the chocolate and to ensure the center is perfectly fudgy.
If you are planning a large dessert bar, you can even freeze the un-dipped cake balls for up to 3 months. Simply thaw in the fridge overnight before proceeding with the tempering and dipping steps.
What to Serve With Gourmet Cake Balls
Because this cake balls recipe is quite rich, it pairs excellently with lighter, fruit-forward desserts. A Hawaiian carrot pineapple cake provides a bright, acidic contrast to the deep chocolate notes.
If you prefer a cohesive “cookie and cream” theme, serving these alongside a Crumbl copycat cookie recipe will satisfy even the most intense sugar cravings.
Frequently Asked Questions
While possible, store-bought frosting is often too sweet and greasy. Our creamy fudge ganache binder provides a denser, more sophisticated truffle-like texture.
Ensure the white chocolate is fully fluid and use a piping bag with a very small opening. Move your hand quickly in a back-and-forth motion to avoid thick lines.
Use high-quality couverture chocolate with a high cocoa butter content. Avoid ‘candy melts’ if you want the authentic, glossy gourmet result shown in our photos.
Cracking usually occurs if the cake balls were too cold when dipped. The center expands slightly as it warms, breaking the hardened shell. Let them sit out for 10 minutes before dipping.
This happens when the chocolate is not properly tempered. Tempering aligns the cocoa butter crystals, ensuring the shell is glossy and snaps when bitten.
The Ultimate Recipe for Glossy Chocolate Cake Balls
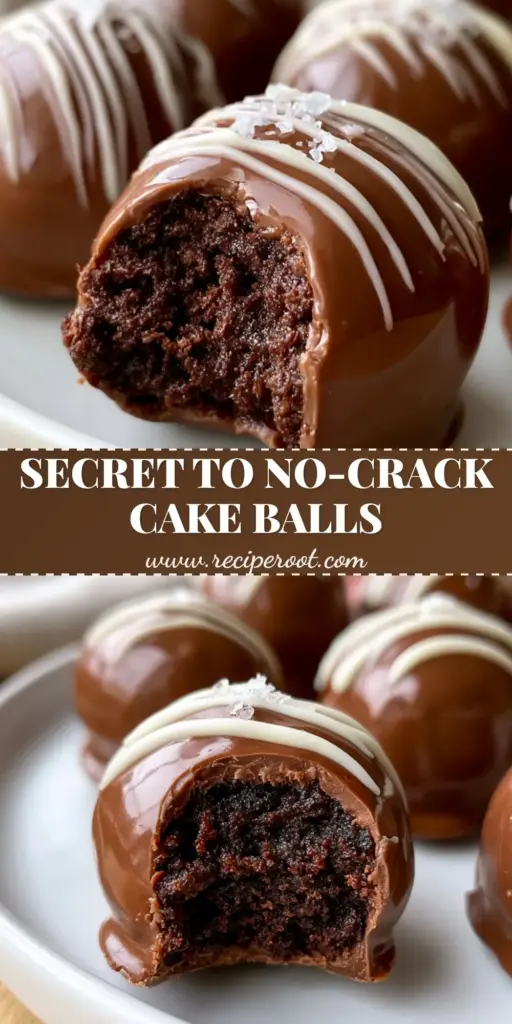
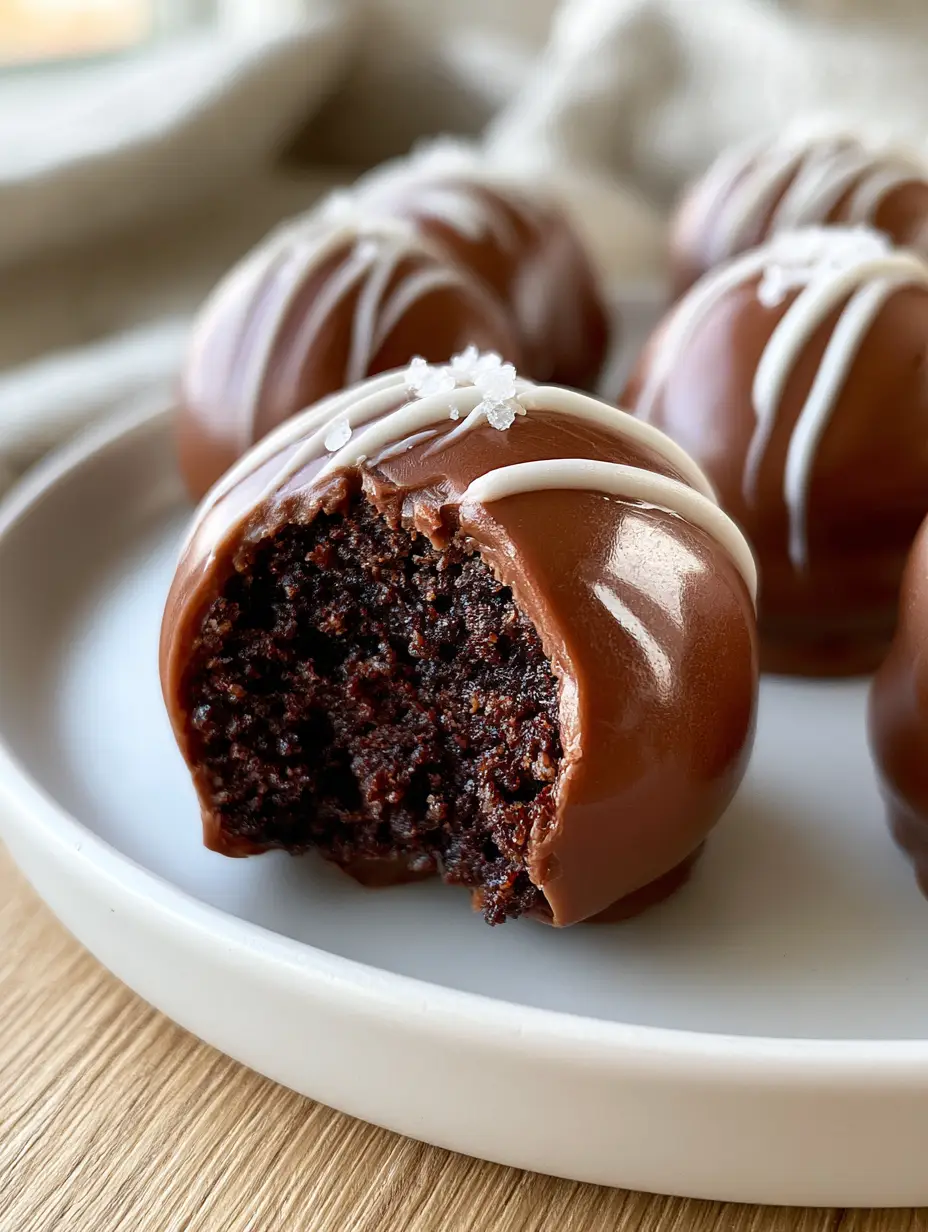
Now that you’ve mastered the theory, it’s time to create these stunning truffles. Follow the measurements below for a result that looks exactly like a macro, handheld smartphone photo from a professional food blog.
Cake Balls Recipe: The Secret to Fudgy, Ultra-Glossy Gourmet Truffles
Ingredients
Equipment
Method
- Pulse cooled chocolate cake in a food processor until it forms a fine, uniform crumb texture.
- Heat heavy cream to a simmer, pour over chopped dark chocolate, and whisk into a smooth ganache.
- Mix ganache into crumbs until a fudgy dough forms. Roll into 1-tablespoon spheres and chill for 1 hour.
- Melt milk chocolate to 113°F, seed to 84°F, and reheat to 88°F for a professional glossy finish.
- Dip chilled balls into chocolate. Once set, drizzle with melted white chocolate and sprinkle with sea salt flakes.
Notes
If the interior is too dry, add an extra tablespoon of heavy cream to the binder.
Closing & Call to Action
Creating the perfect cake balls recipe is a rewarding culinary journey that combines the art of baking with the science of confectionery. The result—a dense, fudgy center protected by a snappy, glossy shell—is a testament to your skill as a home cook.
If you enjoyed this recipe, we would love to see your creations! Tag us in your photos and share this recipe with your fellow bakers on Pinterest. Don’t forget to leave a comment below with your favorite cake and binder combinations!


