When it comes to indulgent desserts, few things command attention quite like tall, thick-cut cheesecakes. There is a specific visual magic in a slice that stands firm on a minimalist ceramic plate, showing off a dense, golden-brown crust and a filling so smooth it looks like polished marble. This no-bake masterpiece is designed for the home baker who demands professional, high-end results without the stress of a water bath.
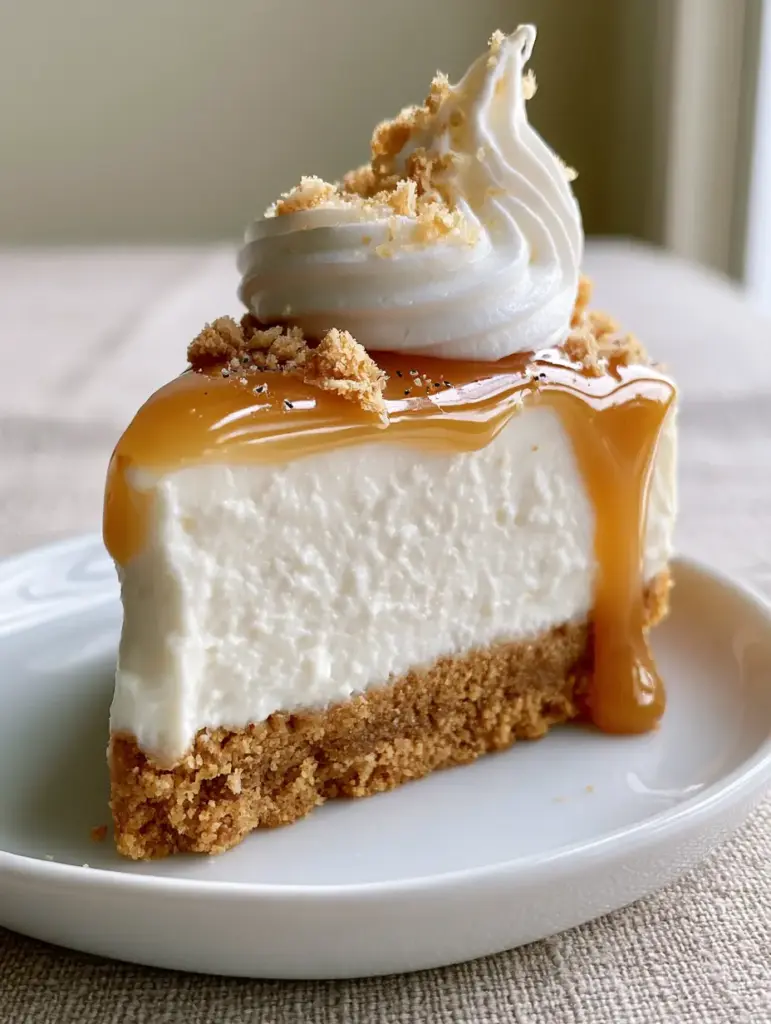
Imagine the contrast of a velvety white cream cheese layer speckled with tiny, aromatic vanilla bean flecks, all topped with a glossy, translucent salted caramel that slowly drips down the sides. It isn’t just a dessert; it is a sensory experience that balances the crunch of pressed graham crackers with the silky richness of premium dairy. Whether you are hosting a formal dinner or simply satisfying a deep craving, this recipe delivers a bakery-quality finish every single time.
We have meticulously crafted this guide to ensure your result matches the high-end food blog aesthetic you see in professional photography. By focusing on temperature control and ingredient quality, you will achieve that iconic gentle sheen on the filling and a perfectly piped dollop of stiff whipped cream that stays upright until the very last bite.
Why This Velvety No-Bake Dessert Wins Every Time
- Structural Integrity: Unlike flimsy no-bake versions, this recipe yields a dense, chilled filling that holds its shape for a tall, thick slice.
- Visual Sophistication: The inclusion of real vanilla bean flecks and a glossy caramel drip creates a professional, high-end aesthetic.
- Textural Contrast: You get the perfect bite every time, moving from the buttery graham cracker crunch to the ultra-smooth cream cheese and the sticky salted caramel.
- No-Bake Ease: Skip the oven and the risk of cracks; this method relies on chilling and proper aeration for the perfect set.
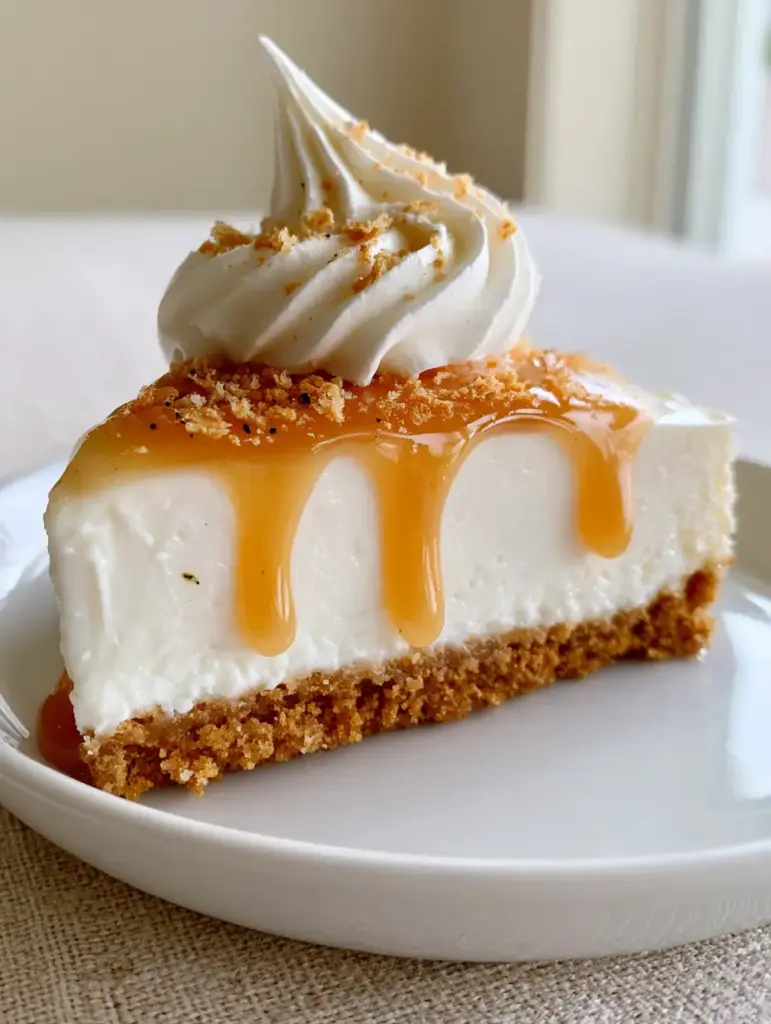
Essential Elements for a Tall, Dense Slice
Graham Cracker Crumbs: 2 cups (200g) of finely ground crumbs form the foundation. These provide the essential sandy texture and honeyed sweetness that balances the tang of the cheese.
Unsalted Butter: 1/2 cup (113g) of melted butter acts as the glue for your crust. It ensures the base is dense and buttery rather than crumbly and dry when sliced.
Full-Fat Cream Cheese: 24 oz (680g) of brick-style cream cheese provides the primary structure. Using full-fat is non-negotiable for achieving that ultra-smooth, velvety white filling described in our visual blueprint.
Granulated Sugar: 1 cup (200g) provides sweetness without altering the pure white color of the filling. It dissolves into the cheese to create a grit-free texture.
Heavy Whipping Cream: 1 1/2 cups (360ml) of cold cream is whipped to stiff peaks and folded in. This is the “invisible” ingredient that provides the lift and lightness while maintaining a dense mouthfeel.
Vanilla Bean Paste: 1 tbsp (15g) or the seeds of one pod. This is crucial for those visible vanilla bean flecks that signal high-end quality and deep flavor.
Salted Caramel Sauce: 1/2 cup (120ml) of high-quality, translucent sauce. This provides the glossy top layer and the iconic “drip” effect down the sides of the slice.
Sour Cream: 1/4 cup (60g) adds a subtle tang. This mimics the flavor profile of traditional baked cheesecakes while helping to soften the density of the cream cheese just enough for a velvety finish.
The Professional Tools for a Minimalist Aesthetic
To achieve a tall, thick slice that looks handheld-photo-ready, you need a 9-inch (23cm) springform pan. This allows you to remove the sides without damaging the delicate filling. A flat-bottomed measuring cup is also essential for pressing the graham cracker crust into a dense, even layer.
For the filling, a stand mixer or electric hand mixer is required to aerate the heavy cream to stiff peaks. To get that perfectly piped dollop of whipped cream shown in the blueprint, a piping bag fitted with a large star tip (like a 1M or 2D) is recommended. Finally, an offset spatula will help you achieve the perfectly flat, smooth top before the caramel pour.
Mastering the Foundation: The Buttery Graham Cracker Base
Step 1: Achieving the Perfect Crumb Consistency
Start by pulsing your graham crackers in a food processor until they reach a fine, uniform sand-like texture. If you prefer a bit of variety, you can mix in a few larger shards, but for the most stable cheesecakes, a fine crumb is best. Combine the crumbs with the melted butter and a pinch of salt to enhance the honey notes.
Step 2: Pressing for Density
Pour the mixture into your springform pan. Use the bottom of a heavy glass or measuring cup to press the crumbs down firmly. You want to see the butter start to slightly bind the crumbs together, creating a golden-brown, compact layer that won’t fall apart when the filling is added.
Crafting the Ultra-Smooth Vanilla Bean Filling
Step 3: Creaming the Cheese and Sugar
Beat the room-temperature cream cheese and granulated sugar together for at least 3-4 minutes. You are looking for a completely smooth, aerated texture with no visible lumps. Add the sour cream and vanilla bean paste here, ensuring the tiny black flecks are evenly distributed throughout the white mixture.
Step 4: Folding for Structure
In a separate chilled bowl, whip your heavy cream until it forms stiff peaks—it should be firm enough to hold its shape on the whisk. Gently fold the whipped cream into the cream cheese mixture in three stages. This preserves the air bubbles, ensuring the final result is velvety and light rather than heavy and rubbery. This is the secret to the “ultra-smooth, velvety white cream cheese filling” mentioned in our prompt.
Step 5: The Essential Chill Time
Smooth the filling over the crust using an offset spatula. Cover the pan tightly with plastic wrap and refrigerate for at least 6-8 hours, though overnight is preferred. This time allows the fats to solidify, creating that dense, chilled texture that is essential for a clean, handheld slice.
The Secret to a Glossy, Translucent Salted Caramel Drip
To achieve the “glossy, thick pour of translucent salted caramel,” your sauce must be at the correct temperature. If the caramel is too hot, it will melt the cheesecake; if it is too cold, it won’t drip down the sides. Heat your caramel sauce slightly until it reaches a pourable, honey-like consistency.
Pour the caramel over the center of the chilled cheesecake, then use a spoon to gently nudge it toward the edges. Watch as it creates those beautiful, slow-moving drips. The translucency allows the white filling to peek through, creating a high-contrast, professional look. If you want to experiment with different flavors, you could even try topping this with a rich pumpkin pie sauce during the autumn months.
Expert Techniques for Professional Plating
When you are ready to serve, use a thin knife dipped in hot water to run around the edge of the pan before releasing the springform. Wipe the knife clean and dip it in hot water again before every single cut. This is the only way to get a “macro handheld photo” worthy slice with perfectly clean edges.
For the final garnish, pipe a stiff dollop of whipped cream directly onto the back of the slice. Sprinkle a few extra crushed graham cracker crumbs over the top for texture and visual interest. The contrast between the stiff white cream, the golden crumbs, and the glossy caramel creates the “high-end food blog aesthetic” that makes these cheesecakes so enticing.
Pro Tips for the Perfect Set
- Room Temp Ingredients: Always ensure your cream cheese is truly at room temperature. If it’s even slightly cold, you will end up with tiny lumps that ruin the “velvety” visual.
- Chilled Bowl: Whip your heavy cream in a metal bowl that has been in the freezer for 10 minutes. This helps the cream reach stiff peaks faster and stay stable longer.
- Don’t Rush the Chill: A no-bake cheesecake needs time for the proteins and fats to bond. Slicing too early will result in a “slumping” filling rather than a tall, thick slice.
- Vanilla Quality: Use real vanilla bean paste rather than extract if possible. The visual appeal of the specks is a hallmark of high-quality cheesecakes.
How to Store and Preserve Your Masterpiece
These cheesecakes can be stored in the refrigerator for up to 5 days. Ensure they are kept in an airtight container or covered loosely with foil (using toothpicks to prevent the foil from touching the caramel). For the best texture, do not add the whipped cream garnish until just before serving, as the cream can deflate over time.
If you wish to freeze the cheesecake, do so before adding the caramel and whipped cream. Wrap the chilled cake tightly in plastic wrap and then foil. It will keep for up to 3 months. Thaw in the refrigerator overnight before adding your glossy toppings and serving.
Delicious Pairings and Dessert Spreads
This salted caramel version is a showstopper, but it also pairs beautifully with other treats on a dessert table. If you love the combination of fruit and cream, consider serving these alongside mini lemon cheesecakes for a bright flavor contrast. The tang of the lemon cuts through the richness of the caramel perfectly.
For those who enjoy a variety of textures, these slices look stunning next to a tray of mini oreo cheesecakes or even some banana pudding cheesecakes. If you are hosting a large event, providing a mix of full-sized slices and mini caramel cheesecakes ensures there is a portion size for everyone.
Frequently Asked Questions About No-Bake Cheesecakes
Yes! You can freeze the cheesecake for up to 3 months. Freeze it without the caramel and whipped cream toppings. Thaw it in the fridge overnight before adding your fresh garnishes and serving.
For the best results and visual appeal, full-fat brick-style cream cheese is required. Low-fat versions have higher water content, which prevents the cheesecake from setting properly and results in a less velvety texture.
Ensure your cheesecake is fully chilled (at least 6 hours) and your caramel sauce is room temperature or only slightly warm. If the caramel is hot, it will instantly liquefy the cream cheese filling.
Vanilla bean paste contains the actual seeds (flecks) from the pod, providing a more intense flavor and a high-end visual aesthetic. Extracts provide flavor but won’t give you those beautiful black specks in the filling.
This usually happens if the heavy cream wasn’t whipped to stiff peaks before folding, or if the cheesecake hasn’t chilled for at least 6-8 hours. The fats need time to solidify to create that dense, tall slice.
The Ultimate No-Bake Salted Caramel Cheesecake Recipe
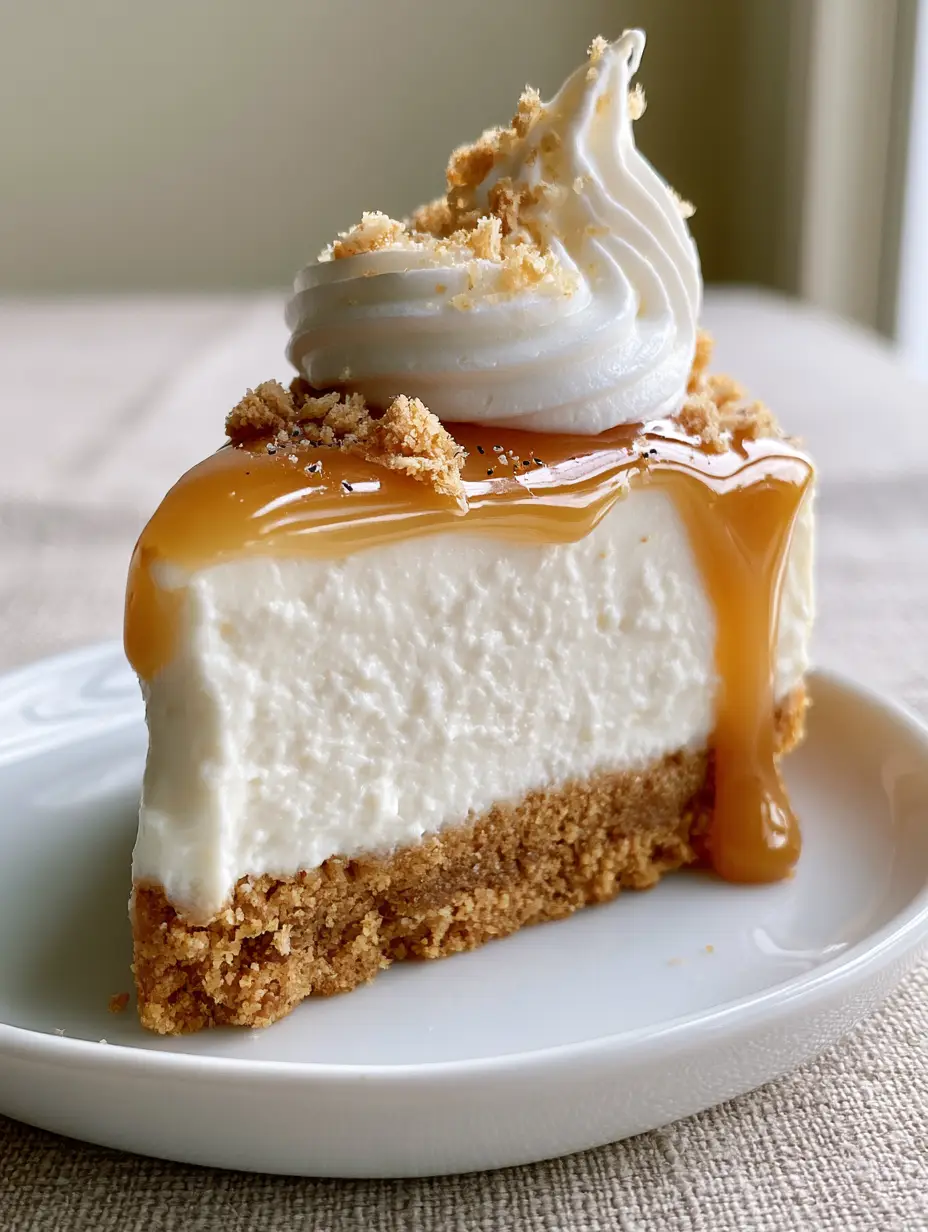
Cheesecakes with Salted Caramel and Vanilla Bean (The Ultimate No-Bake Recipe)
Ingredients
Equipment
Method
- In a medium bowl, combine 2 cups (200g) graham cracker crumbs with 1/2 cup (113g) melted butter and sugar until the mixture resembles wet sand.
- Firmly press the mixture into the bottom of a 9-inch springform pan using a flat-bottomed cup to ensure it is dense and even. Freeze for 10 minutes while preparing the filling.
- Beat 24 oz (680g) cream cheese and 1 cup (200g) sugar in a stand mixer until ultra-smooth. Add sour cream and vanilla bean paste, mixing until the flecks are visible throughout.
- In a separate chilled bowl, whip 1 1/2 cups (360ml) heavy cream to stiff peaks.
- Gently fold the whipped cream into the cream cheese mixture until no white streaks remain and the filling is light yet dense.
- Spread the filling over the crust, smoothing the top with an offset spatula. Refrigerate for at least 6-8 hours or overnight.
- Warm 1/2 cup (120ml) salted caramel until pourable but not hot. Pour over the center of the chilled cheesecake and let it drip down the sides.
- Pipe dollops of stiff whipped cream around the edge or on individual slices. Dust with extra graham cracker crumbs and serve cold.
Notes
Dip your knife in hot water and wipe clean between each slice for the most professional, clean edges.
Closing & Call to Action
Mastering the art of no-bake cheesecakes is a gateway to endless dessert possibilities. By focusing on the details—the buttery crunch of the crust, the vanilla-flecked creaminess of the filling, and the glossy finish of the caramel—you can create a professional-grade dessert in your own kitchen. This recipe proves that you don’t need an oven to achieve a tall, dense, and absolutely delicious slice of heaven.
Did you try this recipe? We would love to see your results! Leave a comment below and let us know how your caramel drip turned out. Don’t forget to follow us on Pinterest and share your photos with the community. Happy whisking!


