There is something inherently nostalgic about a bowl of chilled pudding, but this Golden Oreo Banana Pudding elevates the classic comfort food into a show-stopping centerpiece. By swapping traditional vanilla wafers for the buttery, vanilla-forward crunch of Golden Oreo cookies, we create a flavor profile that is deeper and more decadent than the original.
The visual appeal of this dessert is undeniable, featuring thick layers of pale yellow vanilla bean pudding contrasted against the stark white of homemade stiff-peak whipped cream. In this recipe, we focus on textural harmony—ensuring the cookies remain chunky enough to provide a bite while the bananas stay perfectly ripe and sweet.
Whether you are preparing this for a summer barbecue or a cozy family Sunday, this dessert delivers a professional aesthetic with the approachable soul of a home-cooked favorite. Let’s dive into the science of the perfect “set” and the art of the layered trifle.
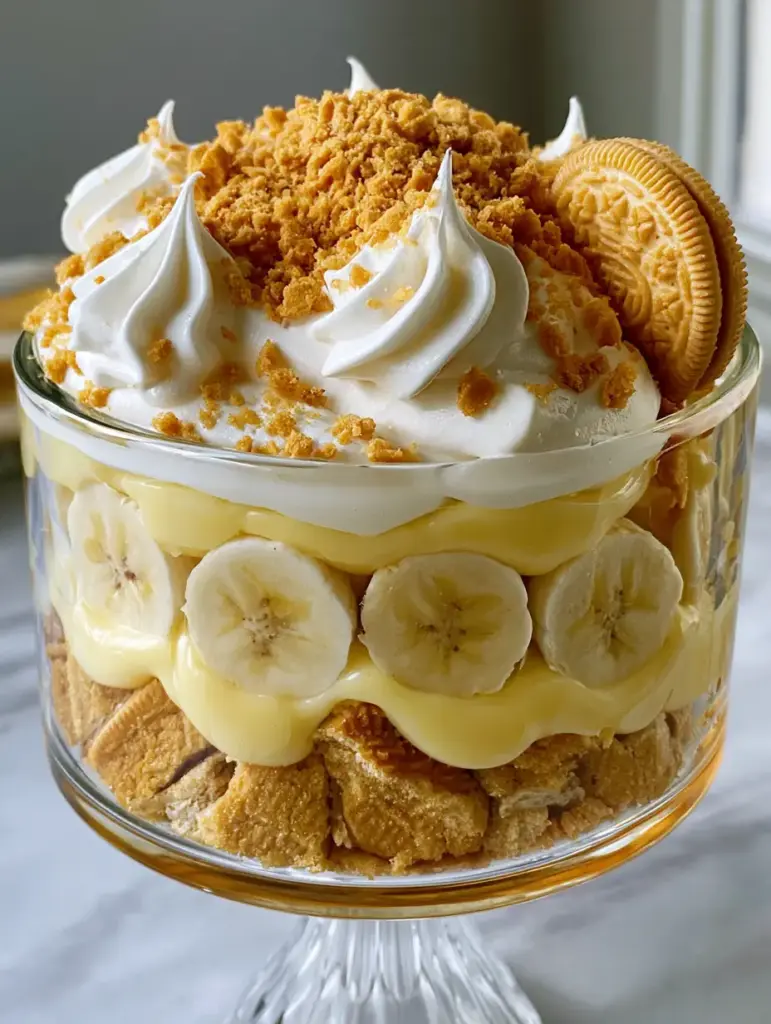
Why You Will Fall in Love with this Golden Oreo Trifle
- Textural Contrast: The combination of chunky broken Golden Oreo cookies and velvet-smooth pudding creates a sensory experience that keeps you coming back for another spoonful.
- Vanilla Bean Depth: Unlike standard box mixes, the addition of real vanilla bean paste adds those iconic black flecks and a sophisticated floral aroma.
- Visual Sophistication: The clear glass trifle bowl showcases the distinct, intentional layers of fruit, cream, and golden biscuits.
- Stable Construction: Our method for whipped cream ensures the peaks stay pillowy and firm, preventing the dessert from becoming watery or flat over time.
The Anatomy of an Irresistible Golden Oreo Banana Pudding
To achieve the result seen in high-end culinary photography, every component must be handled with care. We aren’t just tossing ingredients together; we are building a structural masterpiece of cream and fruit.
The base of this Golden Oreo Banana Pudding relies on a “Magnolia-style” foundation—a mixture of sweetened condensed milk, ice-cold water, and instant pudding mix—but with a heavy cream fold-in that provides a mousse-like stability. This ensures your layers don’t bleed into one another, keeping the “large, chunky broken Golden Oreo cookie pieces” distinct at the foundation.
If you have previously enjoyed a classic banana pudding, you will find this version to be slightly more indulgent due to the cream-filled cookies. The golden biscuits absorb just enough moisture to become “cake-like” without losing their structural integrity.
Pantry Essentials for the Silkiest Vanilla Bean Custard
Golden Oreo Cookies: You will need 1 standard package (14.3 oz / 405g). These provide the buttery, vanilla base and the “coarse cookie crumbles” used for the final decorative shower.
Ripe Bananas: Use 5-6 medium bananas that are yellow with just a few brown spots. They should be firm enough to hold their shape when sliced but sweet enough to perfume the entire dish.
Instant Vanilla Pudding Mix: 1 package (5.1 oz / 144g). This serves as our primary thickening agent, providing that “velvet-smooth, pale yellow” appearance required for the visual blueprint.
Sweetened Condensed Milk: 1 can (14 oz / 396g). This adds a rich, milky sweetness and a dense mouthfeel that prevents the pudding from being too airy.
Heavy Whipping Cream: 3 cups (710ml). This must be very cold to achieve the “pillowy peaks” and “stiff-peak” stability needed for the topping.
Vanilla Bean Paste: 1 tbsp (15ml). This provides the visual “vanilla bean” signature and a much more intense flavor than standard extract.
Cold Whole Milk or Water: 1.5 cups (355ml). Using cold liquid is essential for the instant pudding to hydrate and set properly into a thick consistency.
Lemon Juice: 1 tsp (5ml). A tiny amount tossed with the banana slices acts as an antioxidant, preventing them from browning so they stay “perfectly sliced and fresh” in the glass.
Must-Have Kitchen Tools for Layered Perfection
To recreate the “close-up shot of a clear glass trifle bowl,” you will need a 3-quart (2.8L) glass bowl. The transparency is vital for showing off the “interspersed” bananas and cookies.
A stand mixer or high-powered hand mixer is required to reach those “stiff-peak” heights for the whipped cream. Without sufficient aeration, the cream will slump under the weight of the cookie garnish.
Lastly, a sharp chef’s knife is necessary to achieve uniform banana coins. Consistency in your fruit slices ensures that every bite has the same ratio of pudding to banana.
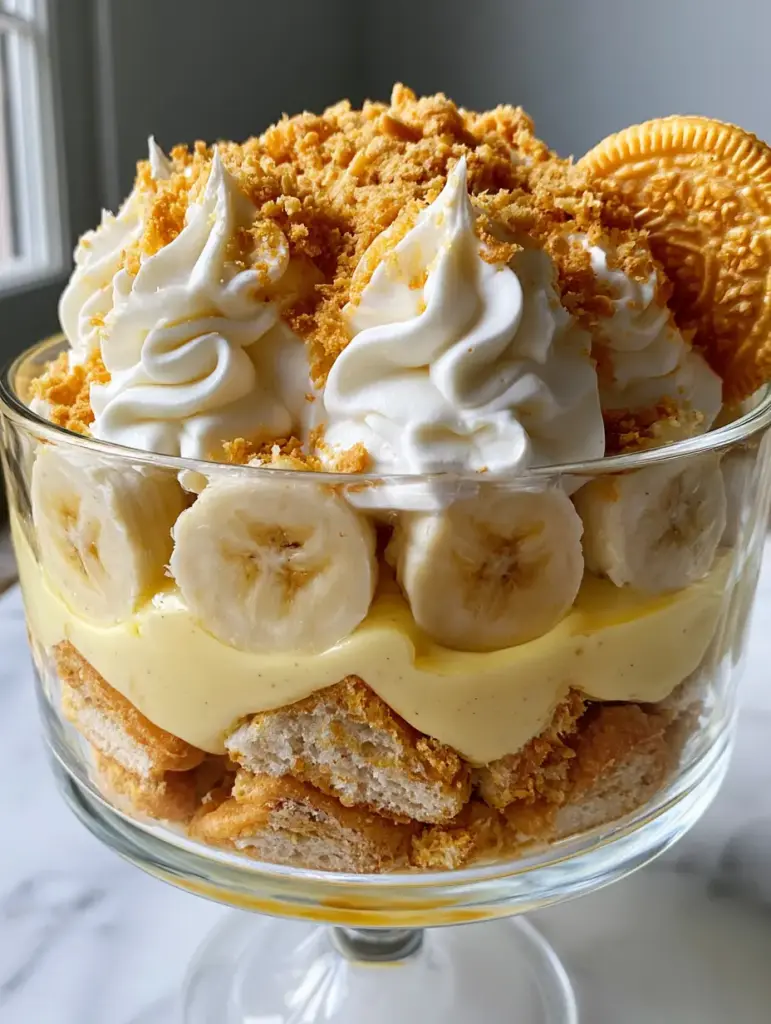
Mastering the Layers: Step-by-Step Construction
Preparing the Vanilla Bean Foundation
In a large mixing bowl, whisk together the sweetened condensed milk and the ice-cold water (or milk) until completely smooth. Slowing pouring the liquid into the condensed milk prevents lumps from forming early on.
Sprinkle the instant vanilla pudding mix over the top and whisk vigorously for at least two minutes. You are looking for the mixture to begin thickening and lose its translucent quality, becoming a “pale yellow” custard.
Whisk in the vanilla bean paste, ensuring the seeds are distributed evenly. Refrigerate this base for at least 4 hours, or ideally overnight, until it is a “thick vanilla bean pudding” that can hold a spoon upright.
Achieving the Stiff-Peak Whipped Cream
In a chilled metal bowl, pour in your heavy whipping cream. Using the whisk attachment, start at low speed and gradually increase to medium-high as bubbles begin to form.
Watch for the “Visual & Sensory Cues”: the cream will transform from a liquid to a soft foam, then to trails left by the whisk. Continue beating until the cream is “airy and stable,” forming sharp points that do not droop when the whisk is lifted.
Gently fold half of this whipped cream into the chilled pudding mixture. This technique, known as “lightening,” creates the velvet-smooth texture described in the visual prompt while maintaining the pudding’s thickness.
Assembling the Golden Oreo Trifle
Start with the foundation. Take about two-thirds of the Golden Oreos and break them by hand into “large, chunky pieces.” Place these at the bottom of the trifle bowl to create a sturdy, crisp base.
Layer half of the vanilla bean pudding over the cookies, using a spatula to push it toward the edges of the glass. Press a layer of sliced bananas vertically against the glass so they are “visible” from the outside, then fill the center with the remaining slices.
Repeat with the remaining pudding. Finally, dollop the remaining whipped cream on top, using the back of a spoon to create “generous, pillowy peaks.”
The Final Flourish
Just before serving, take the remaining cookies and crush them into “coarse cookie crumbles.” Shower these over the cream peaks to provide a golden color contrast against the white cream.
For the “handheld smartphone photo” finish, take one “whole Golden Oreo” and tuck it into the side of the whipped cream at a 45-degree angle. This serves as a visual cue to the guest of what flavor profile lies beneath the cream.
Expert Tips for Success
- Cold is Key: Ensure your heavy cream, mixing bowl, and whisk are chilled. This is the only way to achieve the “airy and stable” texture required for a professional look.
- Don’t Over-Process: When breaking the Oreos, avoid using a food processor. You want “chunky broken” pieces, not a fine sand, to ensure the base doesn’t become soggy too quickly.
- Banana Selection: If your bananas are too soft, they will turn into mush within the pudding. Aim for “perfectly sliced” coins that offer a slight resistance to the tooth.
- The 4-Hour Rule: This Golden Oreo Banana Pudding needs at least 4 hours in the fridge to allow the cookies to soften slightly into a cake-like texture while the pudding sets firmly.
Preserving the Crunch: Storage and Prep Advice
This dessert is best enjoyed within 24 hours of assembly. While the pudding itself stays delicious for up to 3 days, the Golden Oreos will eventually lose their “crisp and golden” appearance as they absorb moisture from the custard.
Do not freeze this recipe. The bananas will turn black upon thawing, and the emulsion of the pudding and whipped cream will break, resulting in a grainy, watery mess. If you are a fan of frozen treats, try our banana pudding bars which hold up much better in the freezer.
If you need to make this in advance, store the pudding base and the whipped cream separately in airtight containers. Assemble the layers and add the cookie crumbles just a few hours before your event to maximize the “mouth-watering” freshness.
What to Serve Alongside Your Creamy Banana Dessert
Because this pudding is exceptionally rich and sweet, it pairs beautifully with acidic or slightly salty accompaniments. A platter of fresh strawberries or a side of strawberry crunch topping can provide a bright contrast to the heavy vanilla notes.
For a complete dessert spread, consider offering smaller portions of mini Oreo cheesecakes to satisfy the chocolate lovers in the group. If you’re hosting a Southern-style dinner, this pudding follows perfectly after a heavy meal of fried chicken or barbecue ribs.
For those who prefer a different cookie base, you can always refer back to our Nilla wafer banana pudding cups for a more traditional take on this iconic dish.
Frequently Asked Questions
You can, but it must be completely cooled to room temperature before folding in the cream. Instant pudding is preferred for this specific visual blueprint because it provides a more stable, ‘pale yellow’ structure for layering.
Keep your cookies in ‘large, chunky pieces’ rather than a fine crumble. Additionally, assemble the dessert no more than 4-6 hours before serving to maintain the perfect balance of cake-like softness and a slight crunch.
Toss your fresh banana slices in one teaspoon of lemon juice or pineapple juice. The citric acid acts as an antioxidant, keeping the fruit looking ‘perfectly sliced and fresh’ for up to 24 hours.
While vanilla extract works for flavor, the vanilla bean paste provides the ‘thick vanilla bean pudding’ look with beautiful black flecks that signify a high-quality, professional dessert.
Your heavy cream or equipment was likely not cold enough. To achieve ‘stiff-peak’ stability that can support whole cookies, ensure the cream is straight from the fridge and beat it until it holds its shape firmly.
The Ultimate Golden Oreo Banana Pudding Recipe
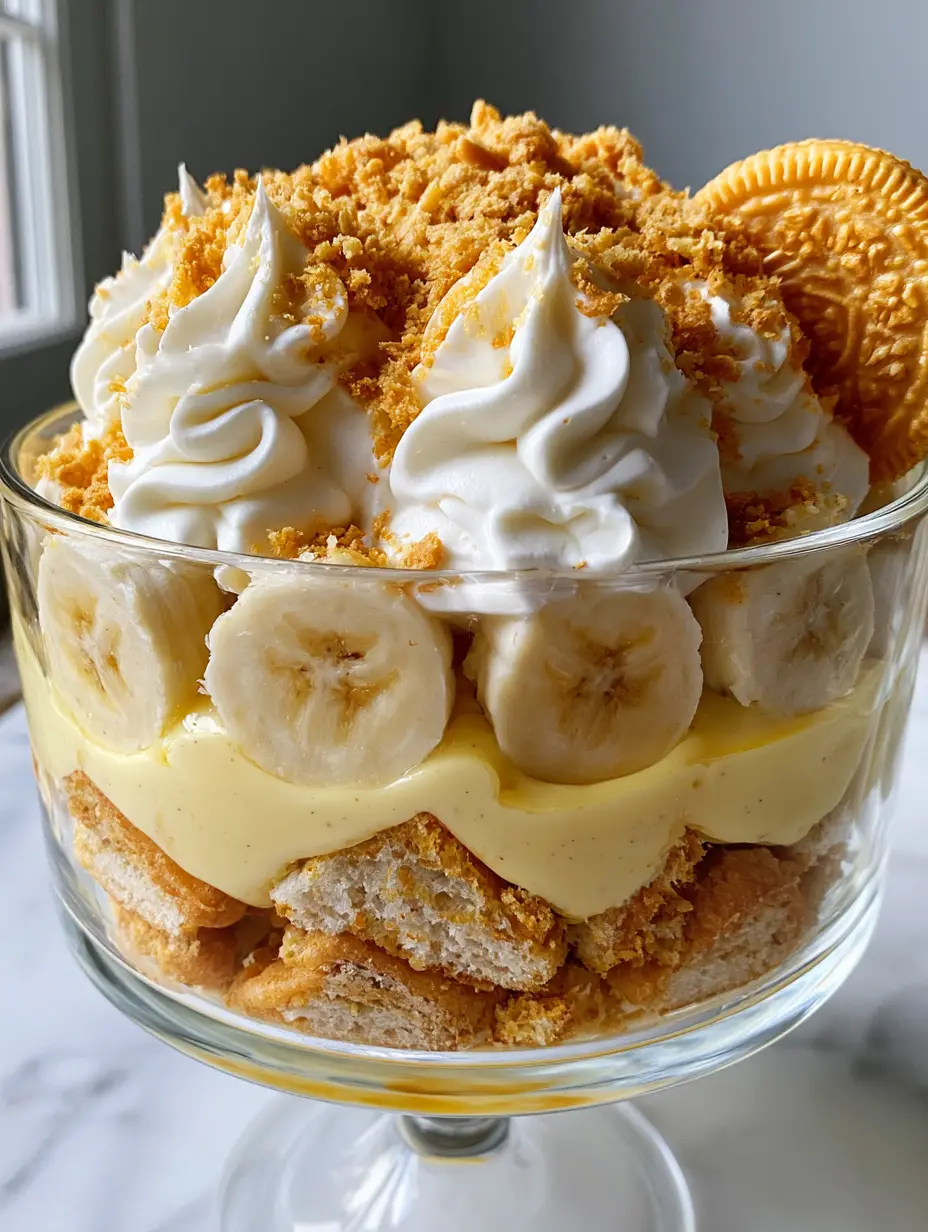
Golden Oreo Banana Pudding: The Ultimate Creamy Layered Trifle
Ingredients
Equipment
Method
- In a large bowl, whisk sweetened condensed milk and cold water until combined. Add pudding mix and whisk for 2 minutes until thickened.
- Stir in vanilla bean paste. Cover and refrigerate for at least 4 hours to reach a thick, velvet-smooth consistency.
- In a chilled bowl, beat heavy cream until airy and stable with stiff peaks.
- Gently fold half of the whipped cream into the chilled pudding until no white streaks remain.
- Place chunky broken Golden Oreos at the bottom of the trifle bowl. Add half the pudding, then a layer of sliced bananas.
- Repeat with remaining pudding. Top with the rest of the whipped cream, creating pillowy peaks.
- Shower with coarse cookie crumbles and tuck one whole Golden Oreo into the side for a professional finish.
Notes
Toss banana slices in a teaspoon of lemon juice to keep them looking fresh and bright.
Closing & Call to Action
This Golden Oreo Banana Pudding is a testament to how simple ingredients can be transformed through careful layering and professional technique. The combination of “velvet-smooth” pudding and “crisp” golden cookies is a crowd-pleaser that never fails to impress. We would love to see your kitchen creations! If you enjoyed this recipe, please leave a comment below and share your photos with us on Pinterest. Happy layering!


