When two legendary desserts collide, the result is nothing short of spectacular. These banana pudding cheesecakes combine the nostalgic, comforting flavors of a classic Southern banana pudding with the sophisticated, velvety texture of a New York-style cheesecake. Every bite offers a journey through layers of buttery crust, fruit-forward filling, and cloud-like whipped cream.
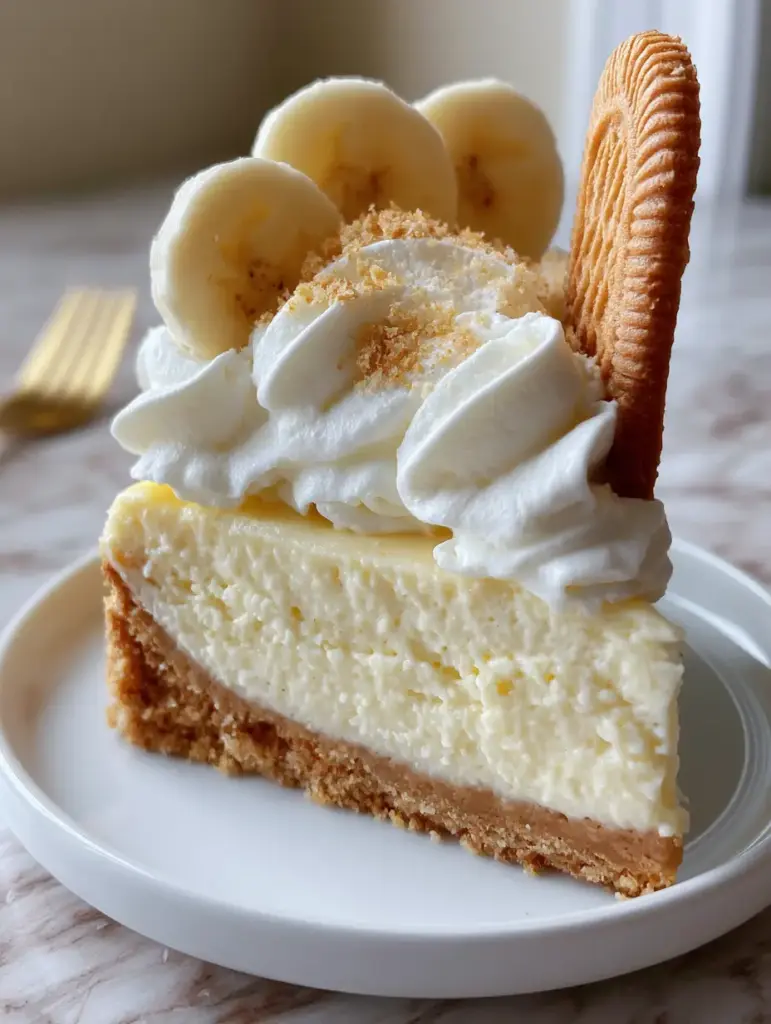
The inspiration for this recipe comes from the perfect handheld smartphone photo of a thick, decadent slice. Imagine a pale yellow custard-like center that is both dense and airy, sitting atop a golden-brown compressed crust. It is a dessert designed to be the centerpiece of any gathering, evoking memories of Sunday potlucks while delivering a high-end culinary experience.
Whether you are a seasoned baker or a home cook looking to impress, this recipe focuses on the structural science of the perfect set. We are moving beyond simple pudding mixes to create a deep, authentic banana flavor that lingers on the palate. Prepare yourself for a dessert that looks as professional as a macro food photograph and tastes even better.
Why You Will Fall in Love With These Banana Pudding Cheesecakes
- Textural Masterclass: Experience the contrast between the crunchy, buttery Nilla wafer crust and the ultra-silky banana cream filling.
- Visually Stunning: With pillowy clouds of stabilized whipped cream and fresh banana rounds, this dish is a masterpiece of food styling.
- Authentic Flavor: By using real, ripened bananas and high-quality vanilla, we achieve a profile that far surpasses store-bought alternatives.
- Make-Ahead Magic: This recipe actually improves with a 24-hour chill, making it the perfect stress-free dessert for hosting.
- Nostalgia Factor: It captures the essence of classic Southern comfort in a modern, elegant format.
The Essential Ingredients for a Flawless Banana Cheesecake
Every ingredient in this recipe serves a specific functional purpose to ensure the final result matches our visual blueprint. From the binding power of the eggs to the moisture control of the crust, nothing is left to chance.
Nilla Wafers (3 cups / 300g): These iconic cookies provide the unique vanilla-malt flavor profile essential for the crust and the “sand” garnish. When finely ground, they create a tight, compressed base that holds up under the heavy filling.
Unsalted Butter (1/2 cup / 115g): Melted butter acts as the glue for our wafer crumbs. It provides the “buttery crumb” look described in our visual prompt and ensures the crust is golden-brown after baking.
Cream Cheese (32 oz / 900g): Use full-fat, brick-style cream cheese for the densest, most velvety texture. It provides the structural integrity needed for a tall, thick slice that doesn’t slump on the plate.
Granulated Sugar (1 cup / 200g): Sugar does more than sweeten; it tenderizes the protein in the cream cheese and eggs. This results in that “ultra-silky” finish we are aiming for.
Ripe Bananas (1.5 cups / 340g mashed): Use bananas with plenty of brown spots for the most intense flavor and natural sweetness. The enzymes in overripe bananas also contribute to the smooth consistency of the batter.
Sour Cream (1/2 cup / 120ml): This adds a subtle tang that cuts through the richness of the cheese. It also introduces moisture without thinning the batter too much.
Large Eggs (4): Eggs provide the lift and “custard” feel of the cheesecake. They are the primary setting agent that transforms liquid batter into a solid, sliceable dessert.
Banana Pudding Mix (2 tbsp / 20g): While optional, a small amount of instant pudding powder stabilizes the filling and reinforces that pale yellow color. It helps achieve the specific “banana cream” look from our visual guide.
Heavy Whipping Cream (1.5 cups / 360ml): For the topping, we use cold heavy cream whipped to stiff peaks. This creates the “thick, pillowy clouds” of garnish mentioned in the blueprint.
Professional Equipment for the Perfect Bake
To achieve the macro-photo quality of these banana pudding cheesecakes, the right tools are non-negotiable. You will need a 9-inch (23cm) springform pan to ensure easy removal and clean edges. A food processor is essential for creating the “fine Nilla wafer sand” used for dusting the top.
A stand mixer with a paddle attachment is preferred over a whisk to avoid incorporating too much air, which can cause cracking. Finally, a large roasting pan is required for the water bath, which provides the gentle, even heat necessary for a crack-free, pale yellow surface.
Step-by-Step Guide to Crafting the Ultimate Banana Cheesecake
1. Preparing the Compressed Nilla Wafer Crust
Preheat your oven to 325°F (165°C). Pulse the Nilla wafers in a food processor until they reach the consistency of coarse sand. Reserve 2 tablespoons of these crumbs for the final garnish later.
In a medium bowl, combine the remaining crumbs with the melted butter and a pinch of salt. Press the mixture firmly into the bottom of your springform pan, using the bottom of a flat measuring cup to ensure it is tightly compressed. Bake for 10 minutes until you smell a toasted vanilla aroma and the crust is a light golden-brown.
2. Mixing the Silky Banana Cream Filling
In your stand mixer, beat the room-temperature cream cheese and sugar on medium-low speed. You are looking for a completely smooth consistency with no lumps; listen for the sound of the paddle moving through the heavy cream without any “clicking” against unmixed chunks.
Add the mashed bananas, sour cream, and banana pudding powder. Mix until well combined and the batter takes on a beautiful pale yellow hue. Add the eggs one at a time, mixing on the lowest speed just until the yellow yolk disappears into the batter. Do not overmix here, as excess air leads to surface bubbles.
3. The Low-and-Slow Baking Process
Wrap the bottom of your springform pan in three layers of heavy-duty aluminum foil to prevent water seepage. Place the pan inside a larger roasting pan and fill the roasting pan with hot water until it reaches halfway up the sides of the cheesecake pan.
Bake for 65-75 minutes. The cheesecake is done when the edges are set and slightly puffed, but the center still has a “jiggle” like firm gelatin when shaken gently. Turn off the oven, crack the door slightly, and let the cheesecake cool inside for one hour. This prevents the “velvety and dense” texture from collapsing.
4. The Critical Chilling Phase
Remove the cheesecake from the water bath and let it reach room temperature on a wire rack. Cover loosely with plastic wrap and refrigerate for at least 6 hours, though 24 hours is ideal for the flavors to meld. This chill time is what allows the slice to look “thick and dense” when cut.
5. Stabilizing the Whipped Cream Clouds
In a chilled bowl, whip the heavy cream, powdered sugar, and a teaspoon of vanilla extract until stiff peaks form. The cream should look thick and architectural, capable of being piped into large, pillowy swirls. For extra stability, you can add a tablespoon of instant vanilla pudding mix during the whipping process.
6. Final Assembly and Visual Garnishing
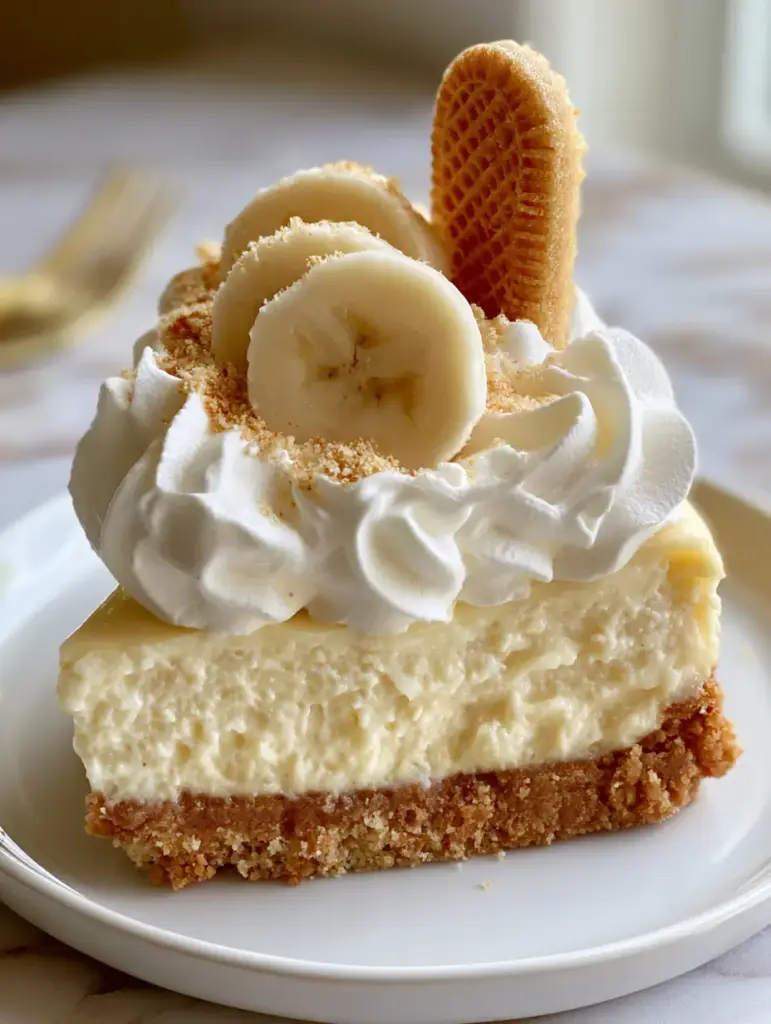
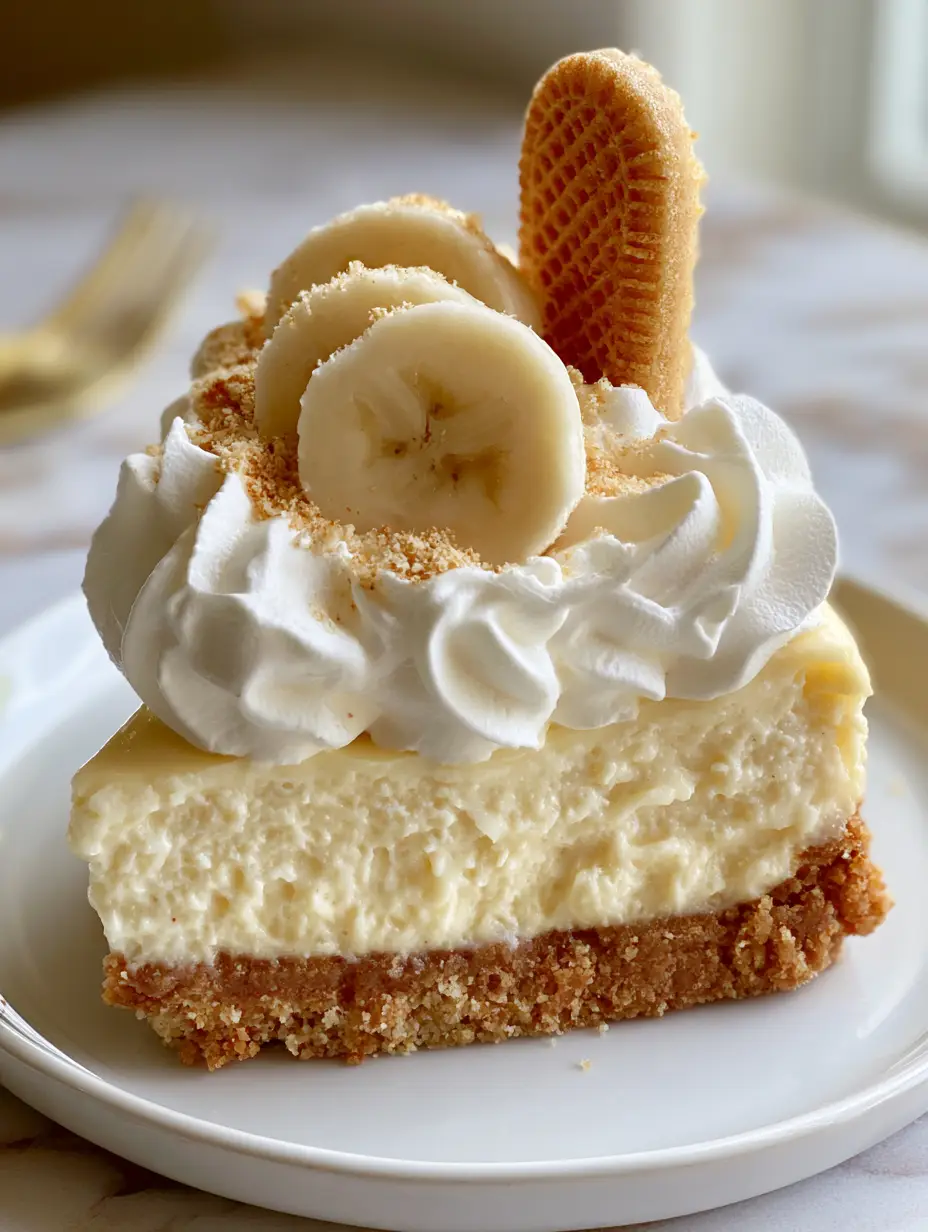
Just before serving, pipe large swirls of the whipped cream around the perimeter of the cake. Slice a fresh banana into perfectly circular rounds and place three rounds on each intended slice. Dust the top with your reserved Nilla wafer sand.
Finally, take one whole Nilla wafer and tuck it vertically into the cream of each slice. This creates the height and professional “handheld smartphone photo” aesthetic we are striving for. The contrast of the vertical wafer against the soft cream is the hallmark of this dish.
Expert Tips for Cheesecake Success
- Room Temperature is Key: Ensure your cream cheese, eggs, and sour cream are at room temperature to avoid a lumpy batter.
- Banana Oxidation: To keep your fresh banana slices from browning, lightly brush them with a bit of lemon juice or pineapple juice before placing them on the whipped cream.
- The Clean Cut: For that perfect macro-close-up slice, dip your knife in hot water and wipe it clean between every single cut.
- Avoid Over-Mashing: Leave some very tiny bits of banana in the mash for a “real fruit” texture, but ensure they are small enough to keep the filling “ultra-silky.”
Storage, Reheating, and Make-Ahead Advice
This cheesecake should always be stored in the refrigerator. It will stay fresh and delicious for up to 5 days if kept in an airtight container. If you are planning to make this for an event, bake the cheesecake the day before and wait to add the fresh bananas and whipped cream until the day of serving to ensure the fruit stays bright.
You can freeze the base cheesecake (without toppings) for up to 3 months. Wrap it tightly in plastic wrap and then foil. To thaw, place it in the refrigerator overnight. Do not try to reheat cheesecake, as it will destroy the delicate emulsion of the fats and proteins.
What to Serve With Banana Pudding Cheesecakes
While this dessert is a powerhouse on its own, it pairs beautifully with other Southern-inspired treats. If you love this flavor profile, you might also enjoy our banana pudding bars for a more casual event. For those who prefer smaller portions, these can be adapted into mini cheesecakes using a cupcake tin.
If you are hosting a large dessert bar, consider serving this alongside traditional creamy banana pudding to show off the different textures of the same flavor profile. A hot cup of coffee or a cold glass of milk is the perfect beverage to cut through the richness of the cream cheese.
Frequently Asked Questions
While you can use extract, real ripened bananas provide a superior depth of flavor and moisture that extract alone cannot replicate. For the best results, use both: real mashed bananas for texture and a half-teaspoon of extract for a punchy aroma.
The most effective way to prevent cracks is using a water bath (bain-marie). This provides gentle, steam-filled heat that keeps the top of the cheesecake moist and prevents it from rising too quickly and collapsing.
The cheesecake itself stays fresh for up to 5 days. However, the fresh banana garnishes will begin to brown and the whipped cream may lose its volume after 24 hours. For the best visual appeal, garnish just before serving.
Yes. Low-fat or whipped cream cheese contains more water and less fat, which will prevent the cheesecake from setting properly and result in a grainy or soft texture rather than the intended silky density.
Bananas oxidize when exposed to air. To keep the filling a beautiful pale yellow, ensure you mix the mashed bananas into the cream cheese mixture immediately. Adding a touch of lemon juice or a small amount of banana pudding mix also helps maintain the color.
The Ultimate Banana Pudding Cheesecakes Recipe
Banana Pudding Cheesecakes: The Ultimate Silky Southern Fusion
Ingredients
Equipment
Method
- Combine Nilla wafer crumbs and melted butter. Press firmly into a 9-inch springform pan and bake at 325°F (165°C) for 10 minutes.
- Beat cream cheese and sugar until smooth. Add mashed bananas, sour cream, and pudding mix. Incorporate eggs one at a time on low speed.
- Place springform pan in a water bath. Bake for 65-75 minutes at 325°F (165°C). Cool in the oven with the door cracked for one hour, then refrigerate for at least 6 hours.
- Whip heavy cream and sugar to stiff peaks. Pipe onto chilled cheesecake. Garnish with fresh banana rounds, Nilla wafer sand, and vertical whole wafers.
Notes
Brush banana slices with lemon juice to prevent browning before serving.
Closing & Call to Action
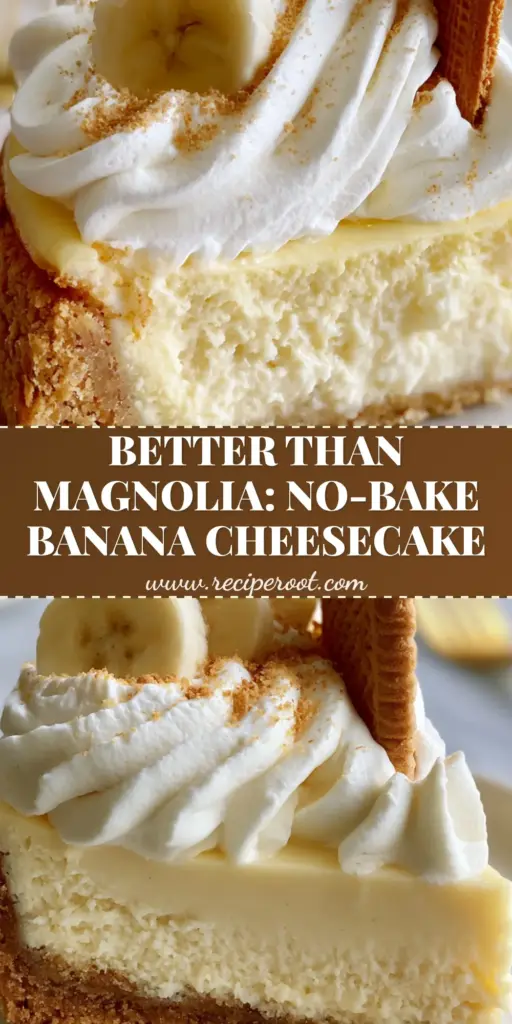
These banana pudding cheesecakes are more than just a dessert; they are a celebration of Southern culinary tradition merged with modern pastry techniques. The combination of the golden-brown Nilla wafer crust and the silky banana filling creates a sensory experience that is truly unforgettable. We hope you enjoy making (and eating!) this masterpiece.
If you enjoyed this recipe, please leave a comment below and tell us how yours turned out! Don’t forget to sign up for our newsletter for more elite recipes delivered straight to your inbox. Be sure to share your beautiful creations on Pinterest and tag us!


