Imagine the nostalgic, smoky aroma of a summer campfire colliding with the silky, comforting embrace of a Southern classic. This S’mores Banana Pudding is not just a dessert; it is a structural masterpiece of textures. From the crunch of buttery graham crackers to the velvet-smooth banana cream and the unapologetic decadence of glossy dark chocolate ganache, every spoonful tells a story of culinary contrast.
When you peer through the clear glass of a trifle bowl, you see the distinct, appetizing layers that make this dish a showstopper. The base of golden, crushed graham crackers provides a sturdy foundation for the dense, pale-yellow pudding. It is topped with a mountain of oversized marshmallows, toasted until they reach a gooey consistency with those signature caramelized dark brown charred patches that define the s’mores experience.
Whether you are a fan of creamy banana pudding or you live for the charred sweetness of a toasted marshmallow, this recipe bridges the gap between childhood memories and gourmet execution. It is designed to be the centerpiece of your dessert table, capturing soft natural daylight and inviting everyone to dive into its indulgent depths.
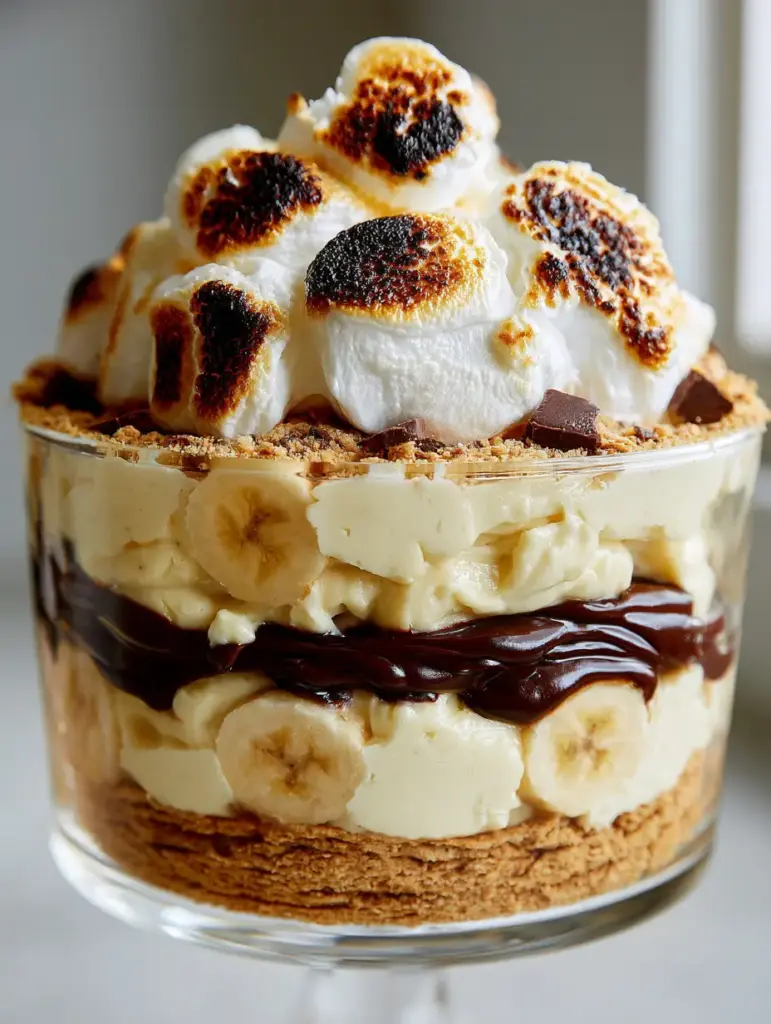
Why This Layered S’mores Banana Pudding Recipe Works
- Structural Integrity: By using a dense, vanilla-infused banana pudding base, the layers stay distinct in the trifle bowl rather than turning into a muddy mess.
- The “Gloss” Factor: A true dark chocolate ganache provides a sophisticated bitterness that cuts through the sugar of the marshmallows, ensuring the palate never tires of the sweetness.
- Sensory Contrast: We combine the “snap” of mini chocolate bars, the “crunch” of buttery crumbs, and the “pull” of melted marshmallows for a multi-dimensional mouthfeel.
- Aromatic Depth: Torching the marshmallows at the final stage releases essential oils from the sugar, creating a smoky scent that pairs perfectly with ripe bananas.
The Essential Components for a Campfire-Inspired Masterpiece
To achieve the visual and structural results seen in the blueprint, you need specific ingredients that perform under pressure. Each element has been chosen for its ability to hold its shape while delivering maximum flavor impact.
Building the Foundation: Graham Crackers and Butter
2 cups (170g) Graham Cracker Crumbs: These provide the earthy, honey-scented base. Use a food processor to achieve a fine “sand” texture for the dusting, but keep some pea-sized chunks for the base layer to ensure a satisfying crunch.
1/2 cup (113g) Unsalted Butter, melted: Butter acts as the binder. When chilled, it solidifies, turning the loose crumbs into a “buttery crushed graham cracker” foundation that supports the weight of the pudding layers above.
The Heart of the Dish: Dense Banana Pudding
2 packages (5.1oz each) Instant Vanilla Pudding Mix: We choose vanilla over banana-flavored mix to allow the natural flavor of the fresh fruit to shine without the artificial “candy” aftertaste often found in pre-flavored mixes.
2 cups (480ml) Whole Milk: The fat content in whole milk is non-negotiable for a “dense, creamy” result. Skim milk will result in a watery consistency that won’t hold the chocolate ganache layer properly.
1 can (14oz / 396g) Sweetened Condensed Milk: This is the secret to the professional “velvet” texture. It adds a syrupy density that mimics a labor-intensive cooked custard without the risk of curdling.
2 cups (480ml) Heavy Whipping Cream: Beaten to stiff peaks and folded into the pudding, this provides the “pale-yellow” lift and airiness required for a trifle bowl presentation.
4-5 Large Ripe Bananas: Look for yellow peels with tiny brown speckles. These are at their peak sugar content, providing the “fresh, ripe” flavor that defines the dish.
The Decadent Bridge: Dark Chocolate Ganache
8 oz (225g) Dark Chocolate (60% cacao or higher): Chopped finely, this melts into a “glossy dark chocolate” layer. Dark chocolate is essential here; milk chocolate would make the overall dish cloying.
1/2 cup (120ml) Heavy Cream: When heated and poured over the chocolate, it creates an emulsion that remains soft even when chilled, allowing your spoon to glide through the layers effortlessly.
The Signature Topping: Marshmallows and Garnish
10 oz (283g) Oversized Marshmallows: These provide the “mountain” of topping described in the visual blueprint. Their size allows for a significant surface area to be toasted while the centers remain gooey.
4-5 Mini Chocolate Bars: Broken into squares, these provide a “snap” texture and a visual nod to the classic Hershey’s bar found in traditional s’mores.
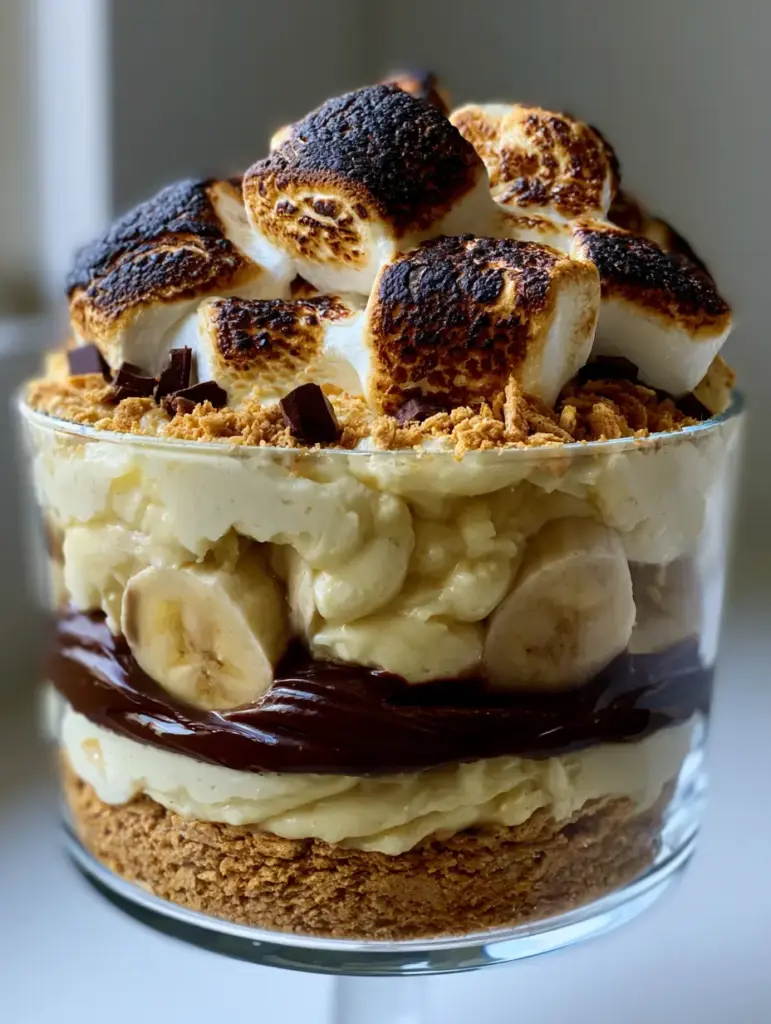
Professional Equipment for the Perfect Trifle Presentation
To replicate the “clear glass trifle bowl” look with “distinct, appetizing layers,” you need the right tools. Precision in layering is what separates a home-style mess from a professional-grade dessert.
- Glass Trifle Bowl (approx. 3-4 quart capacity): The straight sides of a trifle bowl are essential for showing off the “thick foundation” and “glossy ganache.”
- Kitchen Torch: While a broiler can work, a butane kitchen torch gives you the control needed to create “caramelized dark brown charred patches” without melting the entire pudding.
- Offset Spatula: This is the secret to creating the perfectly level chocolate ganache layer. It allows you to spread the chocolate right to the edge of the glass without smudging the pudding below.
- Electric Hand Mixer: Essential for whipping the heavy cream to the precise stiff peaks needed for a dense, stable pudding body.
Step-by-Step Culinary Forensics: Constructing the S’mores Banana Pudding
1. Engineering the Buttery Graham Base
Combine the 2 cups (170g) of graham cracker crumbs with the 1/2 cup (113g) of melted butter. Stir until the mixture resembles wet sand. Press two-thirds of this mixture firmly into the bottom of your clear glass trifle bowl. Reserve the remaining third for the “graham cracker dust” and internal layering. The pressure is key here; a firm press ensures the crust doesn’t float upward when the pudding is added.
2. Whipping the Creamy Banana Foundation
In a large bowl, whisk together the vanilla pudding mix, whole milk, and sweetened condensed milk until smooth and starting to thicken. In a separate chilled bowl, beat the heavy whipping cream until stiff peaks form—look for the cream to hold its shape when the beaters are lifted. Gently fold the whipped cream into the pudding mixture using a silicone spatula. The goal is a “pale-yellow” hue with a uniform, cloud-like texture. No streaks of white should remain.
3. The Art of Layering the Fruit and Cream
Slice your ripe bananas into 1/4 inch (0.6cm) rounds. To prevent browning, you can toss them in a teaspoon of lemon juice, though the pudding will naturally protect them from oxidation. Spread half of the pudding over the graham cracker base. Arrange a thick layer of banana slices over the pudding, pressing them slightly into the cream so they are visible through the glass. Repeat with another layer of pudding and the remaining bananas.
4. Creating the Glossy Chocolate Ganache
Place your chopped dark chocolate in a heat-proof bowl. Heat 1/2 cup (120ml) of heavy cream in a small saucepan until it just begins to simmer (look for small bubbles around the edges). Pour the hot cream over the chocolate and let it sit undisturbed for 5 minutes. Gently whisk from the center outward until a “glossy dark chocolate ganache” forms. Pour this over the top pudding layer, using your offset spatula to spread it to the very edges of the bowl. This creates the dark horizontal line that makes the trifle visually striking.
5. Achieving the Toasted Marshmallow Mountain
Pile the oversized marshmallows high on top of the chocolate layer. Use a kitchen torch to sweep across the surface. Watch for the marshmallows to puff up and turn a “golden-brown” before catching fire briefly to create those “caramelized dark brown charred patches.” The smell of toasted sugar should be immediate. If using a broiler, place the bowl on the lowest rack for 30-60 seconds, watching constantly.
6. Final Garnishing and Texture Cues
Sprinkle the reserved graham cracker dust over the toasted marshmallows. Finish by tucking mini chocolate bar squares into the gaps between the marshmallows. The residual heat from the toasting will slightly soften the bottom of the chocolate squares, anchoring them in place. The final result should look like an unedited, authentic smartphone photo—rustic, gooey, and irresistible.
Expert Tips for a Perfect S’mores Banana Pudding
- The Chill Factor: For the best “distinct layers,” chill the pudding and bananas for at least 4 hours before adding the warm ganache and toasted marshmallows. This prevents the layers from bleeding into each other.
- Banana Placement: For the most “appetizing” look, stand some banana slices vertically against the glass wall of the bowl before filling the center with pudding.
- Ganache Temperature: Ensure your ganache is pourable but not piping hot. If it is too hot, it will melt the pudding base and ruin the visual separation. It should be approximately 90°F (32°C).
- Avoid Sogginess: If you are making this more than 24 hours in advance, wait to add the “buttery crushed graham cracker” dusting on top until just before serving to maintain that vital crunch.
Structural Storage and Make-Ahead Advice
This S’mores Banana Pudding is a high-moisture dessert, meaning its shelf life is defined by the texture of the crackers and the oxidation of the bananas. For the best experience, consume within 48 hours.
Refrigeration: Keep the trifle bowl covered with plastic wrap in the refrigerator. Note that the toasted marshmallows will lose their “gooey consistency” and become somewhat firm and sticky after 24 hours in the cold. If possible, toast the marshmallows immediately before serving.
Freezing: We do not recommend freezing this recipe. The emulsions in the pudding and the cellular structure of the bananas will break down upon thawing, resulting in a grainy, watery texture that ruins the “creamy” visual appeal.
What to Serve With Your Toasted S’mores Masterpiece
Because this dessert is exceptionally rich, it pairs best with beverages or sides that offer a bright or bitter contrast. A strong cup of black coffee or an espresso is the traditional choice to cut through the heavy cream and marshmallow sugar.
If you love the format of this dessert but want something more handheld for a party, consider making Nilla wafer banana pudding cups or even banana pudding bars. If you are hosting a larger event, serving this alongside a platter of banana pudding cheesecakes creates a themed dessert bar that will wow your guests.
Frequently Asked Questions About S’mores Banana Pudding
Yes, you can assemble the pudding, banana, and ganache layers up to 24 hours in advance. However, wait to add and toast the marshmallows until just before serving to ensure they remain gooey and the graham crackers stay crunchy.
While you can, milk chocolate is much sweeter. Because the marshmallows and pudding are already quite sweet, the dark chocolate (60%+ cacao) provides a necessary flavor balance.
The pudding and ganache layers act as a seal against oxygen, which slows browning. For extra protection, toss your banana slices in a tiny amount of lemon or pineapple juice before layering.
You can use your oven’s broiler. Place the finished trifle bowl on the lowest rack for 30-90 seconds. Watch it constantly, as marshmallows can go from golden to burnt very quickly.
This usually happens if you use low-fat milk or don’t whip the heavy cream to stiff enough peaks. Ensure you use whole milk and cold heavy cream for the densest, most stable texture.
The Ultimate S’mores Banana Pudding Recipe
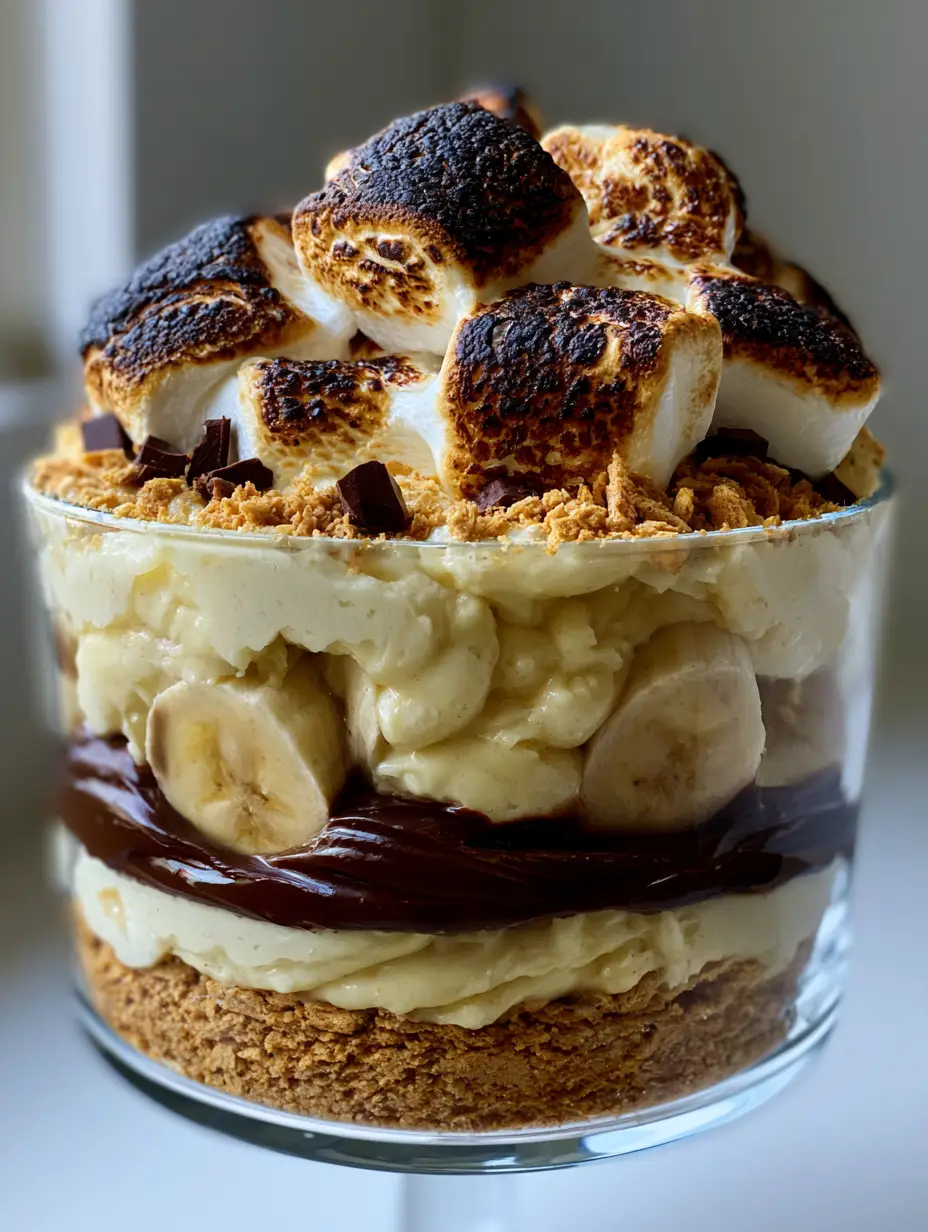
S'mores Banana Pudding: The Ultimate Toasted Marshmallow and Chocolate Trifle
Ingredients
Equipment
Method
- Mix graham cracker crumbs and melted butter. Press 2/3 into the bottom of the trifle bowl.
- Whisk pudding mix, milk, and condensed milk. Fold in whipped heavy cream until dense and pale-yellow.
- Layer half the pudding and half the sliced bananas. Repeat once more.
- Melt dark chocolate with hot heavy cream to create a glossy ganache. Spread evenly over the top pudding layer.
- Pile marshmallows on top and toast with a kitchen torch until golden-brown with charred patches. Garnish with remaining graham dust and mini chocolate bars.
Notes
Use a kitchen torch for the most authentic charred marshmallow flavor.
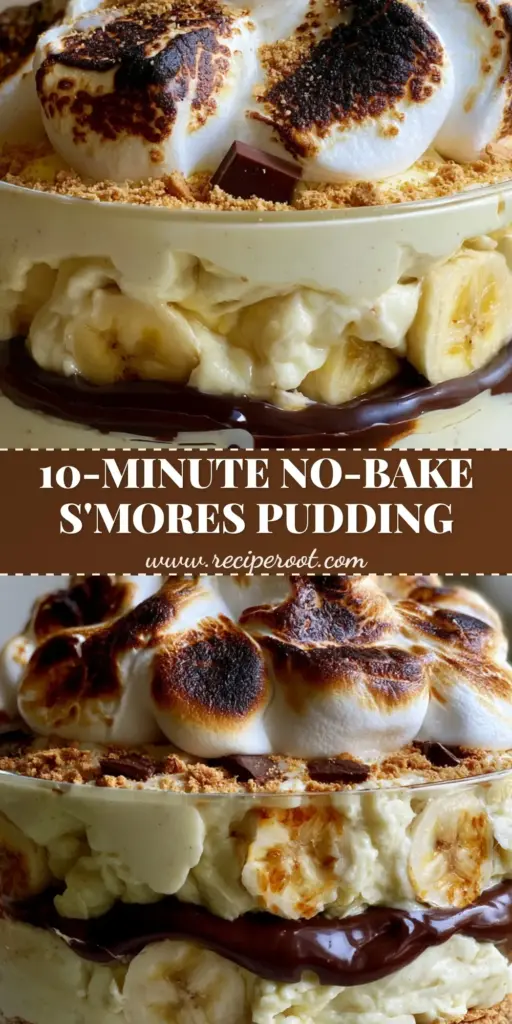
Bring the Campfire to Your Kitchen
This S’mores Banana Pudding is more than just a sweet treat; it’s a tactile experience that combines the best of Southern comfort and campfire tradition. The “glossy dark chocolate” and “toasted golden-brown marshmallows” transform a humble pudding into a gourmet event. If you enjoyed building this trifle, please leave a comment below and share your photos with us! Don’t forget to follow Pinterest for more visually-driven dessert inspiration.


