Forget everything you know about cakey, bread-like pumpkin treats. These pumpkin chocolate chip cookies are a culinary revolution, designed specifically for those who crave a thick, dense foundation and a fudgy, glistening interior center.
Inspired by the rich textures of a decadent brownie but infused with the warm, aromatic soul of autumn, these cookies stand apart. Each bite delivers a deeply crinkled, golden-orange surface that yields to a moist, buttery core that is explicitly not airy.
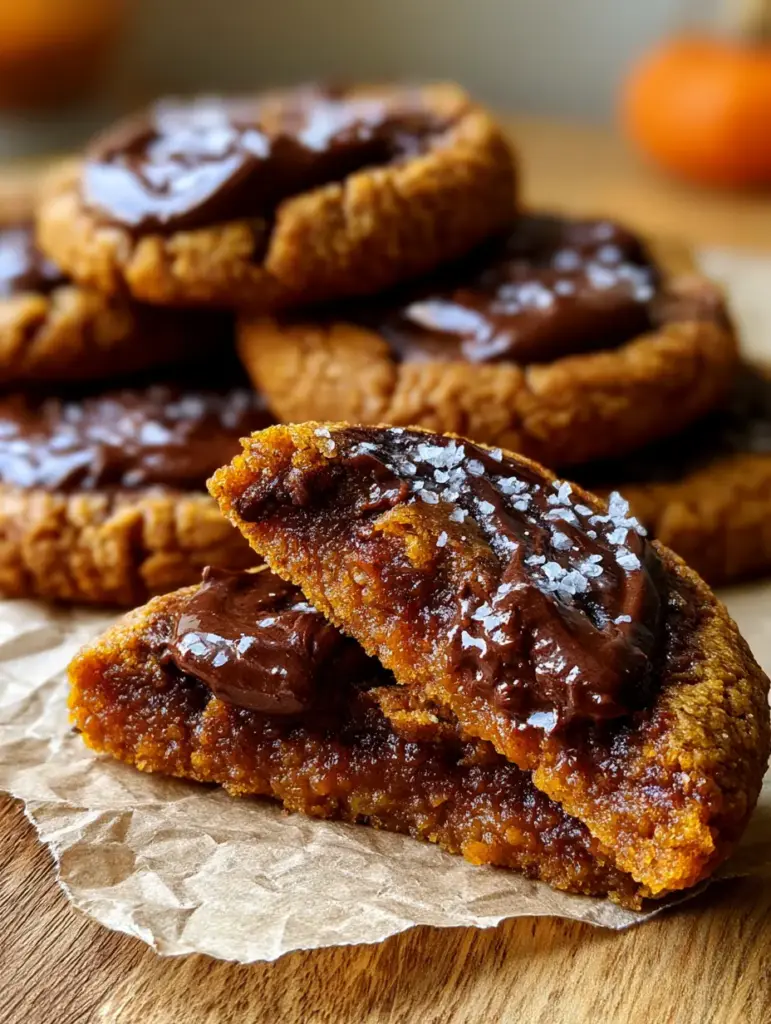
We are moving away from the standard “muffin-top” texture often found in seasonal baking. By focusing on moisture control and fat ratios, we have achieved large pools of glossy, melted semi-sweet chocolate swirled directly into the dough, topped with a delicate dusting of flaky sea salt for the ultimate high-end aesthetic.
Why This Recipe Redefines the Autumn Cookie Experience
- Zero Airiness: Unlike traditional recipes that result in a spongy texture, these cookies are engineered for density and a fudgy mouthfeel.
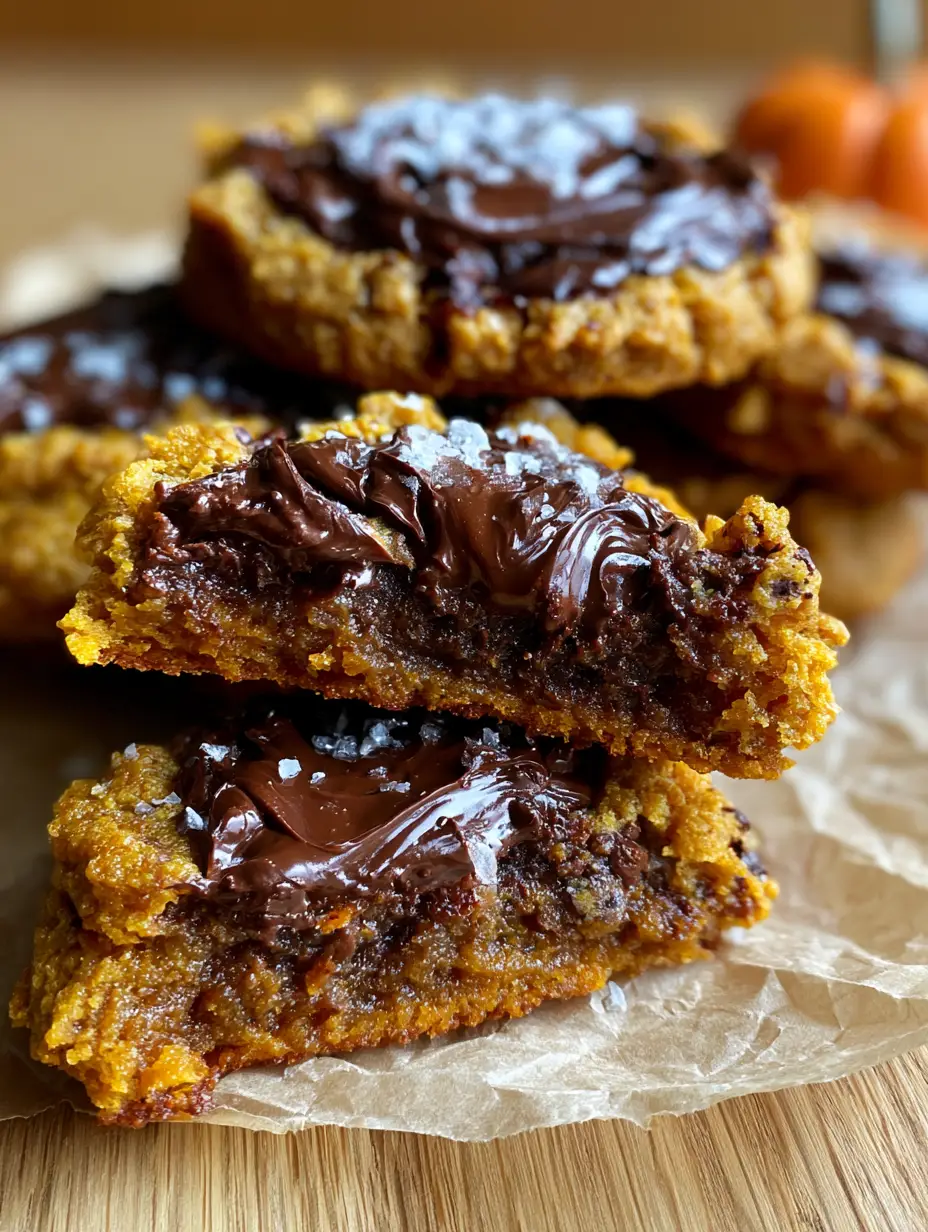
- Glossy Chocolate Pools: We utilize chopped semi-sweet bars rather than just chips to create those iconic, swirled reservoirs of melted chocolate.
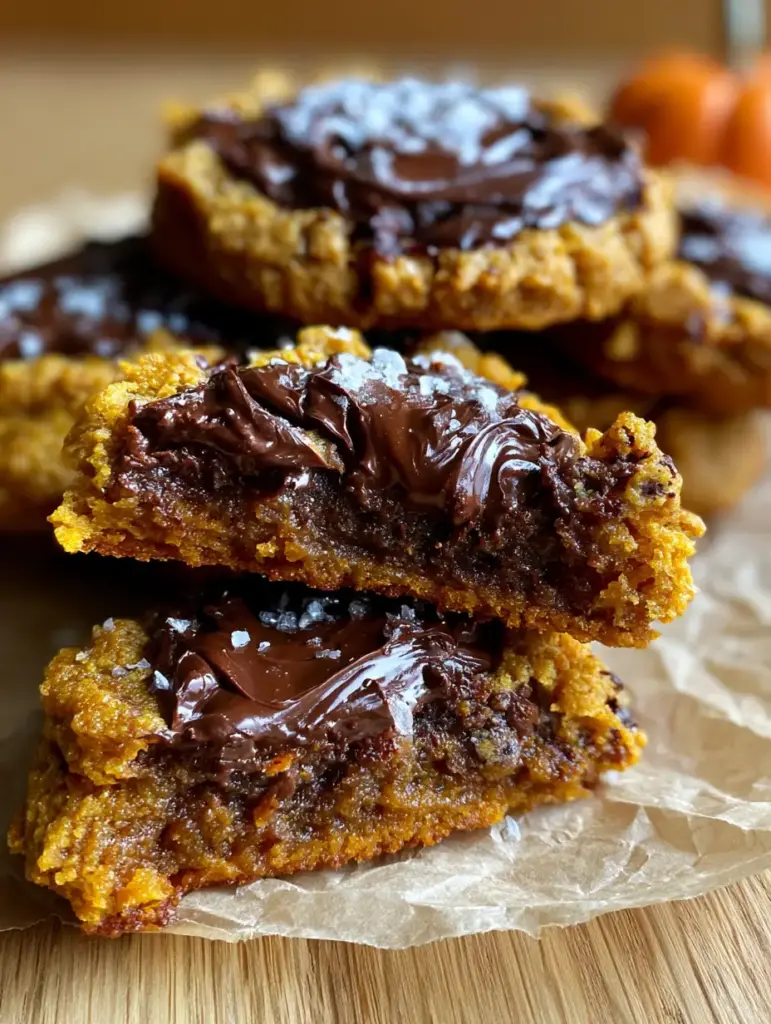
- Visual Crinkle Effect: A specific temperature shock and sugar ratio creates a deeply crinkled, golden-brown edge that looks professional and handheld-ready.
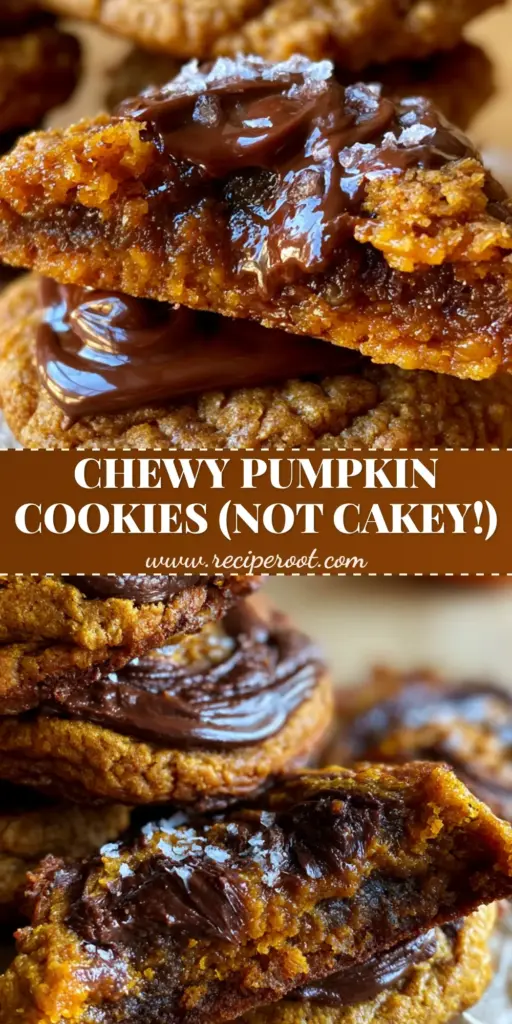
- Glistening Interior: The dark orange center stays moist and buttery, reflecting light just like the high-end food blog photography that inspired this dish.
The Essential Pantry Staple for Fudgy Pumpkin Perfection
Achieving the perfect pumpkin chocolate chip cookies requires more than just mixing ingredients; it requires understanding the science of moisture. Each component here serves a structural or textural purpose to bridge the gap between a visual blueprint and a delicious reality.
1 cup (227g) Unsalted Butter, Melted and Cooled: Using melted butter instead of creamed butter prevents the incorporation of air. This is the first step in ensuring your cookies remain dense and fudgy rather than light and cakey.
1/2 cup (115g) Pumpkin Puree, Blotted: Pumpkin is naturally high in water, which creates steam and “cakeyness.” We will blot this puree with paper towels to remove excess moisture, leaving only the concentrated flavor and color.
1 cup (200g) Dark Brown Sugar, Packed: The high molasses content in dark brown sugar provides the necessary hygroscopic properties to keep the interior glistening and moist. It also contributes to the deep golden-orange hue.
1/4 cup (50g) Granulated White Sugar: This sugar is essential for achieving those golden-brown crinkled edges. It helps the surface dry out just enough to crack during the baking process.
1 Large Egg Yolk: By omitting the egg white (which contains drying proteins and water), we increase the fat content. This results in a richer, more buttery, and dense interior.
2 tsp (10ml) Pure Vanilla Extract: A foundational flavor enhancer that rounds out the spices and emphasizes the richness of the semi-sweet chocolate pools.
1 ½ cups (190g) All-Purpose Flour: This provides enough structure to hold the thick stack high without becoming tough. We weigh this carefully to avoid a floury, dry crumb.
1 tsp (5g) Baking Soda: A small amount is used to react with the acidic pumpkin and brown sugar, providing just enough lift to create cracks without adding airiness.
1 tbsp (6g) Pumpkin Pie Spice: A blend of cinnamon, nutmeg, ginger, and cloves that gives these cookies their quintessential autumn soul.
8 oz (225g) Semi-Sweet Chocolate Bars, Roughly Chopped: Chopping your own chocolate ensures varying sizes of “pools.” The high cocoa butter content in bars allows for that glossy, swirled look seen in our visual blueprint.
1 tsp (5g) Flaky Sea Salt: Used as a final garnish to balance the sweetness and add a sophisticated, glistening highlight to the chocolate pools.
The Baker’s Tool Kit for Professional Results
To achieve the handheld, high-end look of our stack, you need the right equipment. Using a crumpled parchment paper base is not just for aesthetics; it prevents the cookies from sticking and allows for even heat distribution.
You will also need a heavy-duty baking sheet. Thin sheets can cause the bottoms to burn before the “fudgy moist interior center” is properly set. A large cookie scoop (3 tablespoons) ensures that every cookie in your stack is uniform in size and density.
Finally, a small offset spatula or a spoon is helpful for swirling those large chocolate pools into the dough just before the cookies hit the oven. This ensures the chocolate is visible on the surface, matching our visual recipe blueprint perfectly.
Mastering the Fudgy Pumpkin Cookie: Step-by-Step
Phase 1: Concentrating the Pumpkin Essence
Start by spreading your 1/2 cup (115g) of pumpkin puree onto a plate lined with triple-layered paper towels. Press another layer of paper towels on top to soak up the liquid.
You want to reduce the weight of the pumpkin by about 25-30%. This step is the “secret weapon” to ensure your pumpkin chocolate chip cookies are dense and not bread-like. The resulting paste should be thick and dark orange.
Phase 2: The Low-Aeration Mix
In a large bowl, whisk together the melted butter, dark brown sugar, and white sugar. Do not over-mix; you want the sugar to dissolve into the fat without creating foam or bubbles.
Stir in the blotted pumpkin puree, egg yolk, and vanilla extract. The mixture should look glossy and dark, indicating a high fat-to-moisture ratio which leads to that glistening interior.
Phase 3: Folding the Foundation
Sift the flour, baking soda, pumpkin pie spice, and a pinch of table salt over the wet ingredients. Use a silicone spatula to fold the dry ingredients in until just a few streaks of flour remain.
Now, fold in 3/4 of your chopped semi-sweet chocolate. Save the largest chunks for the top to ensure those “glossy melted chocolate pools” are front and center in your final presentation.
Phase 4: Chilling for Density
Allow the dough to rest in the refrigerator for at least 30 minutes. This hydrates the flour and solidifies the fats, which prevents the cookies from spreading too thin and ensures they stay thick and dense.
Phase 5: The High-Heat Bake
Preheat your oven to 350°F (175°C). Scoop large mounds of dough onto your crumpled parchment paper. Press the remaining large chocolate chunks into the tops of the mounds.
Bake for 10-12 minutes. Look for the “Visual & Sensory Cues”: the edges should be a deep golden-brown and crinkled, while the centers still look slightly “underdone” and glistening. They will firm up into a fudgy texture as they cool.
Visual & Sensory Cues for the Perfect Bake
As these pumpkin chocolate chip cookies bake, your kitchen will fill with the scent of toasted cinnamon and melting cocoa. Watch through the oven window for the moment the surface begins to crack and “crinkle.”
The cookies are ready when the chocolate has turned into liquid, glossy pools. Upon removal, immediately sprinkle with the flaky sea salt. The salt should stick to the warm chocolate, creating a gentle highlight against the dark orange dough.
When you break one in half, as seen in our handheld photo prompt, you should see a dark orange interior that looks buttery and moist. If it looks “fluffy” or like a cake, the pumpkin wasn’t blotted enough or the dough was over-aerated.
Expert Tips for Success
- Measure by Weight: Use a kitchen scale for the flour and pumpkin. Even a tablespoon too much flour can ruin the “fudgy moist interior.”
- The “Pan Bang” Trick: If your cookies aren’t crinkling enough, halfway through baking, lift the pan and drop it firmly against the oven rack. This collapses air pockets and creates those deep ridges.
- Quality Chocolate Matters: Avoid cheap chocolate chips which contain stabilizers that prevent them from melting into glossy pools. Use a high-quality baking bar.
- Room Temperature Ingredients: Ensure your egg yolk is at room temperature so it emulsifies perfectly with the melted butter.
Storage, Reheating, and Freezing
These cookies are even better on day two as the flavors settle and the texture becomes even denser. Store them in an airtight container at room temperature for up to 4 days.
To recreate the “melted chocolate pools” experience, microwave a cookie for 8-10 seconds before serving. The interior will return to its glistening, buttery state.
For long-term storage, freeze the baked cookies for up to 3 months. Thaw at room temperature and garnish with a fresh pinch of sea salt to revive the aesthetic.
What to Serve With This Autumn Treat
These dense cookies pair beautifully with other seasonal favorites. For a full dessert spread, consider serving them alongside pumpkin cheesecake cookies for a variety of textures.
If you are hosting a fall brunch, these cookies are a great follow-up to a cinnamon roll casserole. The richness of the chocolate also complements the flavors found in hot chocolate cookies.
For those who love the combination of fruit and spice, a side of caramel apple cookies creates a wonderful “harvest festival” vibe on your dessert table.
Common Questions About Dense Pumpkin Cookies
You can, but baking bars contain more cocoa butter and lack the stabilizers found in chips, allowing them to melt into the glossy ‘pools’ seen in high-end food photography.
Yes. Chilling the dough for at least 30 minutes hydrates the flour and solidifies the butter, which is essential for a thick, dense cookie that doesn’t spread too thin.
A combination of a high brown sugar ratio and the ‘pan bang’ method (dropping the pan on the oven rack halfway through baking) creates those beautiful, deep surface cracks.
Pumpkin puree has a very high water content. To achieve a dense, fudgy cookie, you must blot the puree with paper towels to remove excess moisture before mixing.
Egg whites contain water and proteins that create a structure similar to bread. Using only the yolk adds fat and richness, contributing to a glistening, fudgy interior.
The Ultimate Fudgy Pumpkin Chocolate Chip Cookies
Pumpkin Chocolate Chip Cookies: The Ultimate Fudgy and Dense Recipe
Ingredients
Equipment
Method
- Spread pumpkin puree on paper towels and blot until thick and concentrated. Measure out 1/2 cup after blotting.
- Whisk melted butter with dark brown and white sugars until combined but not aerated.
- Stir in blotted pumpkin, egg yolk, and vanilla until the mixture is glistening.
- Fold in flour, baking soda, and spices. Add 3/4 of the chopped chocolate.
- Refrigerate dough for 30 minutes to ensure density.
- Scoop large mounds onto parchment paper. Press remaining chocolate chunks into the tops.
- Bake at 350°F (175°C) for 10-12 minutes until edges are golden and crinkled. Garnish with sea salt immediately.
Notes
Do not skip the blotting step or the cookies will be cakey.
Closing & Call to Action
Mastering the pumpkin chocolate chip cookies is about embracing the dense, fudgy, and decadent side of autumn baking. By controlling moisture and focusing on high-quality chocolate, you create a treat that is as visually stunning as it is delicious.
If you enjoyed this deep dive into culinary forensics and cookie science, please leave a comment below! Don’t forget to share your glistening cookie stacks on Pinterest and tag us.
For more seasonal inspiration, check out our recipes for brown butter pumpkin snickerdoodles or our easy chocolate pie recipe. Happy baking!


