There is a specific, visceral magic found only in the glass display cases of high-end metropolitan bakeries. It is the sight of a massive, heavy-set cookie that defies the laws of standard home baking. These Bakery style chocolate chip cookies are not your average snack; they are architectural marvels of sugar, fat, and flour.
When you pull one of these cookies apart, the world seems to slow down. You see that steaming, gooey, soft-baked center that looks almost like molten dough, contrasting sharply against the deep golden-brown, crinkled exterior. The aroma of toasted hazelnuts and caramel—thanks to the brown butter—fills the room before you even take a bite.
This recipe is designed to recreate that exact experience in your own kitchen. We are moving beyond the back-of-the-bag instructions to embrace professional techniques like the Maillard reaction, pan-banging for ripples, and the precise science of hydration levels. Prepare yourself for the last chocolate chip cookie recipe you will ever need.
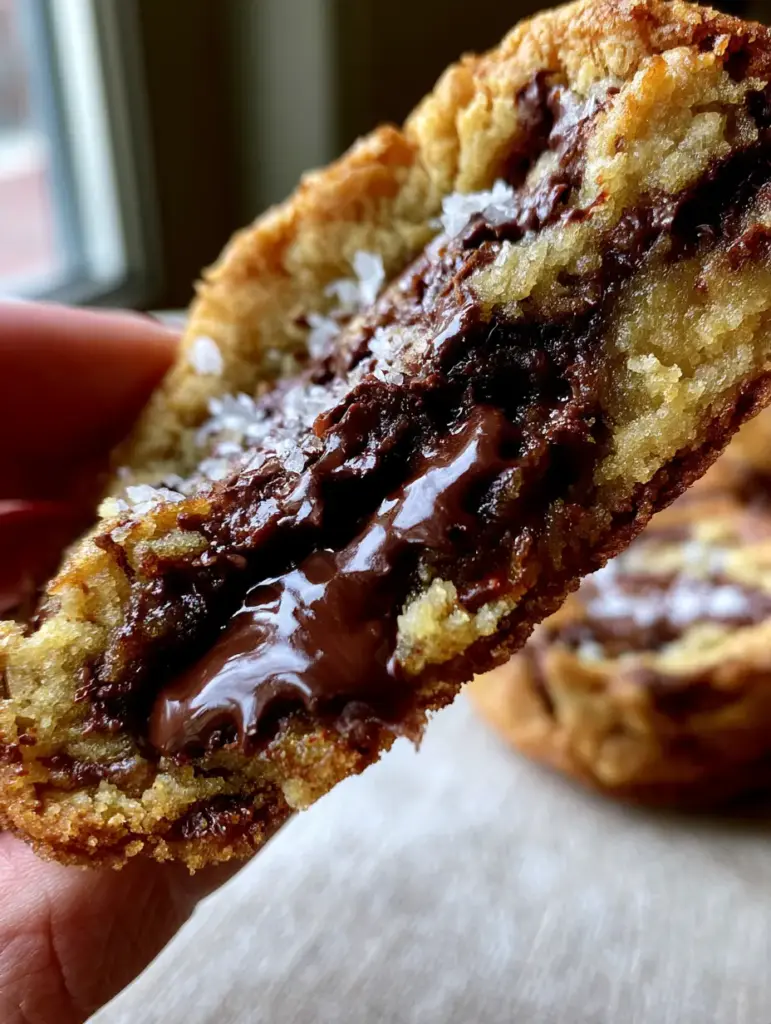
The Anatomy of a Professional Bakery-Style Cookie
To achieve the visual and textural perfection seen in professional bakeries, we have to focus on specific culinary pillars. These Bakery style chocolate chip cookies rely on a balance of moisture, temperature, and high-quality inclusions.
- The Rippled Foundation: A high-volume, crinkled top surface is achieved through a specific sugar-to-fat ratio and a unique baking technique called “pan-banging.”
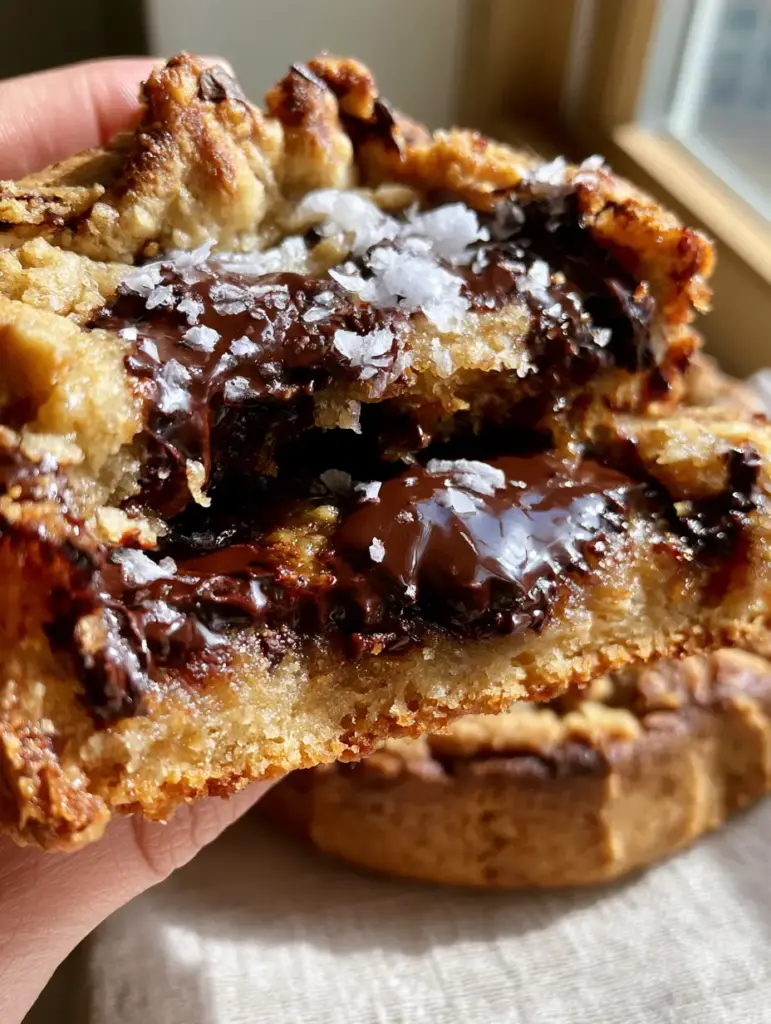
- Molten Chocolate Architecture: Instead of standard chips, we use hand-chopped chocolate bars to create massive, glistening pools of semi-sweet chocolate that stay liquid even after cooling.
- Brown Butter Depth: By evaporating the water from the butter and toasting the milk solids, we create a glistening brown butter sheen and a nutty flavor profile that elevates the dough.
- Dual-Texture Contrast: The edges are perfectly crispy and caramelized, providing a structural ring that protects the thick, underbaked middle.
- The Saline Finish: A delicate dusting of flaky Maldon sea salt cuts through the richness of the dark chocolate, brightening every single note of flavor.
The Invisible Science of Premium Ingredients
Every ingredient in these Bakery style chocolate chip cookies serves a scientific purpose. We don’t just add flour for bulk; we use it to control the spread and ensure that massive, thick profile.
The Fat: Salted Butter (226g / 1 cup)
We start with high-quality butter that we transform into brown butter. This process removes water content, which prevents the cookies from becoming cakey and instead encourages a dense, fudgy texture.
The Sugars: Dark Brown (200g / 1 cup) and Granulated (100g / ½ cup)
Dark brown sugar provides the molasses required for that deep caramelization on the edges. The white sugar assists in creating the rippled, crisp exterior through efficient dehydration during the bake.
The Flour Blend: All-Purpose (350g / 2 ¾ cups) and Cornstarch (1 tbsp / 8g)
A higher protein count in the flour ensures the cookie can support its own weight. The addition of cornstarch is the “secret” to that soft, doughy center that remains tender even after the cookie has fully cooled.
The Chocolate: Semi-Sweet Bars (300g / 10oz)
Forget standard chocolate chips which contain stabilizers to hold their shape. We want hand-chopped bars that melt into wide, molten pools, creating the physical layers of chocolate seen in high-end photography.
The Seasoning: Flaky Sea Salt and Vanilla
Pure vanilla extract (1 tbsp / 15ml) provides the aromatic backbone, while the flaky sea salt is essential for visual contrast and flavor balance. If you love a unique twist on a classic, you might also enjoy these white chocolate raspberry cheesecake cookies.
Essential Equipment for Massive Cookies
To achieve a “massive, thick” result, your equipment matters as much as your ingredients. You will need a heavy-duty rimmed baking sheet that won’t warp under high heat, providing even distribution to the caramelized base.
A large 3-ounce (85g) cookie scoop is non-negotiable for that bakery-scale volume. This ensures every cookie is uniform, allowing the edges to crisp at the exact same time the center reaches its perfect “underbaked” state.
Finally, a small saucepan for browning the butter and a wire cooling rack are vital. If you’re a fan of bite-sized treats instead of these giants, check out these copycat chocolate chip mini muffins.
Mastering the Art of Brown Butter and Dough Hydration
Step 1: The Liquid Gold (Browning the Butter)
Place your butter in a light-colored saucepan over medium heat. Melt the butter, then continue cooking as it begins to foam and pop.
Listen for the sound: the popping will eventually subside, and you will smell a toasted, nutty aroma. Watch for the visual cue of little brown specks (milk solids) at the bottom of the pan; once they are golden, immediately remove from heat.
Step 2: Aeration and Sugar Integration
Pour the hot brown butter into a large bowl, making sure to scrape in all those toasted bits. Add your dark brown and granulated sugars, whisking vigorously until the mixture looks like wet sand.
Allow the mixture to cool for 5 minutes before adding the cold egg and egg yolk. This prevents the eggs from scrambling and ensures a smooth, emulsified base for your Bakery style chocolate chip cookies.
Step 3: Folding the Foundations
Sift in your flour, baking soda, and cornstarch. Use a silicone spatula to fold the dry ingredients into the wet until just a few streaks of flour remain.
Now, fold in your hand-chopped chocolate. The variety of sizes in the chocolate chunks ensures that every bite has both small flecks and giant, molten pools of semi-sweet goodness.
The Critical Chill and The “Pan-Banging” Technique
Do not skip the refrigeration step. Chilling the dough for at least 2 hours (or up to 24 hours) allows the flour to fully hydrate and the fats to solidify, which is the only way to get that thick, massive height.
When you are ready to bake, preheat your oven to 375°F (190°C). This high temperature is essential for setting the edges quickly while leaving the middle soft and gooey.
Ten minutes into the bake, open the oven and lift the baking sheet about 4 inches, then drop it flat against the rack. This “pan-banging” creates the iconic ripples and crinkled top surface by collapsing the air pockets in the dough.
Expert Tips for Visual and Flavor Perfection
- The Ring Mold Trick: If your cookies come out of the oven slightly lopsided, immediately place a large circular cutter or glass over the hot cookie and scoot it in a circular motion to “scoot” the edges into a perfect circle.
- Underbake for Success: Remove the cookies when the edges are a deep golden-brown but the centers still look slightly “wet” and pale. They will firm up on the hot pan to reach that perfect doughy texture.
- Don’t Scrimp on the Salt: Apply the flaky Maldon salt the second the cookies exit the oven so the heat helps the crystals adhere to the molten chocolate pools.
Storage and Preservation of Freshness
These Bakery style chocolate chip cookies are at their peak about 20 minutes after baking, when the chocolate is still liquid but the structure has set. However, they keep remarkably well due to the high fat content.
Store leftovers in an airtight container at room temperature for up to 4 days. To regain that “fresh from the oven” feel, microwave a cookie for 8-10 seconds until the chocolate begins to glisten again.
For long-term storage, you can freeze the pre-portioned dough balls. Bake them directly from frozen at 350°F (175°C) for 15-18 minutes for a late-night treat that tastes just as good as a fresh batch of strawberry cheesecake cookies.
What to Pair with Your Bakery Style Masterpiece
While a glass of cold milk is the classic choice, these rich, salty, and chocolate-heavy cookies pair beautifully with a variety of textures. For a full dessert spread, consider serving them alongside these chocolate peanut butter macarons.
If you’re hosting a brunch, the deep caramel notes of the brown butter cookies are a sophisticated match for banana bread muffins. The contrast between a fruity muffin and a dark chocolate cookie creates a balanced palate for your guests.
Frequently Asked Questions
While you can use chips, chopped bars lack stabilizers, allowing them to melt into the large, molten pools of chocolate seen in professional bakery cookies.
The ripples are created using the ‘pan-banging’ technique. By lifting and dropping the baking sheet during the bake, you collapse the air pockets, creating those iconic folds.
Browning the butter evaporates its water content, which prevents a cakey texture and creates a more concentrated, nutty flavor profile with a glistening sheen.
Underbaking ensures the center remains soft and doughy. The cookie will continue to firm up on the hot baking sheet once removed from the oven, achieving the perfect texture.
Chilling solidifies the fat and hydrates the flour, which controls the spread of the cookie in the oven, ensuring they stay thick and massive rather than thin and flat.
The Ultimate Bakery Style Chocolate Chip Cookie Recipe
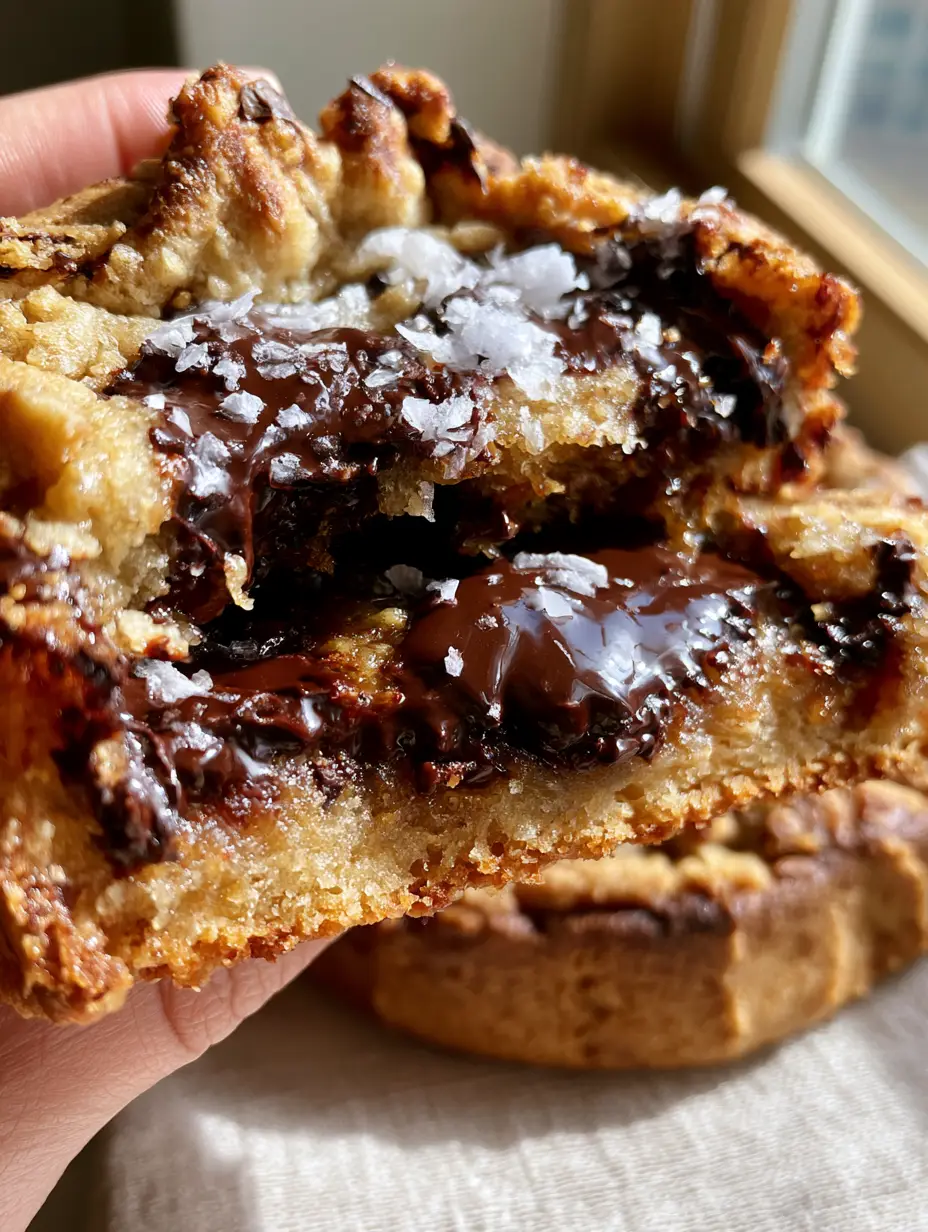
Bakery Style Chocolate Chip Cookies with Brown Butter and Flaky Sea Salt
Ingredients
Equipment
Method
- Melt butter in a saucepan over medium heat. Cook until foaming subsides and brown specks appear. Remove immediately and cool for 5 minutes.
- Whisk brown butter with both sugars until well combined. Add egg, yolk, and vanilla, whisking until smooth and glossy.
- Fold in flour, cornstarch, and baking soda using a spatula. Do not overmix. Fold in the chopped chocolate chunks.
- Scoop 3-ounce balls onto a tray. Refrigerate for at least 2 hours to prevent excessive spreading and develop flavor.
- Bake at 375°F (190°C) for 12-15 minutes. At the 10-minute mark, lift and drop the pan to create ripples. Remove when edges are golden but center is soft.
- Immediately sprinkle with flaky sea salt. Let cool on the pan for 10 minutes before moving to a wire rack.
Notes
Ensure the butter is browned but not burnt for the best nutty flavor.
Closing Thoughts: Join the Cookie Revolution
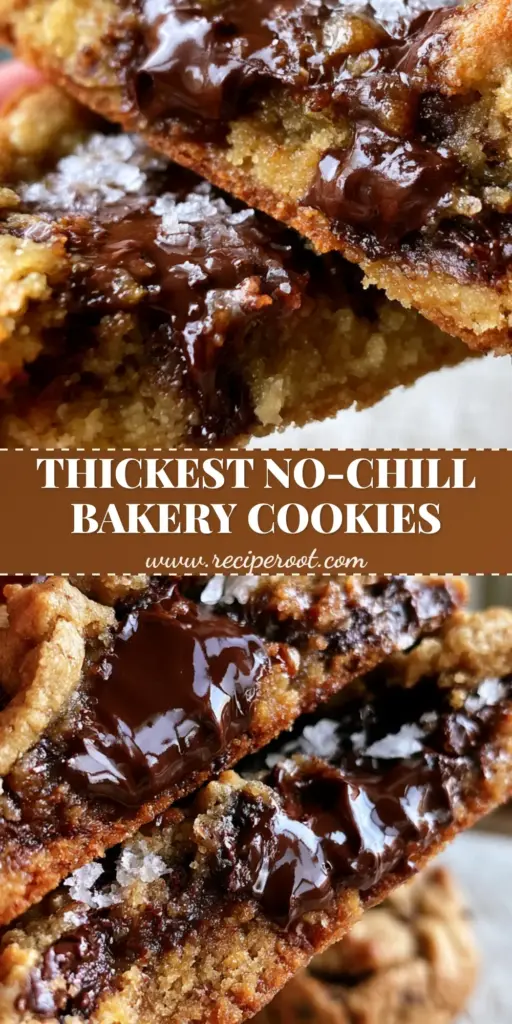
Creating Bakery style chocolate chip cookies at home is a rewarding journey into the science of baking. By mastering brown butter and the pan-banging technique, you’ve moved from a casual baker to a true culinary artisan. The result is a cookie that is visually stunning, structurally sound, and undeniably delicious.
Did you get those perfect ripples? Did your chocolate pools glisten? We want to see your results! Leave a comment below and share your baking journey with us. Don’t forget to follow us on Pinterest for more high-end recipe inspiration and visual guides!


