In the world of luxury nail artistry, few aesthetics capture the “kawaii” spirit quite like Cinnamoroll nails. This design isn’t just a manicure; it is a layered confection for the fingertips that balances the airy translucence of cornflower blue jelly with the structural integrity of 3D resin charms. Much like a perfectly set gelatin dessert, the visual appeal of these nails relies on depth, light refraction, and precision layering. If you are looking to elevate your style to a level of professional artistry, understanding the “culinary” steps of this nail recipe is essential.
The magic of Cinnamoroll nails lies in the contrast between the creamy, milky white base and the ethereal cornflower blue jelly polish. By following this forensic blueprint, you will achieve a finish so glossy it mimics polished glass. Whether you are prepping for a special event or simply want to carry a bit of Sanrio-inspired joy on your hands, this guide provides the professional techniques required to master the look. We will dive deep into the chemistry of UV curing and the delicate placement of miniature blue ribbon bows to ensure your result is nothing short of a masterpiece.
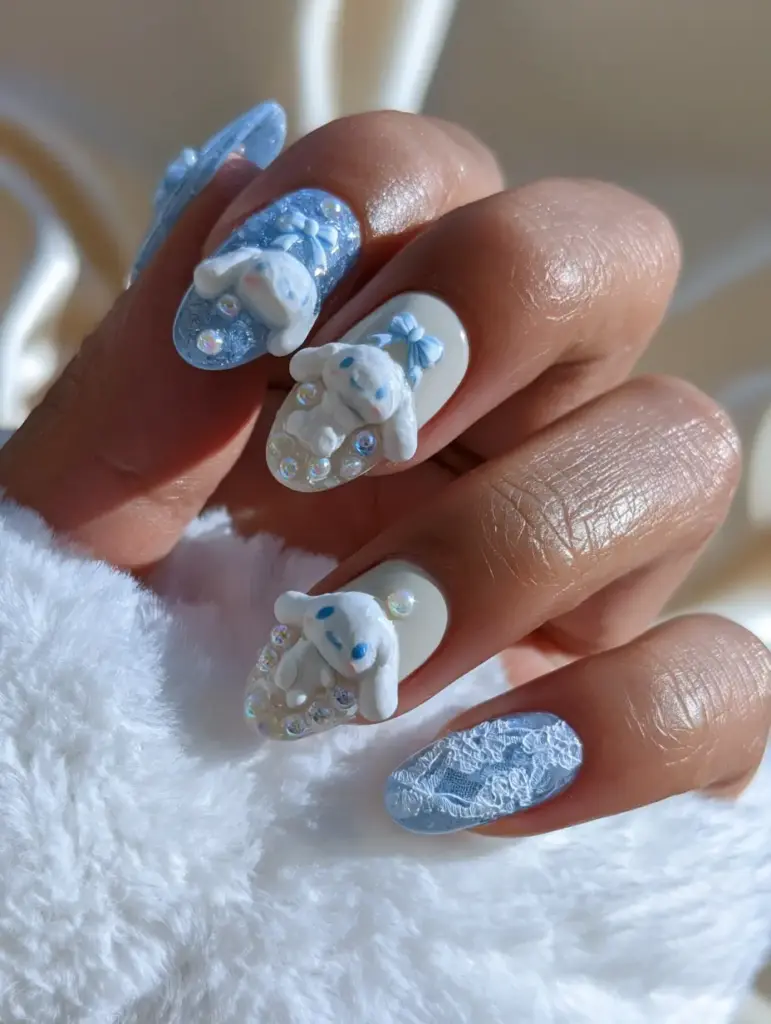
The Visual Architecture of Kawaii Nail Art
- Translucent Depth: A signature cornflower blue jelly polish that allows light to pass through, creating a multidimensional “syrup” effect.
- 3D Structural Elements: Hand-placed resin Cinnamoroll charms and miniature blue ribbon bows that add tactile interest and height.
- Delicate Hand-Painted Details: Intricate white lace patterns that provide a sophisticated, bridal-adjacent texture to the playful theme.
- Ultra-Glossy Finish: A high-shine top coat that reflects soft natural window light, emphasizing the iridescent resin pearls.
The Glossy Palette: Essential Liquids and Lacquers
0.5 fl oz (15ml) Milky White Base Coat: This acts as your primer. Its purpose is to neutralize the natural nail color, providing a clean, “creamy” canvas that makes the subsequent blue layers pop without becoming muddy.
0.5 fl oz (15ml) Translucent Cornflower Blue Jelly Polish: The star of the Cinnamoroll nails show. This sheer formula is designed for layering; each “coat” adds depth while maintaining a stained-glass transparency.
0.5 fl oz (15ml) Ultra-Glossy No-Wipe Top Coat: The final seal. This high-viscosity resin provides the “wet look” finish and protects the hand-painted lace and charms from daily wear and tear.
1 tbsp (15g) White Gel Art Paint: A highly pigmented, non-leveling gel used for the lace details. Unlike standard polish, this stays exactly where you place it, allowing for razor-sharp lines.
5-10 pieces 3D Resin Cinnamoroll Charms: These are the focal points. Ensure they are curved at the base to sit flush against the nail plate for maximum adhesion.
12-15 pieces Miniature Iridescent Resin Pearls: These tiny gems add a soft, shimmering highlight that mimics the iridescence of a sea shell.
2-4 pieces Miniature Blue Ribbon Bows: Made of soft resin or fabric, these bows provide a textural contrast to the hard surface of the jelly polish.
1 tsp (5ml) Resin Adhesive or Strong Nail Glue: The “mortar” for your 3D elements. It must be strong enough to hold the charms through various activities.
Tool Kit for Precision Application
To achieve the level of detail seen in professional Cinnamoroll nails, you cannot rely on the brushes provided in the bottles. You will need a fine-liner brush for the lace work and a dotting tool for pearl placement. A high-wattage LED/UV lamp is non-negotiable for curing the thick jelly layers and securing the charms. Additionally, a pair of fine-tipped tweezers will be your best friend when positioning the miniature blue ribbon bows. If you prefer a faster route, you might explore high-quality press-on nails as a base for these intricate designs.
The Blueprint: Layering Your Cinnamoroll Masterpiece
Step 1: Preparing the Foundation
Start with a clean, dry nail plate. Use a fine-grit buffer to remove the shine, creating a “toothy” surface for the polish to grip. Wipe with 70% isopropyl alcohol to remove oils. Apply a thin layer of the milky white base coat. Cure under your UV lamp for 60 seconds until the surface looks like smooth, semi-opaque porcelain. This foundation is as critical as the crumb coat on a cake.
Step 2: Building the Cornflower Jelly Depth
Apply your first coat of the cornflower blue jelly polish. Use long, even strokes to avoid streaking. The polish should look sheer and watery. Cure for 30 seconds. Apply a second coat, focusing on the center of the nail to create a “gradient” effect where the edges remain slightly more translucent. This layering technique creates the “jelly” look that defines Cinnamoroll nails.
Step 3: Hand-Painting the Lace Details
Dip your fine-liner brush into the white gel art paint. On the accent nails, begin drawing tiny semi-circles along the cuticle or tip to mimic lace trim. Add microscopic dots inside the lace pattern using your dotting tool. Because this is gel, it won’t dry until you cure it, so take your time to get the lines perfect. Once satisfied, cure for 60 seconds to “lock” the art in place.
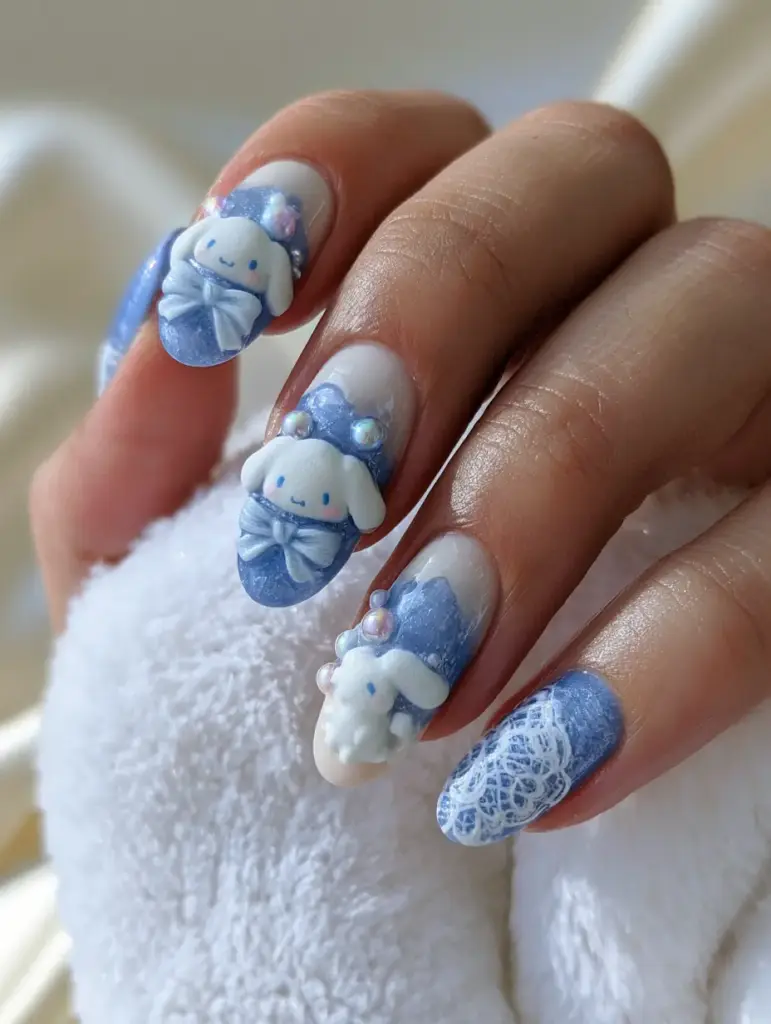
Step 4: Adorning with 3D Charms and Pearls
Apply a small bead of resin adhesive to the center of the nail. Carefully place the Cinnamoroll charm using tweezers. Press down firmly to ensure there are no air gaps. Around the charm, add smaller drops of adhesive for the iridescent pearls and the miniature blue ribbon bows. Arrange them in a balanced, asymmetrical cluster. Cure for a full 120 seconds to ensure the heavy charms are fully bonded. This step is similar to decorating a strawberry rhubarb pie with intricate lattice work—precision is key.
Step 5: The Glass-Like Finish
Float a generous layer of the ultra-glossy top coat over the entire nail. Be careful to work the brush around the 3D charms rather than over them, as coating the charms can dull their sculpted details. Ensure you seal the “free edge” of the nail to prevent lifting. Cure for 90 seconds. The final result should catch the light brilliantly, appearing almost wet to the touch.
Chef’s Secrets for Chip-Resistant Gloss
- Thin is King: Always apply jelly polish in multiple thin layers rather than one thick one. Thick layers of jelly gel often lead to “wrinkling” during the cure.
- Flash Curing: If you are worried about your lace art running, “flash cure” it for 5 seconds between each small section to set the paint.
- The Alcohol Wipe: Even “no-wipe” top coats benefit from a gentle wipe with a lint-free pad after they have cooled down for 30 seconds post-cure to maximize shine.
- Natural Lighting: To truly appreciate the cornflower blue tones, view your finished Cinnamoroll nails under soft natural window light. This lighting reveals the true iridescence of the pearls that artificial bulbs often wash out.
Maintaining Your 3D Cinnamoroll Art
These nails are a luxury item and should be treated as such. Avoid using your nails as tools to open cans or boxes, as this can put leverage on the 3D charms. When washing dishes, wear gloves to protect the glossy top coat from abrasive detergents. If a pearl happens to pop off, a tiny dab of nail glue can fix it instantly. For those who love this aesthetic but need something more temporary, consider coordinating your look with a matching Cinnamoroll phone case to complete the vibe.
Sweet Pairings and Lifestyle Inspiration
A luxury manicure like this deserves a lifestyle to match. Imagine yourself enjoying a relaxing afternoon with sweet peach cobbler cinnamon rolls while your blue jelly nails shimmer against a white ceramic mug. The soft pastel tones of this nail art also pair beautifully with a light, airy coordinated kawaii makeup look, featuring shimmering inner-corner highlights and a soft pink lip. If you’re hosting a themed get-together, these nails are the perfect conversation starter while serving treats like chewy soft batch mini M&M chocolate chip cookies.
Frequently Asked Questions
It is difficult because regular polish dries too quickly for intricate lace work. It is highly recommended to use a white gel art paint, which stays wet until cured, allowing for precision.
Use a pair of specialized nail nippers to gently clip the charm off the surface, then soak the remaining gel residue in pure acetone for 10-15 minutes. Never pry the charms off.
Jelly polish typically requires 30-60 seconds per layer in a 48W LED/UV lamp. Because of its translucent nature, thin layers cure more efficiently and prevent heat spikes.
Use a high-viscosity resin adhesive or a dedicated ‘charm gel.’ Ensure you cure for a full 120 seconds and seal the edges of the charm base with a top coat to prevent hair from catching underneath.
Jelly polish has a lower pigment density and a higher resin ratio, resulting in a sheer, syrup-like finish that provides visual depth and a glass-like shine, unlike the opaque finish of cremes.
The Official Cinnamoroll Nail Recipe
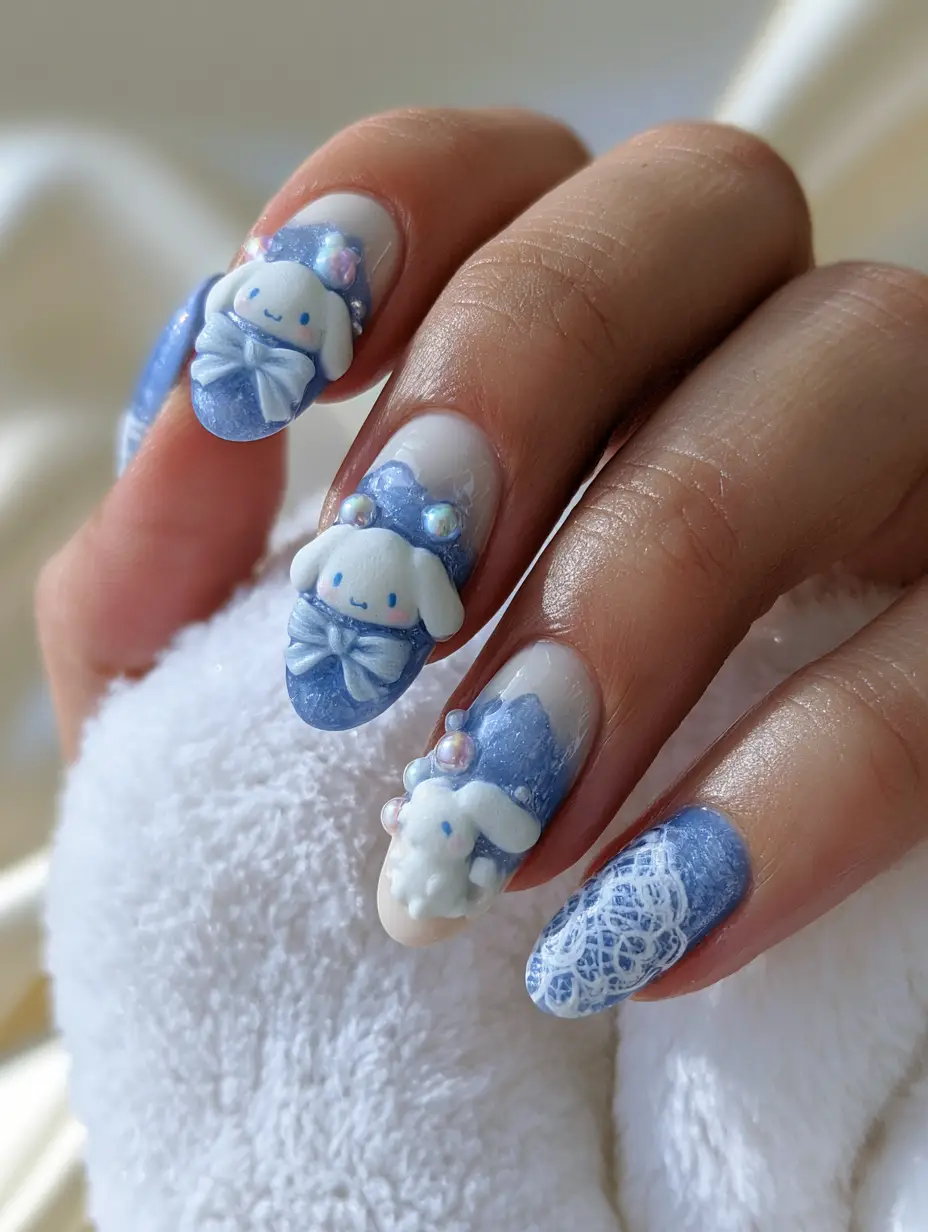
Cinnamoroll Nails: The Ultimate Translucent Blue Jelly Recipe for Success
Ingredients
Equipment
Method
- Dehydrate the nail plate with alcohol and apply a thin layer of milky white base. Cure for 60s.
- Apply two thin coats of cornflower blue jelly polish, curing for 30s between each to build translucent depth.
- Use the fine-liner brush and white gel paint to hand-paint delicate lace patterns on accent nails. Cure for 60s.
- Apply resin adhesive and place 3D Cinnamoroll charms, bows, and pearls. Cure for 120s to ensure a permanent bond.
- Apply an ultra-glossy top coat around the charms, sealing all edges. Cure for 90s.
Notes
Flash cure art for 5 seconds to prevent bleeding.
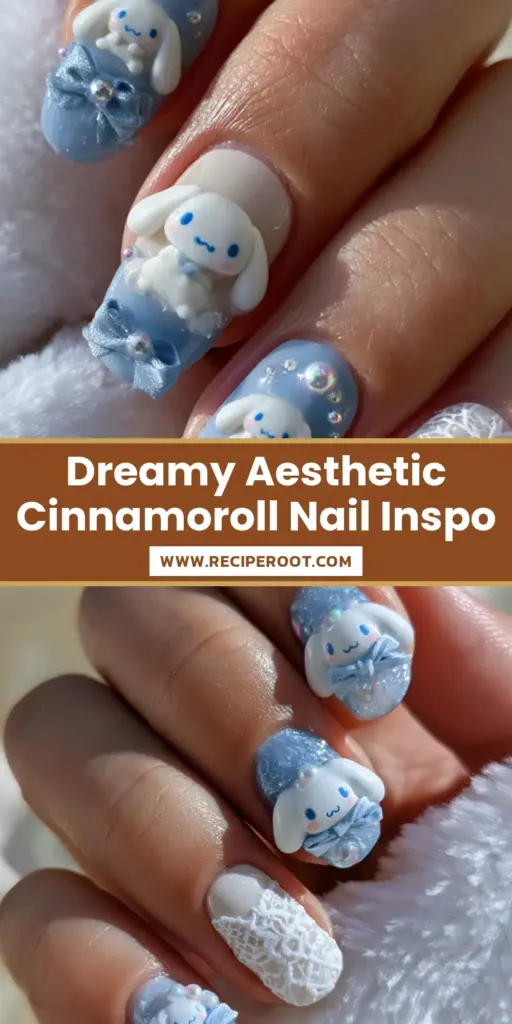
Closing & Call to Action
Creating these Cinnamoroll nails is a labor of love that combines technical skill with artistic vision. The result is a stunning, multi-textured manicure that brings a touch of whimsy to your everyday life. We would love to see your recreation of this blue jelly masterpiece! Tag us in your photos and share this guide with your fellow nail enthusiasts. For more kawaii inspiration and aesthetic recipes, be sure to follow us on Pinterest and subscribe to our newsletter for weekly updates!


